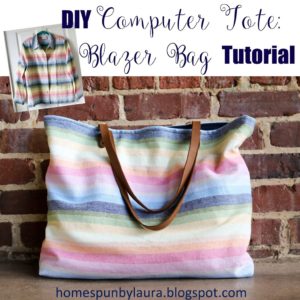
Once upon a time, I decided to attend my first blogging conference. The Haven conference is a DIY & home decor blogger’s conference held annually in Atlanta, so it seemed like the right fit for my first event.
It seemed likely that I’d start to feel a little intimidated at some point as a result of sharing airspace with hundreds of other talented and accomplished ladies (and a few gents, too) and decided that having a piece with me that reminded me of my own talents would be like walking around carrying a little shield, preventing feelings of self-doubt to penetrate my brain. I also knew I’d need a bag to tote around note-taking materials and conference goodies.
It only made sense that I kill two birds with one stone and (re)fashion myself a new bag to fit these needs.
The Plan
I found this blazer at a thrift store while on vacation in Murrells Inlet last year on a day that was just too hot to enjoy the beach. It seemed like the perfect fun, colorful fabric to use for such a bag.

The Blazer – Before
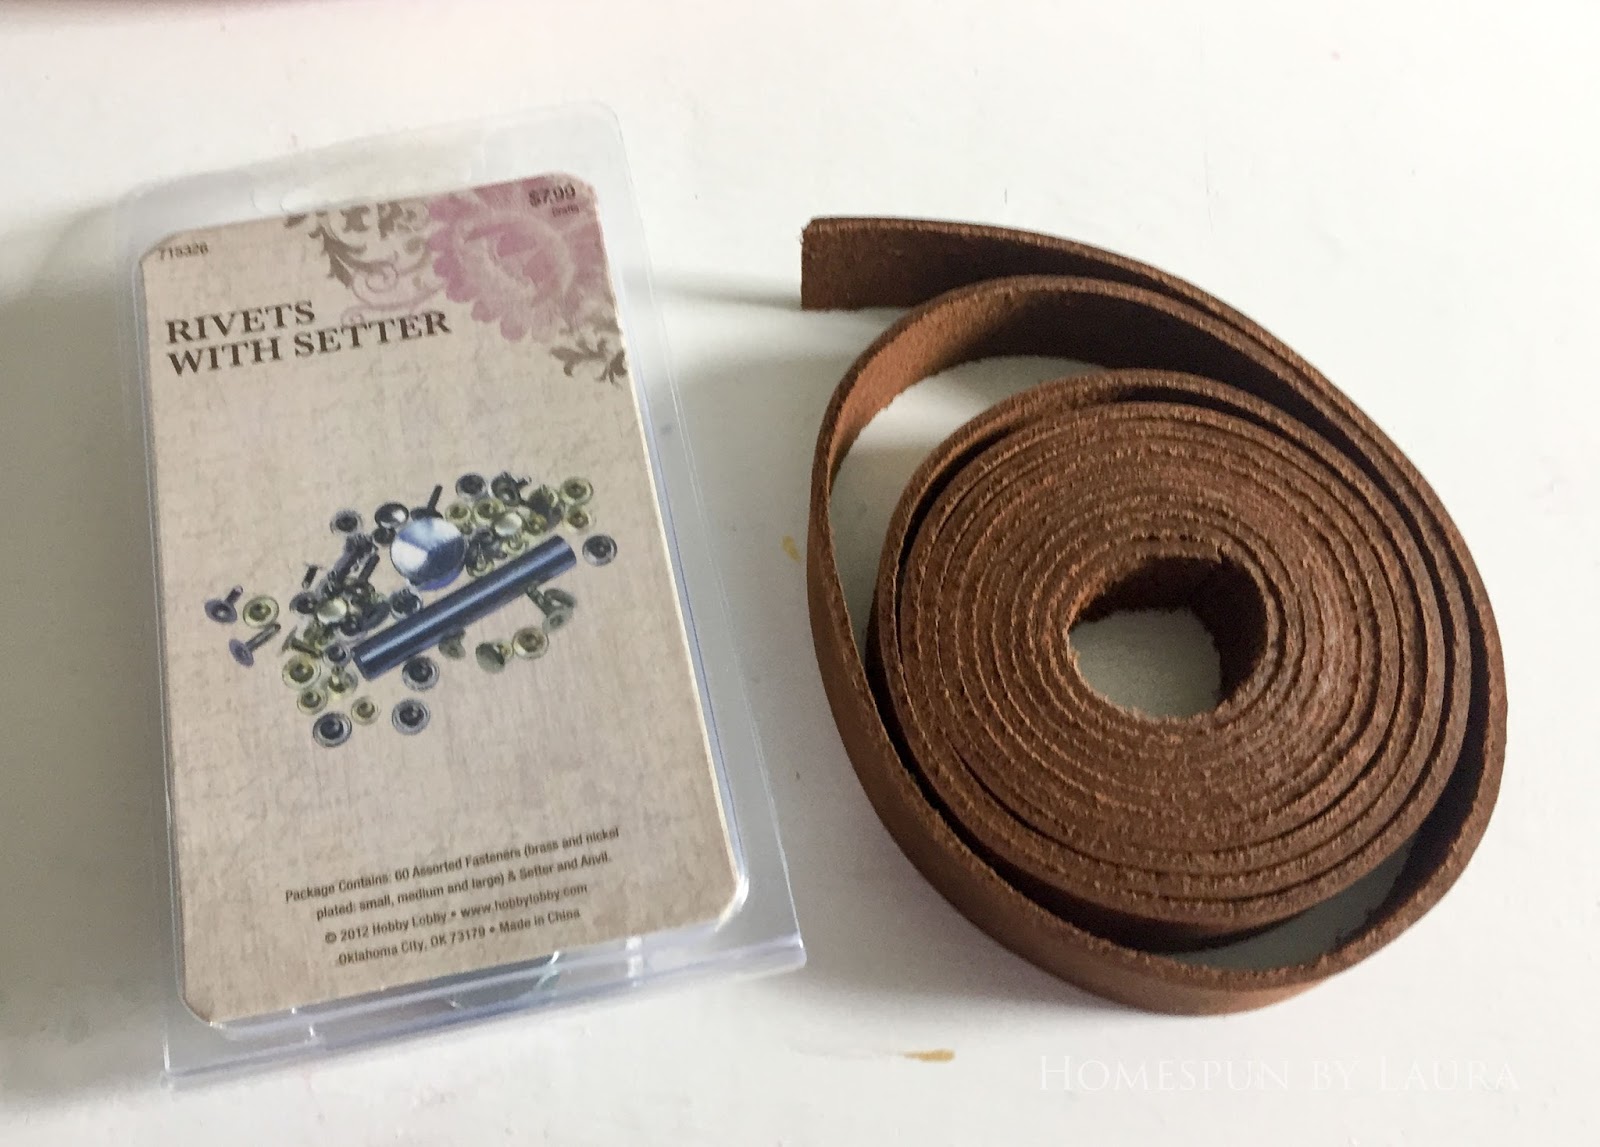
Usually when I make a blazer bag, I’ll make coordinating handles out of scraps of the fabric or will use premade straps from the fabric store, but I couldn’t find any premade straps I liked and didn’t like the way coordinating straps looked on the finished version in my head. So for this bag, I went to Etsy to find some genuine leather straps.
I still couldn’t find exactly what I was looking for. So I settled on buying two yards of leather to make my own genuine leather straps. Fortunately, the shop from which I ordered is located in North Carolina so they didn’t have far to travel. I was so excited when they arrived in the mail wrapped up in tissue paper like a gift!


A trip to Hobby Lobby plus $5 yielded a variety kit of rivets and a setter for attaching them.
The Process
It’s been awhile since I shared a refashion, so today I’m sharing with you the steps I take to make awesome bags from old blazers. Keep in mind that garments will all be constructed a little differently, but will generally be similar enough that following these 25 steps will result in a beautiful bag!
I like to start any project for which I have no pattern by sketching out my plan so I can think through the steps. If you like numbers and exact measurements, include these in your sketch. I like to keep it simple so only use measurements and numbers when I have to.

Gather materials:
- Blazer
- Material for the lining (I like to use canvas because it’s sturdy)
- Interfacing
- Velcro or magnetic closure snaps
- Strap materials: leather or canvas webbing work great
- Rivets for attaching leather
- Batting and plastic canvas sheet (optional)
- Thread, scissors, pins, etc.

Prep the blazer:
1. After you take your ‘Before’ picture, make a chop directly below the arms. I recommend cutting only one layer at a time to make sure you get an even cut.


Deconstruct the blazer:
2. Carefully remove the buttons, making sure not to tear the fabric.

3. Turn the blazer inside out; trim down the fabric flap that reinforces the button holes, cutting around the holes themselves.


4. Before trimming down the bottom few inches of this flap, gently tear out the bottom hem of the blazer.

Taking out this hem gives you another inch of fabric to work with along the bottom of the bag.

Press to remove evidence of the fold.

5. Chop off the flap behind the buttons.

Create front and back bag pieces:
6. Cutting as close to the side seams of the blazer as you can, separate the front and back of the blazer to create three pieces: Back of the blazer, front of the blazer – button side, and front of the blazer – buttonhole side.

Set the back of the blazer aside.
7. Pin the two front pieces of the blazer together, right sides facing.**

**Make sure that the buttonholes will be hidden on the inside of the bag after you have stitched it up. The reason I leave the buttonholes intact instead of trimming them off is that it allows me to keep as much of the fabric for the bag as possible. If I were to trim them off, I’d lose an inch or so of fabric and my finished bag would be narrower.

**Make sure your pattern lines up before starting to sew. I recommend using the piece you’re currently working with, which will have a seam up the middle of it, as the back of your bag. Regardless of whether you use it as the front or the back, it will look much more professional if the pattern lines up.
8. Trim and press seam open.


9. Carefully remove the front pockets and set them aside.**


**I usually aim to create a clean, professional-looking bag that doesn’t look like it used to be an article of clothing. If you want your bag to keep its blazer look, you can add the pockets back later. If you leave them in their current position they will be too low on the finished bag.
10. Now you have a front piece and a back piece, but the back piece (with the seam down the middle) is slightly smaller than the front piece.

To remedy this, pin them together, right sides facing, and line up the pattern before trimming them down to size.

Again, I’d recommend cutting only one layer at a time to make sure the cuts come out straight.

Now you have two equally sized pieces!

Construct the outer layer of the bag:
11. If your blazer fabric is very thin or you want a more structured bag, add interfacing to the wrong side of the fabric at this time. If you choose not to line the entire piece with interfacing, you will still need to use some small scraps of interfacing to reinforce the location where the straps will attach to the bag.


**I don’t have a precise method for how to determine this exact attachment spot; I look at other bags I own then mark an approximate area based on their straps using a wide scrap of interfacing to ensure I’ve covered where the straps will go.
12. Place the front and back of the bag together, right sides facing, with the pattern in line at each end. Pin the bottom and at both sides. Stitch all three sides, leaving the top open.


Set the outside layer of your bag aside.
Construct bag lining:
13. Using your outer bag piece as a template, trim down your lining fabric to size. It should be the same size as your outer bag piece.

14. If you want your bag to have inner pockets, now is the time to add them! You can make zippered pockets, magnetic snapped pockets, velcro-ed pockets, or just open pockets. This is also where the scrap pieces from your main fabric can be used for fun coordination. I chose to use my blazer pockets for cell phone and pencil pockets on one side:

And the scrap flap from the button side of the front of the blazer for decoration along the large laptop pocket on the other side:

**When determining where to place your pockets, make sure you take into account that you will ‘lose’ the bottom 1-2 inches of your fabric, which will become the bottom of the bag.
15. Just like with the outer layer of the bag, the wrong side of the lining needs to be reinforced for the straps. Repeat this process at the center of the bag if you plan to use a magnetic snap closure or Velcro.
 |
| Mark the center of the bag by folding in in half and marking with chalk. |

16. Now is also a good time to go ahead and add your snaps or Velcro to the bag if you’ve chosen to use one of them for a bag closure.

Box the bottom of the bag:
17. To create a flat bottom for the bag, the corners of both the outer layer and the lining must be boxed.
Make a triangle out of the bottom corners of the lining, ensuring that the seams line up.
 |
| I like to begin with a pin through the seams, then work my way out. |
After boxing the first edge, use a ruler to measure the length of the triangle between the stitch and the tip of the bag and mark the next edge to make sure your bag doesn’t turn out lopsided!

Then repeat twice more for the outer layer of the bag.

And trim the triangles off!
Reinforce the bottom of the bag (optional):
Since I’d be toting around a computer and various notebooks, I wanted the bottom of this bag to have plenty of structure and a little layer of padding for the computer.
18. To add a similar feature to your bag, trim a plastic canvas sheet down to just smaller than the inside of the bottom of your bag.


Cut across the corners diagonally to create a softer edge (seems to me that a square corner would be more likely to work a hole into the corners of a bag).

Wrap the batting around it a few times until you’ve reached your desired level of padding. Pin and stitch at the sides and test to make sure it fits snugly into your bag.


Use fabric glue to secure it to the bottom of the bag (on the inside!!).


Assemble the bag:
19. Slip the outer layer of your bag INSIDE the lining with RIGHT SIDES FACING. Line up side seams and center markings, pin, and stitch around the top opening of the bag.

It is VERY important that you leave an opening (about 1/2 the length of the bag) in the bottom of your lining.

20. Reach through the opening in the bottom of the bag and pull the outer layer of the bag through it to turn the bag right-side out.


Attach the straps:
If you’ve chosen leather or a similar material to secure with rivets, this is when you will add them. Attaching the straps to BOTH layers instead of just the outside of the bag should make the bag more durable by evenly spreading around the weight to both of the layers.
21. First, make sure you know where to attach your straps. With pins, mark the sides and bottom of the interfacing at each of the four attachment points (reaching your hand into the opening at the bottom of the lining to feel the interfacing is helpful).

With a pin, mark on the outside of the bag where these locations overlap to ensure your straps are lined up.

22. Next, determine the length for your straps. Using a tape measure to test a few different lengths, I decided that 25″ would be ideal for my bag.

23. Now trim your pieces down to size and shape them if desired. Using an awl, make a hole for the first (lower) rivet on both ends of both straps.


Follow the directions that came with your rivets to secure your straps to your bag.

Repeat the process with a second rivet about an inch above the first rivet.


24. Pull the lining back out. Pin and stitch across the opening in the bottom of the bag, then tuck it back in.


25. Breathe a sigh of relief and enjoy your new bag!


There’s plenty of space in this roomy bag for my computer (this is a conference for blogging, after all!), a notebook (though my work is primarily on a computer, my brain doesn’t work that way for note-taking; I need college-lined paper to keep me neat and margins to squeeze in extra info!), my calendar, and of course, a few snack options.


Ideal blazer size
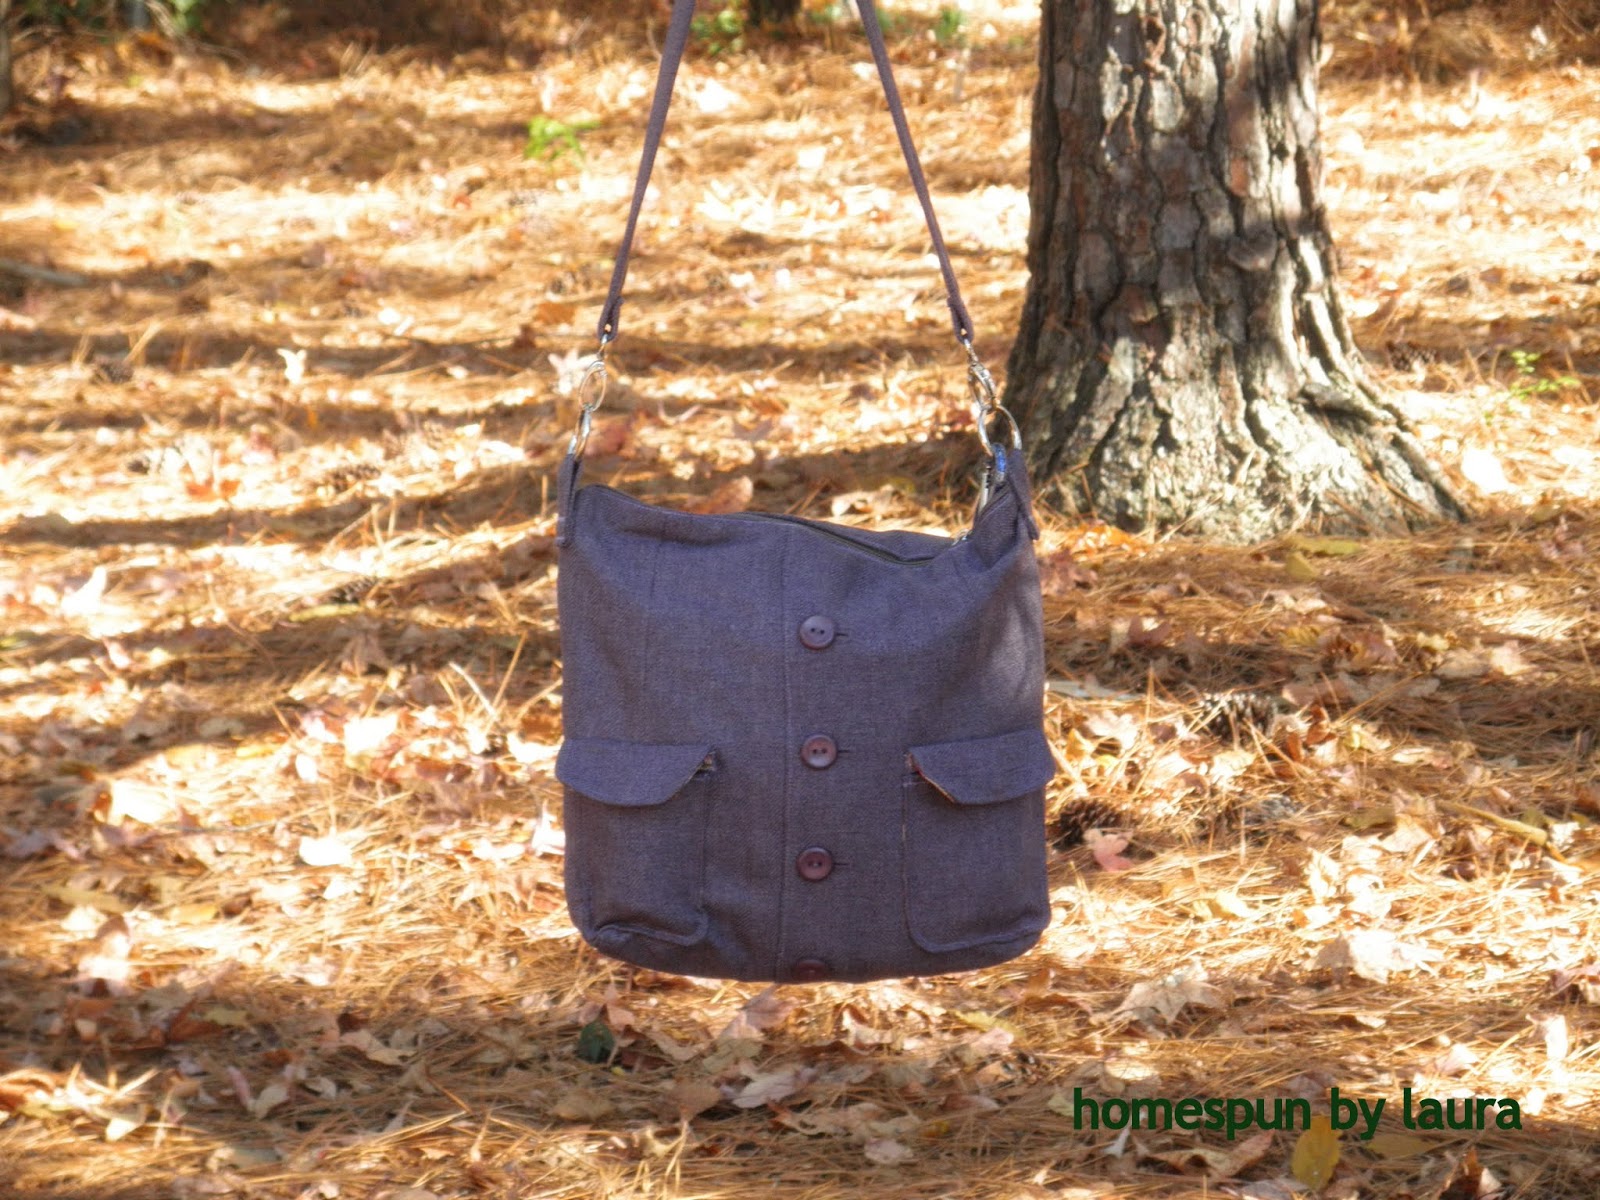
I like to look for size 14 or 16 blazers for wider totes (items inside lie on their side) or a weekender bag, but a size 6 or 8 would work well for a narrower one (items inside are upright). A larger size like 18 or 20 should make a great small duffel bag, though I’ve never tried this myself.
My blazer was a size 16 and actually wound up creating a bag slightly wider than I was originally going for.
 |
| It’s ginormous! |
Silver lining
While I usually prefer to use canvas for my linings to make sure my bags are sturdy and somewhat structured, you could also use a lighter-weight fabric lined with light- or medium-weight interfacing or a fusible fleece for a more padded bag that will hold electronics.
Remnants galore
You’ll probably have plenty of remnants – the top third of the blazer plus the sleeves are great for making small pouches for pencils, gadgets or makeup. I’ve even made a bag for my curling iron out of a sleeve before.

Keep it neat
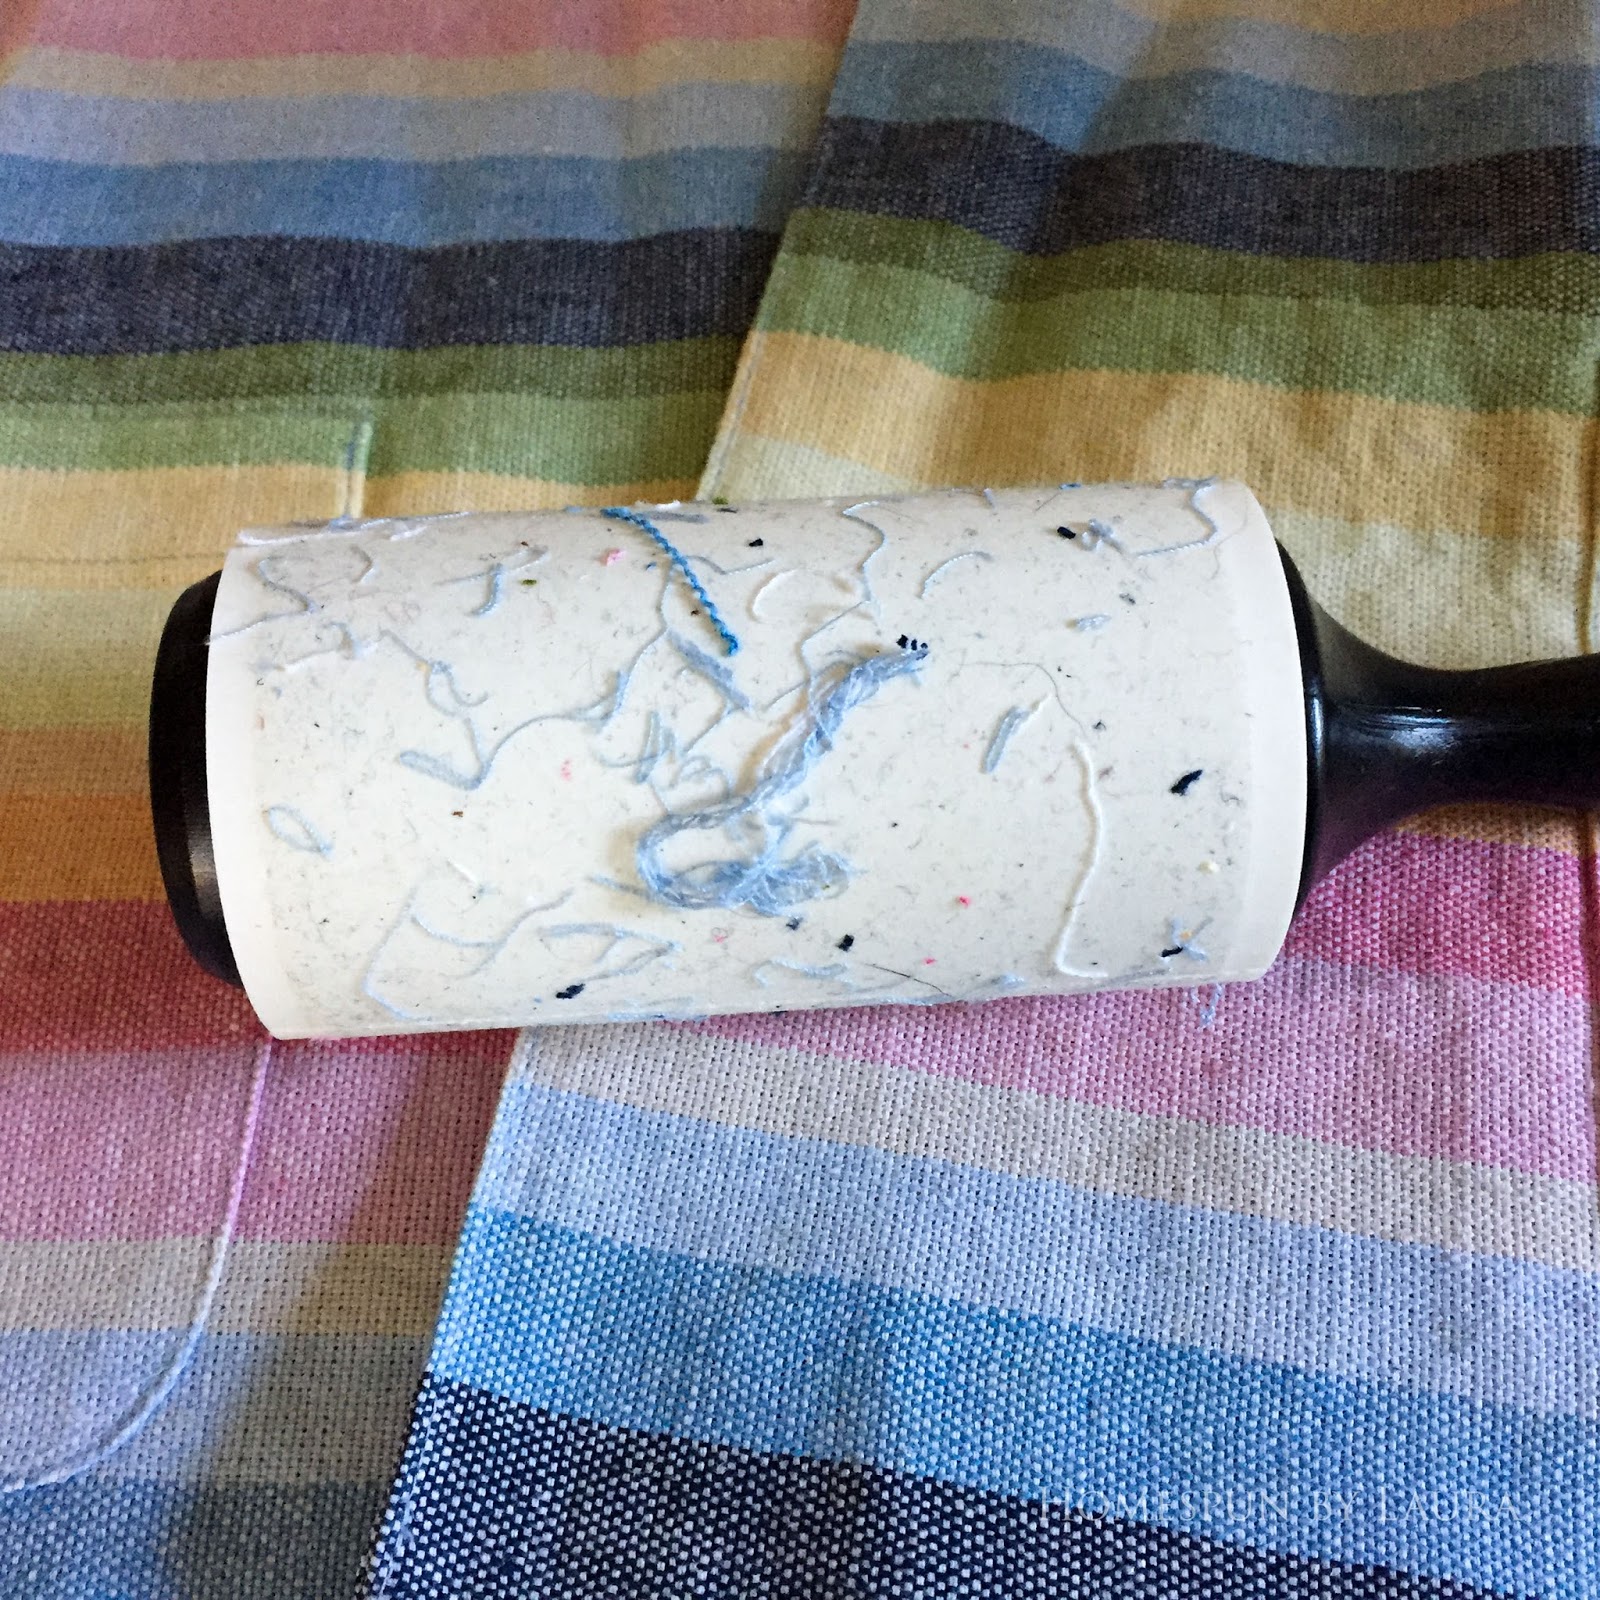
I like to keep a lint roller nearby while I’m working on a sewing project to pick up all those pesky stray threads and keep my piece and work area tidy.
Walk the line
I recommend using a walking foot for bag projects. The layers can get thick, plus if you’re trying to match patterns, the walking foot will help keep the fabric from getting skewed. Read more about how to use a walking foot.
Idiotproof it
Sometimes I can get into cruise control while sewing and forget to leave the very important opening in the lining as I’m finishing off my bag. To remind myself to STOP, I like to use two pins right next to each other. You could also use different colored pins.

Close it up
There are a few methods to choose from for closing the top of your bag: magnetic button, Velcro, or none at all. You could also use a zipper, but it changes the rest of the assembly process. If you’re experienced at making bags, it’s pretty straightforward, but if bag-making is new to you it can seem confusing. I made a fully-line zippered blazer purse a few years ago (which you’ll be able to tell when you see the pictures!), and you may find that post helpful.
Blazer bag variations
There are so many variations to the blazer bag; depending on the version, the steps above will alter slightly. You can check out a few other blazer bags I’ve made:


Have you made a similar project? Use the hashtag #homespunbylaura to share it! I’d love to see it.
Thanks for stopping by!

Thank you for your pins, shares, tweets, and likes!