During the second week of the #30projectsin30days challenge hosted by Stacy of BLAKE HILL HOUSE, I focused on finishing up the master bedroom refresh I started earlier this year.
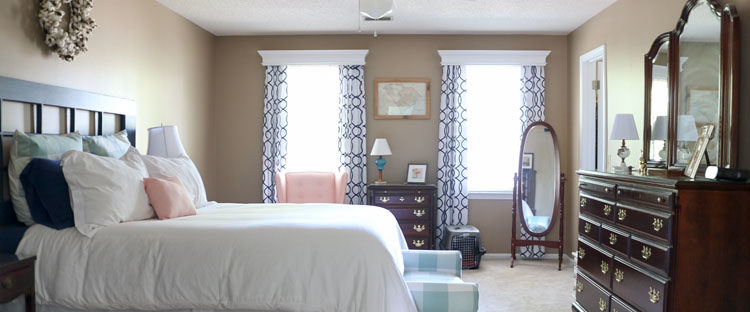
It’s seen a few different looks in the past eight-and-a-half years, but this one is by far my favorite. It’s the first time I didn’t choose something just because it was a happy medium between masculine and feminine or because the colors worked with free furniture we’d been given, and it’s the first one I’ve really liked. It definitely leans a little to the feminine side, but we both really like the change.
getting started
In 2014, we bought a new mattress for our room. I had decided I wanted to find an old door to use as a headboard, so we chose to use the basic bed frame the mattress store threw in for free. We moved our antique bed frame into the guest room soon after.
But I had trouble finding a cool old door. I stopped by the Habitat store on a pretty regular basis for a few months but found nothing. So I stopped, moved on to other things, and the room stayed headboard-less for two years.
Spring 2014: We rearranged our furniture, but things still weren’t quite right.
Last year, I briefly resumed the project. During our travels in the spring of 2016, we stayed in a LOT of hotels. Over 60 of them! Many of these hotels use white comforters or duvets, and I realized that I really like the look. The fact that a duvet cover can be easily washed is an additional perk with two little dogs. So last fall, I switched out our dark, floral Biltmore comforter for a down-alternative one with a bright white duvet cover.
But then I stopped again. I wasn’t exactly sure where to go from there, so I switched to other projects.
NEW CARPET
We finally (!!!!!) had new carpet installed in June to replace the way-too-old carpet we inherited when we bought our house in 2009.
I wish I could go back and tell myself one thing about buying a new house. It’s this: GET NEW FLOORING BEFORE YOU MOVE IN! It was a pain to pack everything up and move the furniture just to unpack it a few days later. Now that it’s done, I’m glad we did it, but it would’ve been so much easier before we moved in!
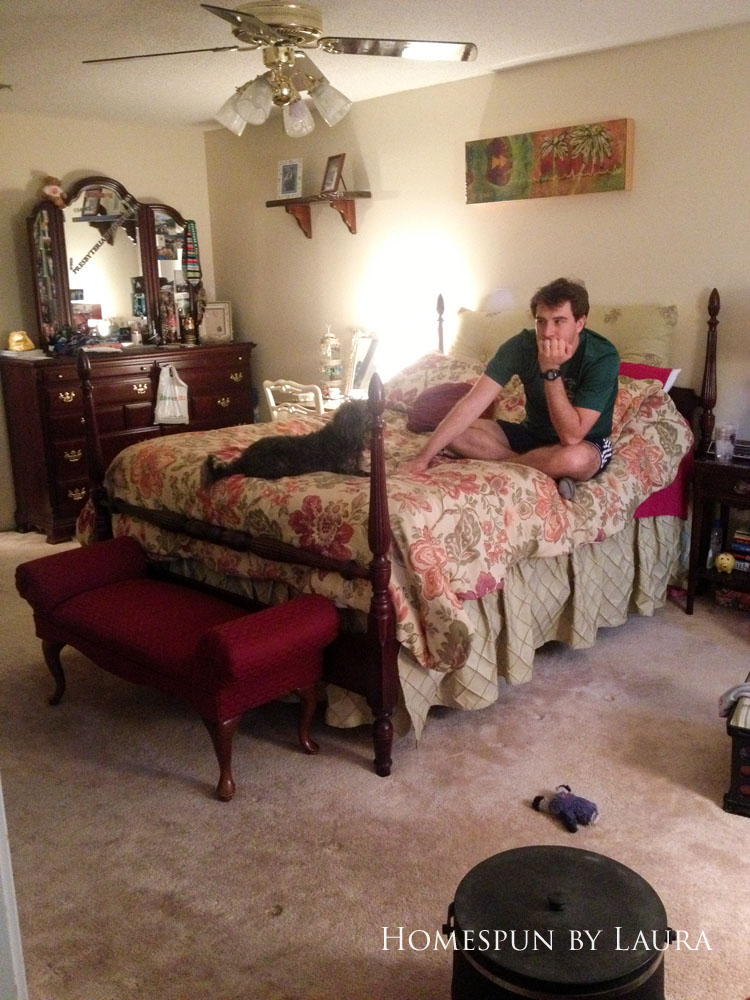
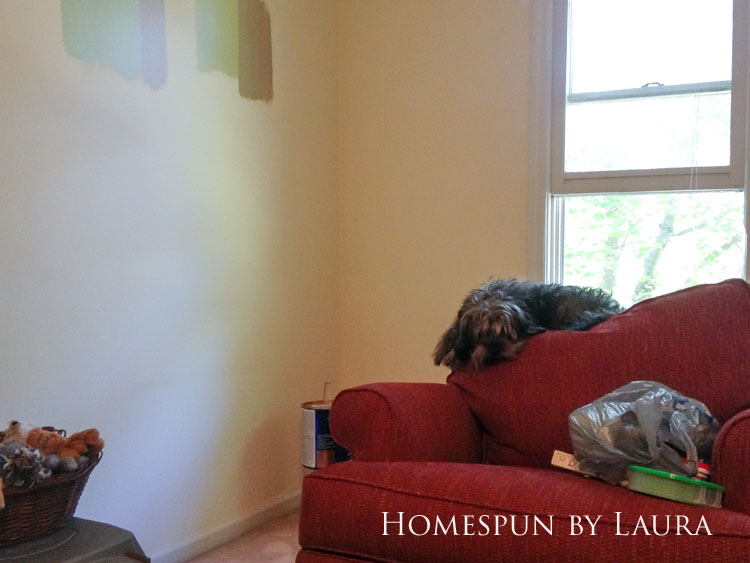
It looked like this when the installers arrived…

…and turned into this by the end of the first day!
We had to set up a mattress on the floor in a guest room that night.
I’ve since painted this wall; it’s now the same color as the the rest of the rooms upstairs.
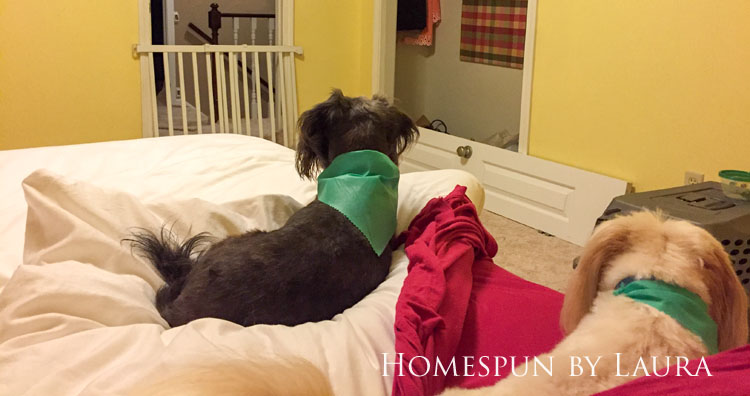
Meanwhile, the installers tore up the stairs on day one and didn’t install on them until day two. There were nails sticking up overnight, so we had to block the dogs from the stairs to prevent punctured paws.

Not an ideal condition in which to leave stairs overnight!
When the installers went to move the furniture back into place, they were majorly confused that the antique bed frame went in the guest room and a frameless, headboard-less bed went in the master bedroom. Their confusion pushed the priority of this project back up the list for me. I decided it was time to resume the master bedroom refresh so it would look like a master bedroom.
budget
I wanted to keep to a fairly strict budget for this project since we had just gotten new carpet. I didn’t set an exact number, but by using items we already had around the house I kept the total reasonable. The only major purchases were new curtains ($30), upholstery fabric ($80), and a barn door + hardware (~$220). Additional supplies and decor came to about $55. That totals a little under $400, which is by no means cheap, but certainly could have been much higher.
FABRICS AND FURNITURE
I began looking at fabrics for curtains, pillows, and the upholstered bench we keep at the bottom of the bed and quickly determined what I wanted to use. I saw some curtains I liked at Bed, Bath, and Beyond and found some pretty large-scale mint gingham fabric online.
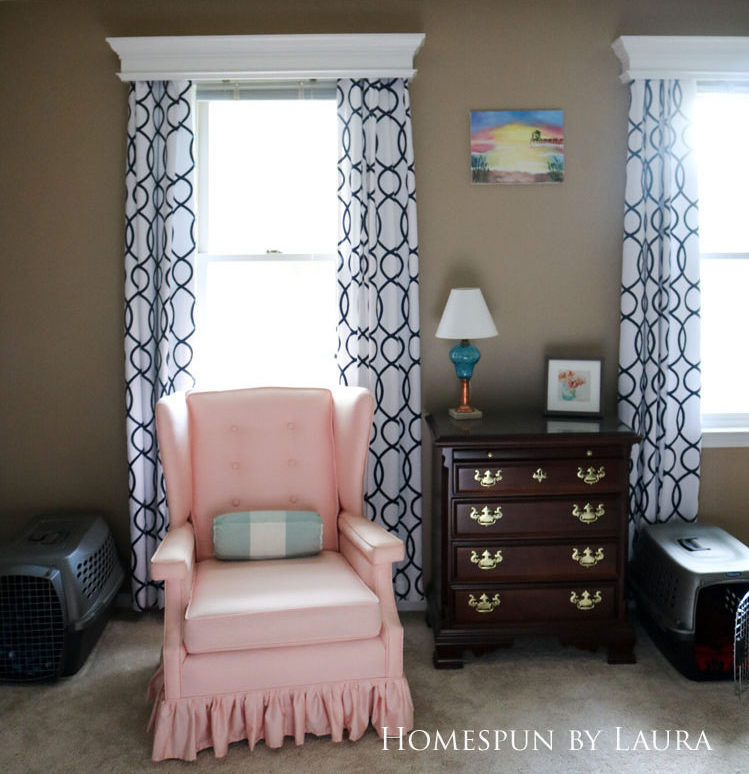
a pink wingback chair
A few months ago, I received a chair from my grandmother’s house, and I wanted to put it in our bedroom. We played musical chairs with two red-orange upholstered rockers we received from other family members a few years ago, sending them downstairs (along with some slipcovers) to create a reading area in the den. Our ‘new’ chair was in nearly perfect condition, but my plan was to reupholster it anyway, because it’s pink. It’s a very pretty pink, but it’s still pink.
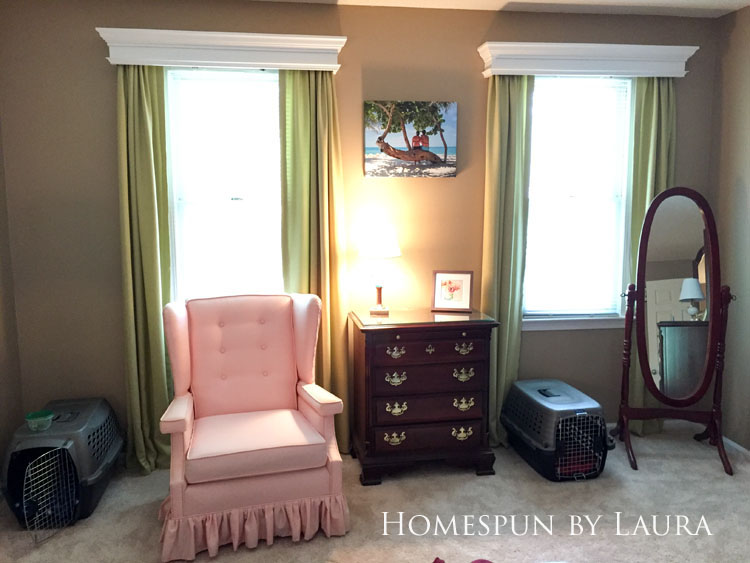
But I just couldn’t bring myself to do it. It was rarely, if ever, used for sitting in my grandmother’s house, so it looks brand new. It just didn’t make sense to tear it up. I realized that the pink chair complemented the other fabrics I was planning to use, so I left it as it was.
To make it fit in with the rest of the room better, I wanted to somehow make a matching pillow to put on the bed. I wasn’t sure exactly how I was going to achieve this until I found the unused the armrest covers under the cushion! They were just the right size to stitch up a coordinating pink pillow to put on our bed.
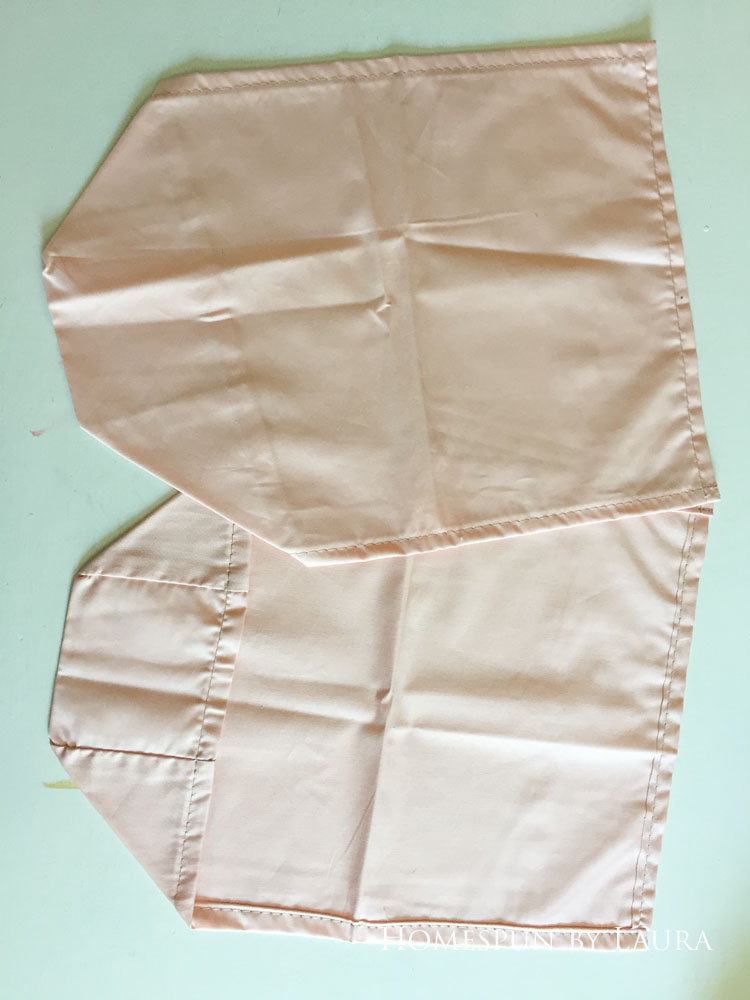
I used a seam ripper to open up both scraps, then ironed them as flat as possible. They had been folded under the seat cushion since the early 1990s!
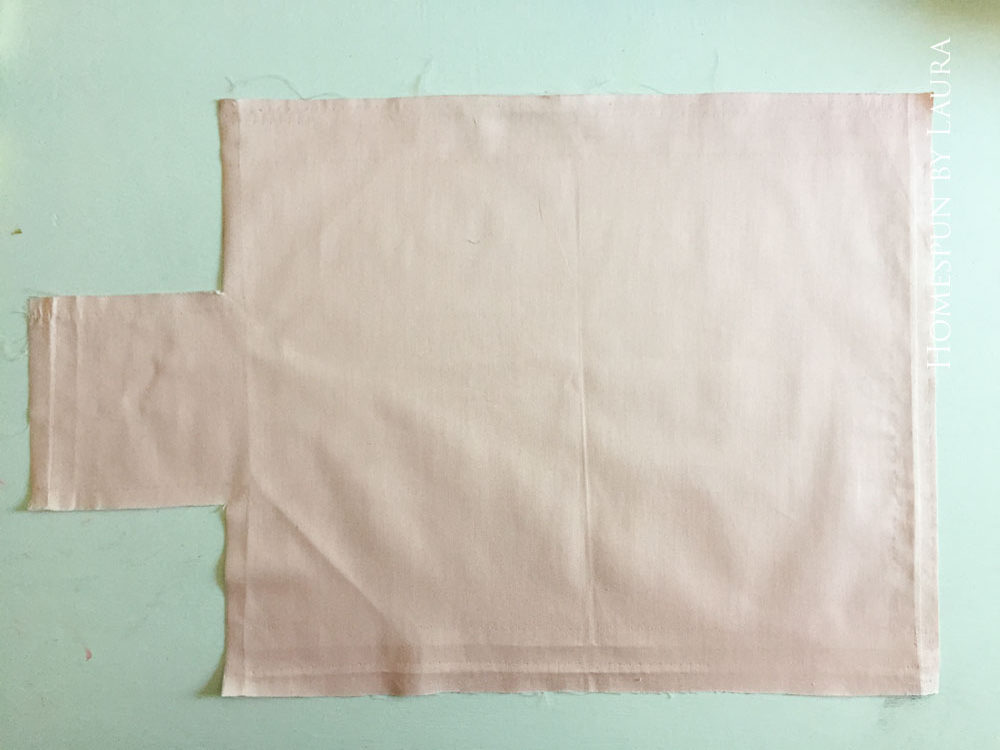
Not bad for 25-year old wrinkles…
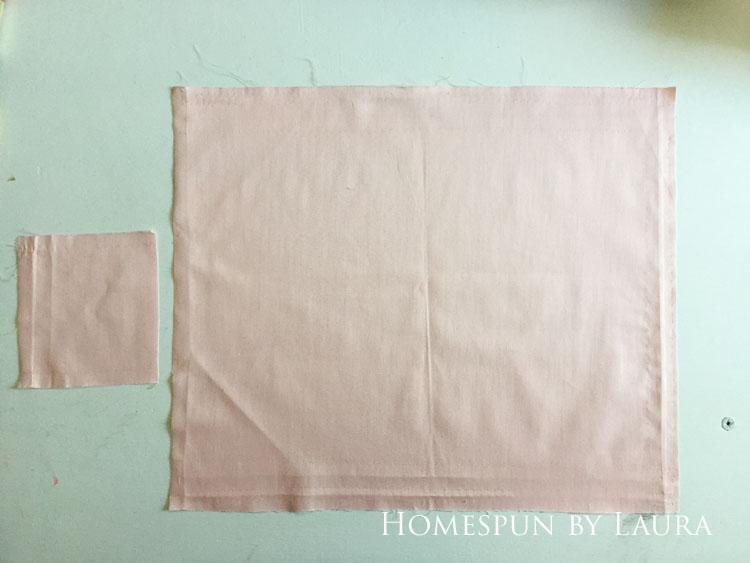
Once I had a rectangle, I added an invisible zipper to one side and stitched up the other three.
The color scheme I had planned included navy blue and a pale minty-aqua color, and the pink fits in well with it.
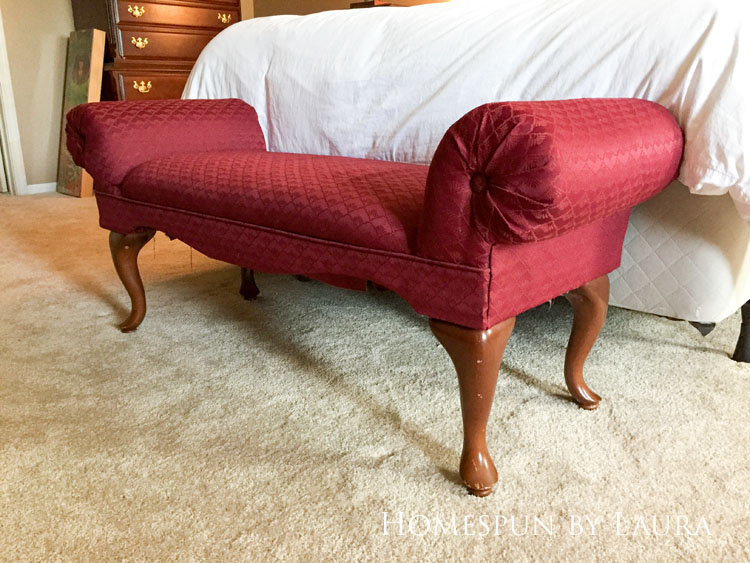
upholstered bench
I saved time and money (around 10 hours and $175) by only covering the bench.
To measure how much fabric I needed, I first un-upholstered (de-upholstered?) the bench. Using a piece of home decor fabric that measured the same width as the fabric I planned to order, I laid the pieces out. I added an extra yard to the total for matching the pattern if needed, then added a couple additional yards for several coordinating pillows.
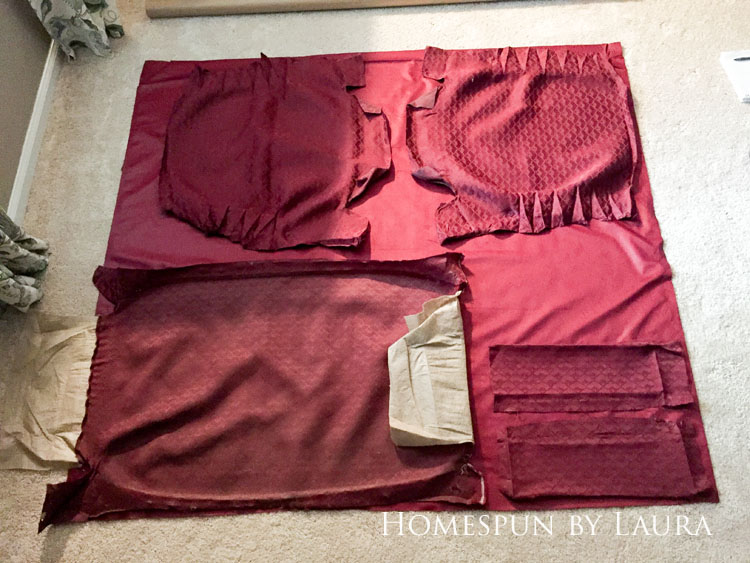
Measuring for my fabric order. It’s a total coincidence that the scrap of fabric matches the original color of the bench!
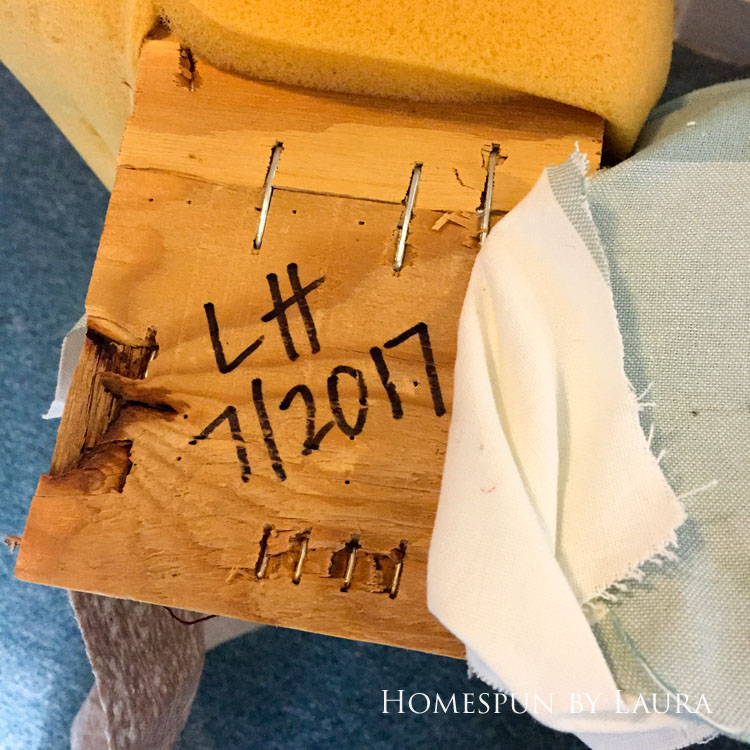
Its always interesting to discover when a piece was made originally. Everything I’ve ever upholstered has had an original manufacture date on it. I like to add my initials and date of re-upholstery for future upholsterers to discover.
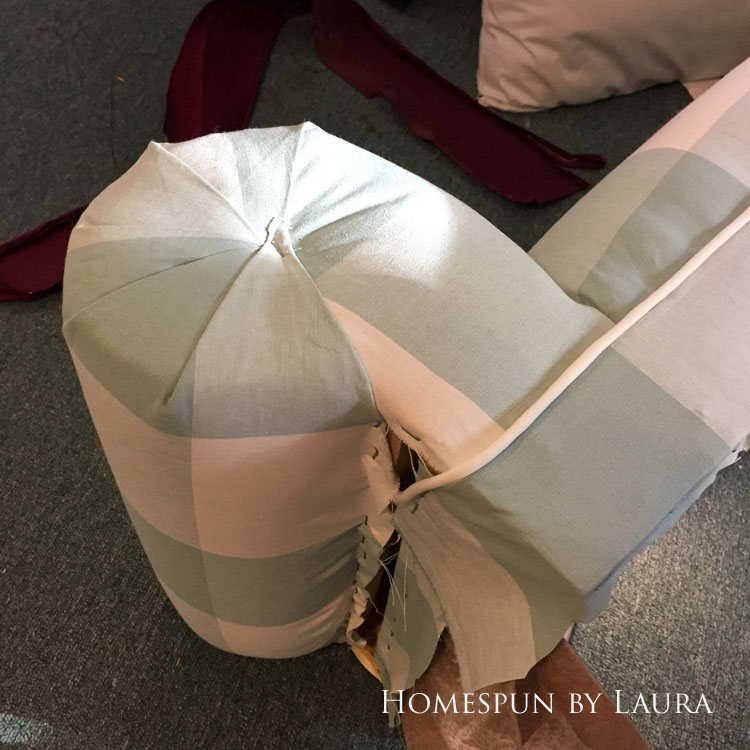
I’m so pleased with how the armrests turned out. I went with Yoda’s advice of “Do or do not. There is no ‘try’.” It took several attempts to the first side done right, but the other three sides came together pretty quickly.
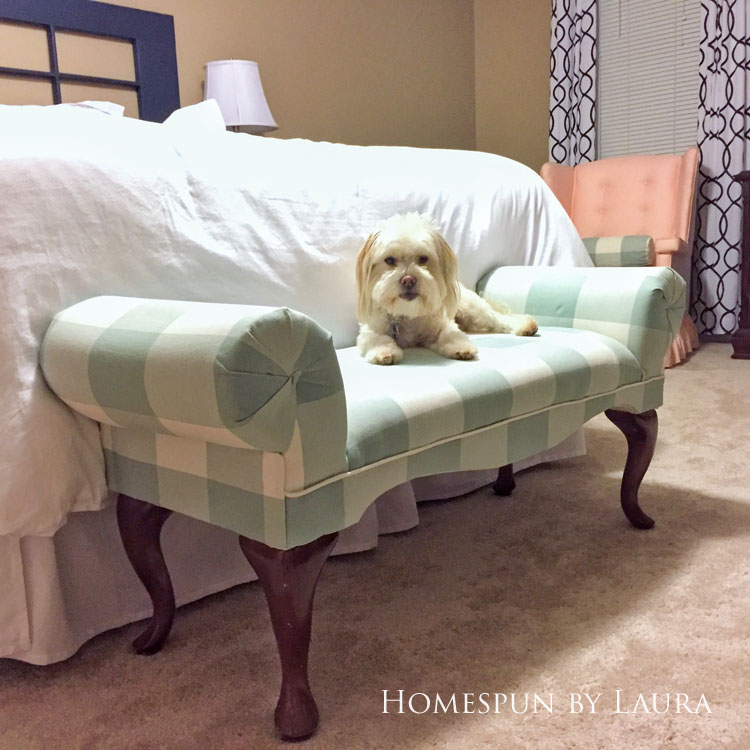
I will probably stain the legs at a later date to a darker cherry color. In the meantime, it looks amazing and serves its purpose, as demonstrated by Pipsqueek.
A few large scraps and a zipper were all I needed to stitch up a matching checked pillow to put on the pink chair. I used off-white linen fabric I already had for the back of the two Euro pillows (on the bed). It perfectly matches the off-white checks and cut an additional yard off of my fabric order!
I played around with a few different art options for the wall. This one was obviously too small!
curtains
For curtains, I decided to purchase finished panels for the first time in this house. I did love being able to say that I’d sewn all of our curtains, and stitching up my own has allowed me to customize the length. This time, I went for simplicity instead and saved more money – and time – in the process. Even with the extra panel I bought to make a few coordinating pillows and/or a curtain for the window in the closet, the total cost of the curtains was only about $80. I redeemed credit card points for a Bed, Bath, and Beyond gift card, which took my out-of-pocket cost down to about $30! I haven’t gotten around to stitching up those coordinating pillows, though…
paint
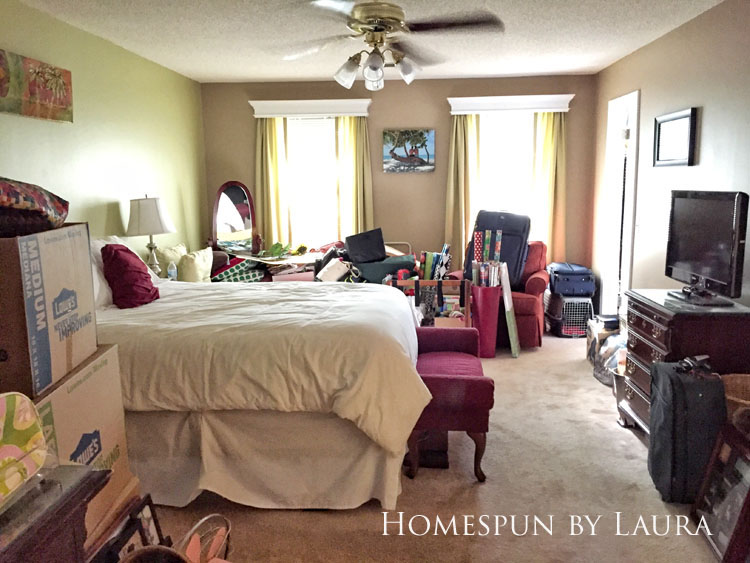
Once the chair debate was settled and new carpet installed, I painted the accent wall to match the rest of the room.
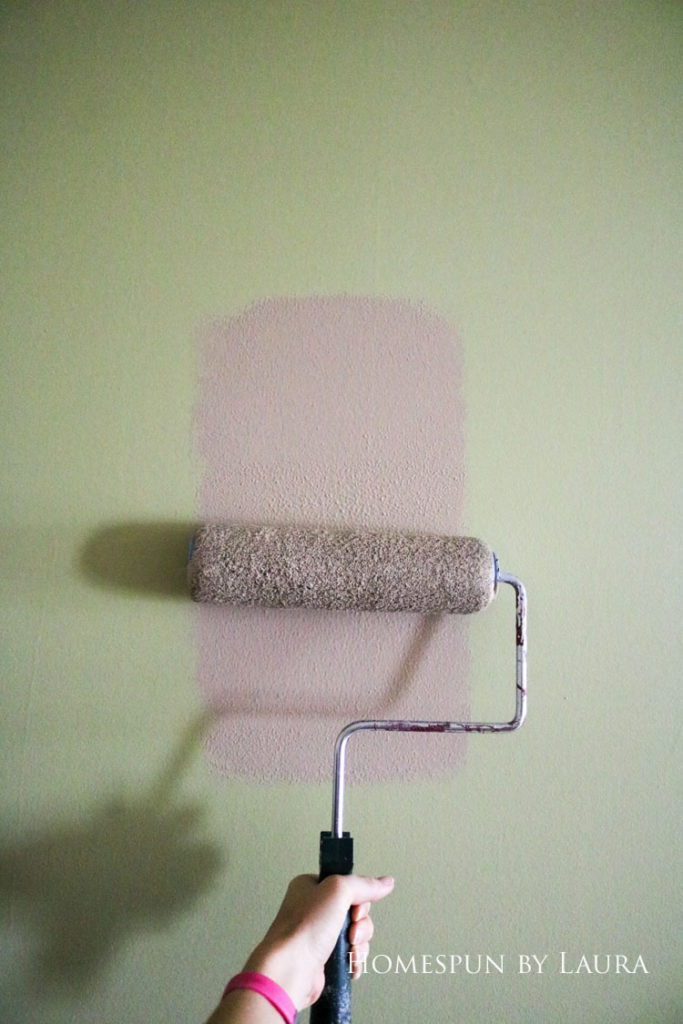
As you can see from this photo, the green was never a good choice.
The two colors never looked great together, and I’ve been planning to paint it to match the rest of the room since about three weeks after I painted it back in the fall of 2014.
Fall 2014: Rocky helped…
Especially at night under the light from our old ceiling fan, the colors seemed to shift. The tan looked green and the green looked tan. It was weird and ugly. Looking back, I’m not sure why I painted it a different color in the first place. I’m quite happy with this change.
DÉCOR
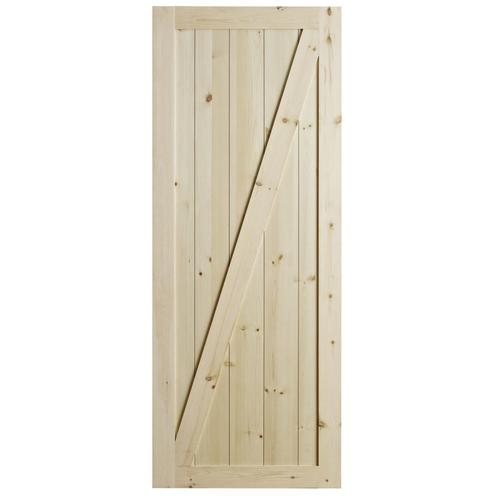
French DOOR HEADBOARD
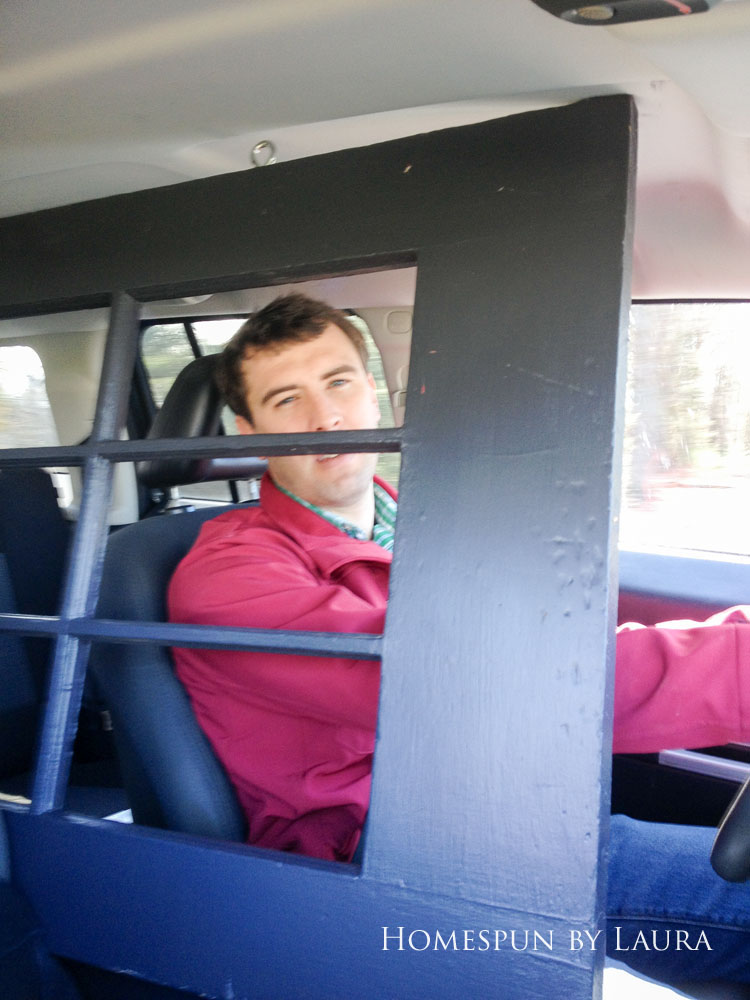
Had the door been any larger, it couldn’t have come home with us!
This free-to-us door came from my college roommate. When we visited her and her husband to meet their baby son a few years ago, I commented that I didn’t see the door they’d had on the wall in their previous house. Turns out, it was in their garage attic waiting to be donated, so they offered it to us! We managed to squeeze it into our compact SUV, and it wound up sitting in our garage for two years before I finally got around to making it into our headboard.
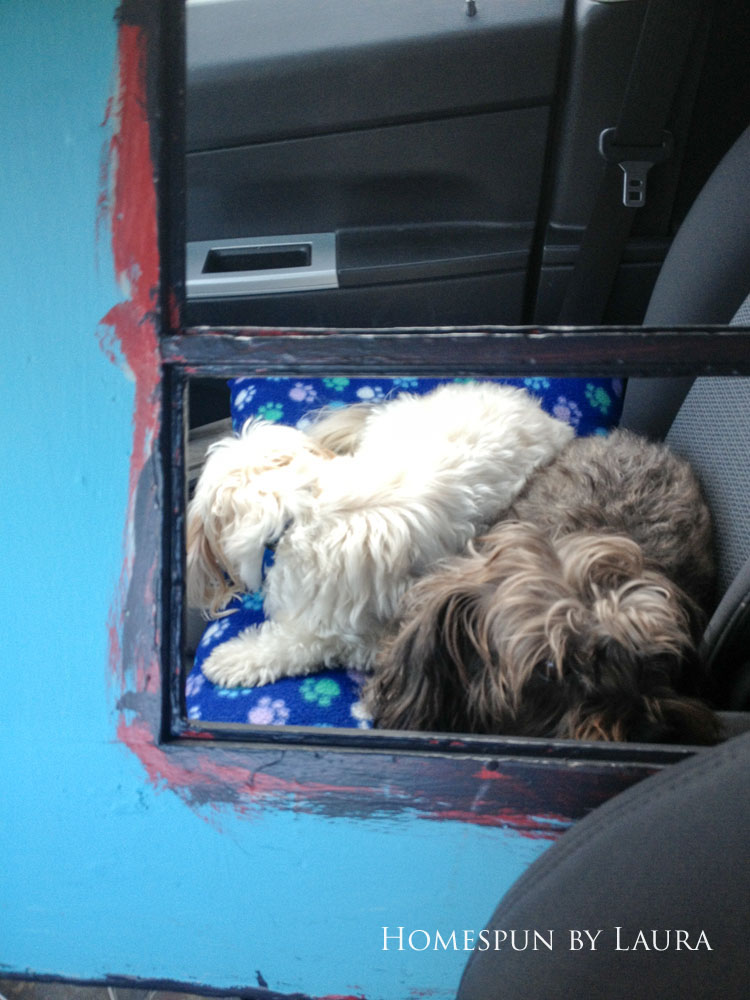
The dogs weren’t a all bothered by the massive door bisecting the space.
Preparing the door was a straightforward process, which included removing hardware, sanding the door, and painting it.
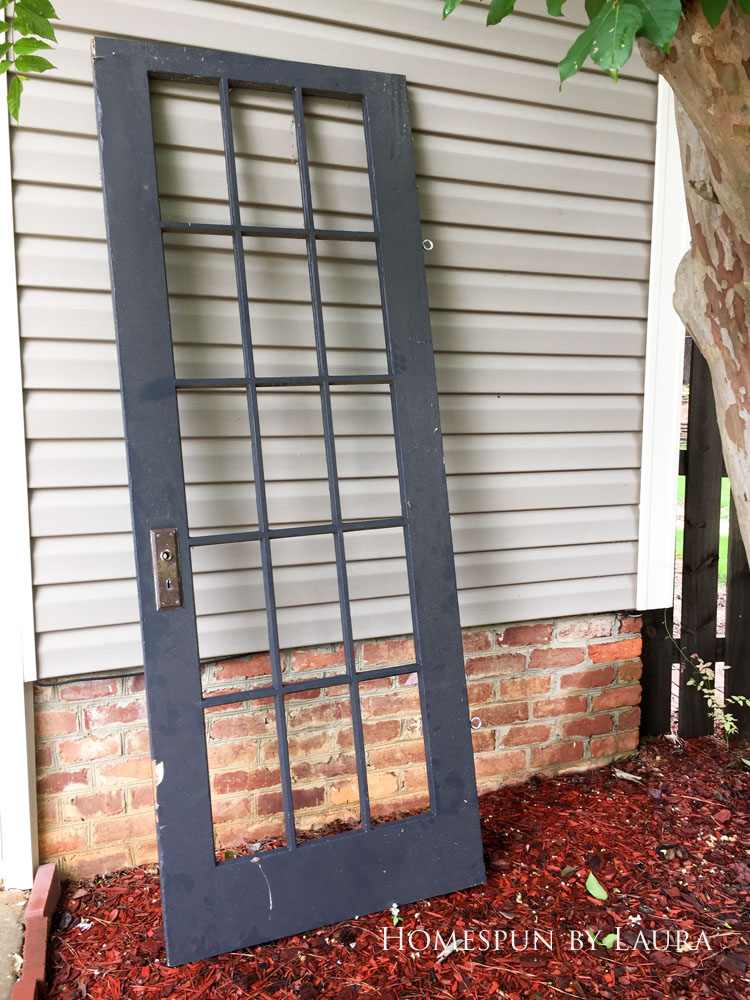
It was a little worse for wear after sitting in our garage for two years, but I fixed that quickly!
I knew I wanted it to be navy, and I had a variety of navy paint options to choose from. Since they were all sample containers, I didn’t have enough of any single color of navy to cover the entire door. I decided to mix several of the samples to make a new color that I absolutely love.
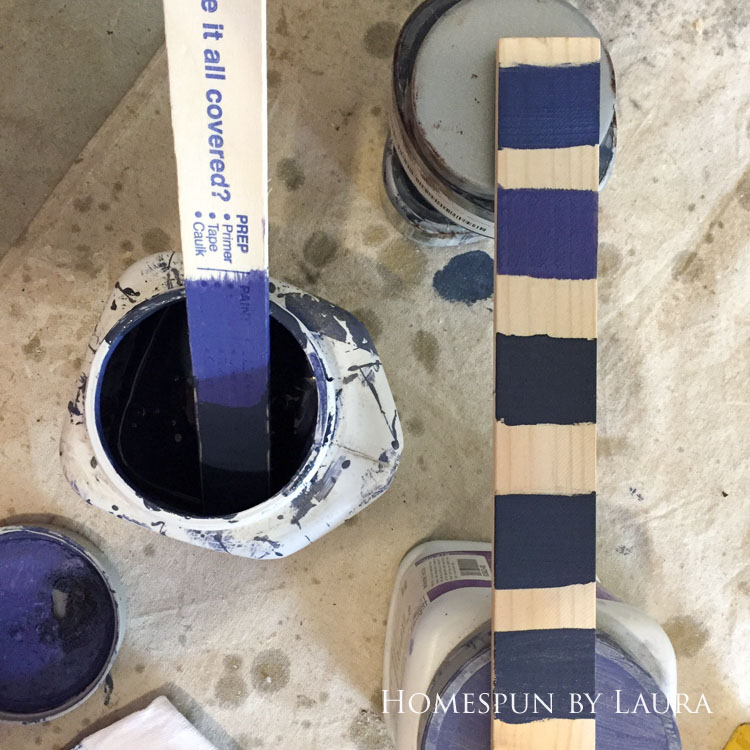
The top four colors are the samples that I mixed to create the bottom color.
The gross and scary surprise I found while prepping the door for paint is a perfect example of why you have to be cautious and thorough when deciding whether to use salvaged items in your house.
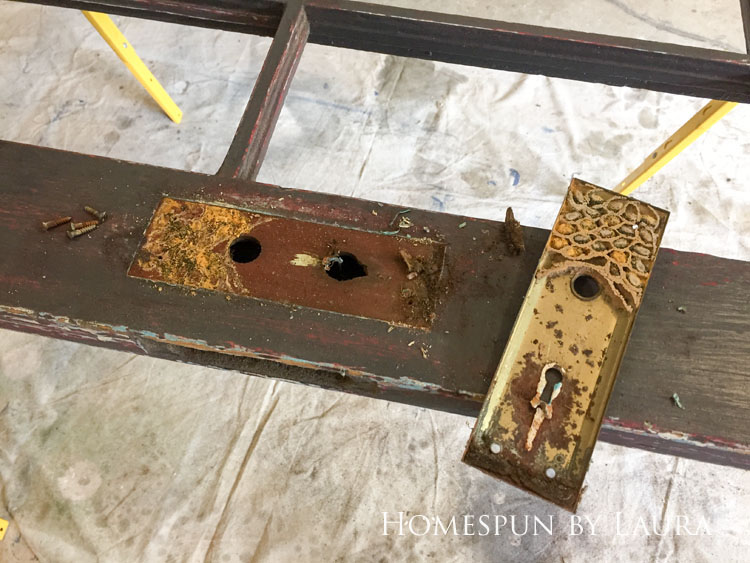
This is the bad kind of DIY surprise!
The bees appeared to have been soft and rotting due to some weird natural process, but at some point they were real, live bees.
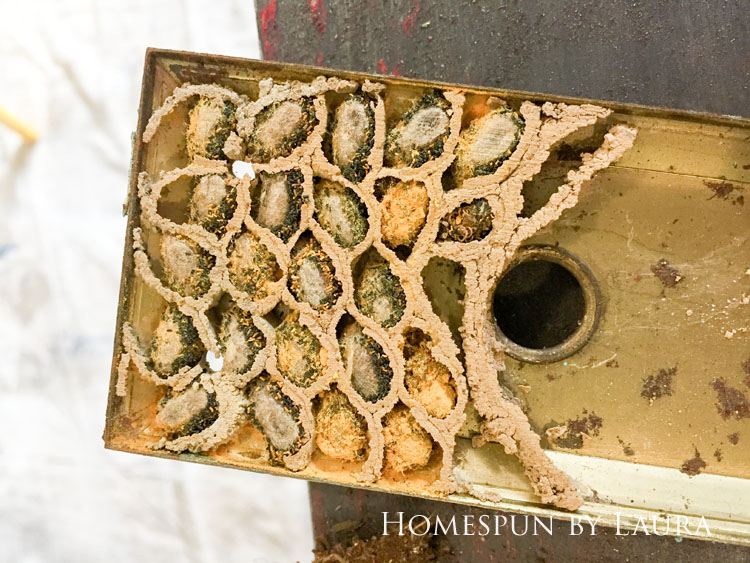
I’m SO glad I decided to remove the hardware before painting the door so the bees aren’t living inches from our heads now.
I’m going to assume they moved in between the door and the hardware while the door was living in a garage for several years, and that they weren’t there when it hung inside my roommate’s house. That’s my story, and I’m sticking to it!!
We hung our new headboard with two French cleats, and it’s not going anywhere. I think those carpet installers would be less confused now!
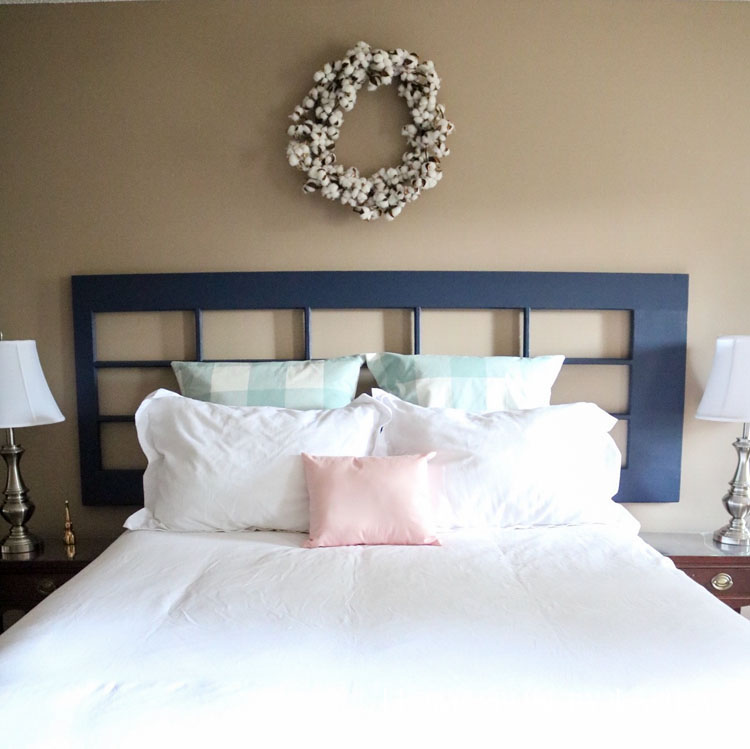
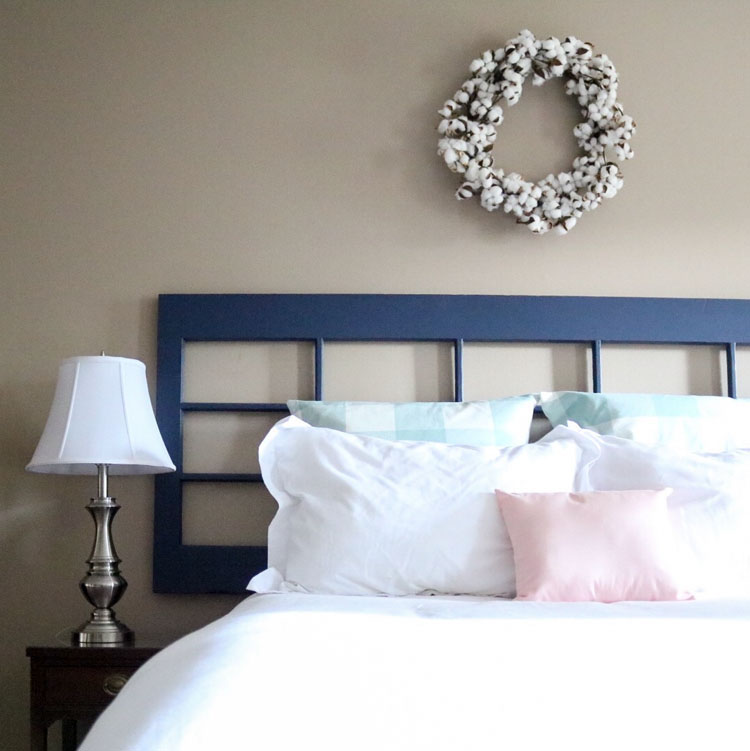
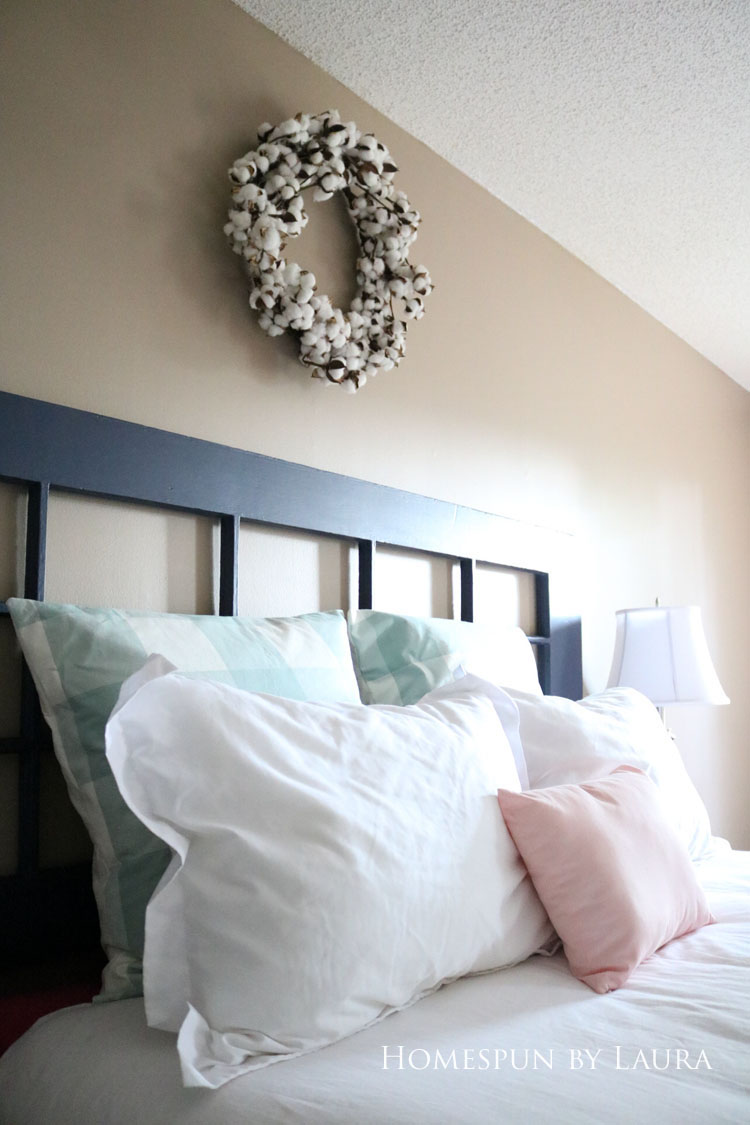
cotton wreath
That pretty cotton wreath above the bed didn’t cost an arm and a leg like I thought it might. While waiting to check out at Magnolia Market, I strongly considered dropping over $60 to get one, but before I made it to the register I did some quick research on my phone. I discovered that Hobby Lobby carries an almost identical one! After we arrived home, I stopped by my local Hobby Lobby when wreaths were half off, and it cost me only $30! I had never noticed them at the store before; I’m so glad I checked before buying.
diy cedar frame
One slat of cedar wood, a pack of brackets, some plexiglass, and a couple hours in the garage yielded a cool custom frame for the vintage map I found at the Country Living Fair in Nashville in April. It required no special saws or equipment, just a few hours in the garage on a pleasant afternoon. I’ll share more about how to make a frame like this one on the blog soon!

My father-in-law made these amazing cornices for us a few years ago. I love the look of the traditional woodwork against the more modern print on the curtains.
tidy dresser tops
The next area in need of attention was the Mister’s dresser top, which sat bare for a few weeks while I decided what to do with it. I shopped my own house and chose a framed print (I actually just cut it out of the newspaper a few years ago and framed it!), a thrift store mirror I love but had never found a home for, and a cute little planter that belonged to my grandmother. A new low-light plant from Lowe’s completed the look. I love the outcome, and the Mister doesn’t seem to mind having art and a plant on his dresser. 😉
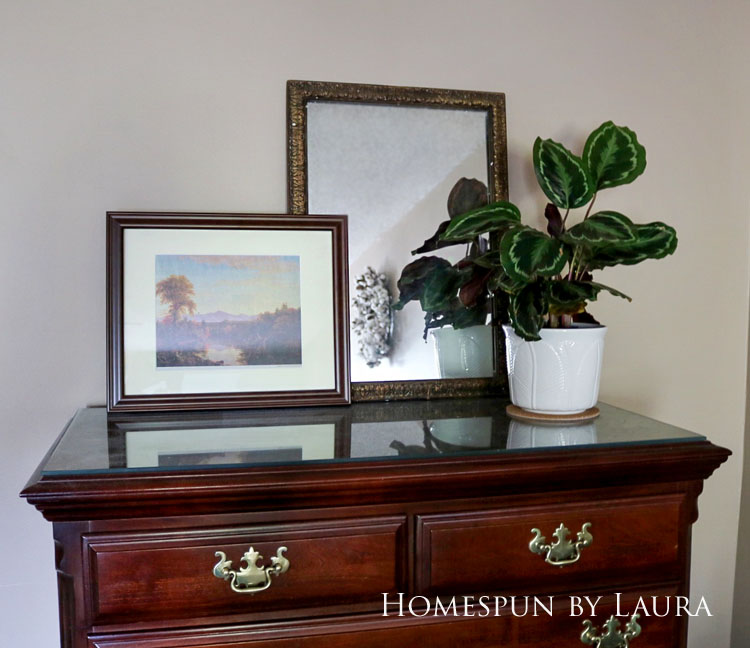
The art is a piece by Thomas Cole. When his work was featured at the Columbia Museum of Art a few years ago, this picture was in the newspaper. I cut it out and framed it. Up close, you can tell it’s newsprint, so we don’t stare at it from a close range. 🙂
My jewelry is the only thing that’s supposed to live on my dresser, but a clock that’s visible from the bed is a necessity. When I wake up in the middle of the night, it’s easy to see how much longer I get to sleep!
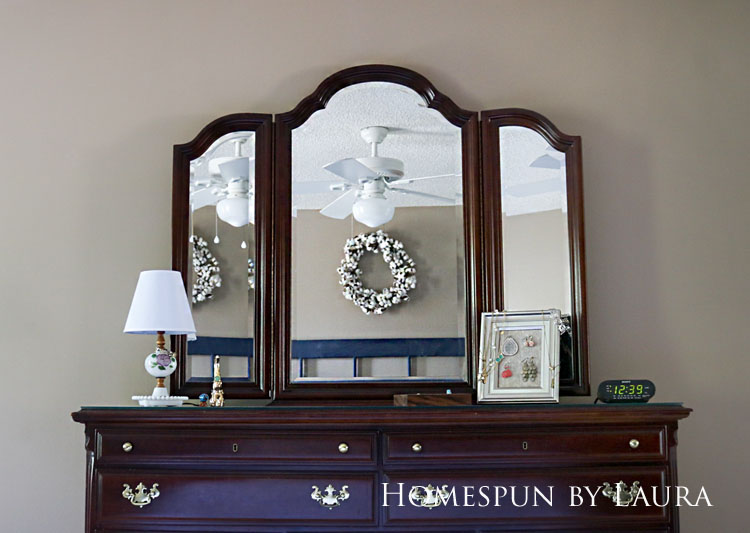
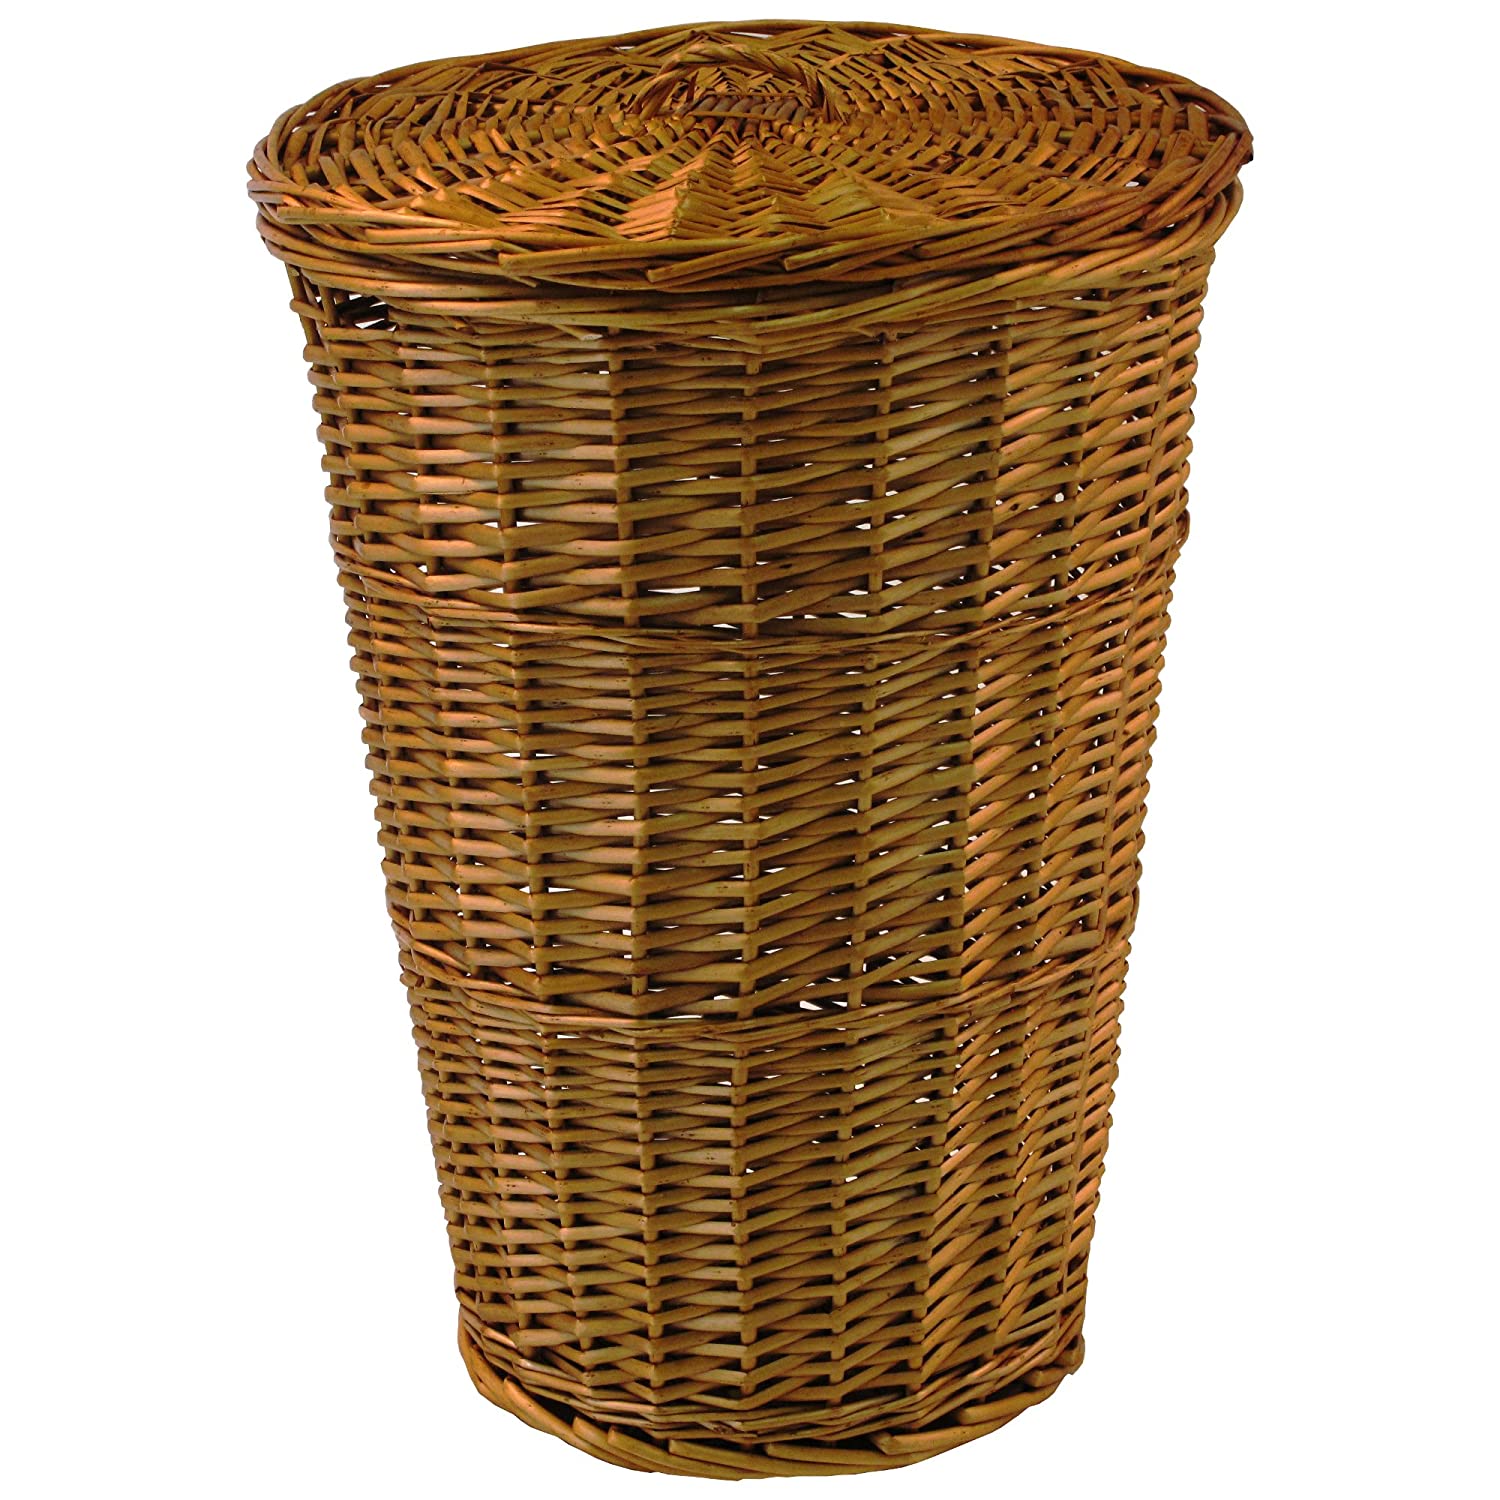
This is what it’s SUPPOSED to look like, but a pile of neatly folded not-quite-dirty, not-quite-clean clothing usually winds up on it at the end of most days I work from home.
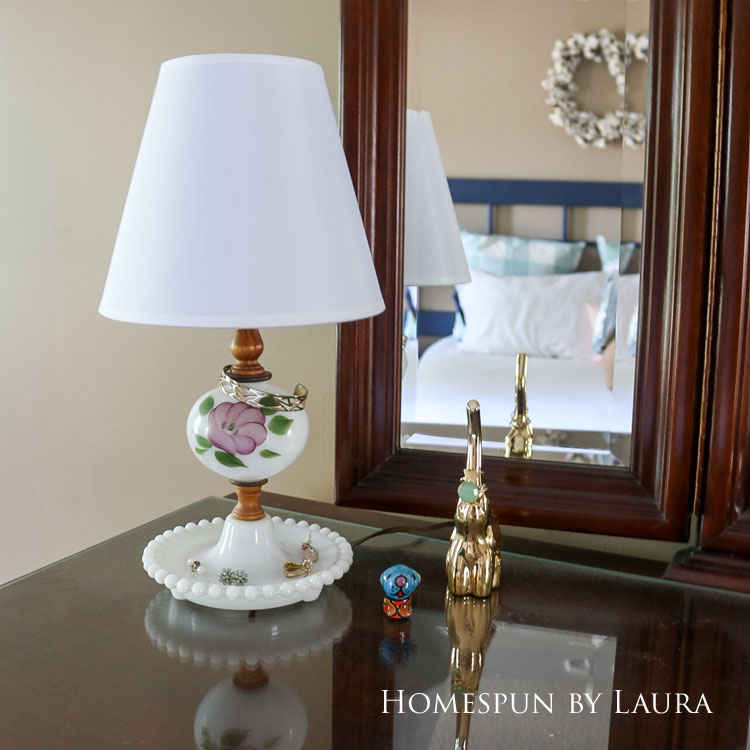
I found this lamp at an antique store for around $13 a few years ago. It perfect stores the stud earrings and bracelet I wear most frequently. An elephant ring holder from the Spice Village shops in Waco, Texas and a little dog from San Antonio accompany it.
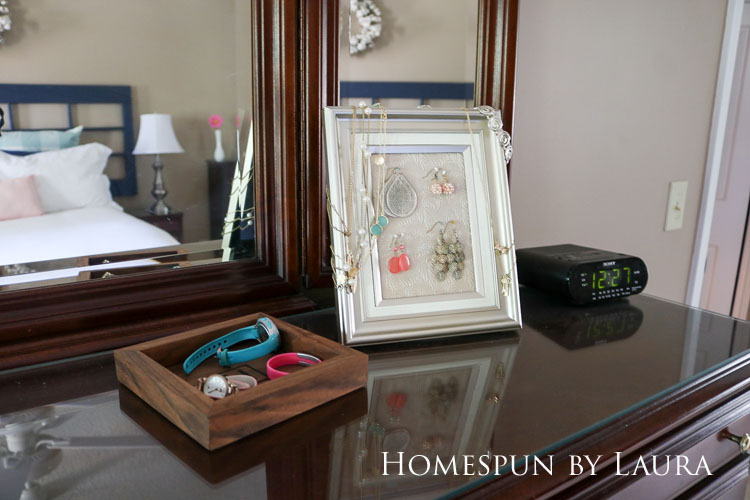
This earring storage frame was the first DIY thing I made after discovering Pinterest in 2012. It doubles as storage for my favorite necklaces. A wooden tray from Harp Design Co. in Waco corrals watches and my running ID band.
LIGHTING
This room is massive, running the entire depth of the house, and it’s lit by only two fairly small windows on the front wall. Opening the blinds does let in some light, but even during the day we rely on lamps and the overhead light to make it not feel so dark.
antique lamp
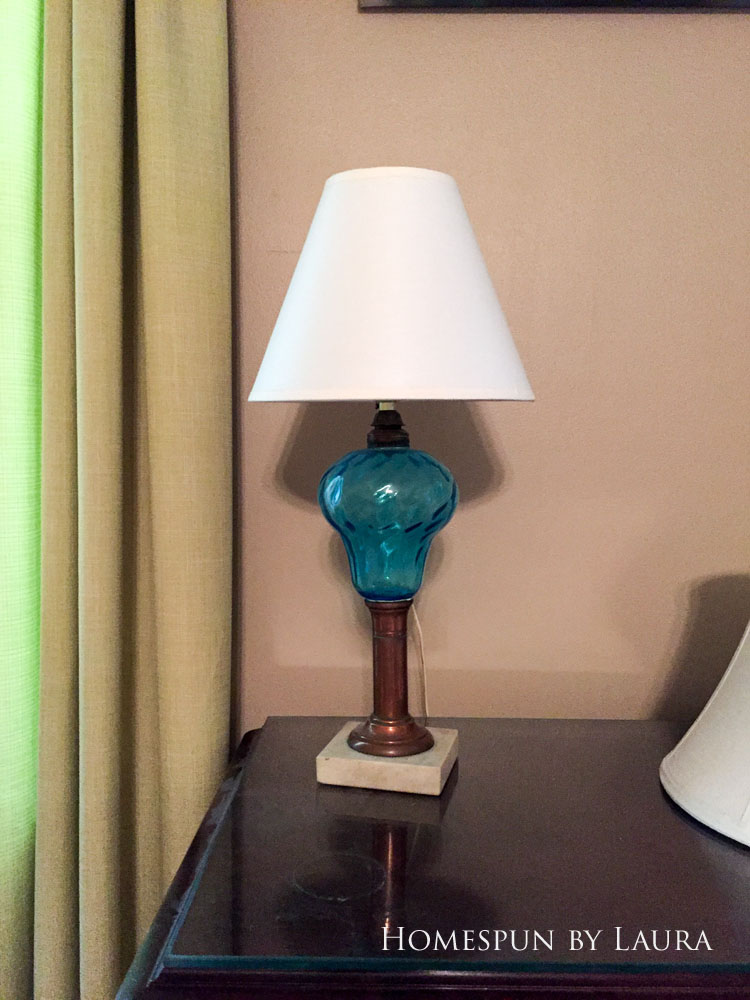
In one corner, we have this copper and depression glass lamp that lived in my grandmother’s house for decades and made its way to me after she passed away 12 years ago. Evidence of all those decades hid the beautiful little lamp she bought, so I decided to shine it up.
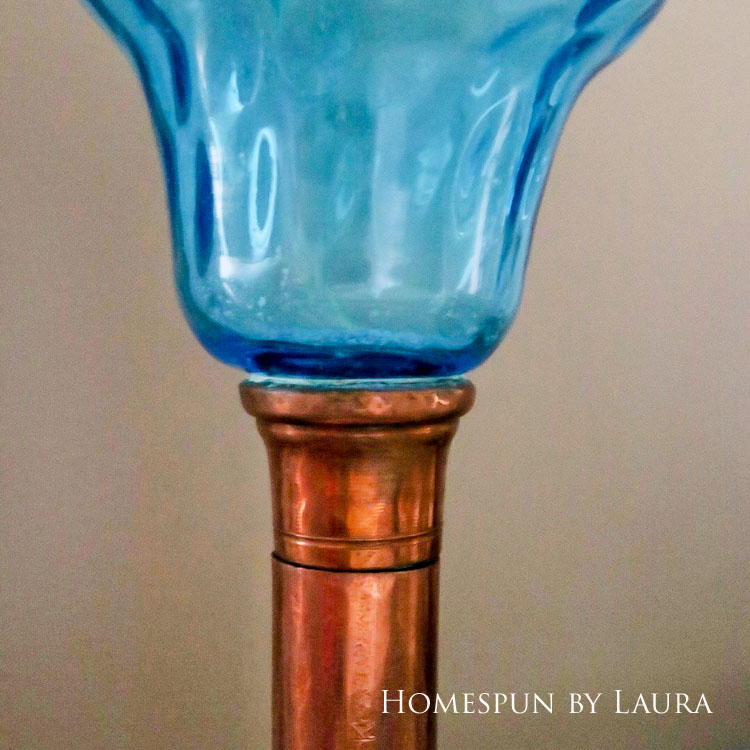
Ketchup is an amazing substance, and it’s awesome for cleaning copper. Literally the instant ketchup touches a copper surface, the color begins to change. A paper towel and some elbow grease help even more.
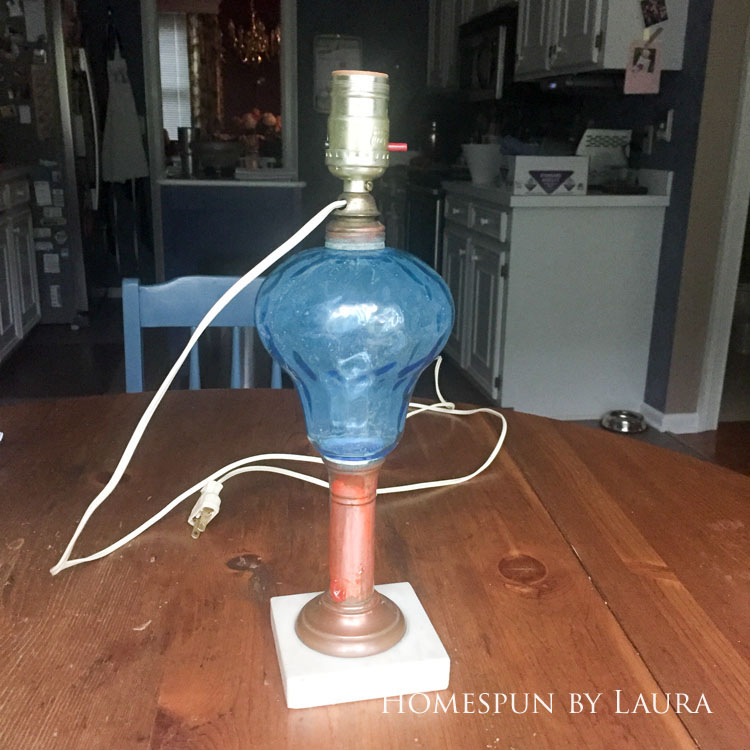
You can see where the copper has started to turn a pinker shade under the globs of ketchup.
A few sprays of Windex helped make the blue glass shine, and I switched out the somewhat dated shade (not pictured) for a simple white one. Now it’s bright, shiny, and new, and I can’t believe I waited 11 years to clean it!
Squeaky clean!
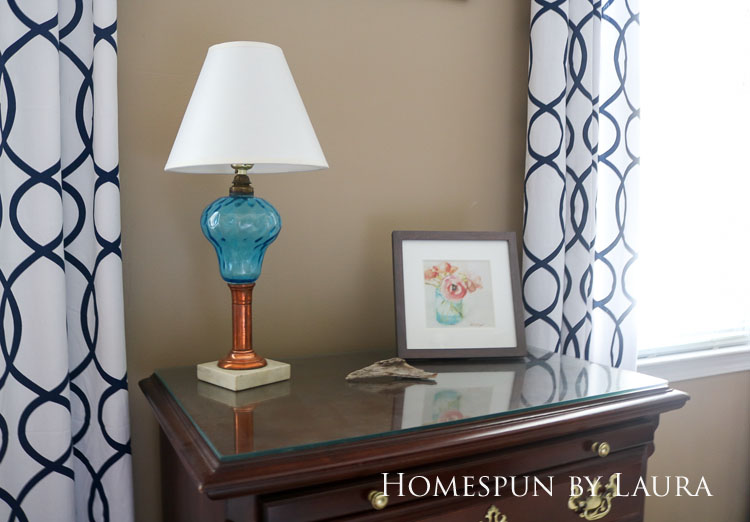
The print is by Mary Gregory, a Texas artist whose work I love! The driftwood is from a recent trip to Maine.
a new ceiling fan
The other major lighting change we made was to replace our ceiling fan! This is an example of removing something that works perfectly fine because you really don’t like the way it looks. I have this thing where I want a fan to have an odd number of blades and lights. Five blades and either one or three lights is ideal, but the original one had four blades and four lights. Not worth stressing out over, but every night I’d look up and think, I really don’t like that fan.
When we bought new fans to put in our office last year, we bought contractor packs for a better deal. The contractor packs yielded us four fans for the price of two, so we bought extra ones to use in other rooms. Those extra ones then sat around in the box for a year before we got around to installing them…

(The fifth blade is hidden behind the schoolhouse lamp!)
The new fan made a huge difference in the look of the room. It disappears into the ceiling and feels less heavy overhead – and it brought our ceiling out of the 1990s. 🙂
DIY BARN DOOR
Our master bathroom is tiny, and the inward-opening door didn’t help the situation. Previous owners had replaced the original full-sized door with a folding one, which I’m sure helped with the space problem, but wasn’t a perfect solution and didn’t look very good. A barn door was the perfect solution to make this small space feel larger.
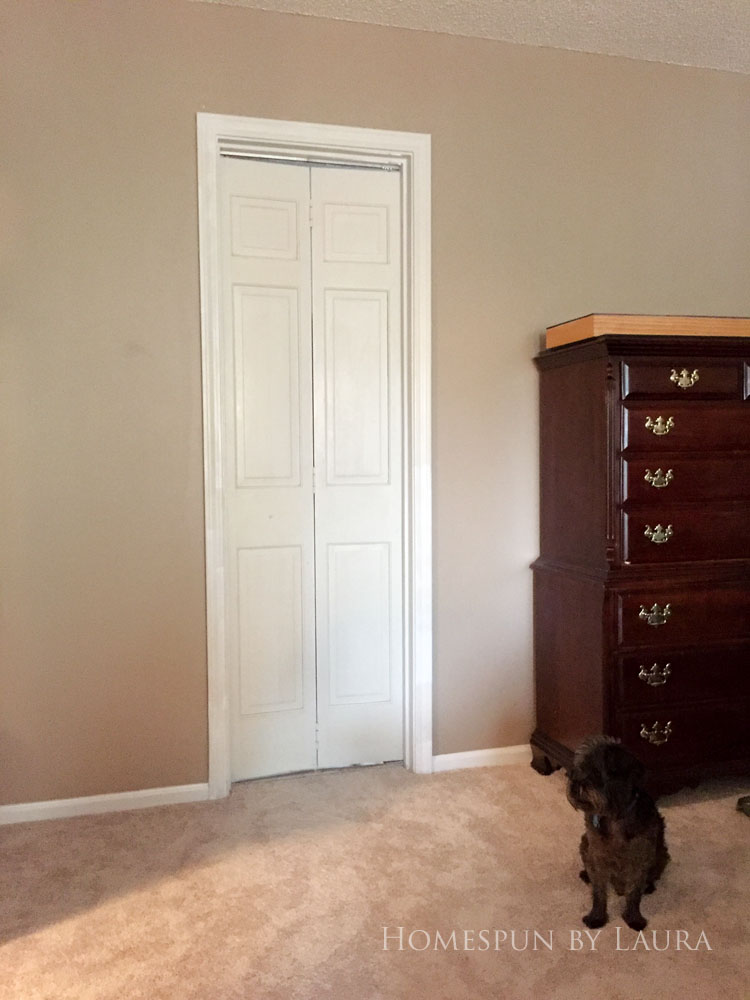
We chose not to purchase a pre-packaged kit due to the hefty price tag they can carry. I scoured the internet for options in a lower price range and ultimately found a barn door we love at Menard’s. They also carry a hardware kit we really liked, but it wasn’t available for shipping. We live hundreds of miles away from the closest brick-and-mortar location, so we had to find an alternative option.
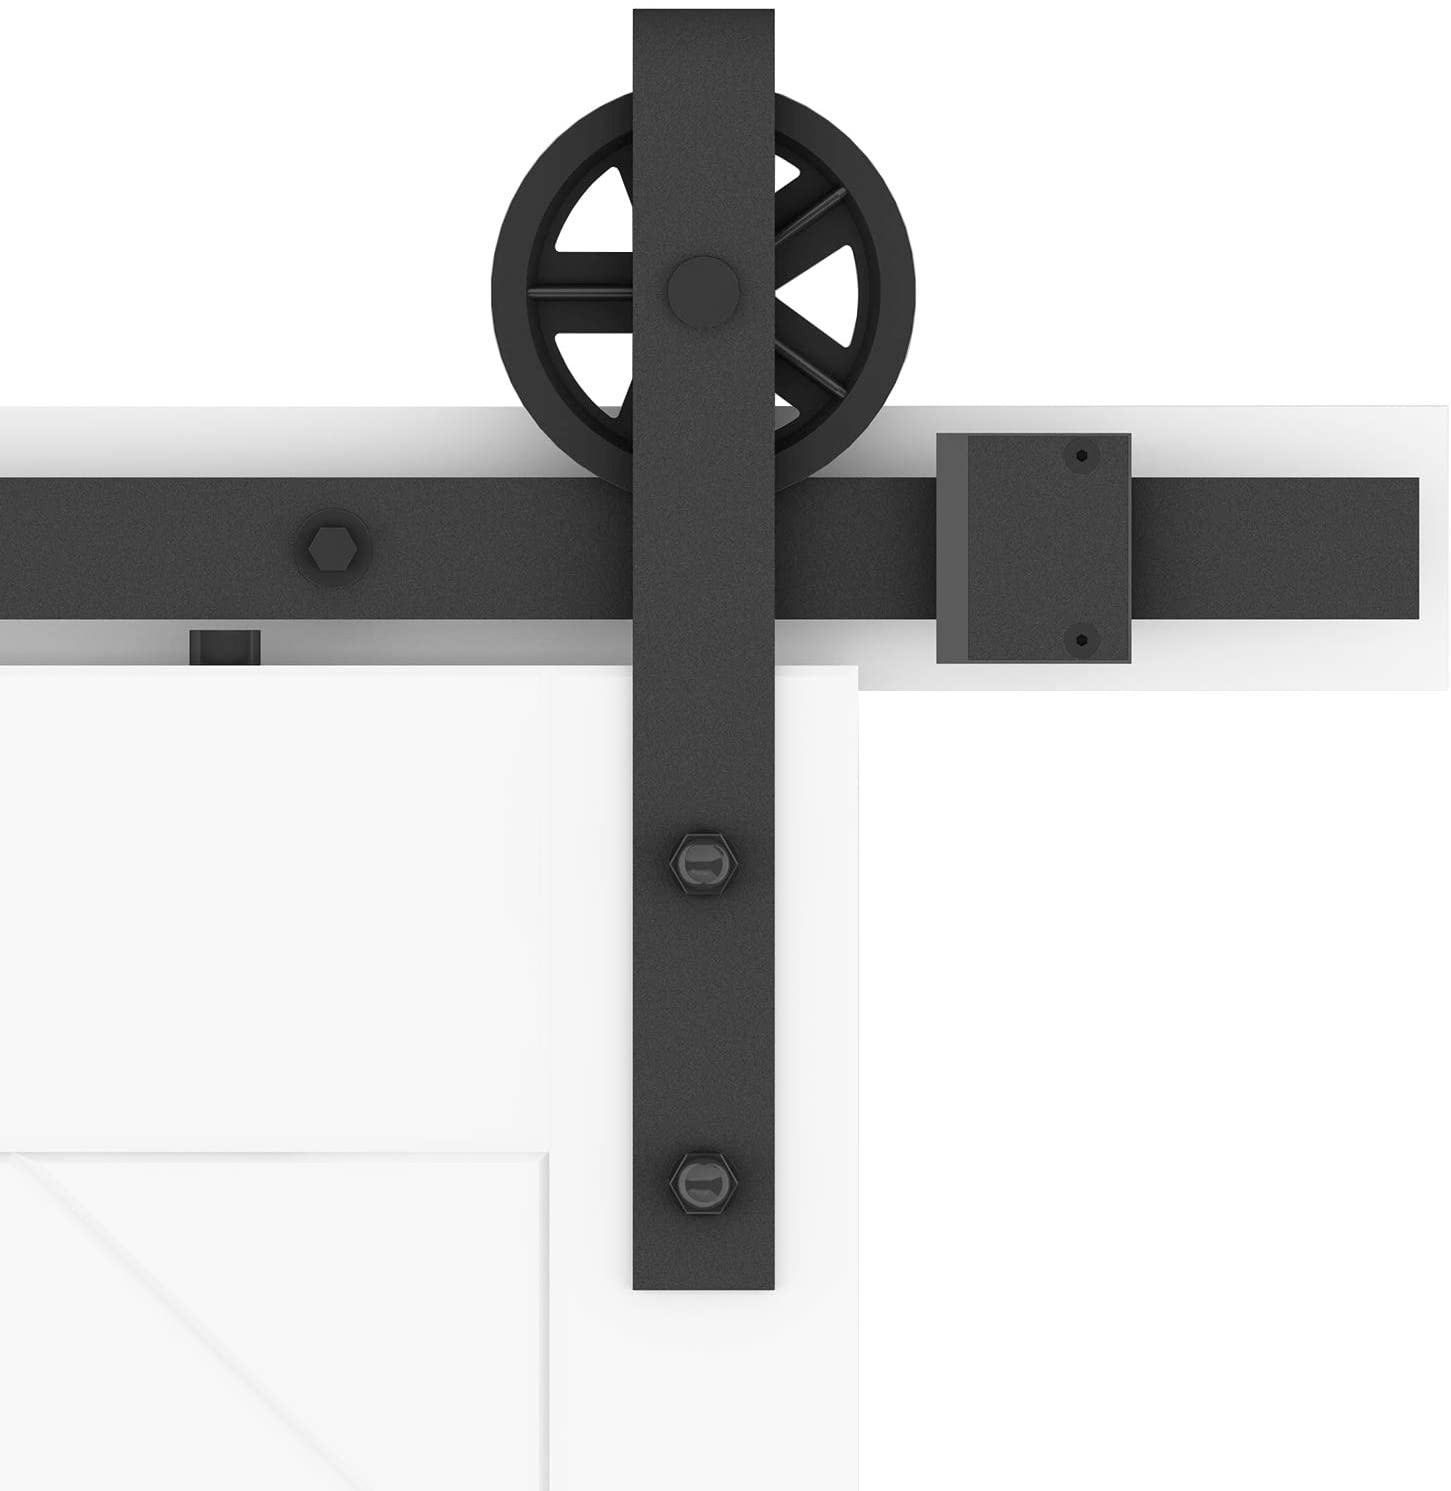
After more searching, I found a sliding hardware kit with big industrial wheels and a cast iron handle on Amazon (these two items are affiliate links). Combined, the door, sliding hardware, and handle totaled over $100 less than an all-in-one kit from Lowe’s or Home Depot!
A few problems arose during installation due to condition of the door when it arrived, the location of the studs on our wall, and the size of the door frame, so I’ll be sharing more about our barn door adventures in a future post.
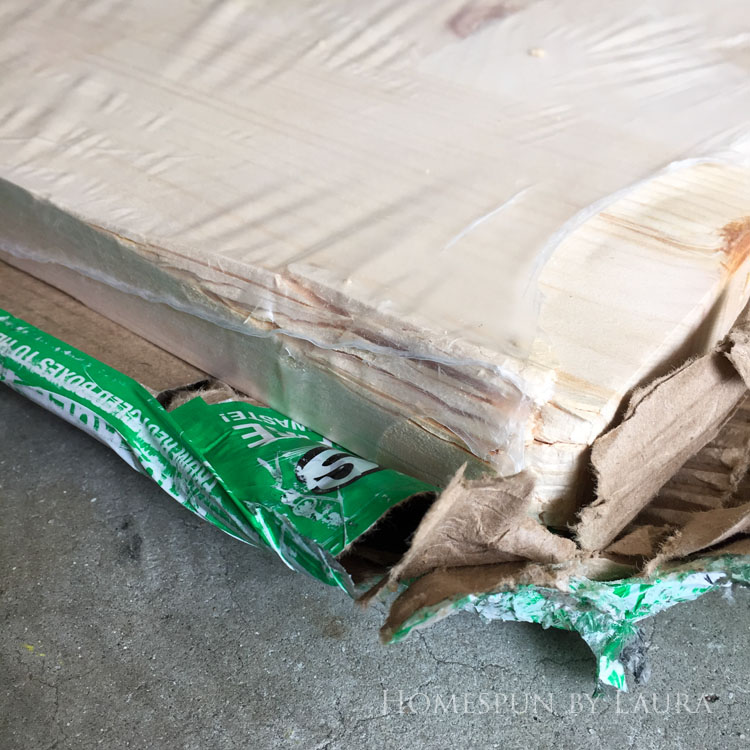
An easy enough fix, but not part of the plan! Menard’s customer service was easy to work with on this issue.
We love our new barn door despite all the challenges that arose during installation! It makes a huge change in both the bedroom and the bathroom, which will see even more changes next week!

I’m so excited about sharing the changes that are going on behind this pretty barn door!
It’s wonderful to walk upstairs at night into our room now. I’m so glad I finally got all these lingering little items checked off the to-do list! It wouldn’t have happened without the #30projectsin30days challenge!
Head over to Blake Hill House to see what others have accomplished this week, or take a look at the items I checked off the list last week.
Next week’s projects will focus on giving the master bathroom some much-needed cosmetic changes to make it a little more master-ful! I’ll be back next week to share these changes.
Until then,

Master Bedroom Refresh Supplies and Decor
This gallery contains some affiliate links, which means if you purchase an item shown here, I receive a small percentage of the purchase at no additional cost to you. Thank you for your support!


")


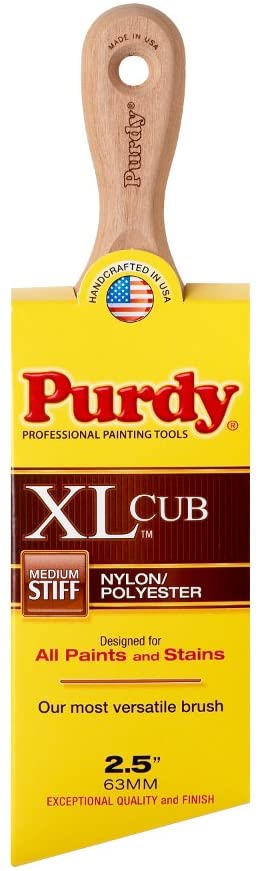
Master Bedroom Refresh Tools


OK…wow! What a transformation, Laura. I am so impressed that you reupholstered furniture, and I love your Grandma’s pink chair. I cannot choose a favorite part. Everything looks so polished and beautiful. Great job.
(Funny story about chairs from Grandma: I also got a pink chair from Grandma. It was a cute Mid-Century style with one center leg on a spring, attached to four feet that spread out on the base. This allowed the chair to swivel and rock. One day, my mother-in-law was sitting in the chair, and we were facing each other. She leaned back in the chair, and the chair started to tip backward on the spring, and just keep going. She was about to land on her head. With lightening reflexes, I jumped up, grabbed her ankles, and jerked her back upright. She was in shock, and so was I. 😀 We still laugh about it.)
Thanks, Stacy! I have trouble picking my favorite, too. I think the whole thing is my favorite! The story about your pink chair made me laugh out loud! Glad you caught her. 🙂