Wow! Week 6 of the One Room Challenge is here! I can’t tell you how excited I am about the condition of our finished shared office and craft room. Since we moved into our house in 2009, it has seen various stages of mess and progress, but only in the past 6 weeks have the most major changes taken place. Our new shared office and craft room looks and feels like a completely different room today than it did 6 weeks ago – without any construction or major financial investment.
Before I dive in, thanks for stopping by today to read about this transformation! The One Room Challenge, sponsored by Linda at Calling it Home, kicked this project into high gear. For 6 weeks, ORC participants have been hard at work transforming a space in their homes, and we’re sharing our finished projects this week. You can catch up on the changes I’ve made in this mess of a room over the past two years here, or continue reading for a summary!
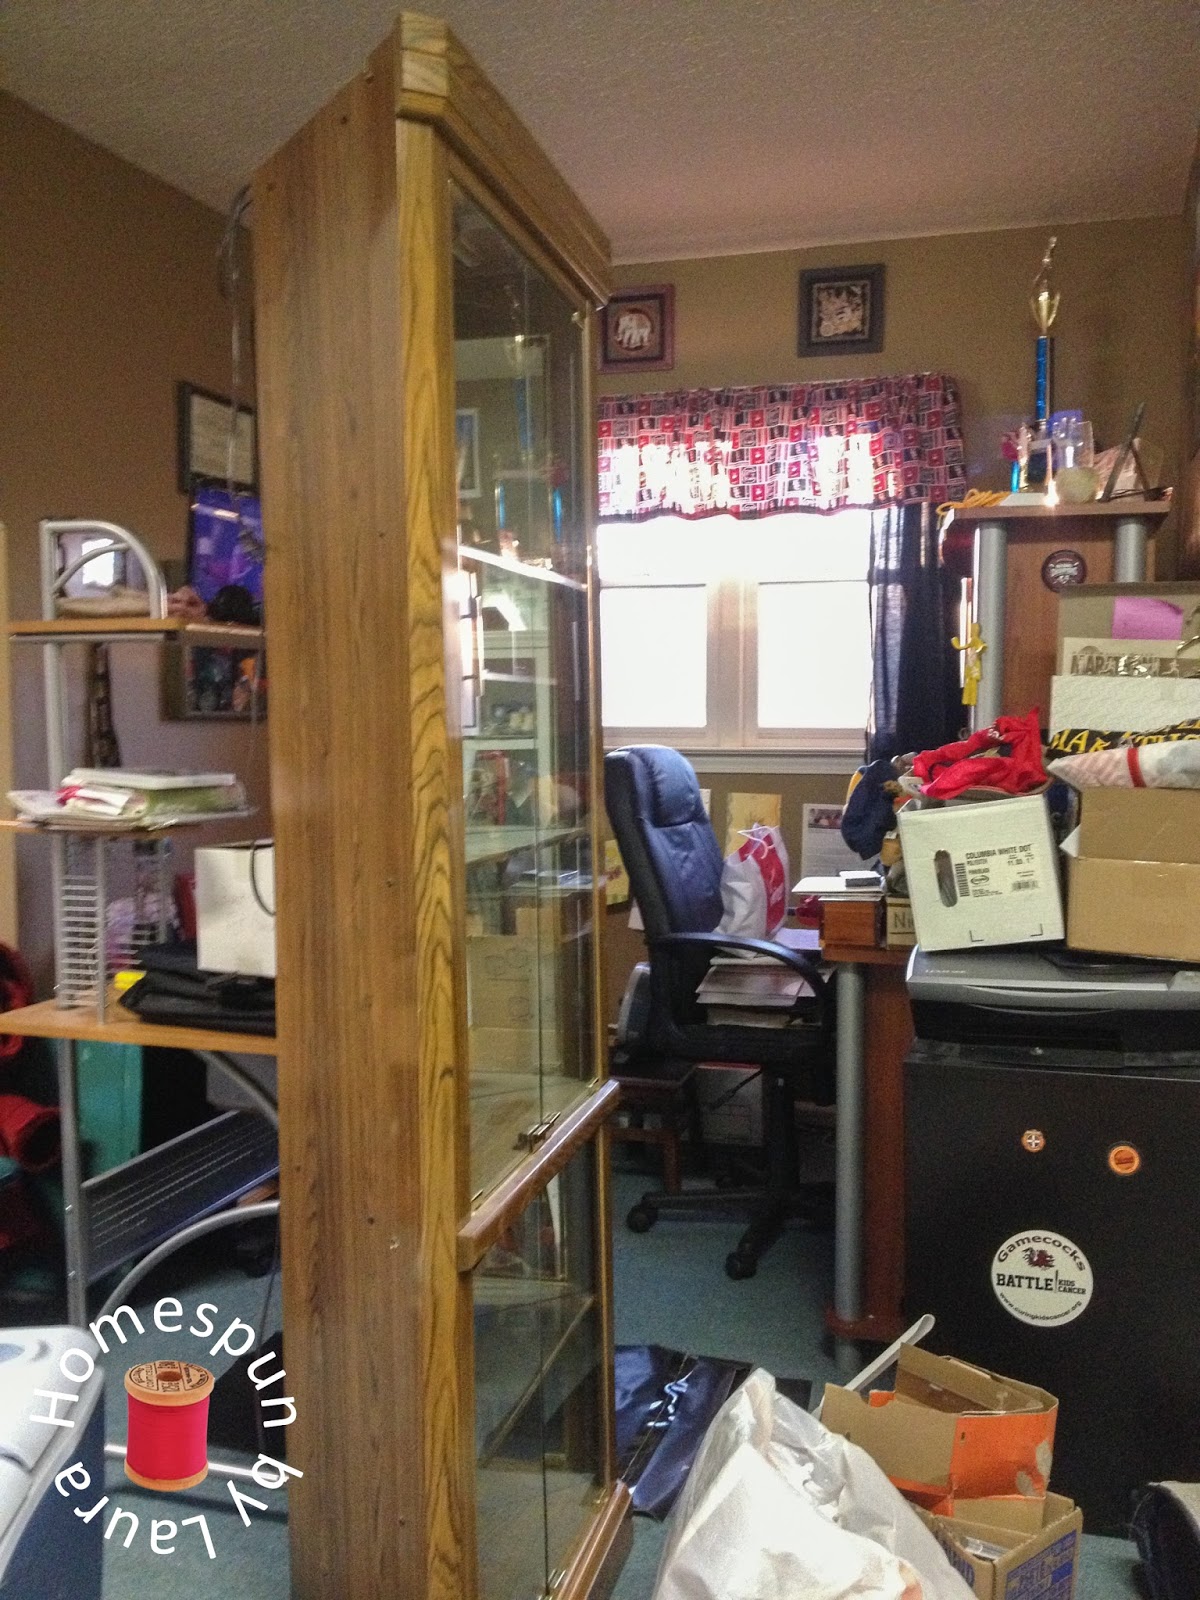
When I started using the room over our garage as an office in 2015, I participated in my first One Room Challenge and transformed the room from a literal hot mess (there was no functioning air conditioning or ceiling fan in the room at the time) that we pretended didn’t exist into a somewhat functional space in which one person could comfortably work. There was still a huge excess of stuff, but it worked.
 |
| Spring 2015 |
 |
| Fall 2015 |
 |
| Spring 2015 |
 |
| Fall 2015 |
 |
| Spring 2015 |
 |
| Fall 2015 |
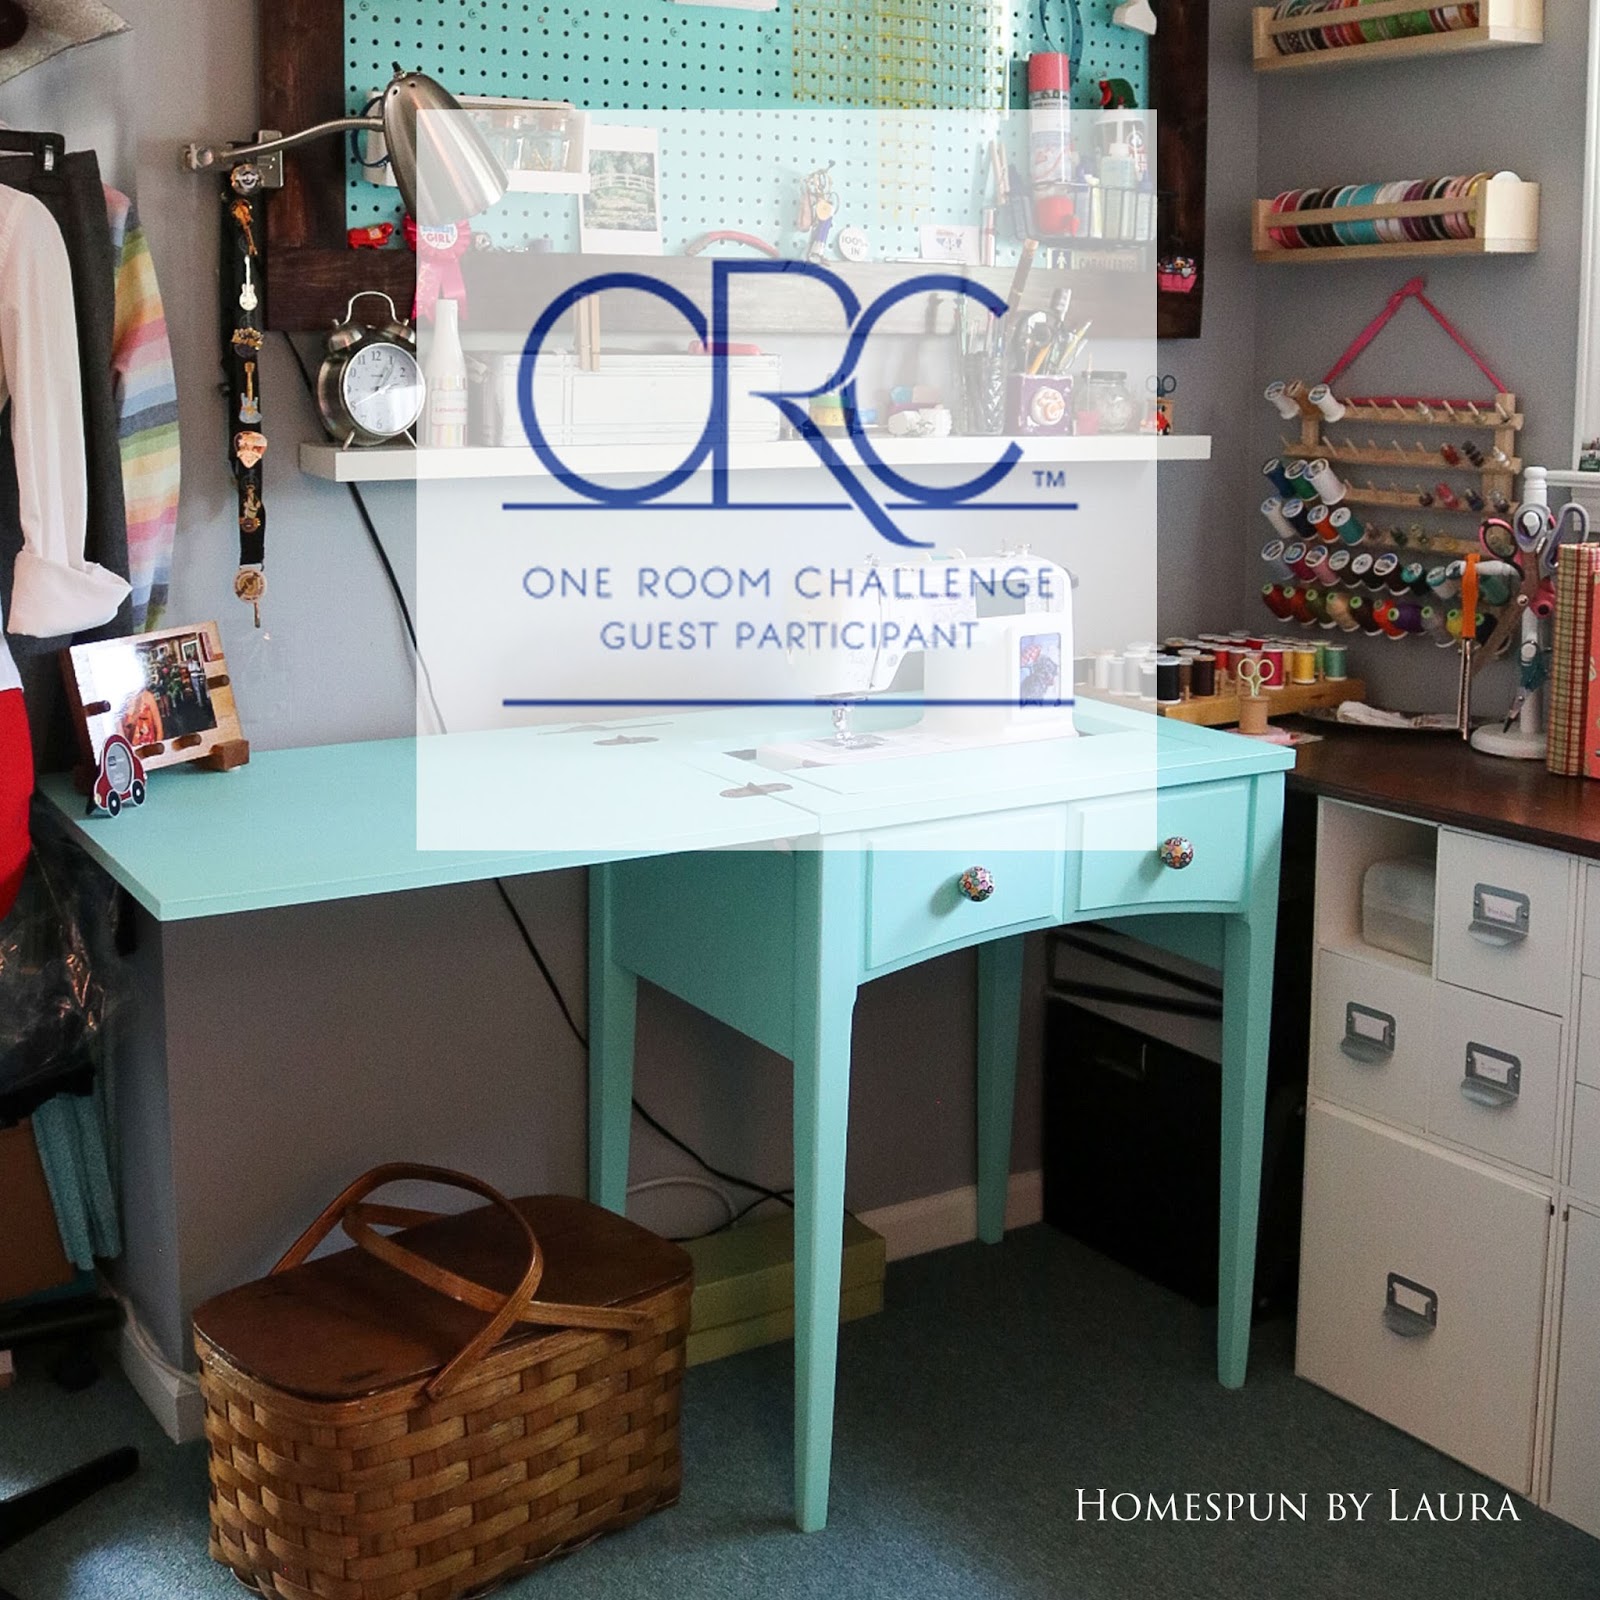
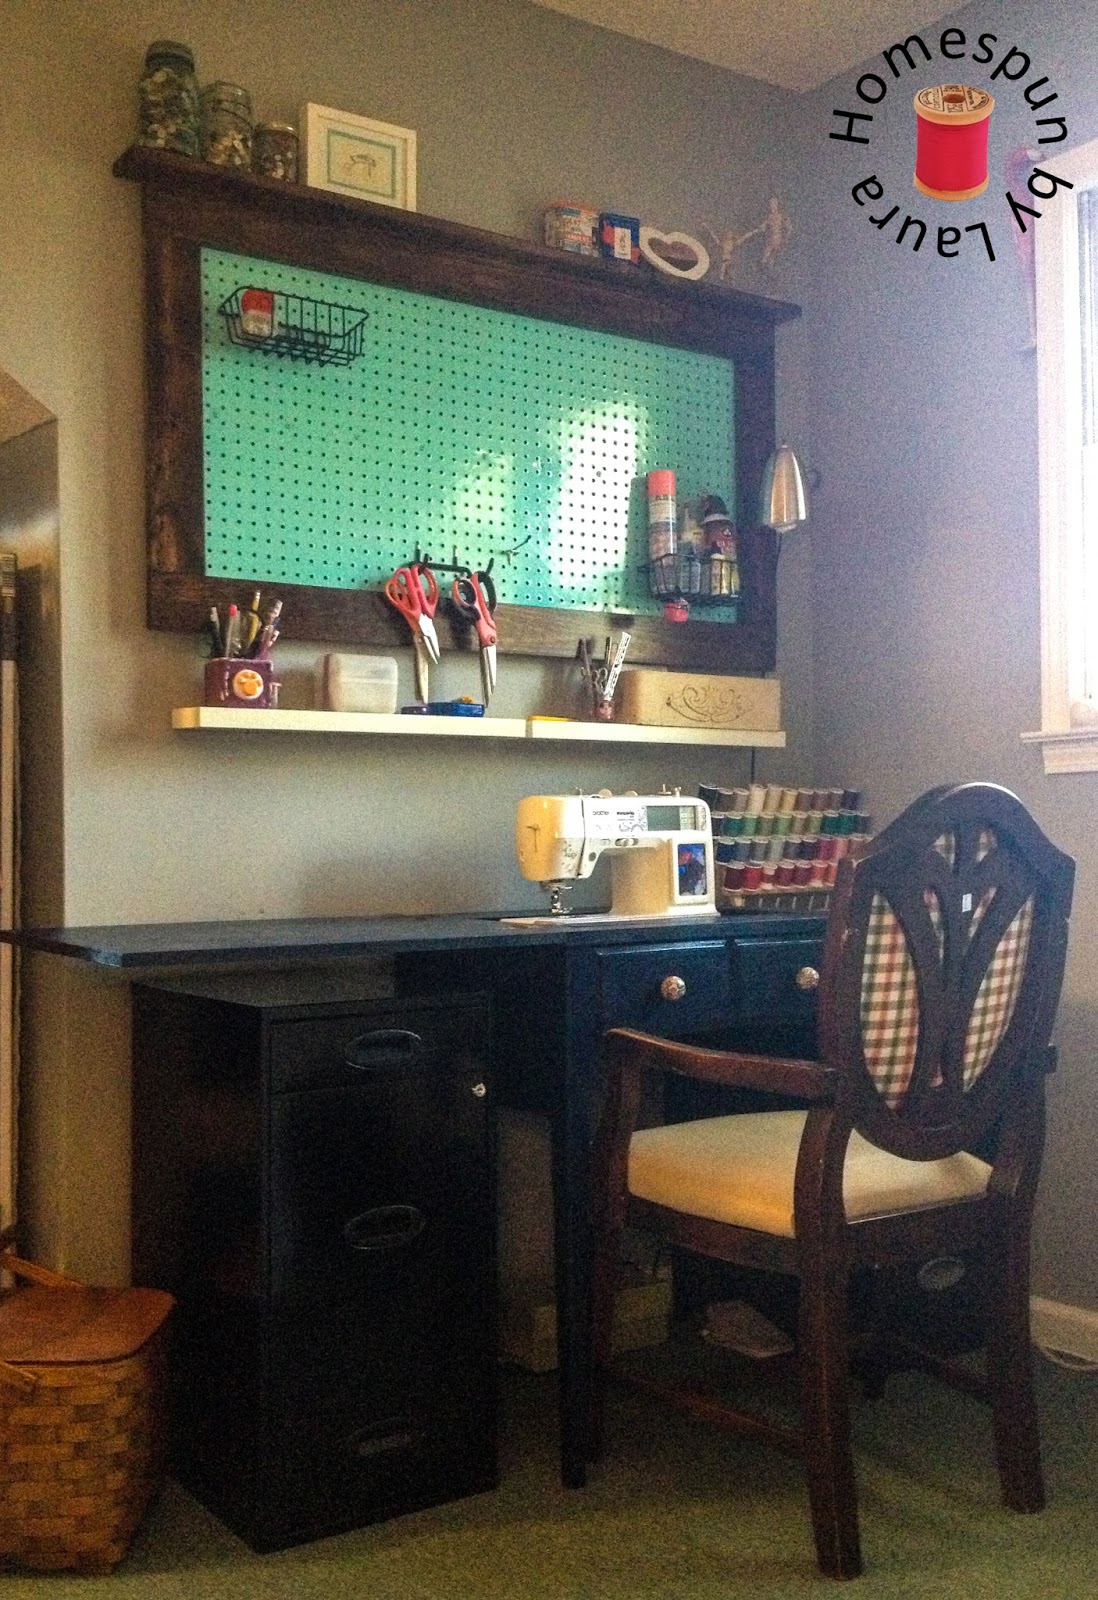
Fast forward a year. The Mister started working from home, and he stole my desk. I took the first step to turn the space into a shared office and craft room: my solution to this problem was to reconfigure the shelf I had created out of craft cubbies from Michael’s into an L-shaped corner desk.

These cubbies are so versatile. I collected them over a few years during sales at Michaels. They’ve existed in my craft spaces in at least 5 different configurations over the years.
 |
| I’m secretly glad that I was forced to make this change. I love my corner desk, which is tucked comfortably into the window nook with my sewing machine. |
How I created our Shared Office and Craft Room
In addition to the new desk, quite a few other changes have taken place in the past six weeks. My three primary goals for this Challenge, in no particular order, were to create a shared office and craft room by:
- Declutter and organize the space, then add a few decorative touches to make it pretty on top of being more functional.
- Create a space that is conducive to having two people work in it most days.
- Spend under $100 on additional materials and supplies since we’ve dropped a large chunk of change on this room over the past two years.
Let’s check the status of those goals now! If you’re interested in how the spending goal turned out, look out for a total beneath each update fore a total of how much that particular change set me back during this challenge.
Goal: Declutter, Organize, and Decorate.
Decluttering and organizing the room has vastly improved its functionality. The decorative changes are just icing on the cake! Though these categories overlap some, I’ll go through them one at a time here.
Declutter
The biggest goal of this Challenge was to get rid of ALL THE STUFF that was taking over the room. I made major progress the first time I worked on the office, but it wasn’t anywhere near enough, and things re-accumulated in the intervening months. This time around, the changes are even better. Donating or relocating random items cleared up space throughout the room.
|
| Be gone, random things on the floor! |
Some items, like a food processor I’ve never used, went into other rooms in the house (a food processor should be in the kitchen, duh). Other items, like the excessive amount of clothing that was weighing down the refashion rack, went into baskets in the storage cubes of my big craft table. Recycling half of the magazines freed up half of a shelf (about 5 feet of shelf space!). Removing the old TV and its stand made the shelves beside it more accessible and makes the corner more functional.
 |
| I couldn’t part with my old Disney videos. They found a new home on the shelf! |
Confession: There is a small amount of decluttering left to do. One plastic milk crate and one antique wooden Coke crate containing random papers are sitting on the floor, conveniently hiding from the camera in all the pictures, waiting for my attention. Though only 90% complete, I still call the result of my decluttering a victory!
Organize
Rearrange Shelves
Rearranging the shelves was a big but necessary job. I needed to come up with a way to store lots of small items like paints, jewelry supplies, and scrapbook materials that was 1) functional, 2) inexpensive, and 3) not hideous. Using previously purchased (mostly) matching photo boxes, I organized items in some of the aforementioned categories, plus a few others. Six wooden wine crates that I accumulated (for free!) a couple years ago from Sam’s were perfect for corralling larger and heavier supplies than the lightweight cardboard photo boxes could tolerate.

Two tiny hooks on the shelf above created a place to put the full-length mirror when I need it to check the fit of a clothing refashion. When it’s not in use, the mirror tucks into the corner beside the shelf.


I even found a place for my painting shirt to hang. It’s an old shirt of my dad’s that I was required to have in my middle school art class, and it still serves me well when it’s time to work on a messy project. In fact, it probably does more good these days because I actually wear it when necessary!

 |
| I finally found a place to use the cute doggy hook that was in my Christmas stocking a few years ago. |
As I rearranged the shelves, I moved the majority of my supplies to the wall on ‘my side’ of the room, making everything very easily accessible. The one exception is my fabric. To prevent fading, it all stayed behind on the ‘Mister’s side’ of the shared office and craft room, which is around the corner from both windows and gets zero direct sunlight.
 |
| Folding and rearranging the fabric helped to consolidate it onto two shelves. |
This rolling cart has never looked good or been well organized. I sat down for a few minutes earlier this week and finally got things in order. The old sugar mold I found at the Country Living fair last month really initiated the organization spree, and now all my watercolor supplies are within reach when I’m working at my big craft table.

Freeing up space on the refashion rack allowed me to change the way I was using it. What used to be a cluttered and unattractive corner of the room now looks cleaner and provides a space for the DIY message board I made at the Country Living fair – literally the only place in the room I could find to put it as it is quite large! Perfect for making a big to-do list…


For the Fall 2016 One Room Challenge, I focused on the laundry room. I hung the iron and ironing board on the back of the door at the bottom of the office stairs, which opens in to the laundry room. They’re now easily accessible on the rare occasion that I iron our clothing, and also for the more frequent need to iron fabric while sewing.

Rearrange Furniture
Turning the big craft table 90 degrees was a small change that made a huge difference. It’s so much easier to make my way around it now without banging a hip on one of the corners.
 |
| This arrangement just wasn’t working. |
I can still look out the window while I’m working, and for some reason it seems easier to walk back and forth between the sewing machine and craft table now when I’m cutting pieces for a project.

Since this turn made one of the cube shelf legs visible from the top step, I was forced to better organize it. I folded and moved some of those excess pieces from the refashion rack into a couple storage bins I already had. My tool bag, drop cloth, and a file box live in the shelf on the other side of the table.

Maximize Space with DIY Laptop Stand
For my birthday last year, the Mister got me a big computer screen, a wireless keyboard, and speakers so I could use my laptop as a desktop when I’m at home.

I can still unplug it and take it with me when I need to work away from my desk. For whatever reason, I have always felt more productive at a desktop than at a laptop, so I’ve loved this change. The one downfall of this change was that I needed room for a laptop, a keyboard, and the monitor, which took up lots of space and made things pretty messy on my desk. There is no overhead light in my nook, so it’s also a dark corner despite the presence of a big window. As a result, I also have not one, but three lamps on the desk so I can see what I’m doing!
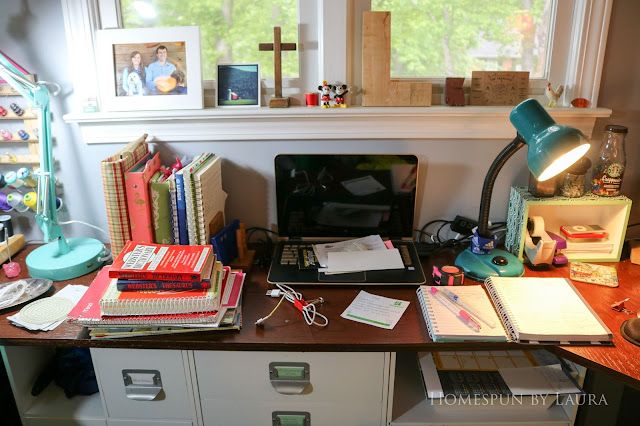 |
| Not an ideal work environment. |
Once I determined the best place to keep the laptop easily accessible for turning it off and on each day, I started thinking of ways to tuck it away to free up some surface area. Originally, I was thinking of some kind of a wooden box that I could slide the laptop into, but that would only work well if there were no cords. As I was going through those hundreds of magazines before I tossed them, I came across a DIY planter made of copper tubing and wood in the Lowe’s Creative Ideas magazine. I realized that making a small shelf from copper and wood was the solution since it would leave the sides, front, and back all open for easy access to cords and plugs. The laptop would also be able to slide out to be turned on and off each day but could be tucked away while in use. So I pulled out my notebook and sketched up a DIY laptop stand! I loved the idea so much, I decided to make a matching plant stand to replace my classy TV tray, but more on that later. After I got the new laptop shelf into place, organizing the remainder of the desk easily fell into place. I even have a few empty compartments in the cubes now! Read all about the laptop shelf and plant stand in this post!
 |
| To make this project even better, I already had scrap wood on hand so only had to purchase the copper pieces! |
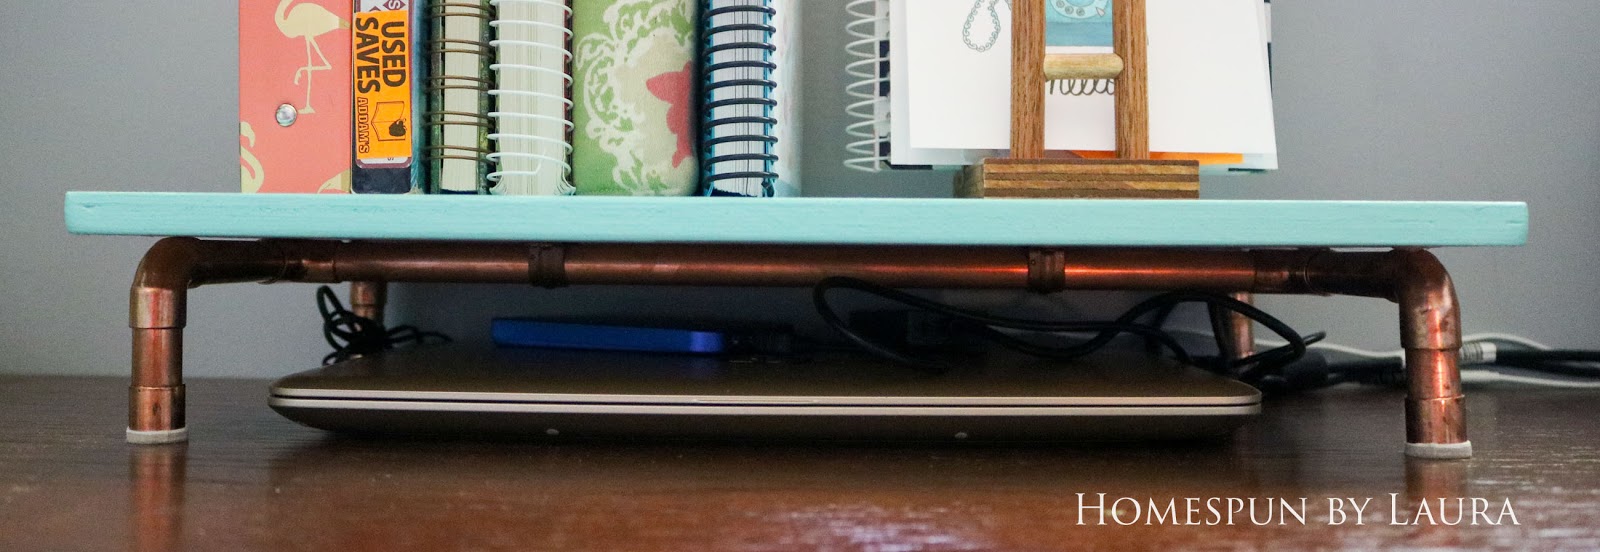 |
| My external hard drive and extra USB ports fit nicely on top of the laptop. |
Use Vertical Space for Sewing Supplies
The last time I was at an Ikea – over a year ago – I bought a couple of these famous spice racks, thinking I’d eventually come up with a useful way to use them. A few months ago, I decided to hang them for decorative ribbon storage near the sewing machine. Directly below them, I finally hung the thread rack I found at a Goodwill several years ago. Someone had donated it because of the single broken prong on it, so I got it for just $2! The last piece in this category is a unique piece my grandmother gave to me. She had it made by a local craftsman years ago for her threads. Since it was custom made for wooden spools, today’s plastic spools don’t fit on it perfectly, but I love it.

I had originally planned to paint or stain the spice racks but wound up deciding not to for two reasons: 1) they’re already on the wall and I’m too lazy to take them down, and 2) they coordinate with the wine crates and cardboard photo boxes on the built-ins, so it’s ok that they are bare! But mostly, it’s reason #1.


Decorate
Many of those organizational solutions were also decorative, but now I’m moving on to changes that were purely for looks.
Curtains and Cornices
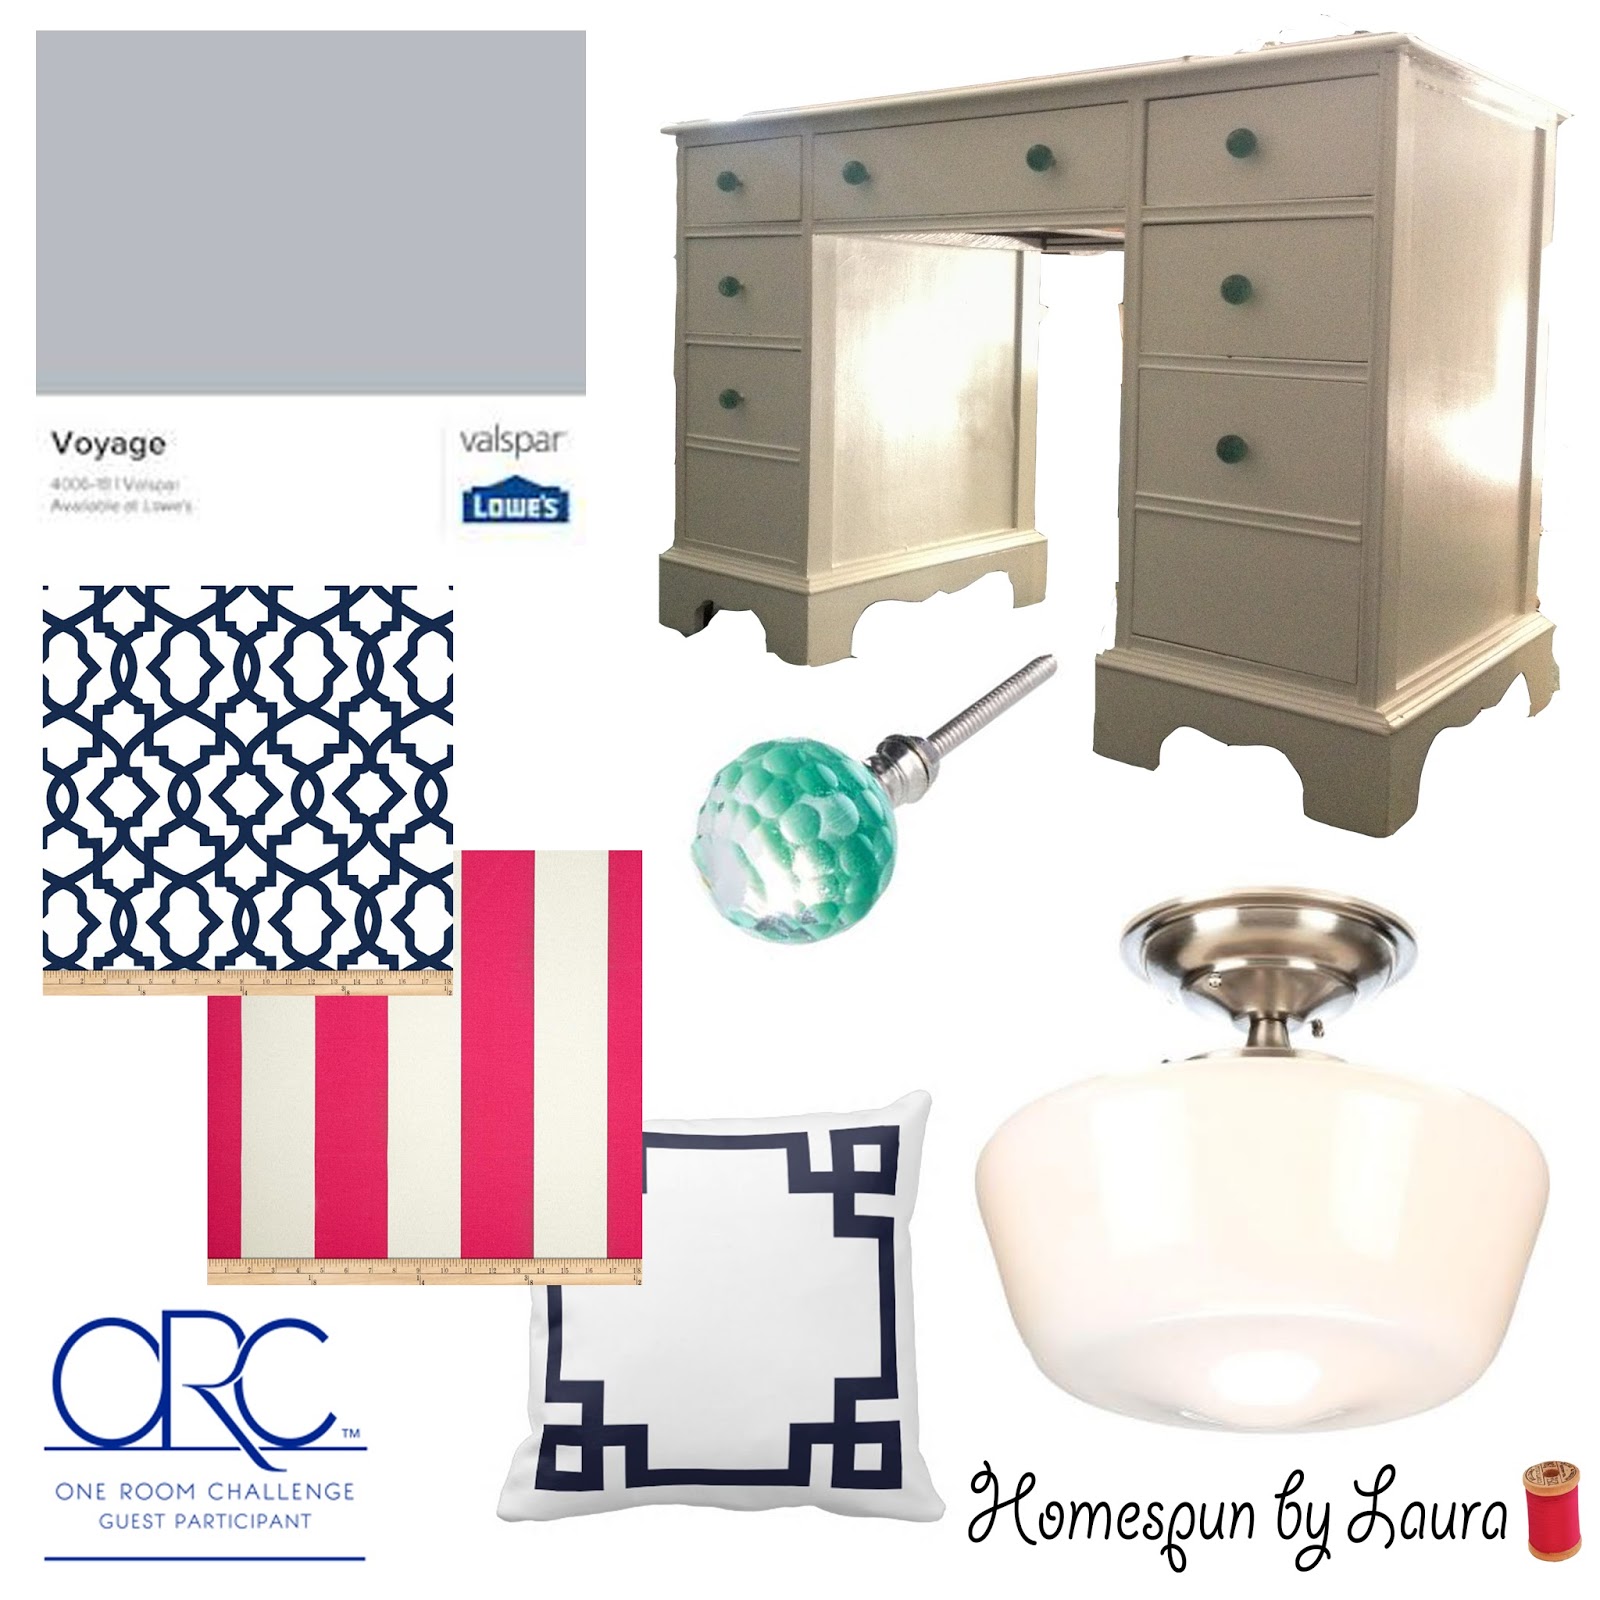
Hanging curtains and cornices changed the look of the room. I chose not to put the blinds back up after painting in 2015, and I’ve had ugly blackout lining hanging from the wall to keep the afternoon sun and accompanying HEAT out of the room. I used three curtain materials that claim to block out UV rays and heat to stitch up the four small panels I needed for my two windows. Since they’re pretty new, the jury’s still out on whether or not they’ll hold up to the claim. I’ll be interested to see how they do on a 105-degree day in July…
The cornices were an easy, fun, and inexpensive project that have made a big impact on the room. I still haven’t decided whether I will use the navy or the pink ribbon on them, though. My vote is for the pink, but the Mister of course prefers the navy, so we’re at a stalemate. I will probably go with the pink…but until then, we have mismatched windows!


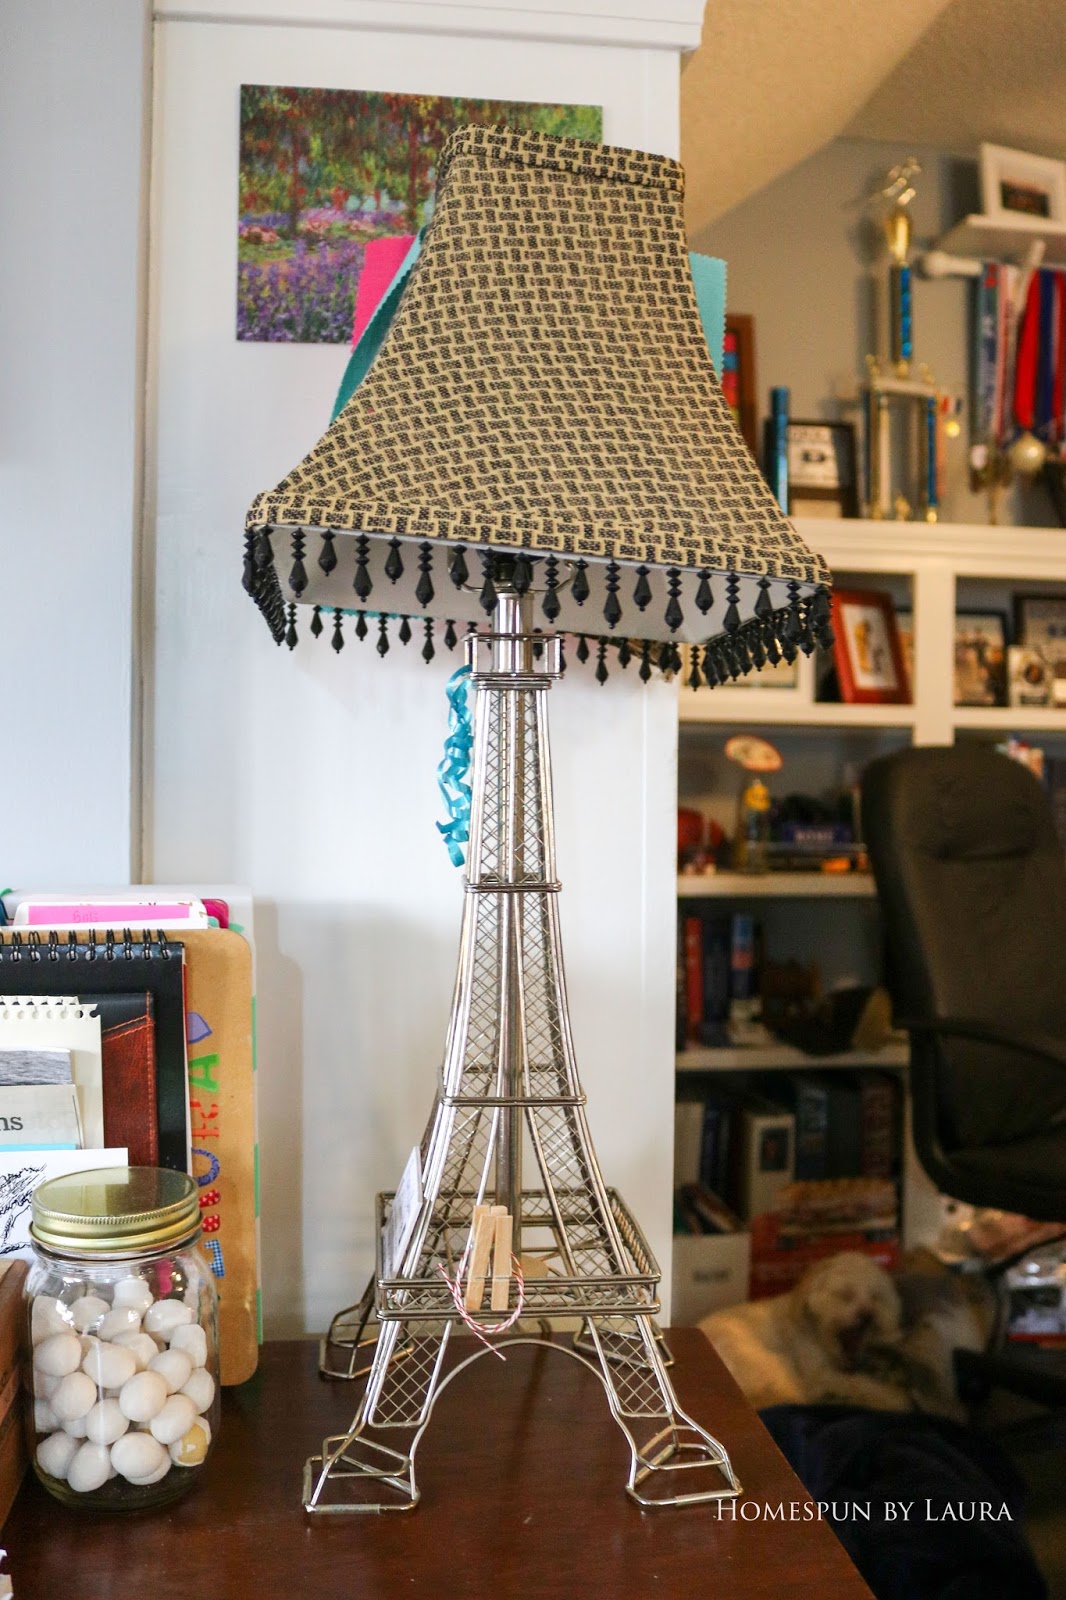
A DIY Lampshade
The new lampshade I made for the adorable Eiffel Tower lamp looks SOOO much better than the one that came with it and was totally worth the hour of effort that went into it!

DIY Plant Stand
As I mentioned earlier, I decided to DIY myself a new plant stand when I made my new laptop stand. My one complaint about the finished plant stand is that it seems unsteady or unsubstantial with such skinny legs. It stands up and supports the weight of my basil just fine, but if I were to make it again, I would use thicker copper tubes – at least ¾” instead of ½”.


 |
| The basil plant isn’t really yellow. It’s a normal green color in real life! |
Reupholstered Desk Chair
My desk chair was a steal at $20, but the vinyl fabric was ugly and also stuck to the back of my legs, so I made it prettier and less sticky with some of that previously purchased fabric. The only expense here was the piping for the back of the chair!


Painted Sewing Table
When I painted the sewing machine table last year, I accidentally used outdoor paint. Apparently, the stuff doesn’t cure the same as interior paint, and everything stuck to it – bits of thread, tiny scraps of fabric, and dust. Repainting it has made a big difference in its cleanliness. I decided to use a different paint color (that I considered the first time and almost used, but changed my mind), which has really brightened up the space.

I finally found a home for the DIY picture frame message board I made in a class at the Country Living fair on the reorganized refashion rack, and so far it’s been a useful place to write my weekly to-do list.

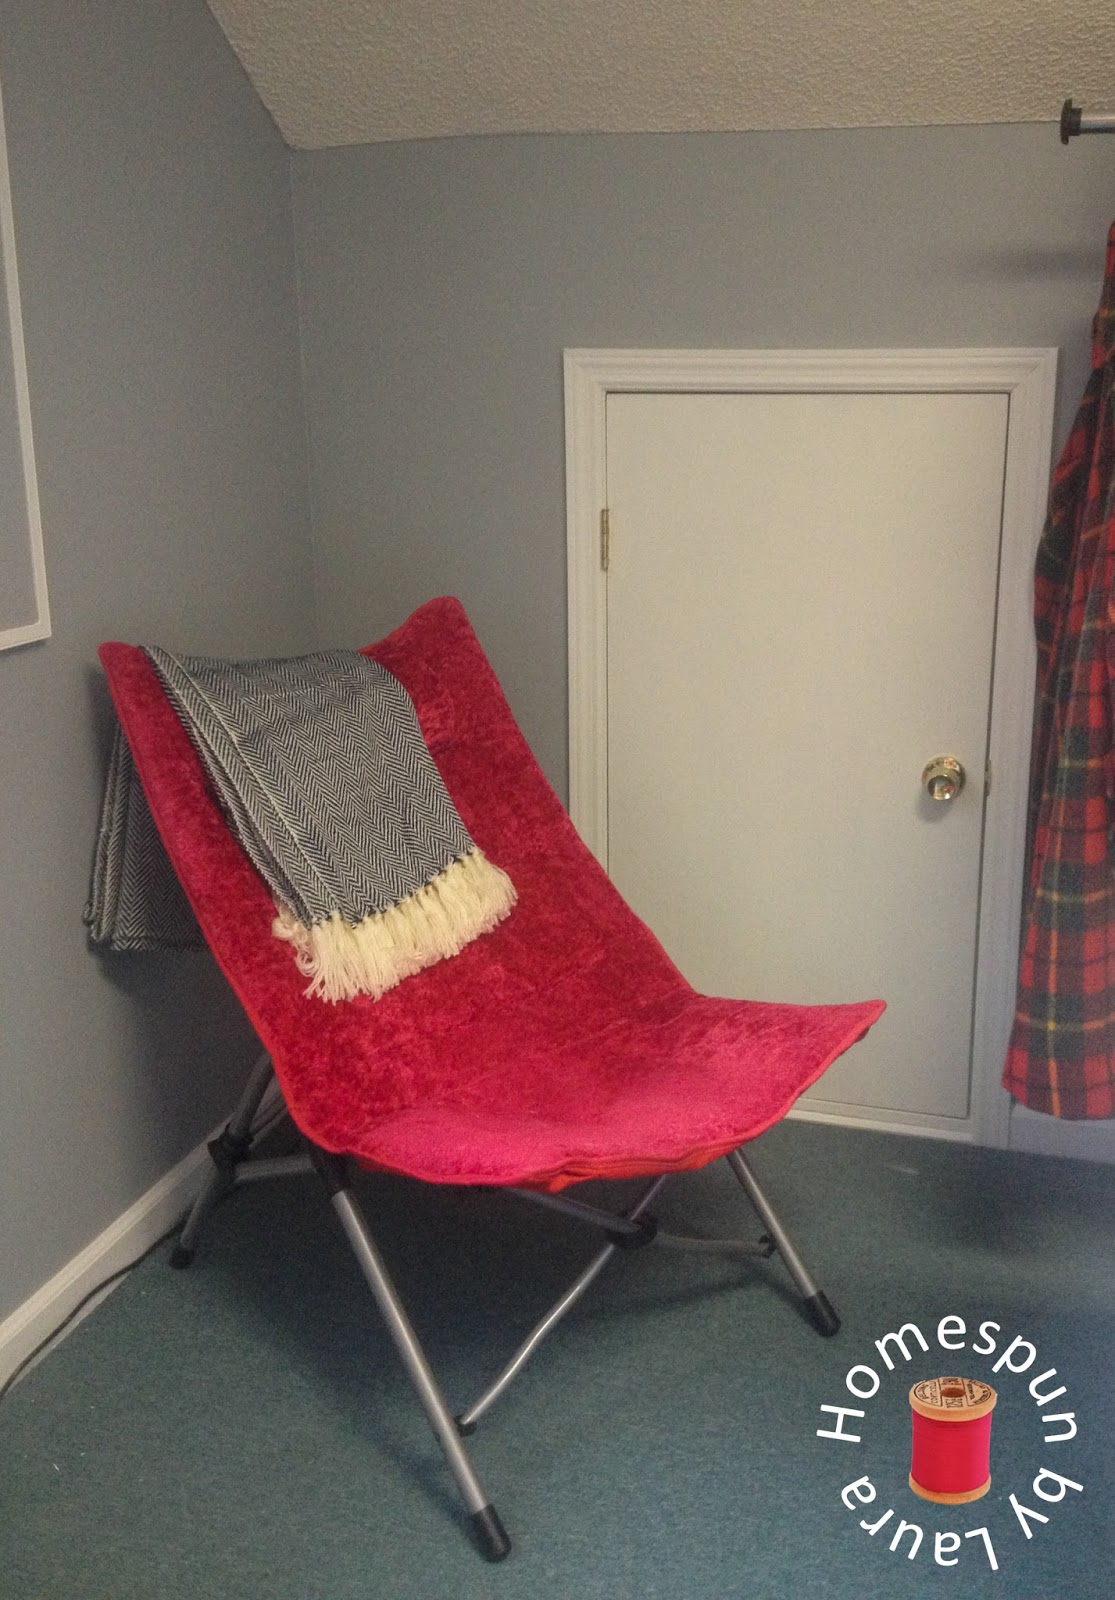
In week 1, I said that I might replace the fuzzy pink chair from my college dorm room with a real chair, but I didn’t think that was likely to happen. I was unexpectedly able to replace it with a chair from my grandmother’s house, which even came with a slipcover that coordinates with the rest of the room!
Using fabric I already had, I made a new cover for an old pillow , and now the corner is more comfortable and looks much more inviting.

Display Photos and Other Stuff
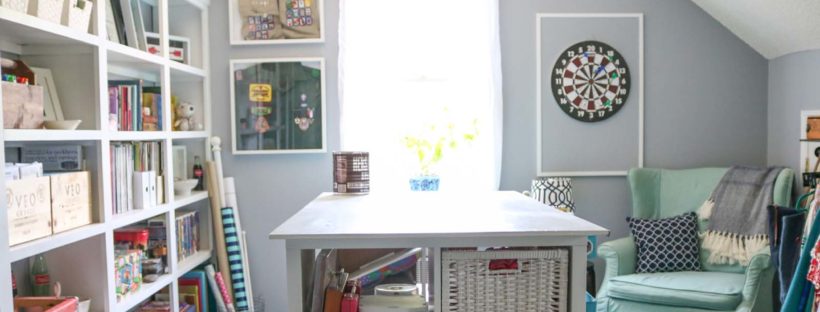
When I ‘‘finished’ this room in 2015, I had filled but not hung the photo frames along the stairs. About a year ago, we finally got them up on the wall! I also added some frames on the shelves for some of my watercolors to live in where I can see them. The biggest piece of ‘art’ on the walls is the dartboard, which we mounted on a bulletin board that I painted to match the wall (see above). It’s been great and has minimized the number of dart holes in the wall: we’re currently sitting at a total of only 1!


In addition to functioning as a shared office and craft room, this is also the perfect place to display our running and boy/girl scout awards. The running awards adorn the wall and shelves behind the Mister’s work space, and the scouting awards and uniforms are on display in a bright corner.

I bought these realistic-looking tulips and cute little pig on my second visit to Magnolia Market in Waco, TX earlier this year. The Dr. Pepper bottle came from an antique store there, which seemed appropriate since Waco is the home of Dr. Pepper!

Goal: Create dual work space.
I’ve already told you about my awesome new desk, so I won’t repeat myself here. We actually constructed it last summer, so it didn’t even cost me anything this spring. ? There is still no visual separation between the Mister and me, but the fact that 85% of my sewing and crafting supplies are no longer behind him is very helpful. The Mister still has some work to do, though. He was traveling for work for the past three weeks and hasn’t had a chance to organize the shelves behind his desk. Until that time, there are a few boxes that contain various office supplies and other items he needs within reach during working hours.
Goal: Spend under $100.
The spending goal I set for this second attempt of the One Room Challenge went very well! Obviously, more than $100 went into transforming this space from a messy storage unit into a shared office and craft room. I already had all the paint, fabric, etc. on hand from the Fall 2015 ORC and after buying materials then, I didn’t need to drop a big chunk of change to finish the job. The reason for the goal was to prevent myself from buying more things. Setting a limit stopped me from spending a bunch of additional money on stuff I didn’t need – so I shopped the room and house for what I needed and bought only what I couldn’t find at home.
Items like the goodies from Magnolia, spice racks from Ikea, thread storage, etc. were purchased before the Spring 2016 ORC began and therefore weren’t part of my total. Nearly all the storage containers came from elsewhere in the room, and I had a variety of screws, tools, and other supplies on hand for the various projects. Since the materials for the corner desk were purchased last summer, they didn’t count in my total of $93.19!
Confession: If you count the purchases from the Country Living fair that wound up being used in this room (which total about $45), then I definitely went over the $100. On the other hand, we are consigning the big wooden stool that I used to have at the desk, which should more than make up for those purchases. 🙂
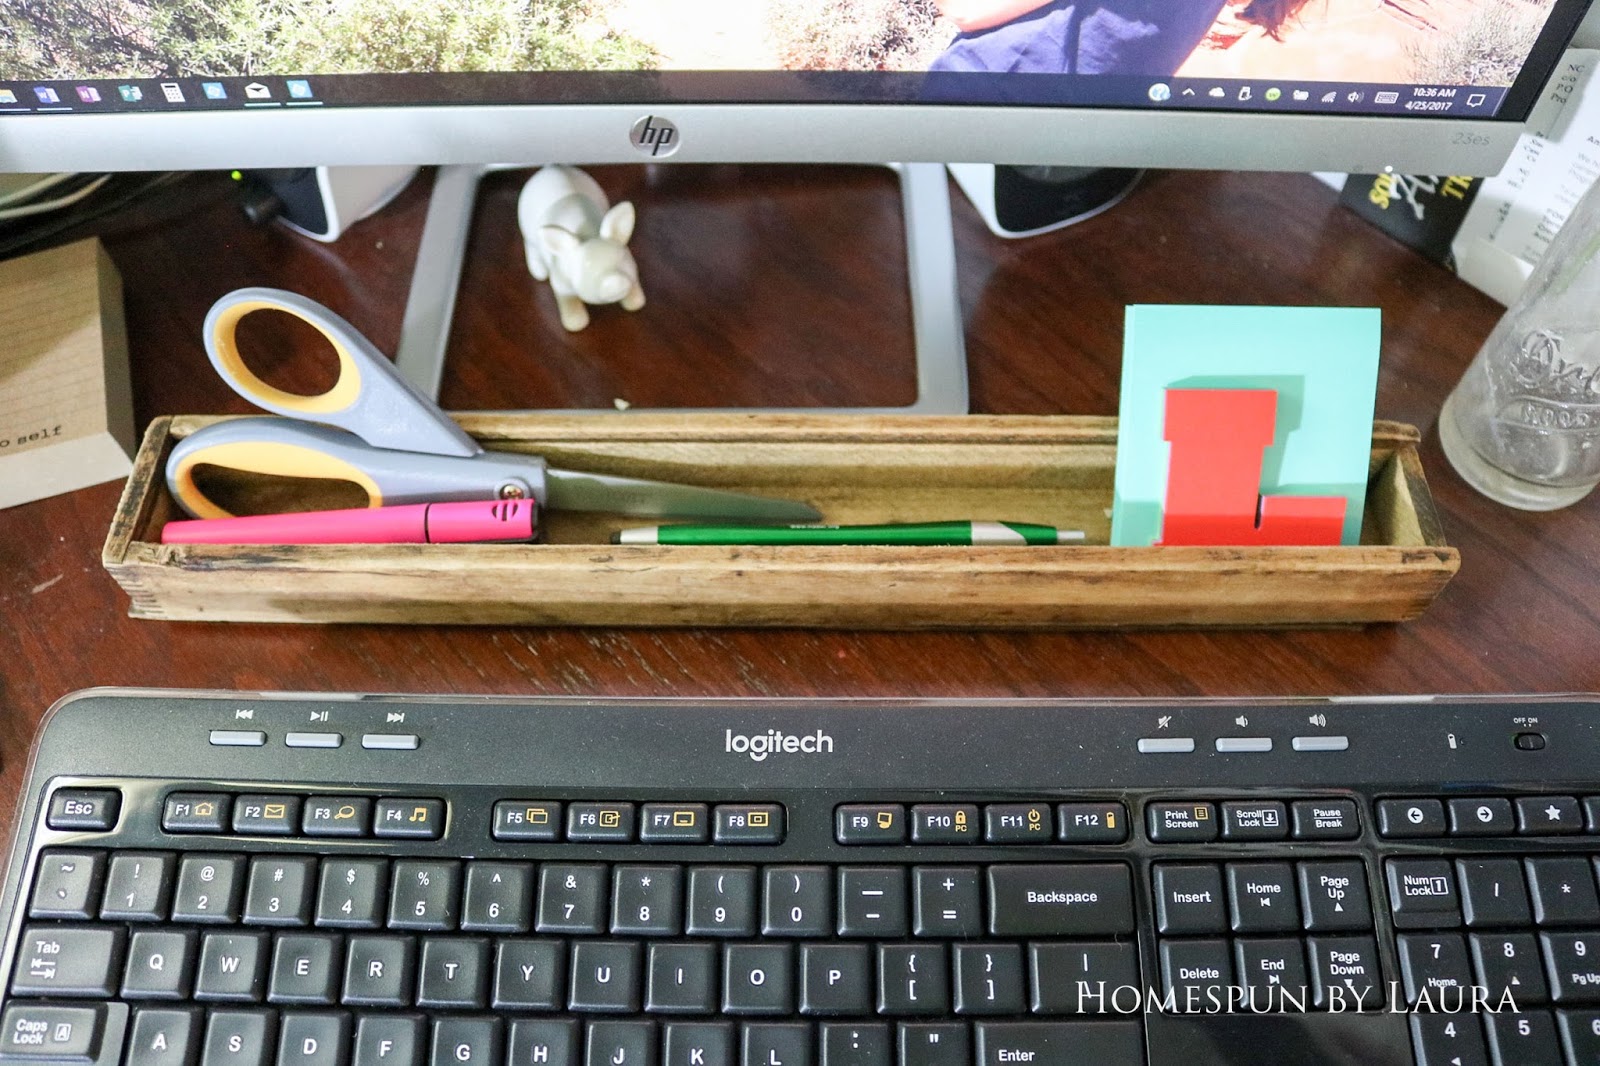 |
| This box, whose original purpose remains a mystery, filled a need; the few other purchases were all just items I liked and knew I could find a real use for. |
Thanks for joining me on this journey! I can’t wait to start working IN our new shared office and craft room instead of ON it and look forward to sharing more about some of the projects I’ve mentioned today in the coming weeks.
Head over to Calling it Home to see some other awesome rooms!


Pin this article to read again later!
Check out previous posts in this series here: