The final days of the 30 Projects in 30 Days challenge really snuck up on me. Fortunately, my month of September miraculously lasted 35 days! All 30 projects I set out to complete have now been checked off the list.
This post contains affiliate links. The small commission I receive if you make a purchase helps me keep my site up and running. Thank you for your support!
Projects 23-30 were pretty random with no particular focus. Let’s dive in!
To-do list item 23: Spray paint air conditioner grates
I’m always up for making things look nice without a hefty price tag, and project 23 definitely falls into that category. Over the years, our air conditioning grates have gotten chipped or rusty or painted over, and they didn’t look awesome. New ones run $7-$10 apiece, depending on the dimensions, and we have nine of them. We’re not fond of spending that much to make something that works perfectly fine look prettier. I already had a can and a half of white lacquer spray paint on the shelf, so this one was totally free!
Just a side note: This handy attachment from Rust-Oleum , which was in the swag bags at Haven in July, is amazing. My hands have hurt every time I’ve ever spray painted – until this time. If you spray paint ever, I highly recommend buying one! (that’s an affiliate link, by the way)
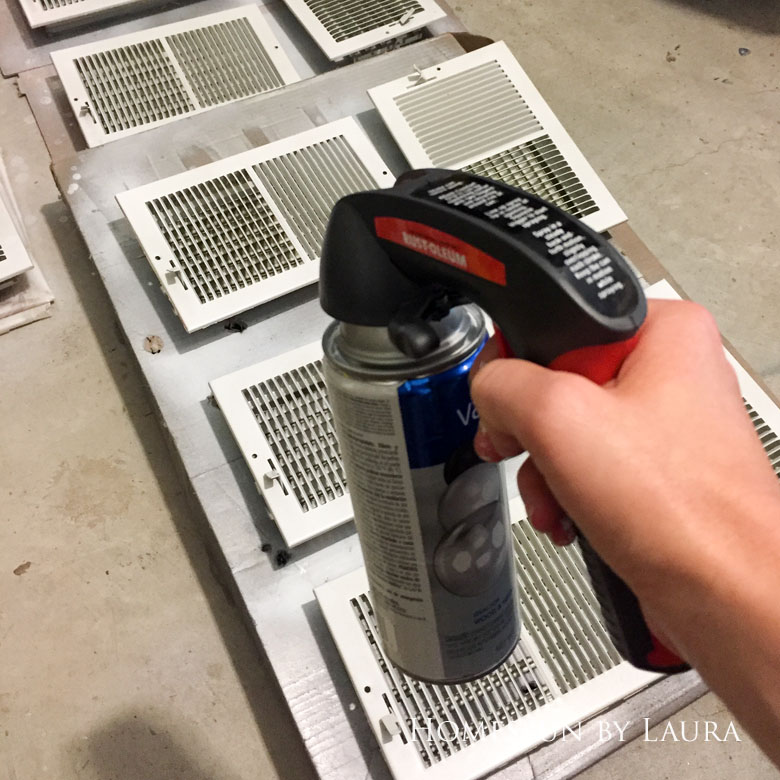
I didn’t realize how yellowish these were until after I painted them. Now that we’ve put them back in place, they look brand new.
Total cost: FREE!
To-do list item 24: caulk the guest bathroom vanity + shower
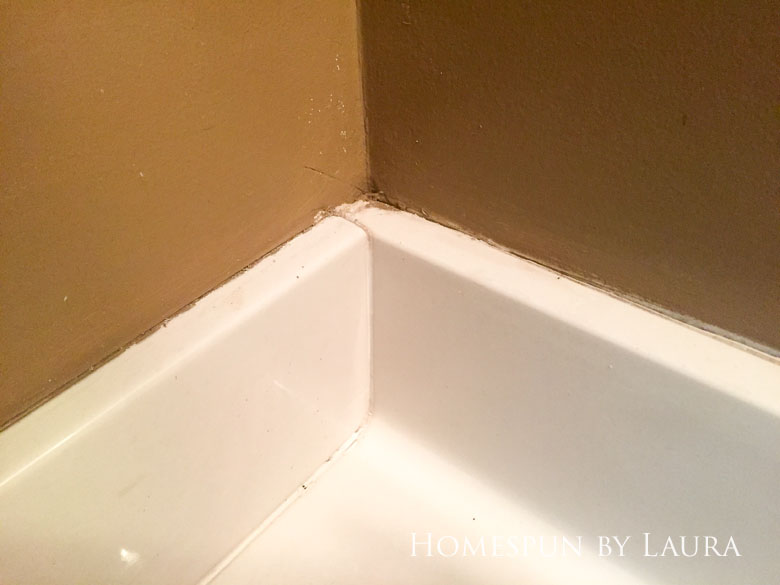
The caulk in our guest bathroom was gross for so long, but I just pretended it wasn’t. It never occurred to me to fix this myself until I recaulked our master bathroom last week. It wasn’t the most exciting part of my week, but the difference it made made it all worth it. So I decided to repeat the process in the guest bathroom!
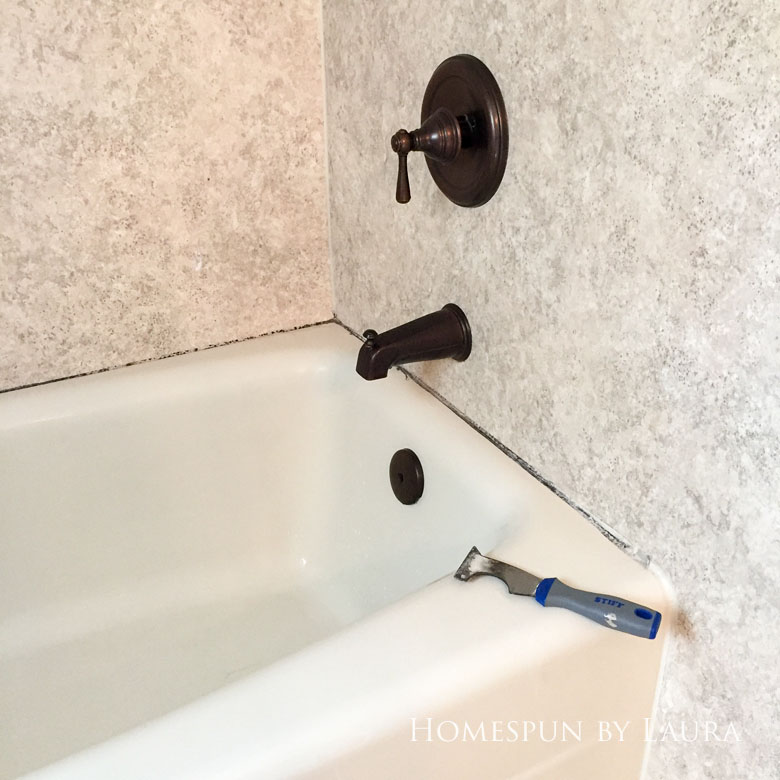
I chose the lesser of two evils; even with the gross caulk, this shower was way better to use while I ignored the one in the master.
Previous owners had installed a rebath in this bathroom some number of years before we moved in, and while the shower is nice, the caulk had become gross and black in many places.
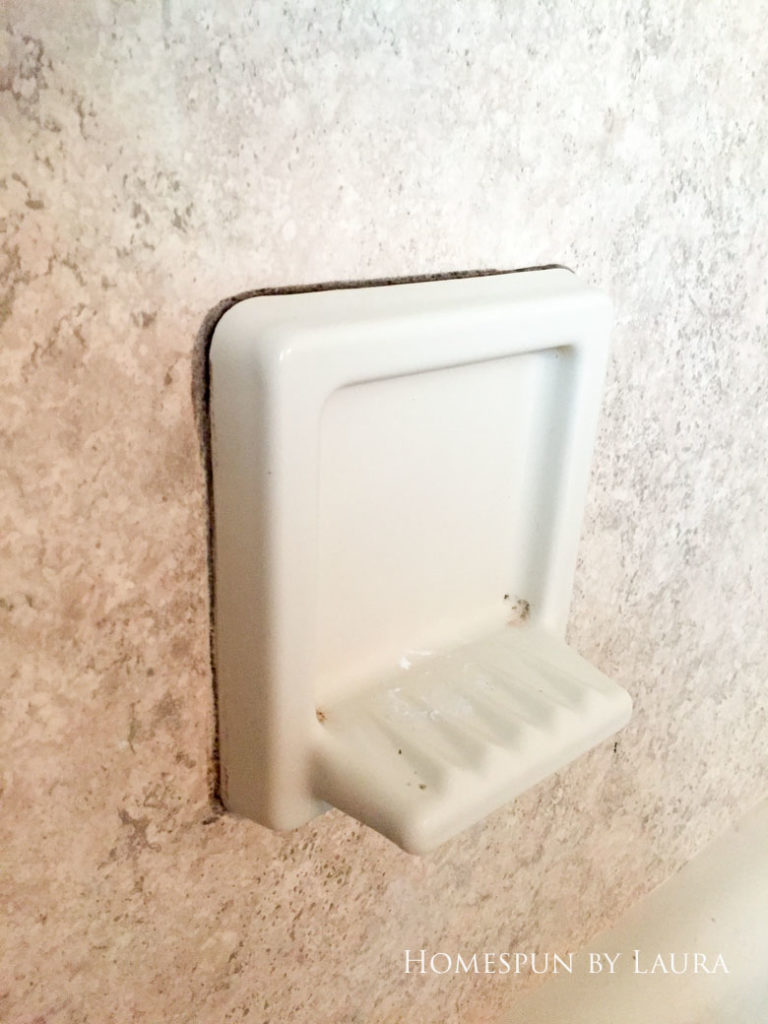
Once the shower in our master bathroom was back in commission, I got to work on the guest shower. I started by scraping and tearing out the old, gross caulk before laying down a layer of fresh, pretty caulk.

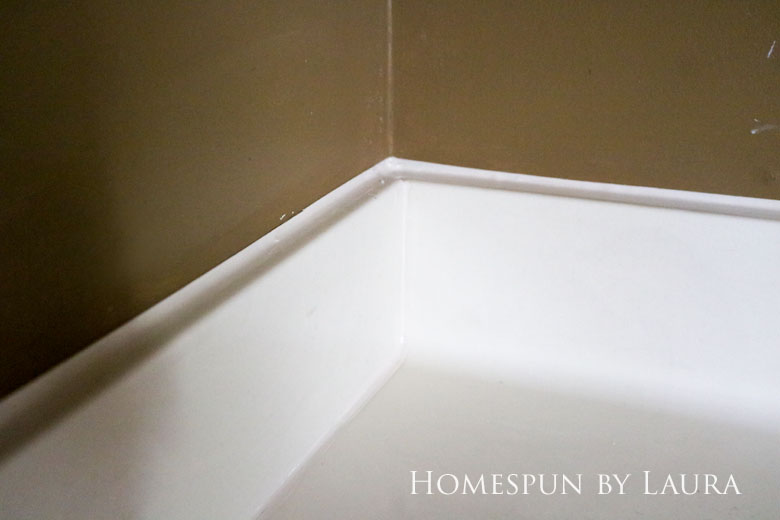
Begone, gross caulk!
Looks like a much more pleasant place to get cleaned up!
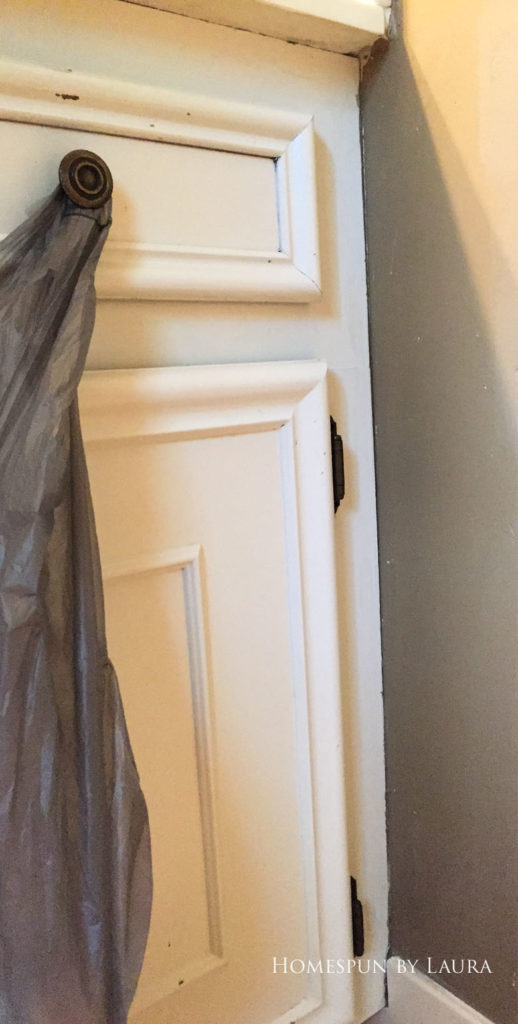
The vanity got some attention, too!
But for now, the wall remains the ugly brown we inherited from the previous owners. It also used to grace the walls of the master bathroom and office/craft room.
Like in the master, I also added caulk at the sides of the vanity, and the difference is noticeable.
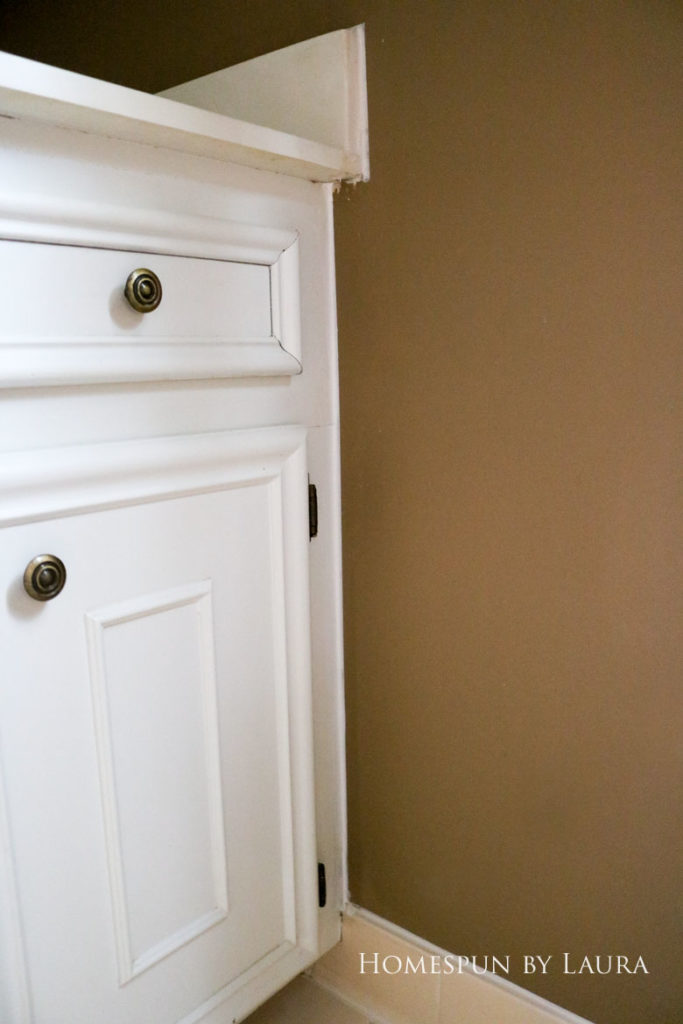
Total cost: FREE! (supplies left over from master bathroom)
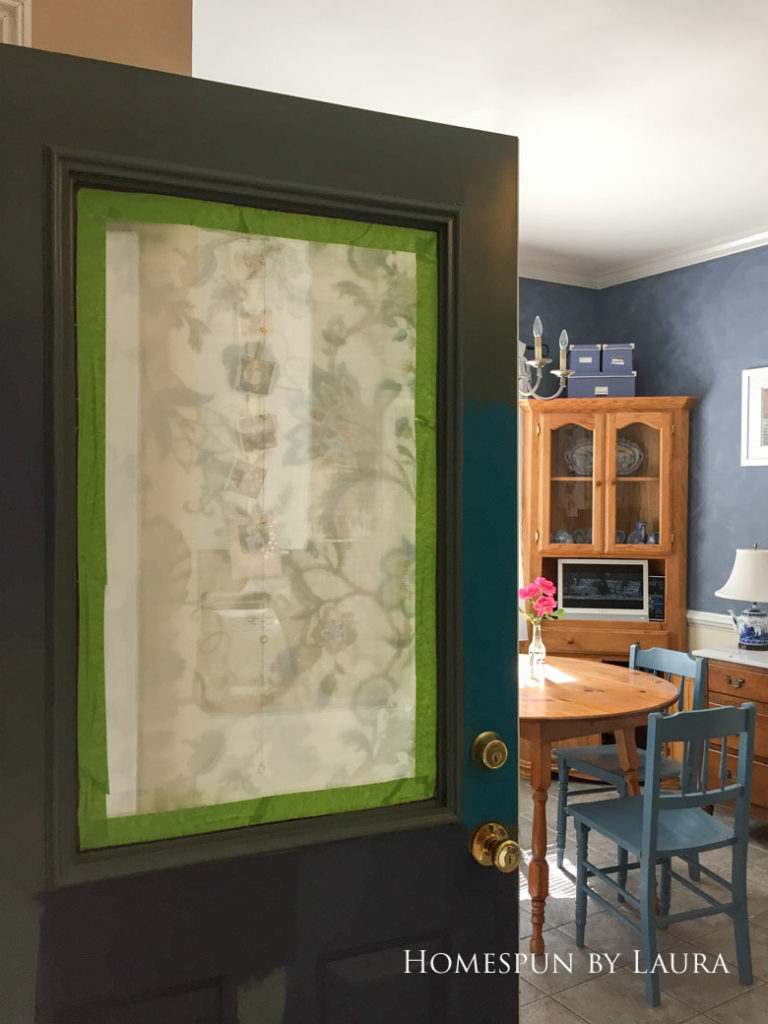
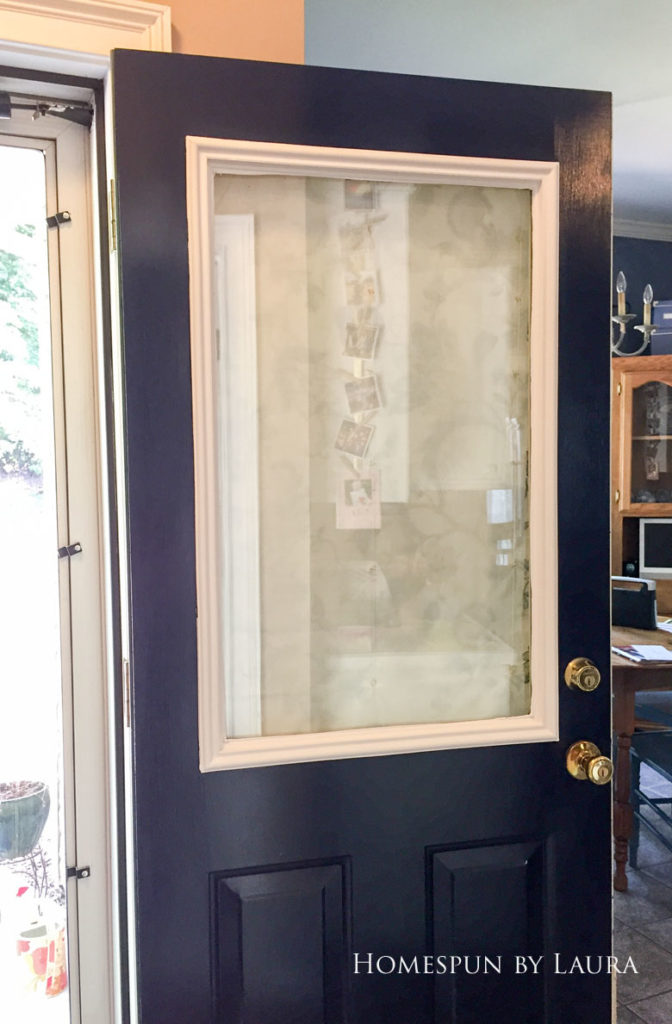
to-do list item 25: paint the back door
Sometime last year, I tested a few paint samples on both the front and back doors of our house. After several months, I finally got around to painting the front door. The back door remained four colors for 12-18 months until I got around to it last week.
I turned on Harry Potter while I worked that day.
It took the Mister a week to notice that I’d painted this door. Note: He lives here and witnessed me painting it. 🙂
I debated about whether to keep the trim around the window the same color as the door or paint it white. When we hired out the painting of the laundry room last year, we also had the front porch painted. There was just enough leftover snow-white exterior paint to use on this project, and I love it. I’m a big fan of navy blue and white, and this door is no exception!
Total cost: FREE!
to-do list item 26: strip the kitchen island
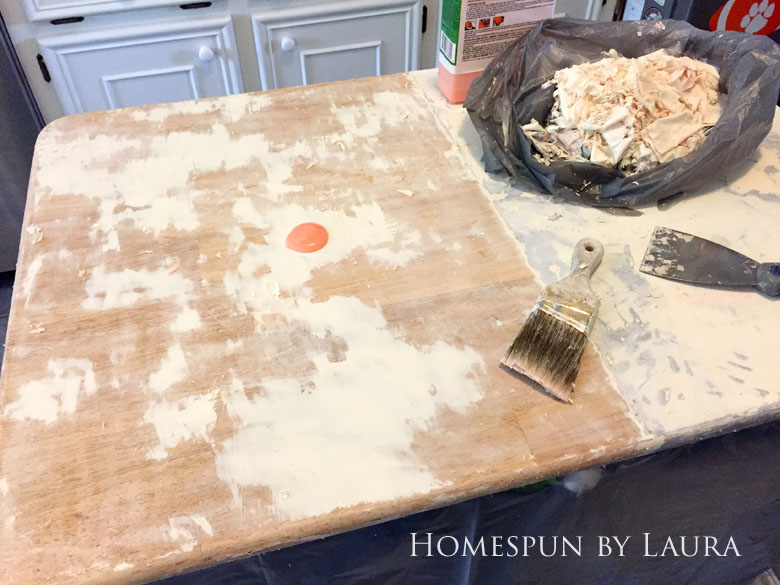
This one was a little tough for me to do, but it was the right decision. I painted our kitchen island four years ago. It looked amazing.
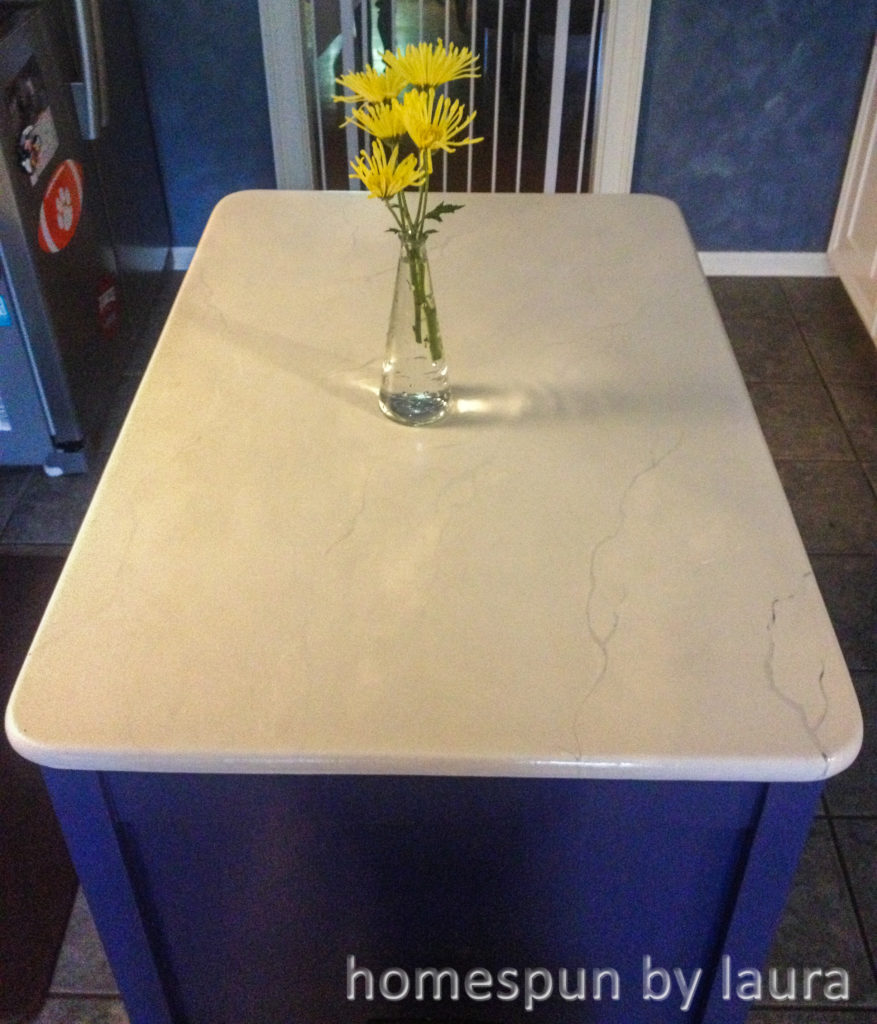
The faux marble finish I did on the top has fooled a few people until they touched it and realized it wasn’t actually stone. It held up very well for about two years, at which time I should have given it a quick coat of Polycrylic (affiiliate link) to protect it from further abuse. But I didn’t. Four years of heavy use gradually wore down the Polycrylic that was there, and the acrylic craft paint started to show through.
Two little bubbles had appeared in the finish as well, and the one on the right side had popped
In the last few months, red things like pasta sauce and tomatoes have left little stains behind.
All those dark sections of veining are where the Polycrylic and top layer of paint had worn off after years of use and washing. The stains from tomato-based items were recent additions.
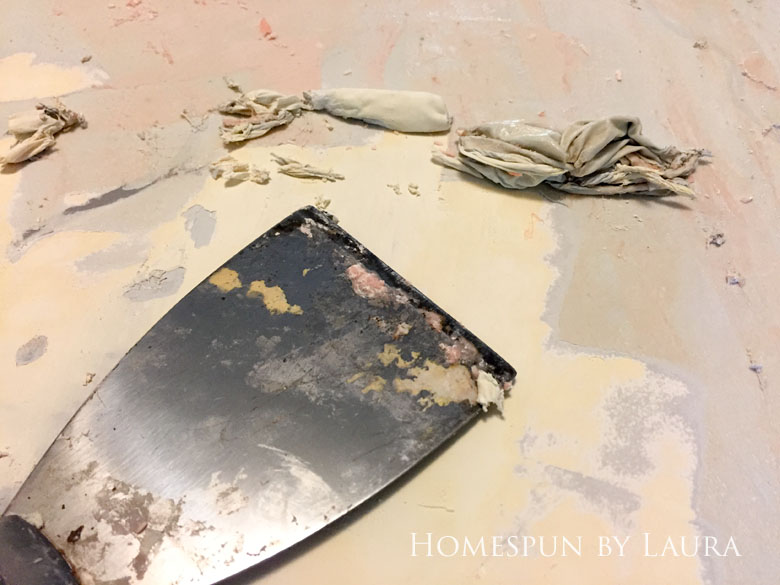
So my choices were to either re-do the faux marble or strip it back down to wood. I chose to strip it down, because it seemed like the easier option.
The blisters on my hands would indicate otherwise. So would the sore triceps and forearms, the aching elbow tendons, and tender palms.
I foolishly used countertop paint as a primer for the faux marble finish, and it was a beast to work through.
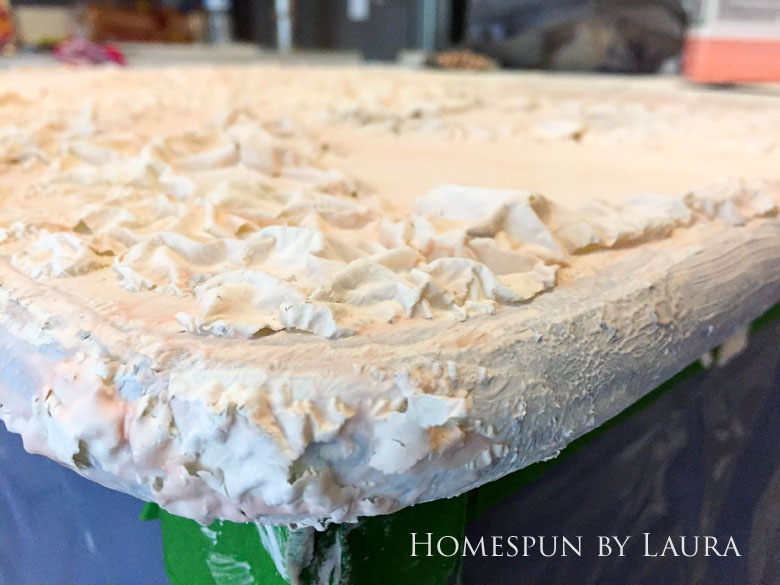
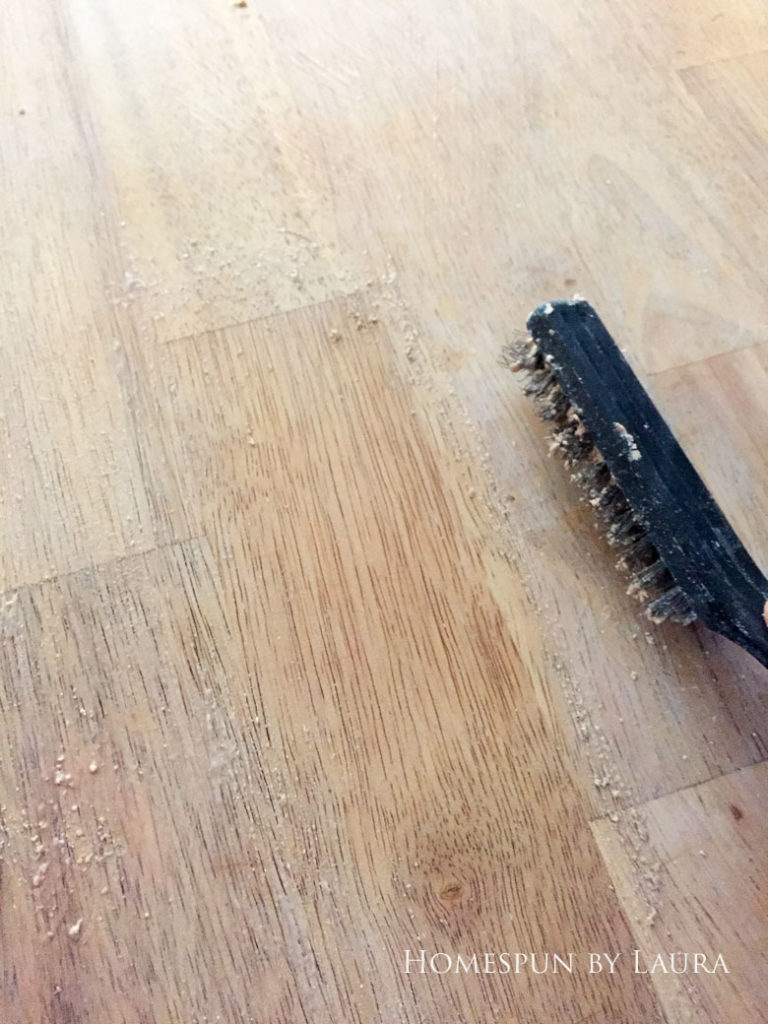
I lost count of how many times I brushed on and scraped off the Citri-Strip (affiliate link) before I struck wood.
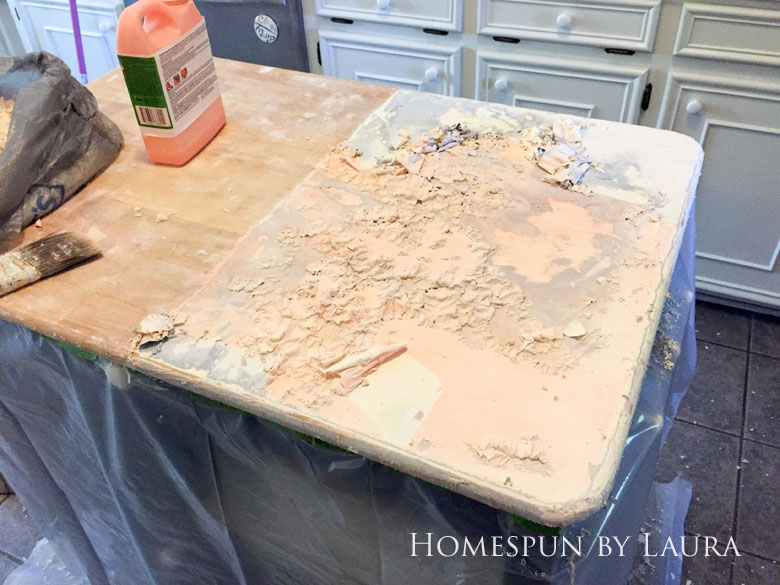
Even after I made it down to the original wood, some white residue lingered. Many more brush/scrape efforts followed before the entire counter top was once again wood.
Even then, I used a steel bristle brush on two additional brush/scrape efforts to get the counter paint out of the wood grains.
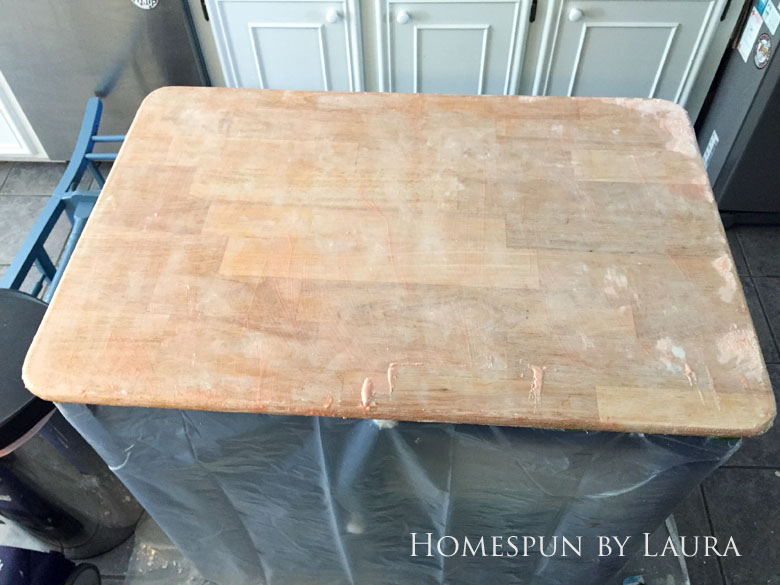
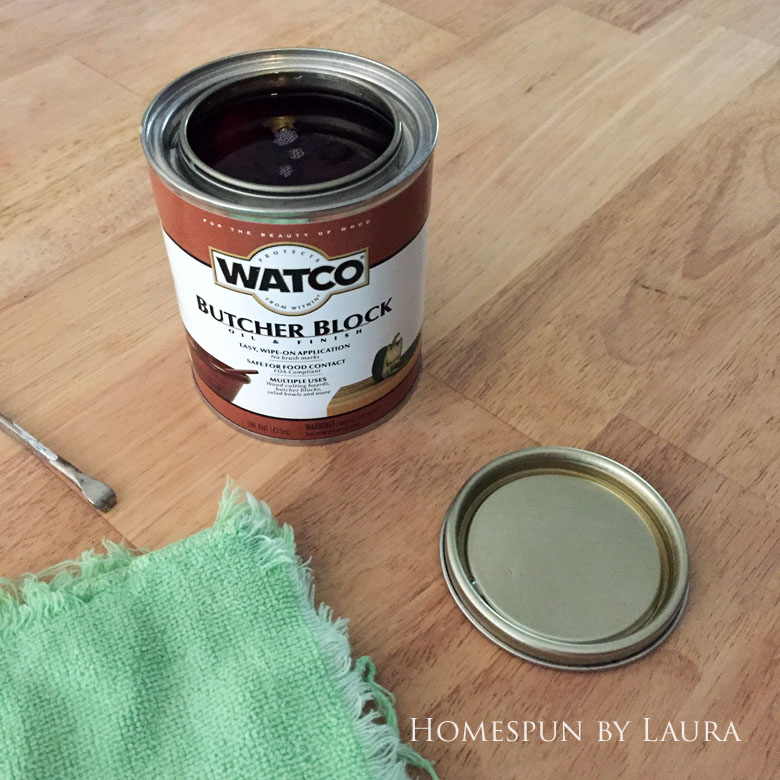
It was finally time to put the first of several coats of butcher block finish on (affiliate link).
And then I got to work cleaning up the messy scraps of chipped off paint that flew around and landed all over the floor – and on the bottom of my shoes – basically, it was a big mess.
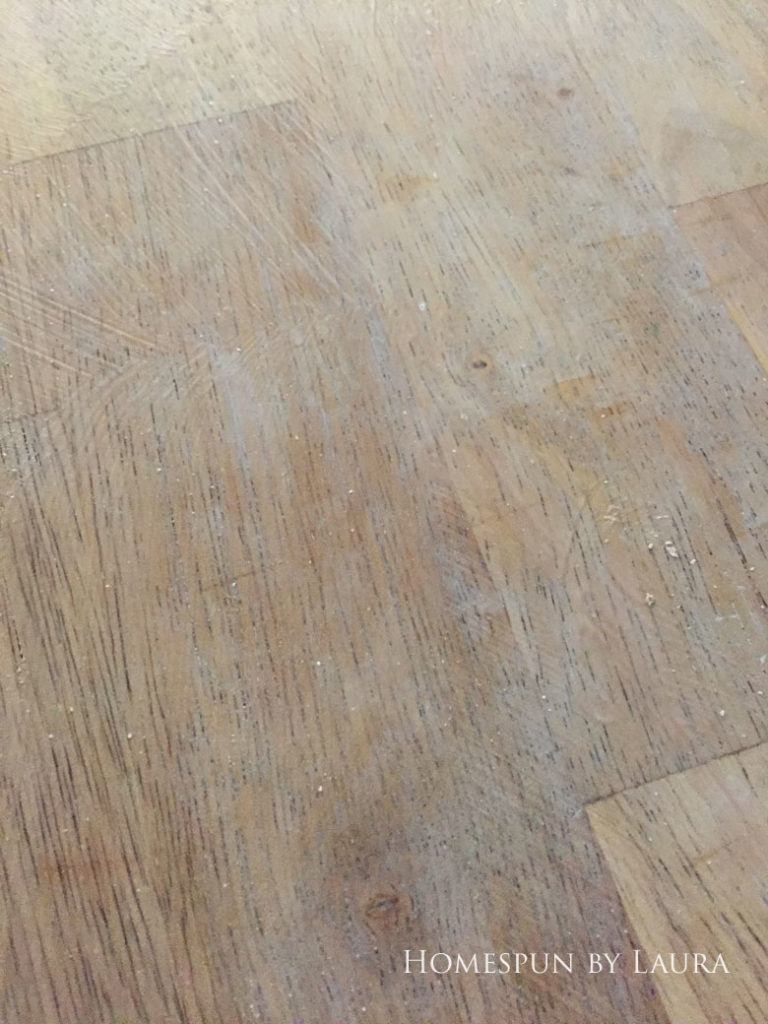
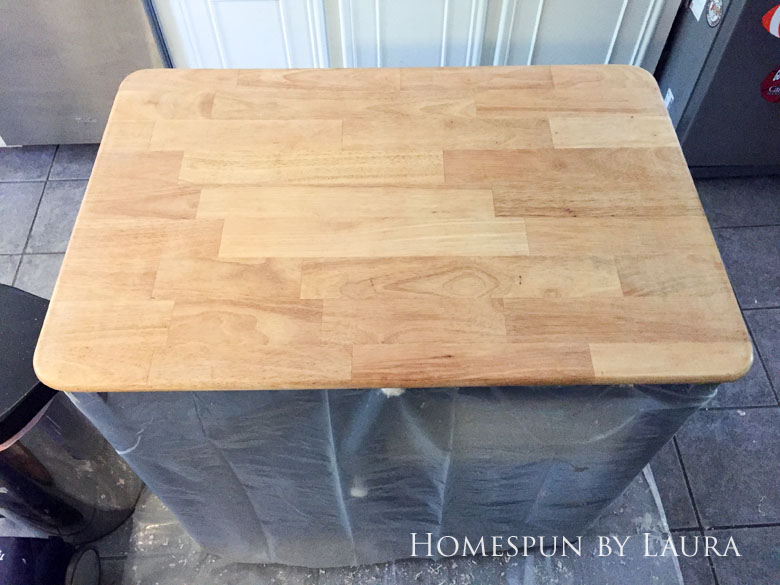
The island will be out of commission for a few more days during the recommended 72-hour waiting period before resuming normal use. I added 6 or 8 coats of butcher block finish over the past few days, and it looks amazing. I gave it a light sanding with the orbital sander after the fourth or fifth coat because it was feeling a little rough. Before the final coat, I very gently ran over the surface with fine sandpaper. I can’t wait to use it again!

While I’ll miss my ‘marble’ top, the butcher block and navy still look awesome together, and I won’t have to worry about weird tomato stains and chipping paint anymore.
Total cost: $12 (additional Citri-Strip)
to-do list item 27: touch-up ceiling paint
Popcorn ceilings are gross, and they make painting difficult. I don’t usually use painter’s tape anymore, and with popcorn ceilings it’s impossible anyway. That means that over the years, I’ve had a few slips of the hand that resulted in a glob or two of paint on the ceiling.

You can see that the primer I used doesn’t exactly match the ceiling color, but it’s hardly noticeable in real life.
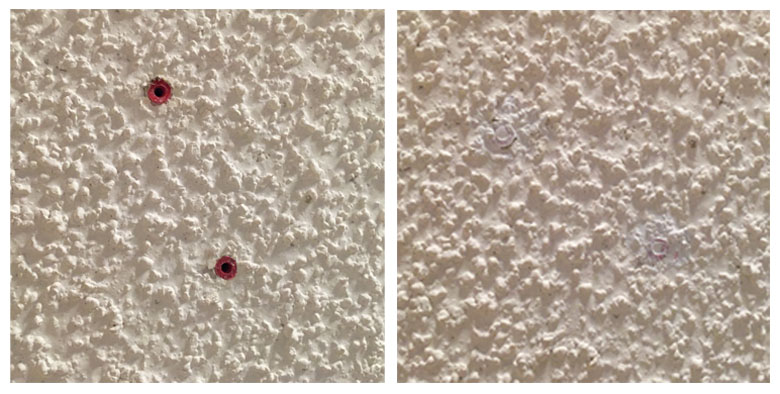
I have no idea why these two things – which look like drywall anchors – were in the ceiling in our hallway. They’re still there now, but there not as obvious because they got a splash of paint, too!
Total cost: Free!
to-do list item 29: organize recipes remove wallpaper in downstairs bathroom
I did not plan this. I planned to organize the file folders full of recipes I’ve torn out of magazines. That didn’t happen.
Instead, without thinking it through, I decided to finally tug at the loose corner of this hideously painted wallpaper that I’ve hated since day 1 in this house.
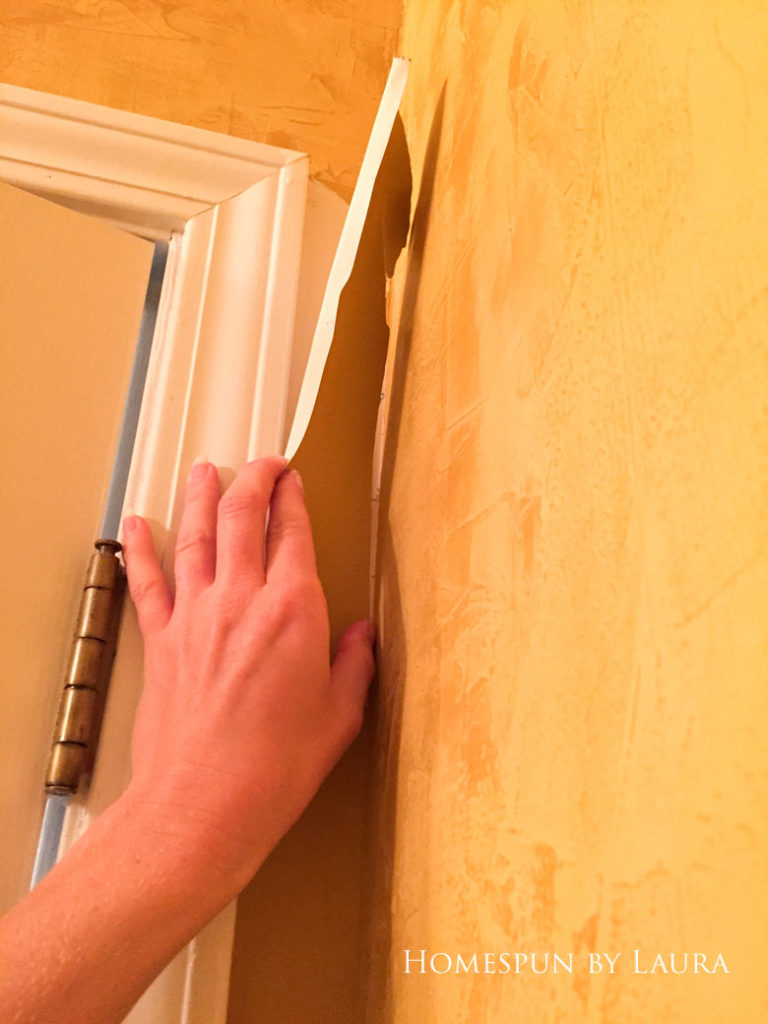

The good news is that it came off easily, and I now have a project for the One Room Challenge this fall! The bad news is that it took about an hour and 45 minutes, and I didn’t have time to organize my recipes. They remain in a file folder tucked into an empty binder for now.
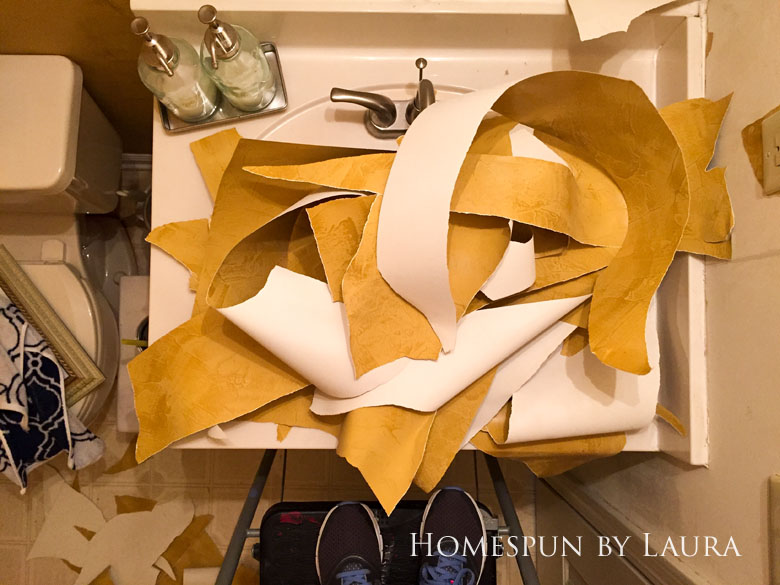
And the bathroom is in a rather undone state!
Just when I thought I might have a minute to sit down and read a book, I’ve gone and made myself a bunch more work. That’s good news for you, though, because you’ll get to read about it!
Total cost: Free! (until I start on the One Room Challenge, that is)
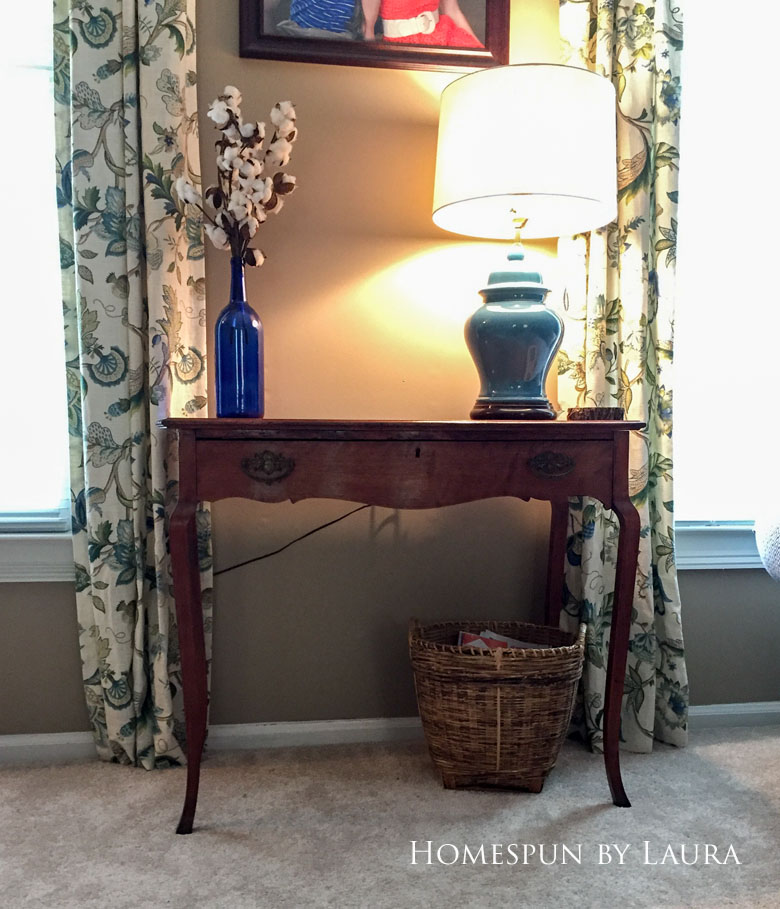
to-do list item 29: make this desk look pretty
When we got new carpet in the summer, we rearranged a few furniture items. One of those items was this desk in our den. It looked a little sad after I removed the multitude of small photos from it, so I decided I should give it some attention.
First order of business will be the antique hardware, which I think is brass, but it’s hard to tell for sure.
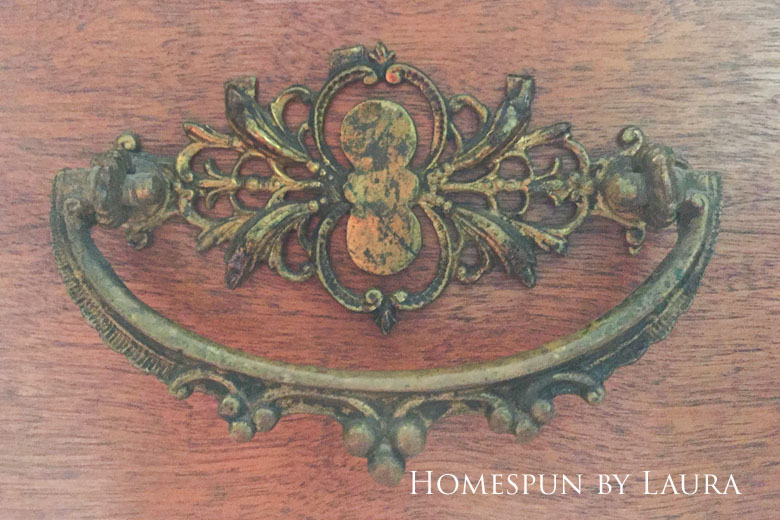
I used a soft toothbrush to scrub the handles up with a salt and lemon juice concoction. Turns out, there was bright and shiny brass hiding under all that gunk!

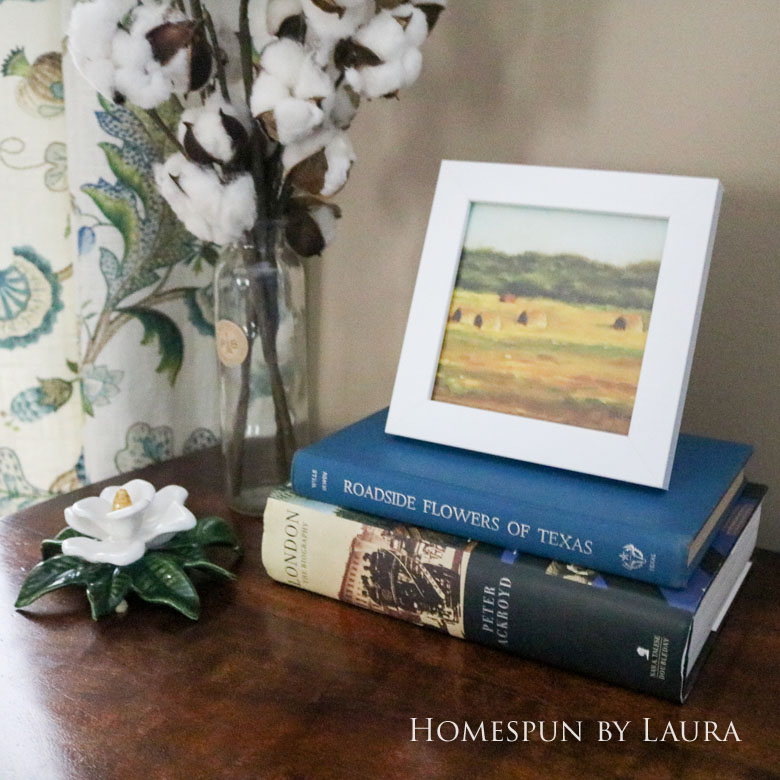
A couple books I picked up at an antique store in Texas, some cotton stems in a juice glass (oddly, a souvenir from a fancy breakfast at the Venetian in Las Vegas), and my grandmother’s ceramic magnolia now adorn the desktop, along with a small Mary Gregory artwork.
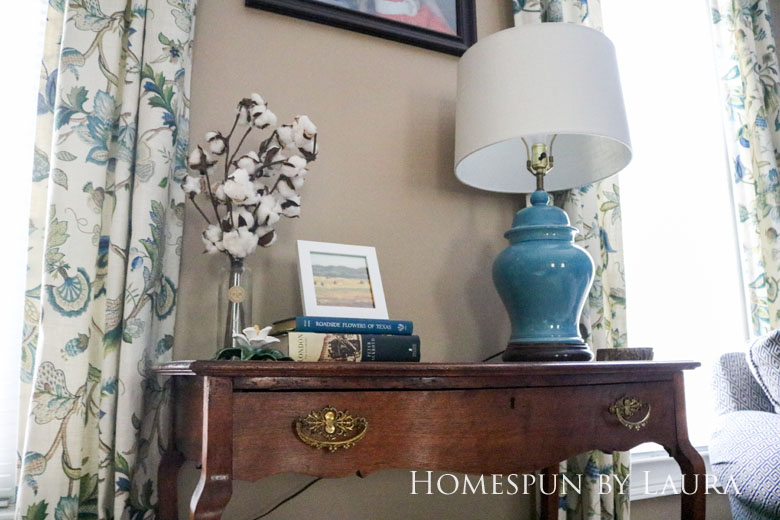
Total cost: Free!
to-do list item 30: touch up front door interior paint
The outside of the front door looks awesome these days, but the inside is a bit less polished.
In reality, the color is a truer navy, identical to the back door shown earlier.
The inside is chipped and still has greasy fingerprints left behind by the carpet installers.
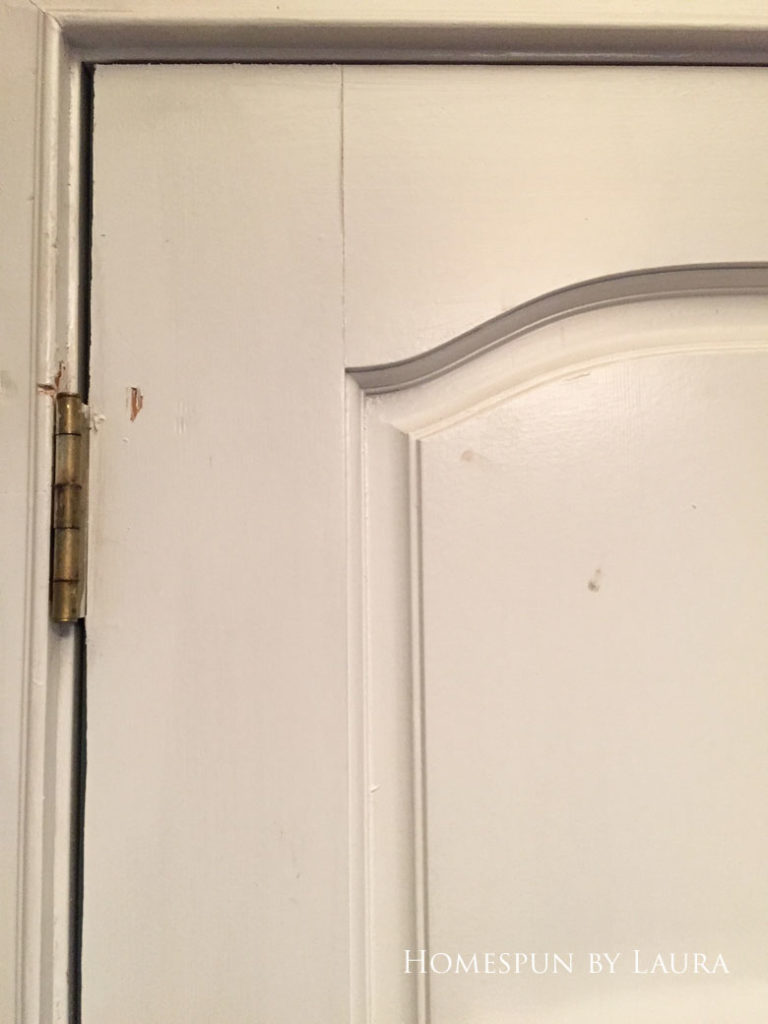
I cleaned it with a Clorox wipe before covering up all those divots with white paint. An now…Number 30 is DONE!
Total cost: Free!
– – – – – – – – – – – –
As this endeavor draws to a close, I’m relieved to be on the other side. It was a crazy month. I realized that I only had three weeks to do the work since we went out of town twice. I couldn’t have sustained the level of work it took to complete these tasks for much longer. I’m glad I did it, though, as it made a sizeable dent in the list of things I wanted to get around to sometime. Thank you for hosting this event, Stacy!!
Thanks for following along! I’m back to work to finish those last couple of projects; in the meantime, take a look back at projects 1-22!
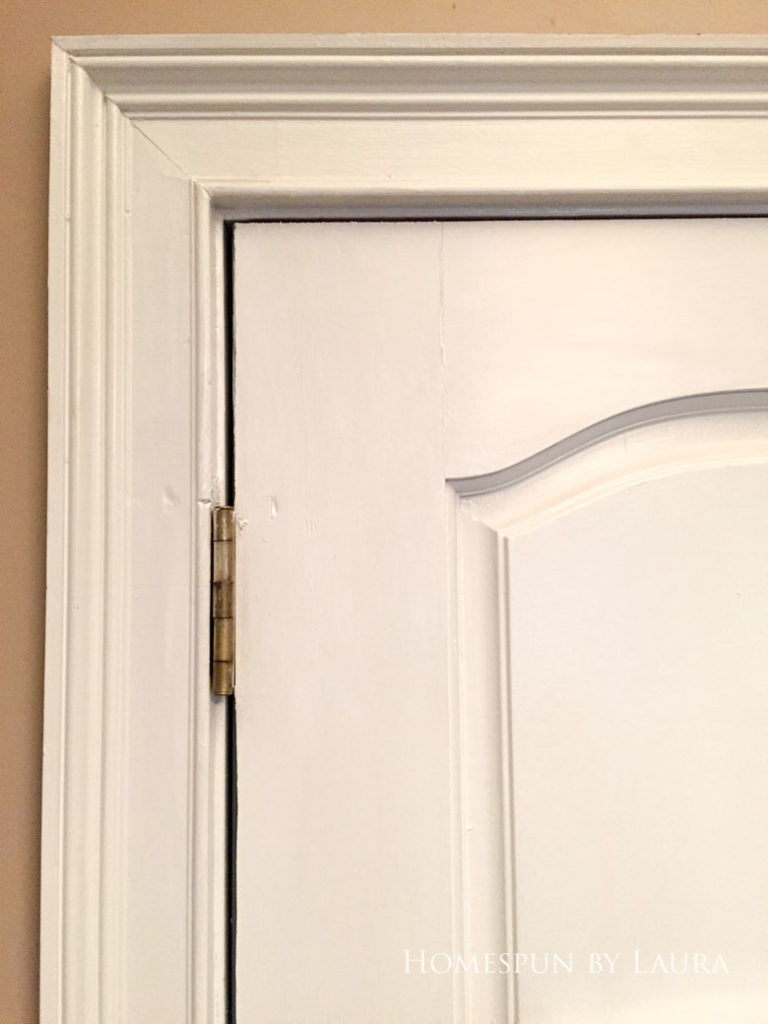
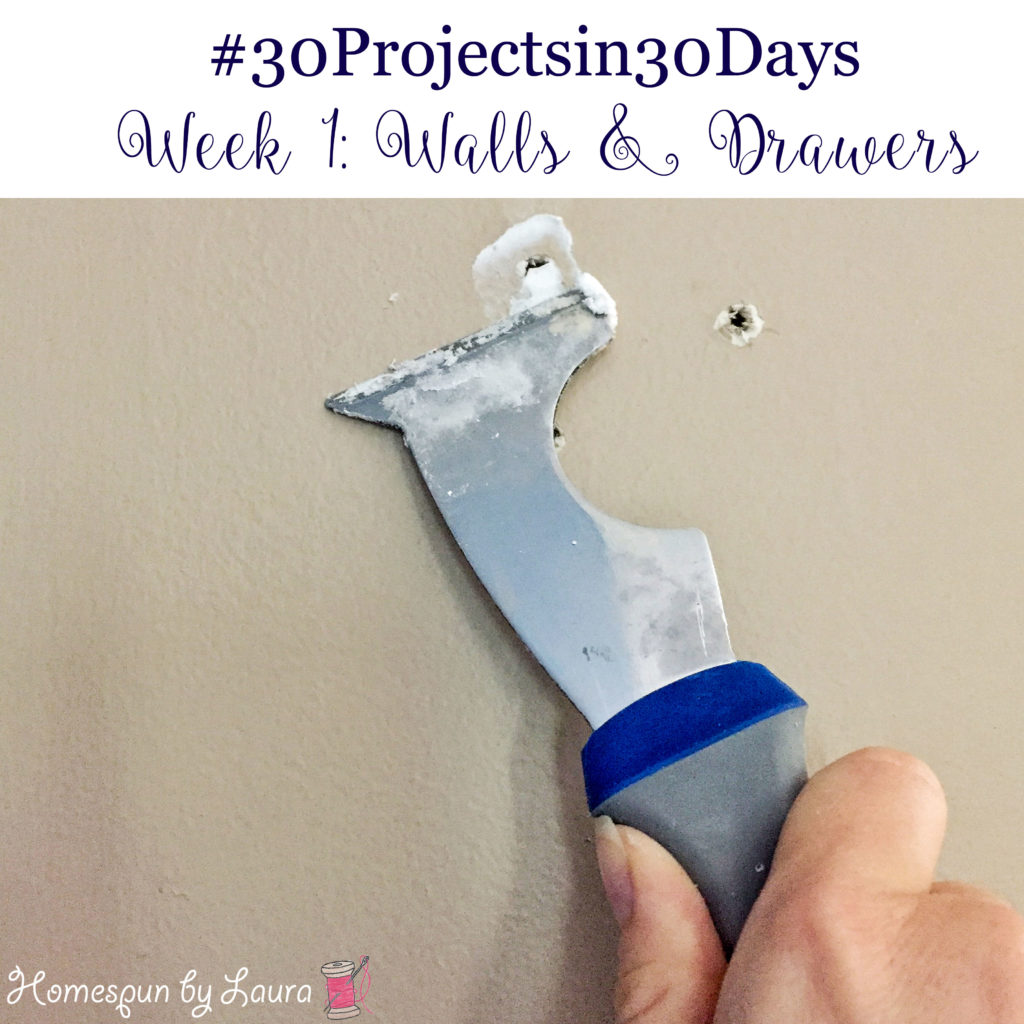
Projects 1-7 focused on organizing the kitchen drawers, then patching up and touching up a bunch of random holes in the walls.
Projects 8-14 focused on freshening our master bedroom using mainly items we already had.

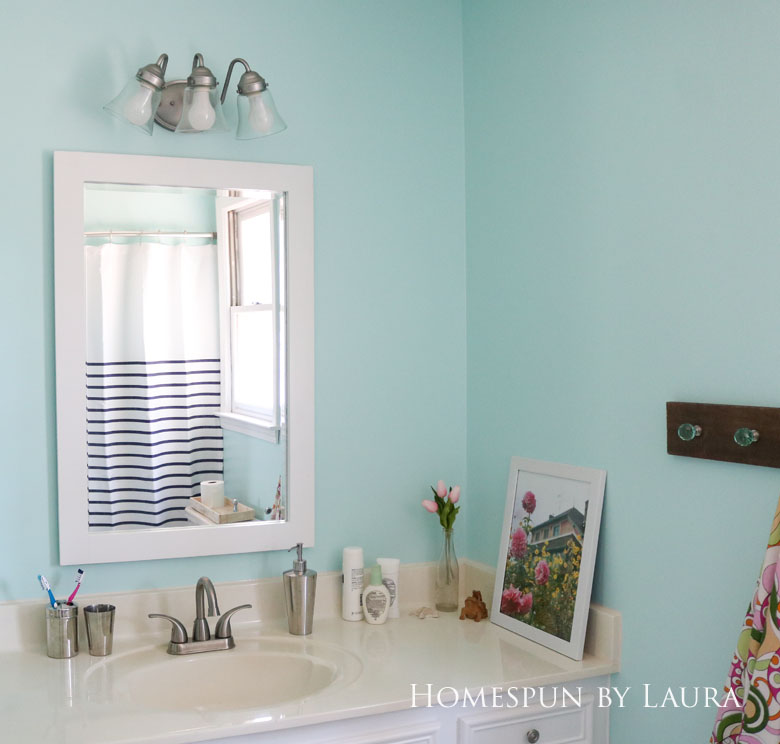
Projects 15-22 focused on giving our master bathroom a major refresh on a $200 budget!
On my original to-do list, I included a few additional projects. Somehow I was delusional enough to think I’d have extra time on my hands…
Don’t forget to take a look at what everyone else has accomplished in September! 🙂

Many tasks that you selected for the 30-in-30 challenge were rather complex and involved, so kudos for completing as many as you did. But I’m really, really impressed that you are continuing to check of the final items. (And joining ORC!) In fact, you’ve inspired me to add #31 to mine–caulk vanity. Good luck over the next 6 weeks!
Thanks so much! It was definitely more work in reality than it was in my head, but I’m so glad that I did it! Look at you adding #31; I hope your caulking goes well!! The effort will pay off. 🙂