 As I briefly mentioned in a post a few months ago, I ran the Disney World Marathon this past January. And you can’t very easily run 26.2 miles at the most magical place on Earth and not dress for the occasion! I’m not a run-in-a-skirt kind of girl, and I didn’t want to wear a crown, or anything else that would become annoying to wear for FOUR HOURS. I originally thought about a Mickey costume, but I didn’t want to search for red shorts and wasn’t sure about running with the ears. As it turned out, my marathon shoes were lime green and bright blue and reminded me a little bit of the Toy Story alien (remember this guy?). Plus, I also had a pair of shorts in the same bright blue, so I decided to dress like the little guy. As I am quite the procrastinator, I started working on this costume only the weekend before the race, but everything came out just fine in the end.
First, I cut out about a 6″x3″ strip of fabric to begin the alien’s antenna.

Then I cut a circle for the top of the antenna. At this point, I have no idea how I determined its size, except that its cicumference was larger than the 6″ length of the strip I cut first (since I gathered it before stitching to the strip). I basted about 1/2″ in from the edges all the way around so I could gather it to make the little ball at the top of the antenna before stitching it to the 6″x3″ strip…

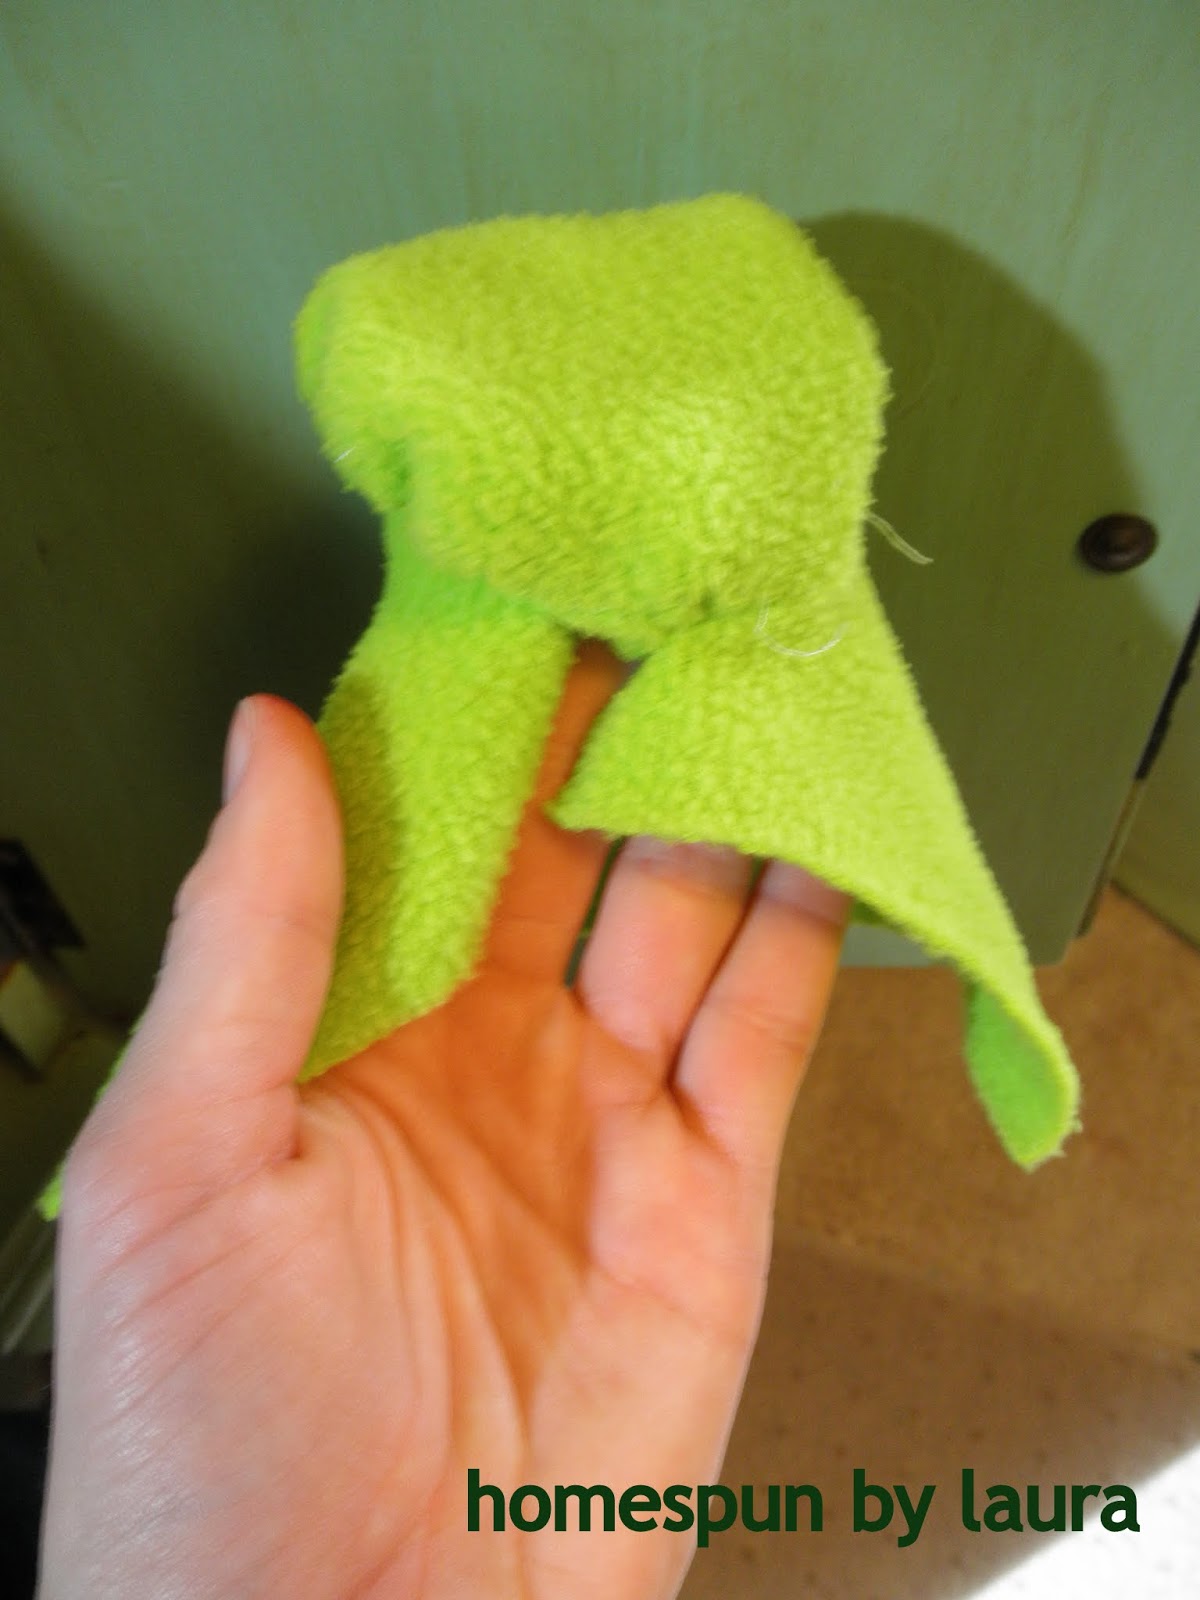
…and it looks like a mess here, but I tugged at the thread to gather the circle into a 3-D shape, pinned the strip and the circle to each other with right sides together, and stitched.

Since I hadn’t stitched the strip into a tube first, I wound up with this:
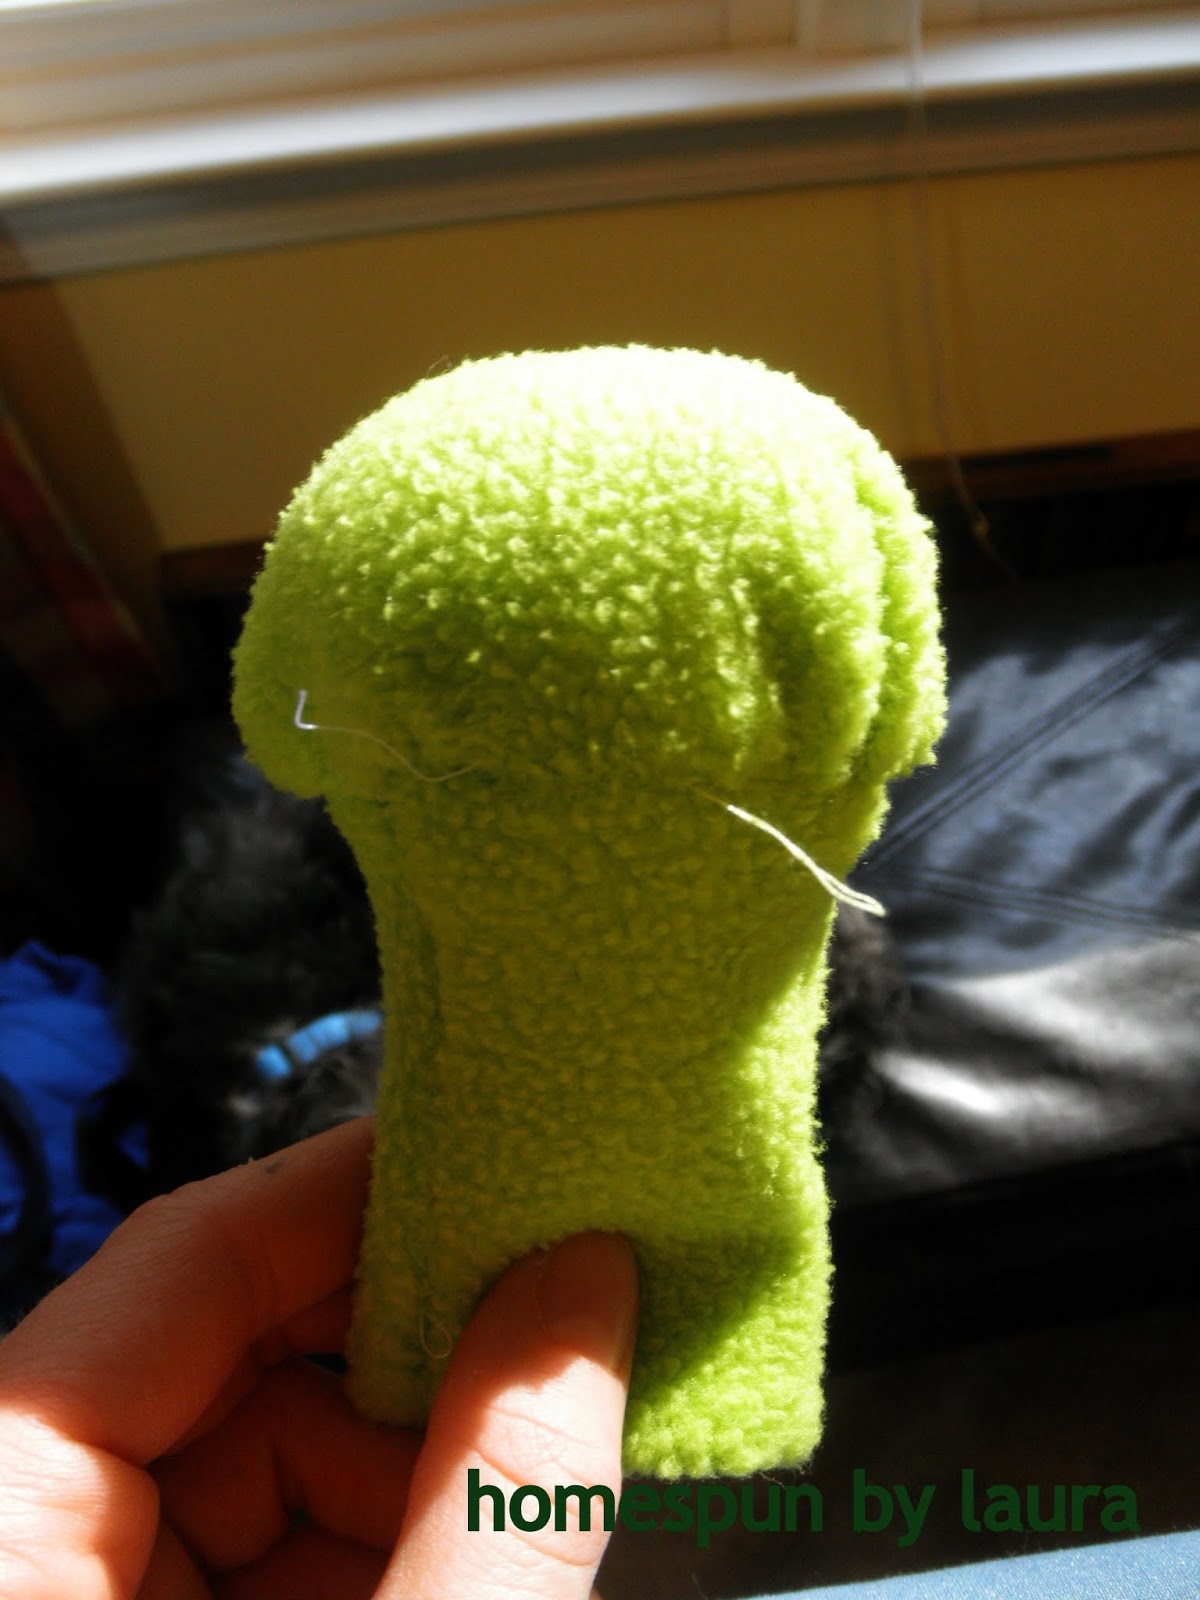
So I turned the antenna wrong side out, stitched up the tube, and turned it right side out again.

I then grabbed some stuffing and stuffed it inside the antenna and stitched across the bottom, leaving about 1/2″ free, once I was satisfied with it.
 |
|||
| Almost finished with the antenna! |

 I first tried stitching bobby pins to the bottom but wound up having to use alligator clips to hold it steady, and it wasn’t really working out. So it was on to plan B!
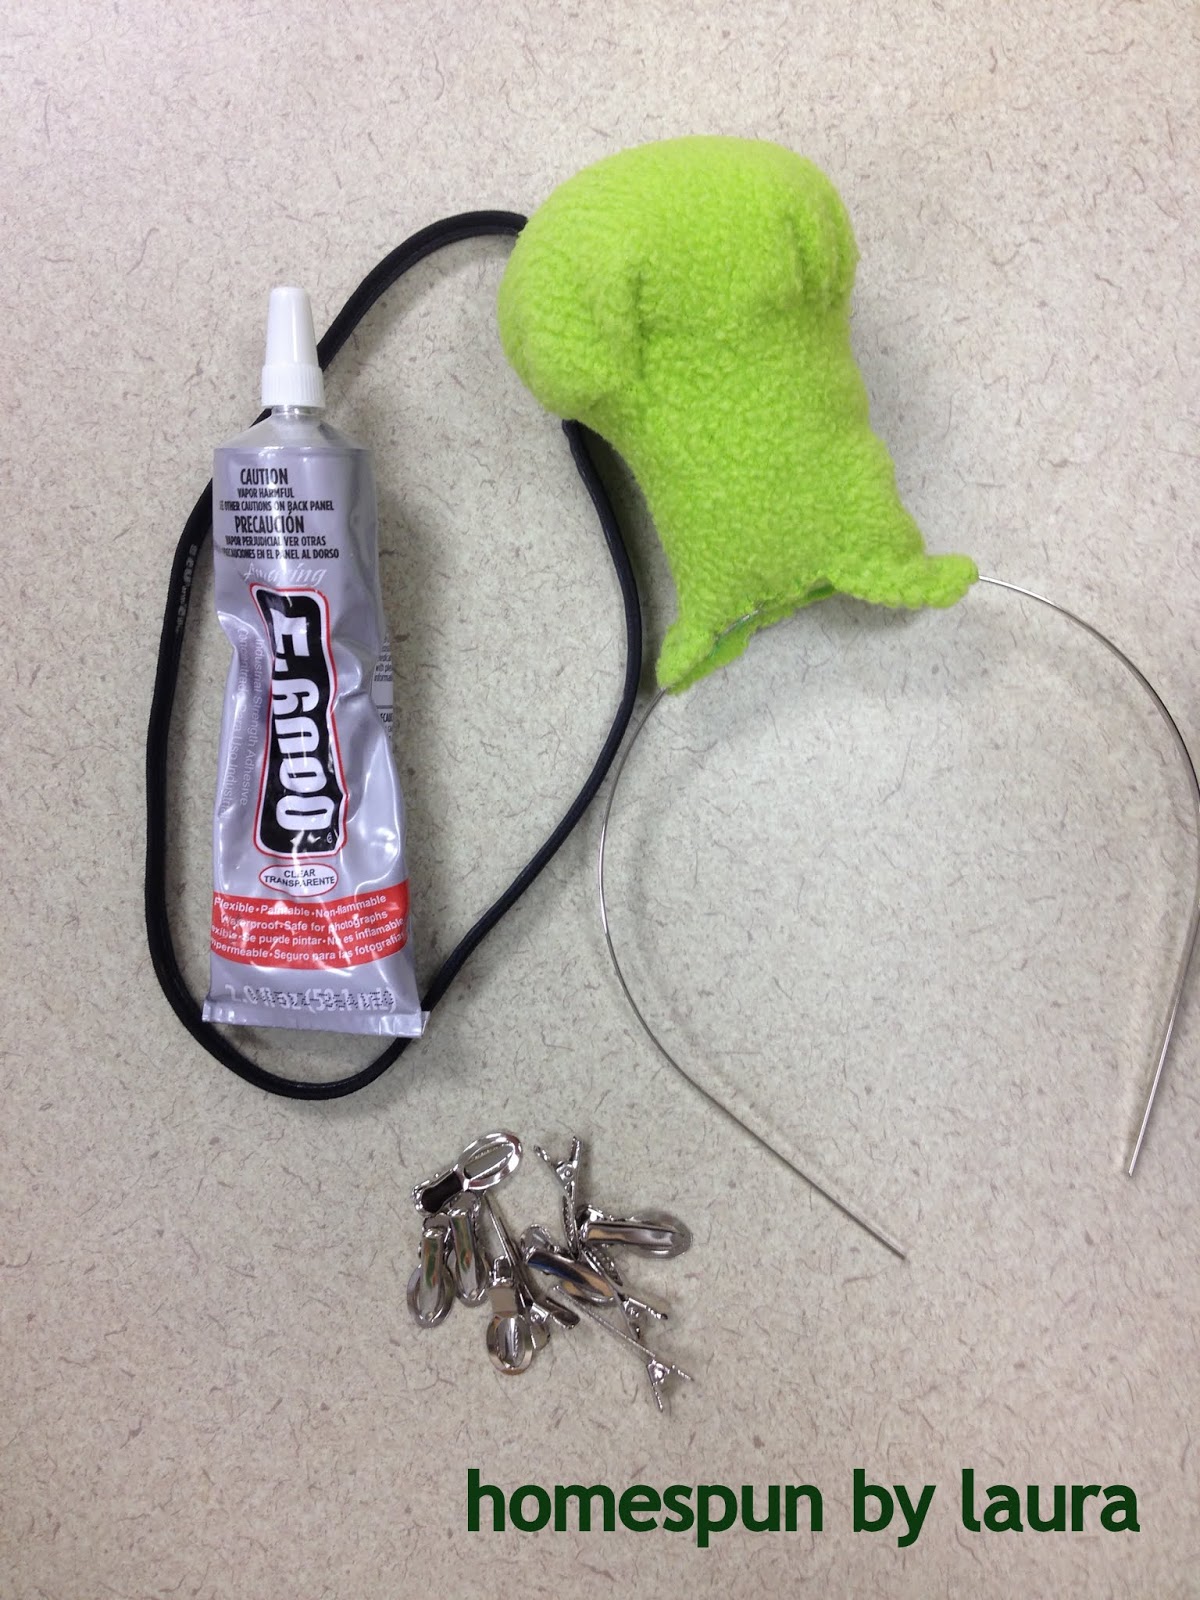 |
| Headband supplies |

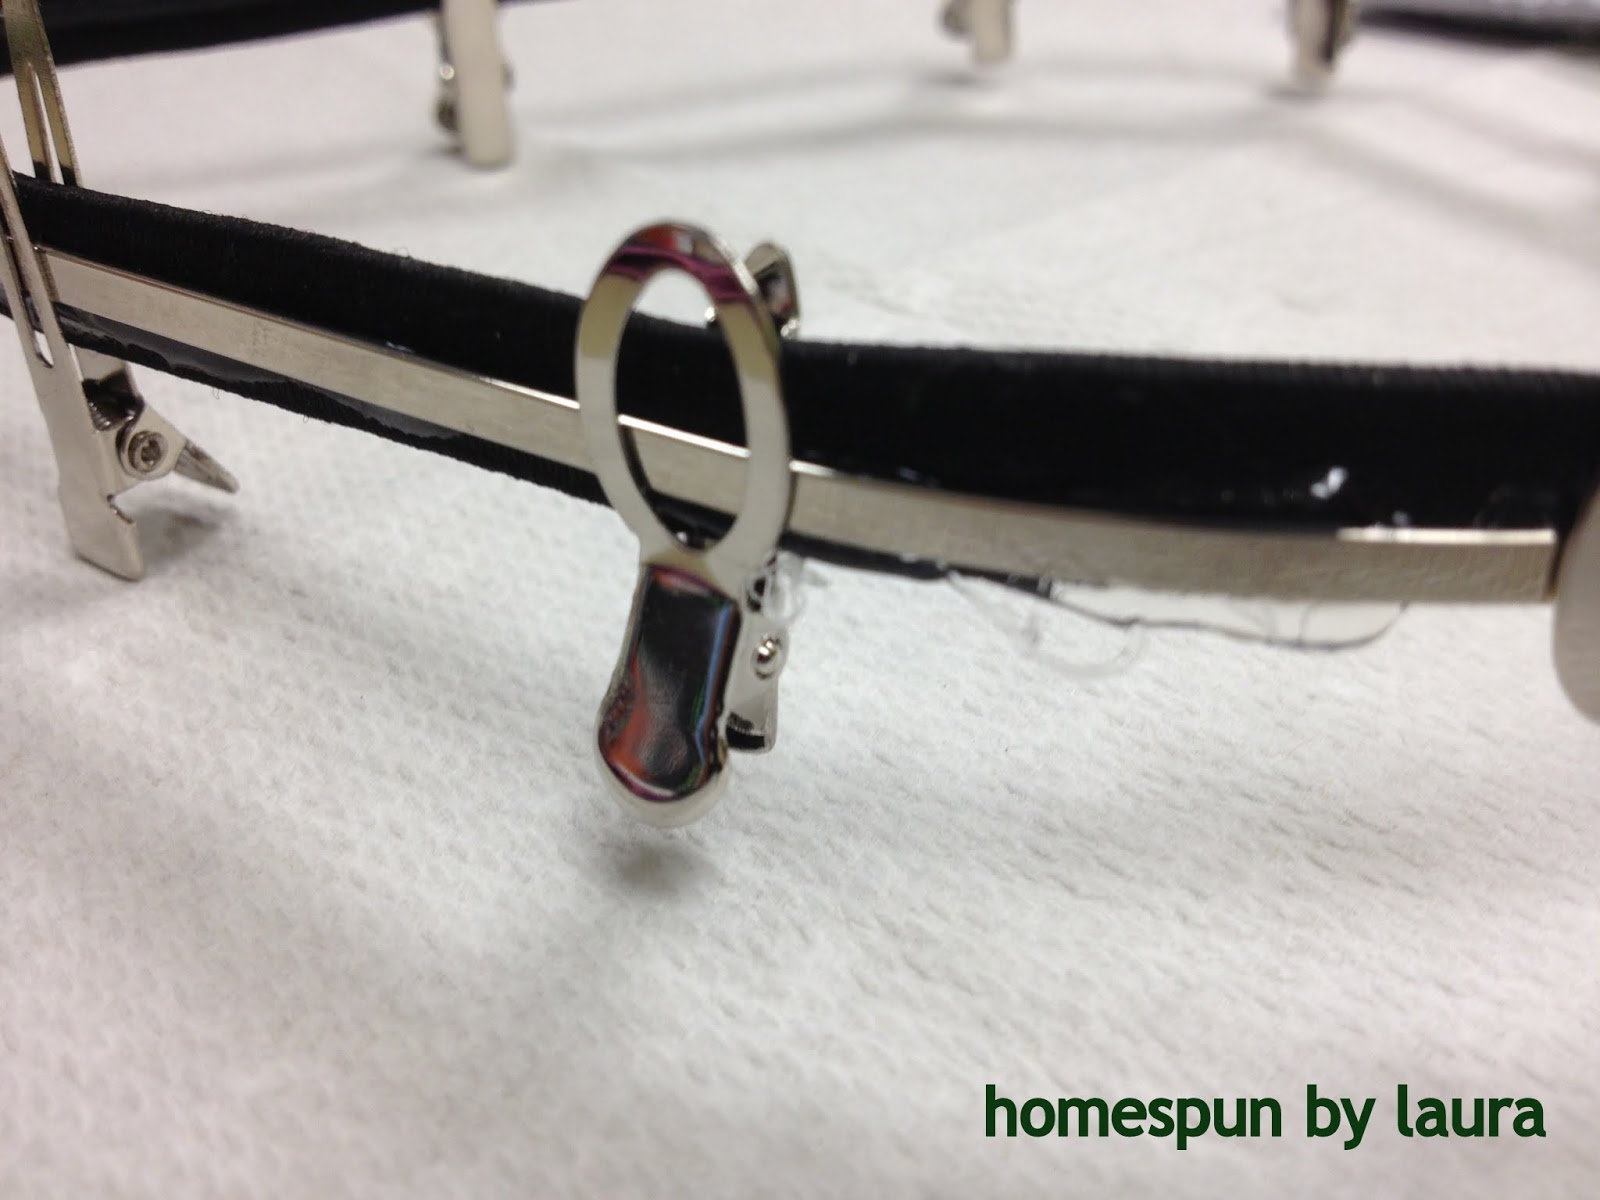
I then repeated this step all the way around the headbands, with the exception of the excess at the bottom.
 |
| The last step for the headband was to remove the clips and snip off the excess no-slip headband at the bottom |


Then I used my handy glue to attach the pupils to the whites of the eyes and let them dry. Once they were dry, I pinned them to the headband while it was on my head to make sure I allowed the right amount of space between each eye.

Once everything was spaced out (Get it? We’re working on an alien!) correctly, I hand stitched the felt circles to the headband and reinforced the stitching with my special heavy-duty glue. I’m sure fabric glue would have done just fine, but I would have had to walk all the way across the room to get it, and my special glue was right next to me. I needed to save all the energy I could for my race. 🙂
 |
| All eyes! |
 |
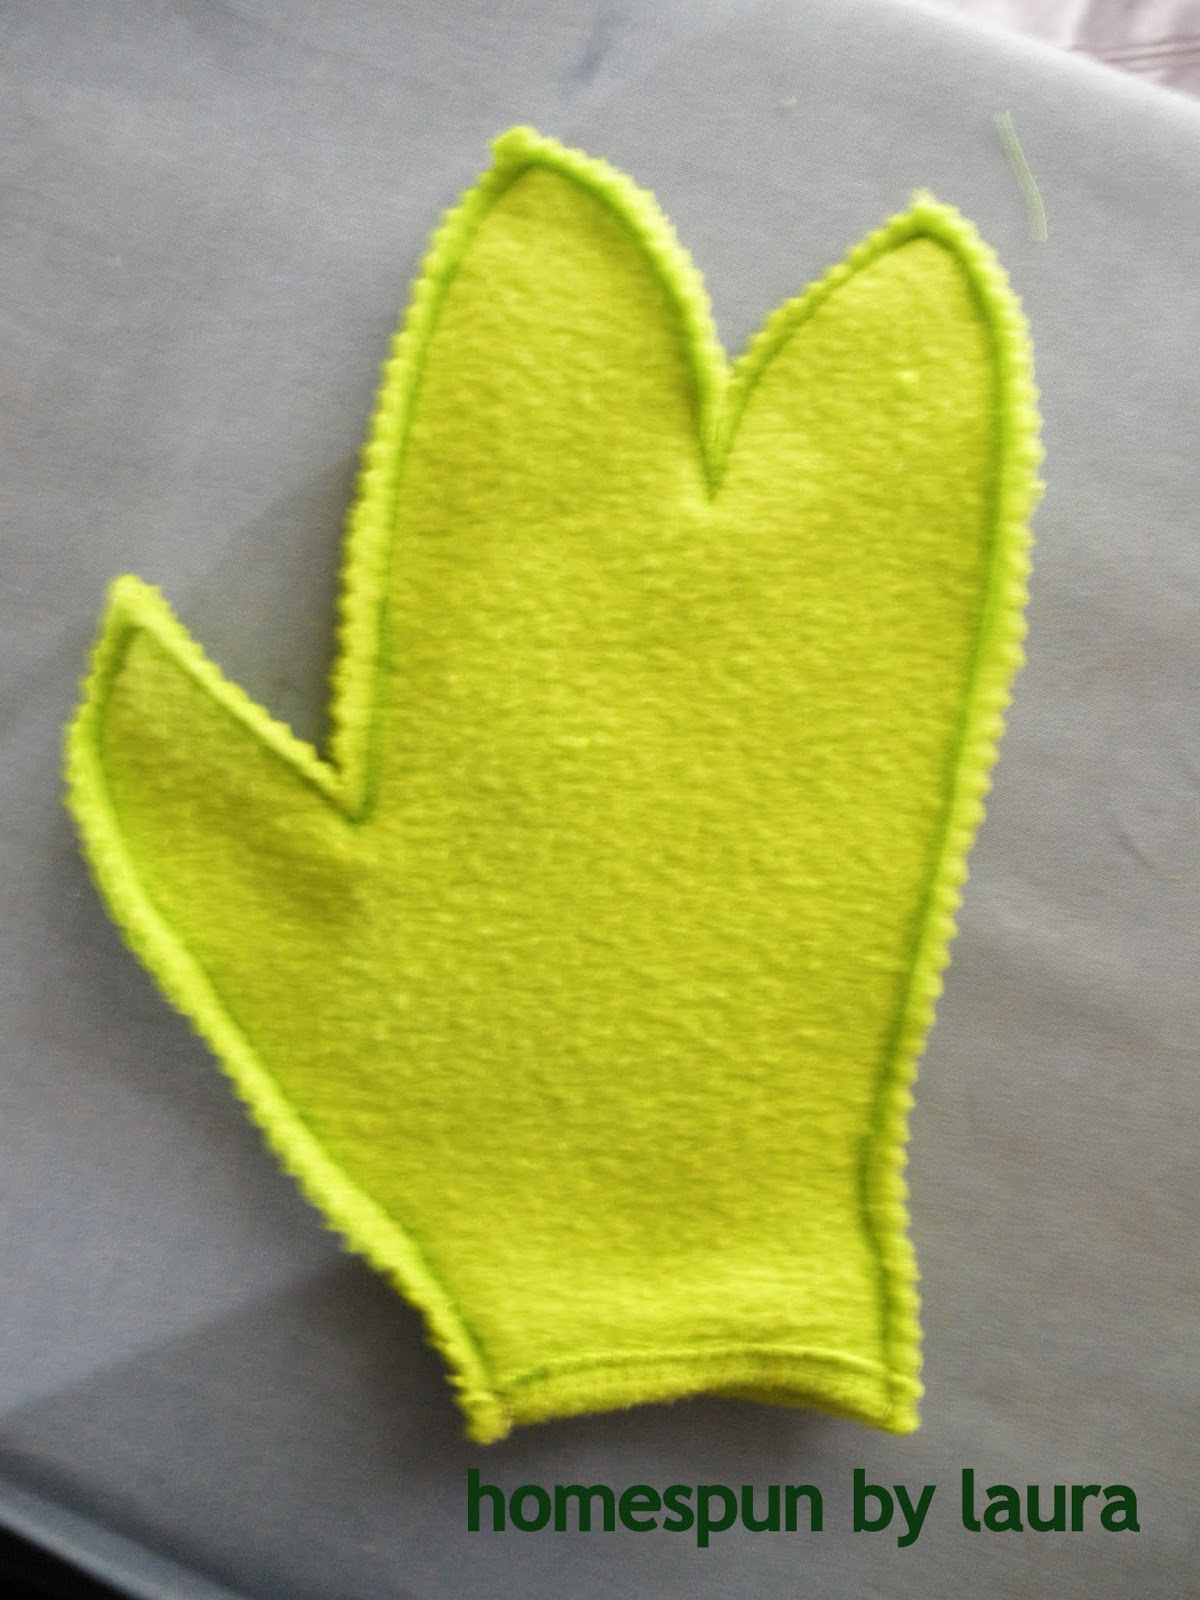
| The claw! |
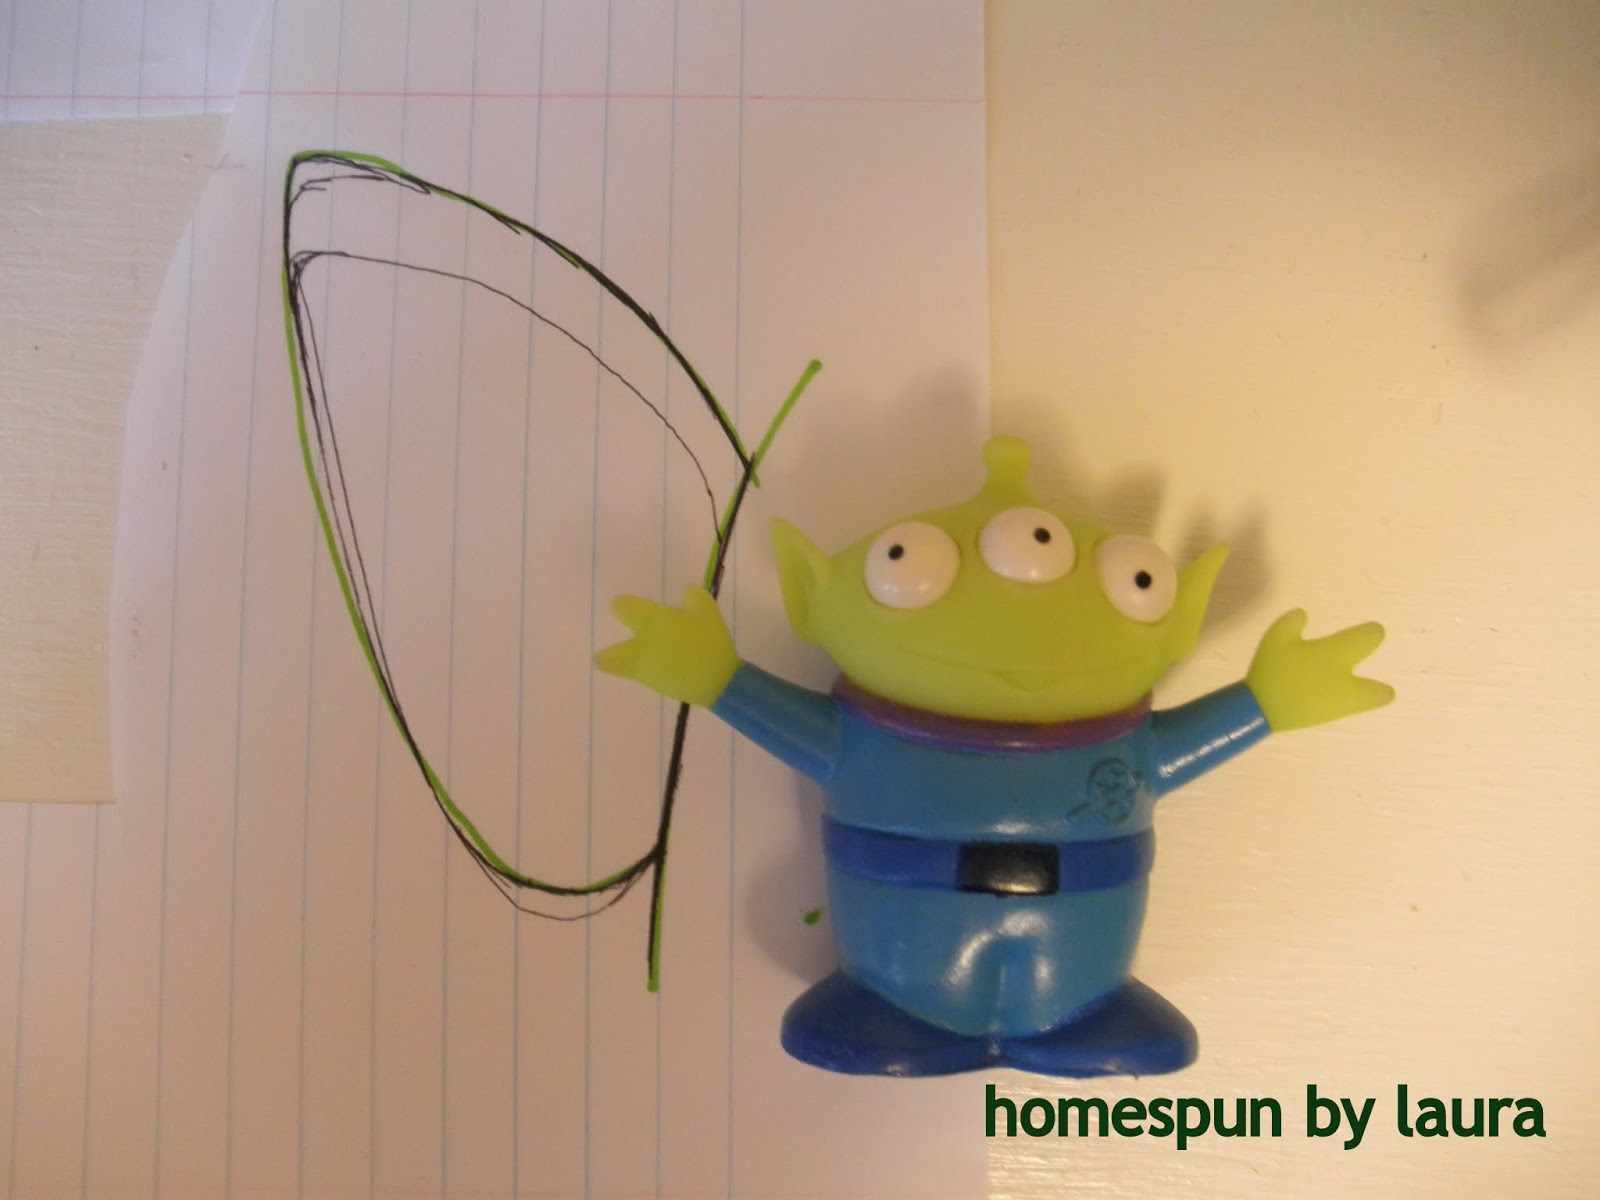 |
| Sketching |
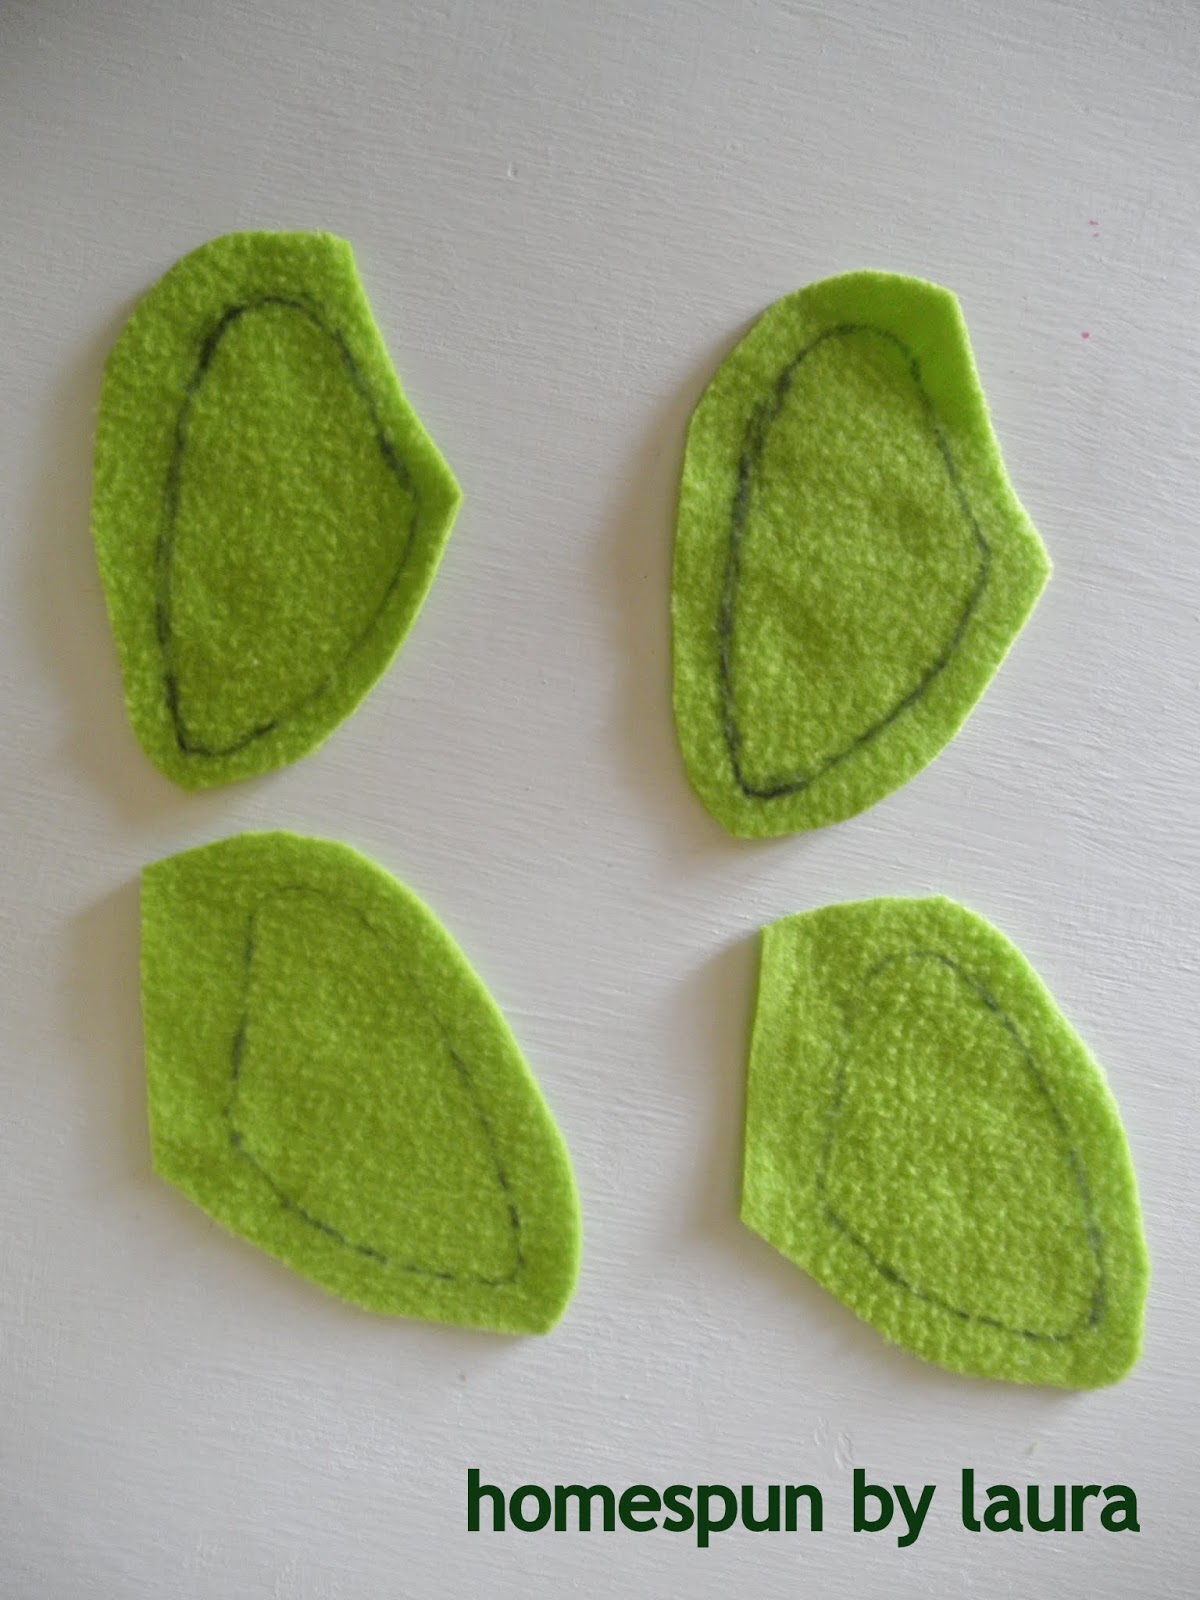
I cut out the ear and traced it four times – two of them were face-up and two were face-down – to result in 2 matching pairs. The zipper was still in good condition, so I cut it off and am saving it for some currently unknown future project.
 |
| Tracing |
So I wound up with Ear A and Ear B:
 |
| Matching |
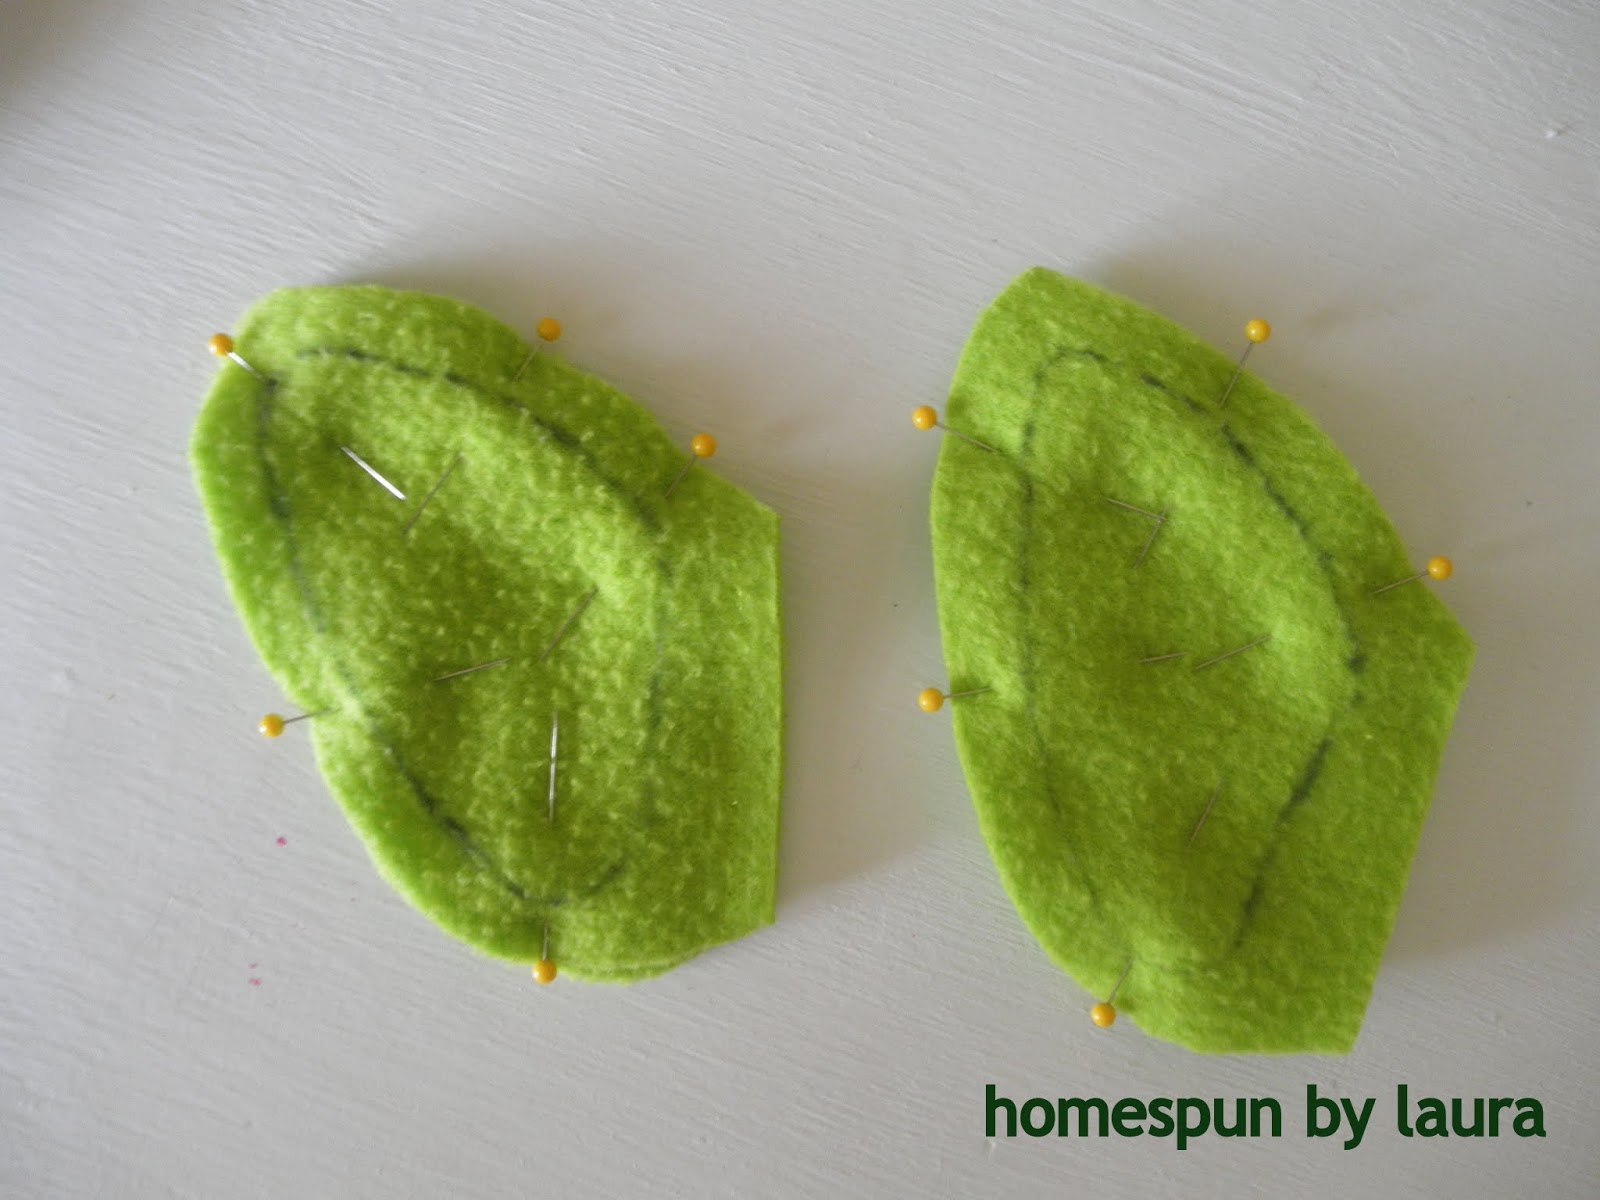 |
| Pinned up |
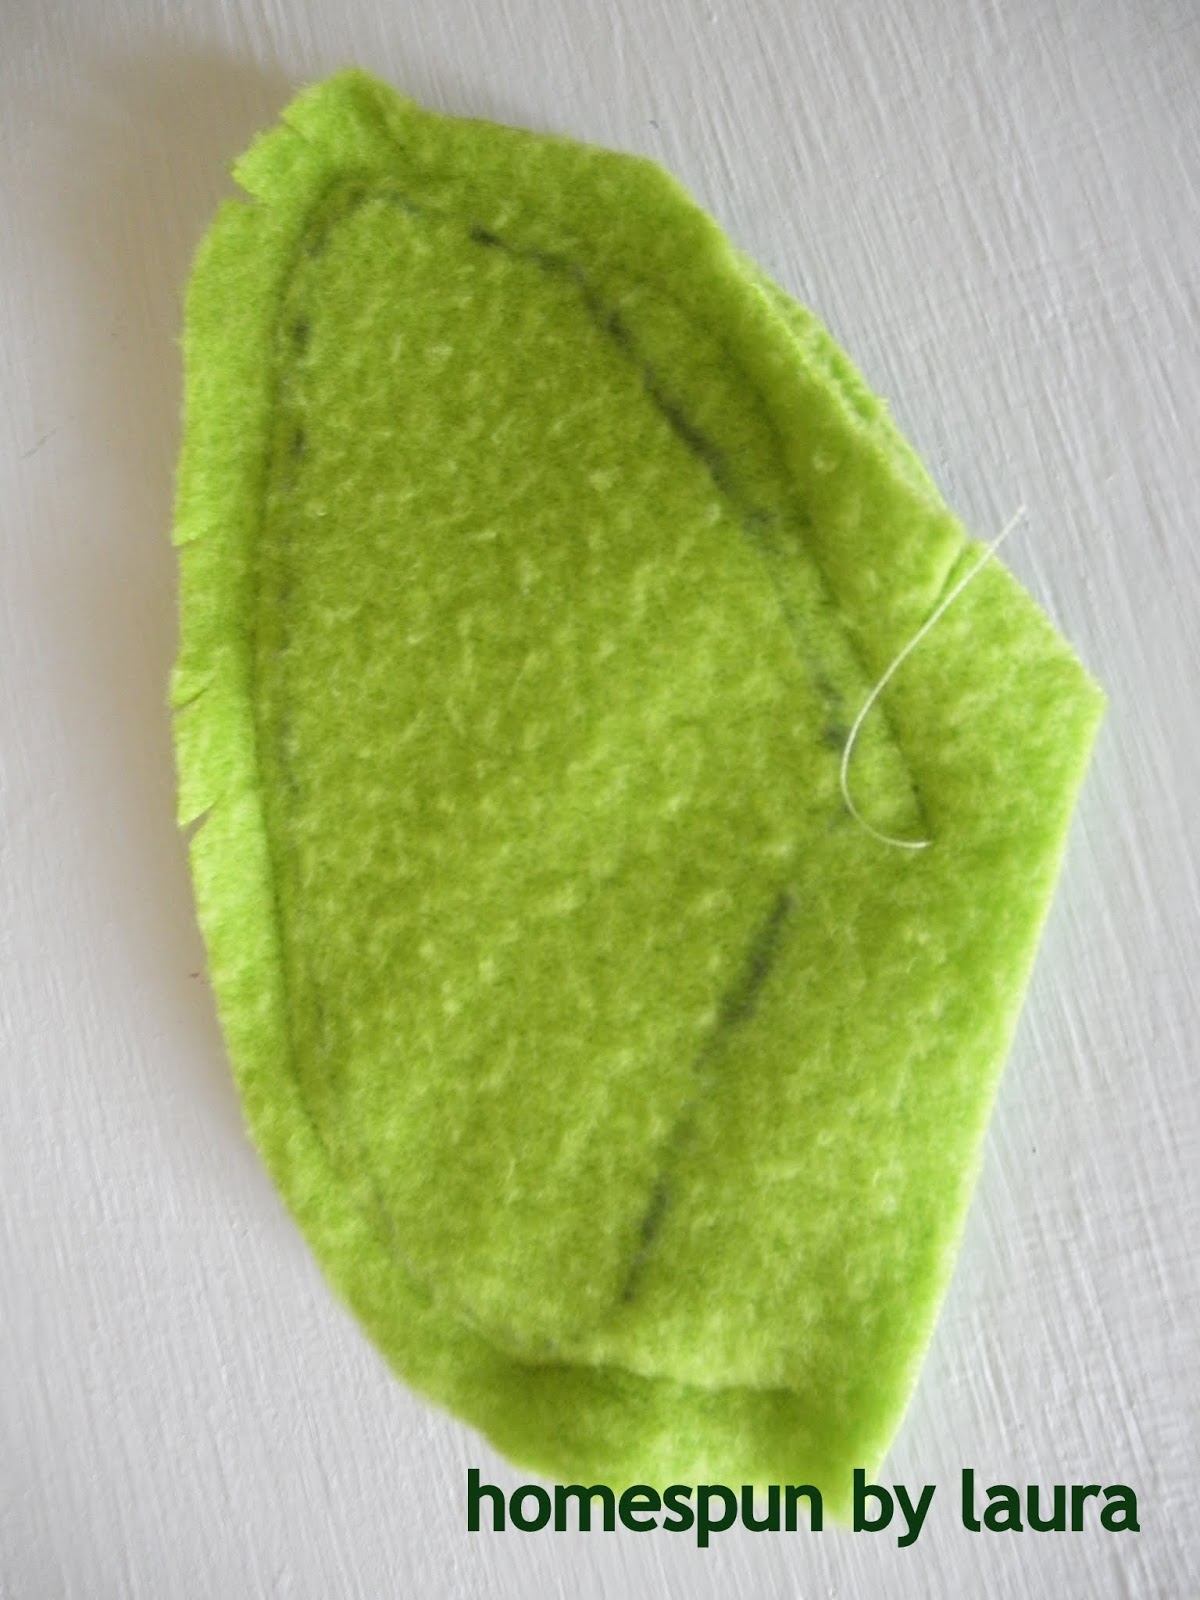 |
| Stitched up |
 |
| Looks kind of like a little baby bootie! |
Last, I was ready to attach the ears to the headband, so I again put the headband on and pinned the ears on while wearing it to make sure I spaced everything out well. I used a zigzag stitch to attach the ears to allow the headband to stretch. It was a little awkward sewing on a non-slip headband, but fortunately the ears aren’t very big and it didn’t take long.

 |
| How do you like my fancy self-portrait? |
 |
| Please excuse my broken pinky nail. And my hand note (though you might be happy to know that it worked – I did remember my shoes!!). |
I pinned and stitched, cut down to size, and turned right side out.

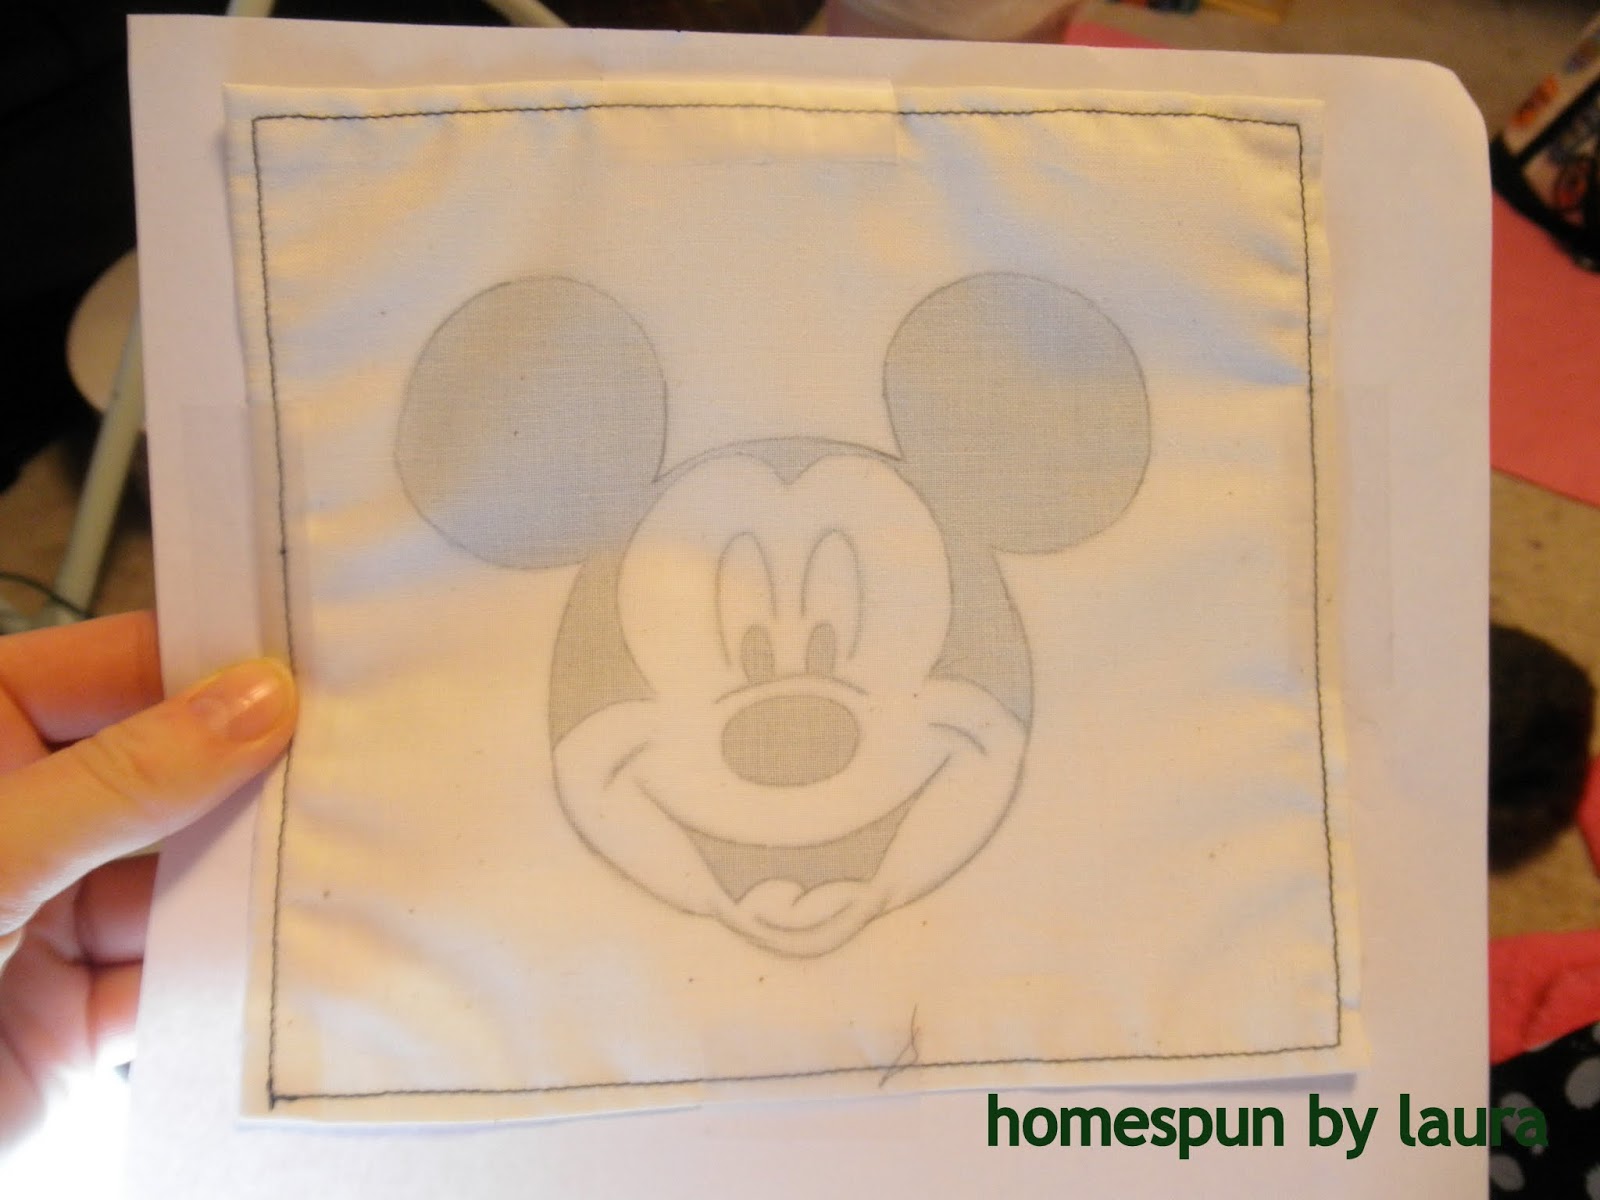
I did pretty good stitching right on the line! 🙂

I used pinking shears even though fleece doesn’t fray.

The result was enough for me to use as a guide and go back with a Sharpie to write out all the people’s names, without having actual lines visible (with the exception of his face).

- Difficulty level: Easy
- Time: 2-3 hours
- Cost: Under $5
And here are a few highlights from the race, including one of all of the alien getup.
 |
| Running through Cinderella’s castle! |
 |
| Finishing strong! |
 |
| Official finish line photo. Feeling relieved! |
 |
|
Here I am post-race wearing the entire outfit
|
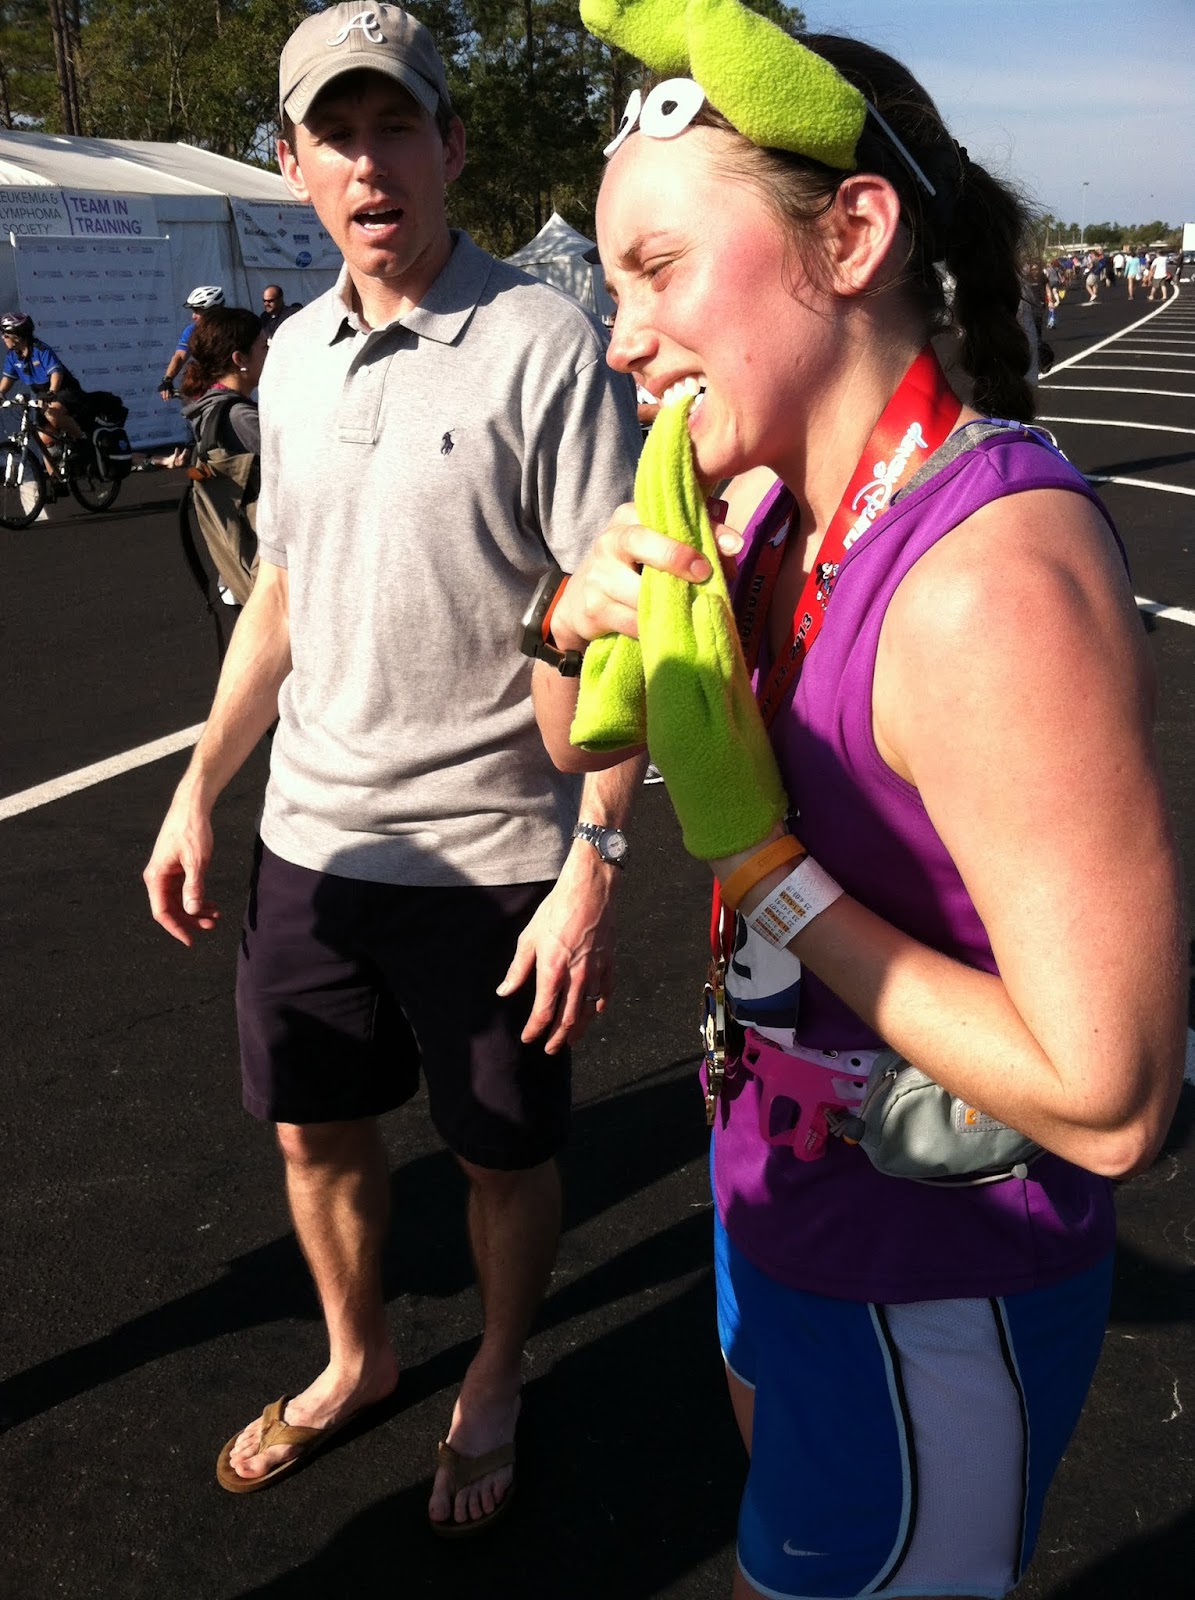 |
| But since it was over 80 degrees, those gloves couldn’t stay on for long. |
 |
| Excited to be finished! |
 |
| Mickey made it through the race! |
Thanks for reading!
