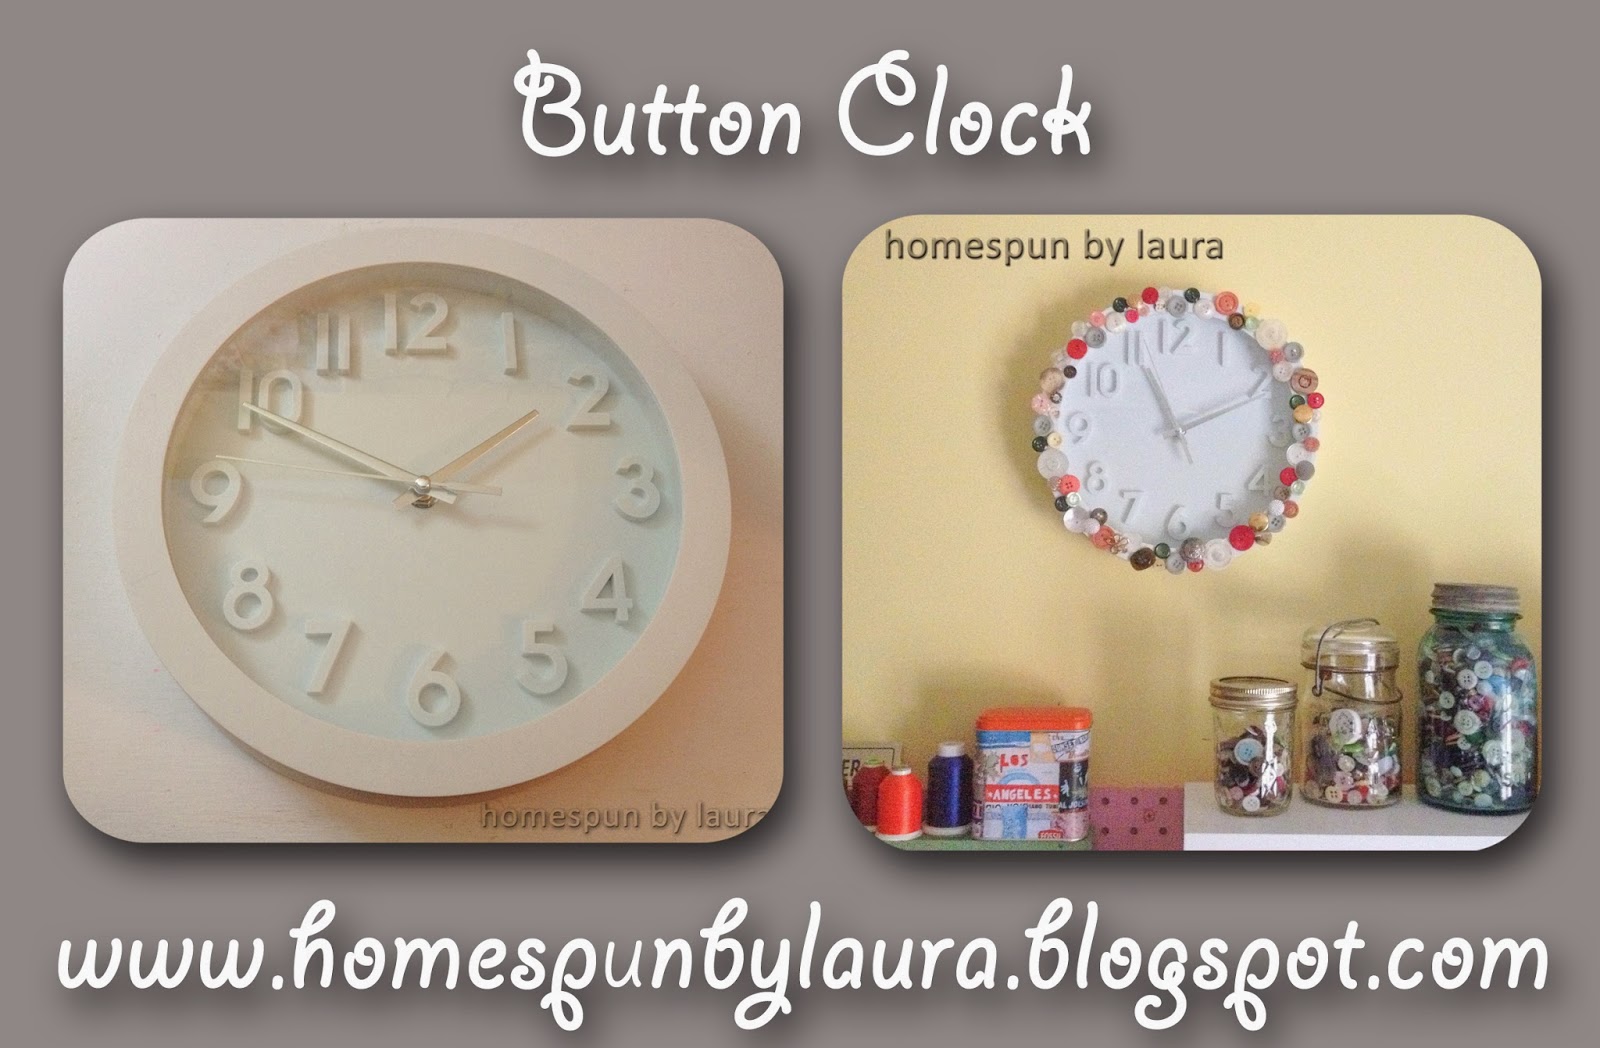
It was never a big problem until the minute hand on my clock stopped working and hung down toward the 6 at all times, even though the clock kept on ticking. I left it that way for a while – until I started losing track of time. I’d look up and it would be 6:00…and I wouldn’t have even thought about what to do for dinner. Then I was at Target one day and saw this clock for $6.99. Can’t beat that! I took it home and hung it up in place of my sad, broken clock. It was fine as it was- nice and simple – and it did its job. Dinner started getting fixed again!
| It’s a little plain, don’t you think? |
It stayed plain for a few months, hanging behind my collection of old buttons. And then one day, it hit me. Why not combine the two? Plain white clock + colorful vintage buttons = cute, colorful button clock!
I started out by separating the buttons that I wanted to use. I stayed away from blues and blacks, sticking with yellows, greens, pinks, golds, and other neutrals to match the rest of the room. I wasn’t sure how many I would need, so I went through the whole collection and picked any I thought would look good.
| Pretty pile of buttons |
Once I had selected the buttons I wanted to use, I started arranging them on the clock border and when I was happy with the arrangement, I started gluing them in place. There were a few leftovers, so I stuck them back in their jars.
The glue that I used is called E6000. The Mister put a tube in my stocking a few Christmases ago, and I’ve probably used three more since then. It’s a great all-purpose glue – it’s super strong, it doesn’t leave strings like hot glue, and it doesn’t dry so quickly that you can’t make adjustments if needed.
| This is a great craft glue! |
I left it to dry overnight, and the next morning I had a snazzy new clock! It fits right in with the button collection and antique thread spools on the shelf below it. Success!
| A clock fit for a sewing room! |
Here’s a breakdown of the project:
- Time: 45 minutes plus dry time
- Cost: ~$10
Thanks for stopping by!
Laura
