


I’m back this week with progress in our blank slate of a powder room. My goal for Week 2 of the One Room Challenge was to paint the vanity cabinets and hardware, towel and toilet paper holders, and doorknobs. Today I’m sharing my (free!) DIY vanity update.
If you’re new here, thanks for stopping by! To catch you up, here’s a recap of what happened in Week 1 of the One Room Challenge.
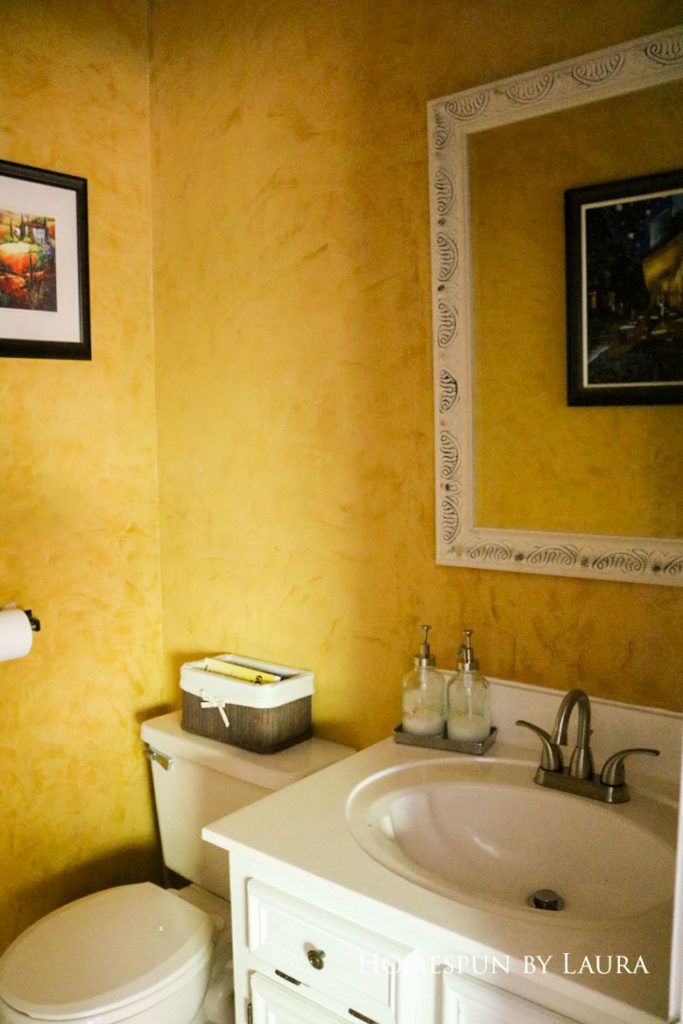
When I started this process, the room was covered in a yellow venetian plaster treatment over eighties wallpaper.

At the end of Week 1, after my unplanned attack of the wallpaper, it was basic beige.
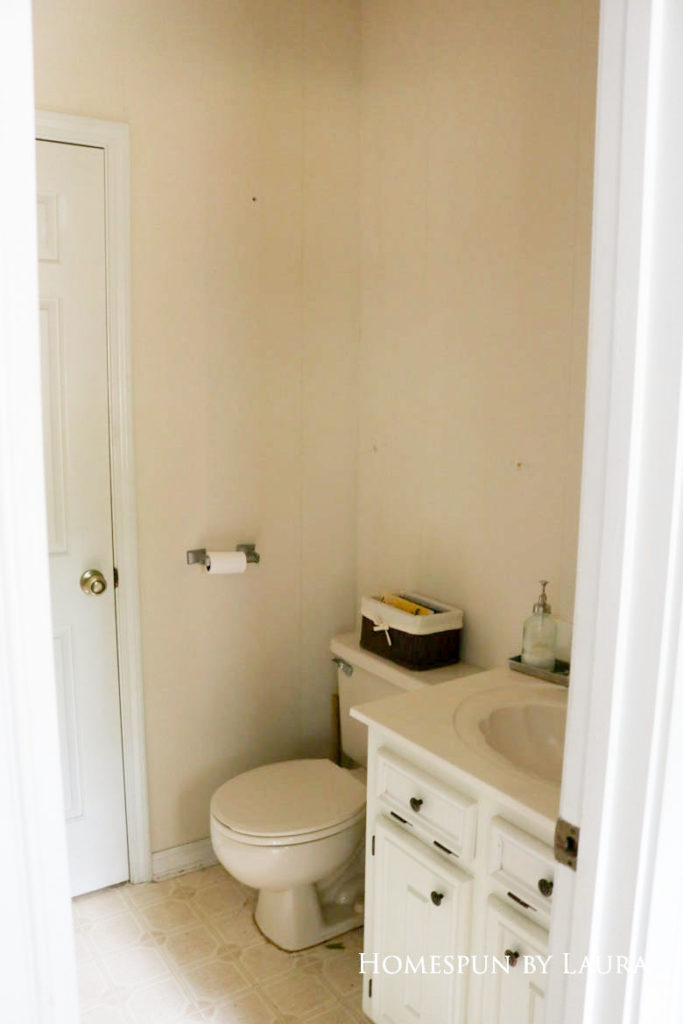
Bland & boring.
In no particular order, the project checklist looks like this after 2 weeks:
Remove wallpaper- Paint trim + door frames, doors, and
vanity - Paint walls
Replace faucet(replaced in June; not part of the budget but it feels good to check it off the list:-))- Update light fixture with spray paint and new globes
- Paint floor
- Reframe mirror
- Replace door hinges
Spray paint doorknobs + cabinet hinges and knobs + towel & toilet paper holders- Paint ceiling (to make the whole thing one color)
- Organize the pantry (for at least the 4th time)
how to paint a bathroom vanity + hardware
The first order of business was to remove the cabinet doors and hardware from the vanity. Next, I removed the doorknobs and strikeplates from both the pantry and bathroom doors. I’d already removed the toilet paper holder and hand towel ring during my wallpaper assault. I chose to spray paint the existing ones to save some dinero since they function just fine.
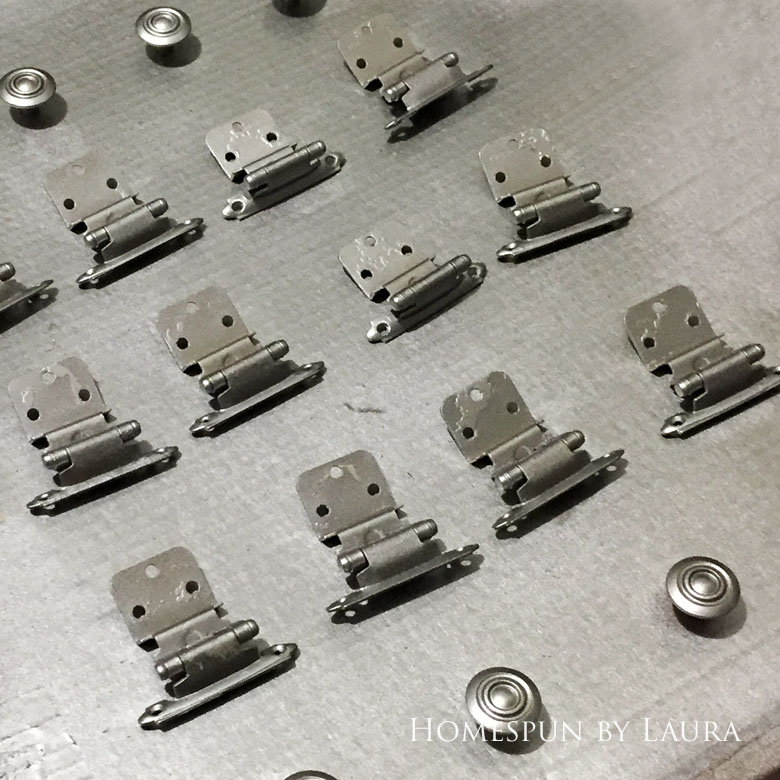
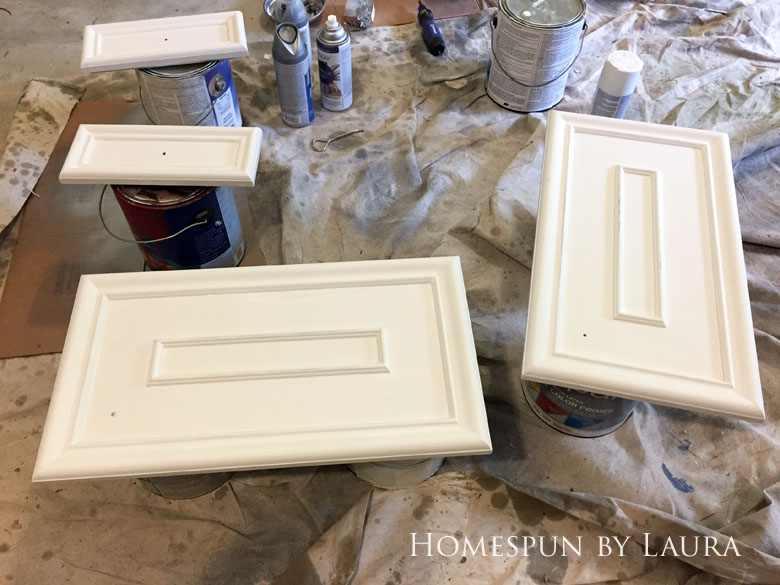
clean and spray paint the hardware
A few coats of spray paint transformed the knobs, cabinet hinges, and doorknobs. It also hid the questionable paint job left for us by the previous owners, who didn’t do a great job of spray painting the towel and toilet paper holders 9 years ago.
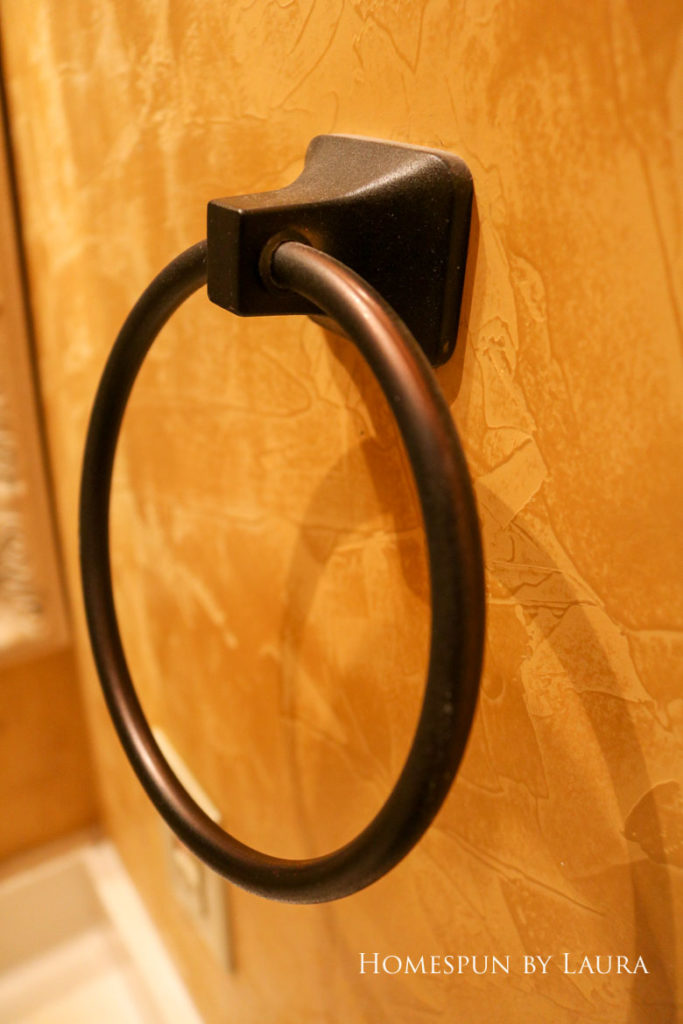
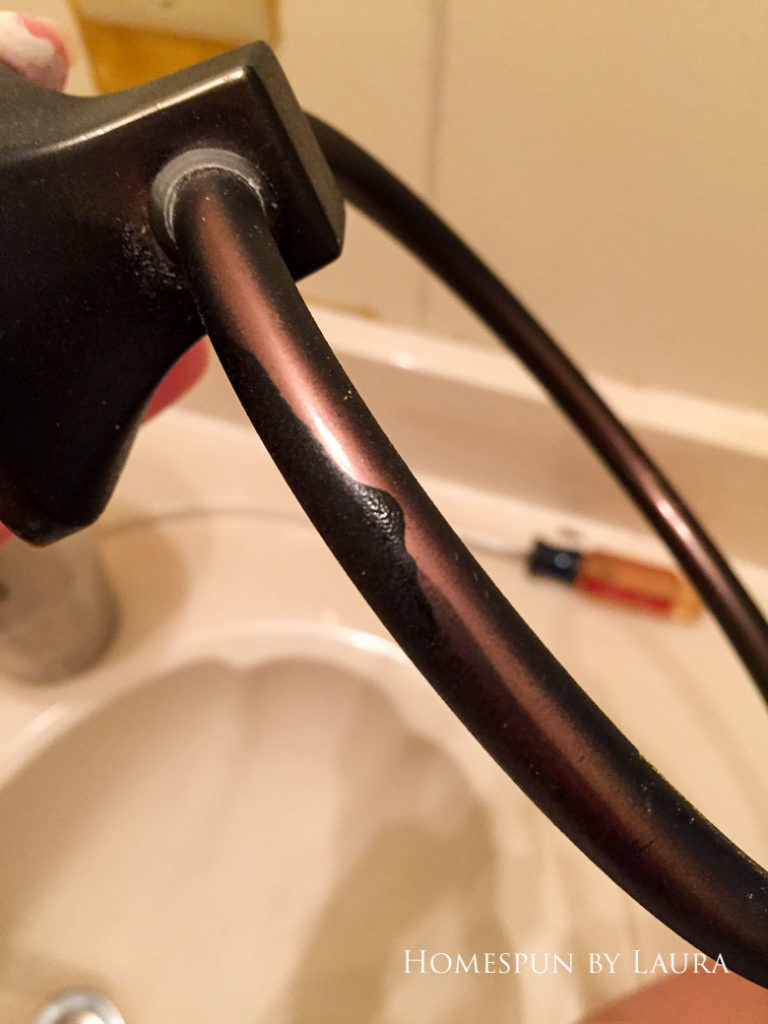


Master spray painters they were not, which no longer matters because the hardware is now a uniform brushed nickel.
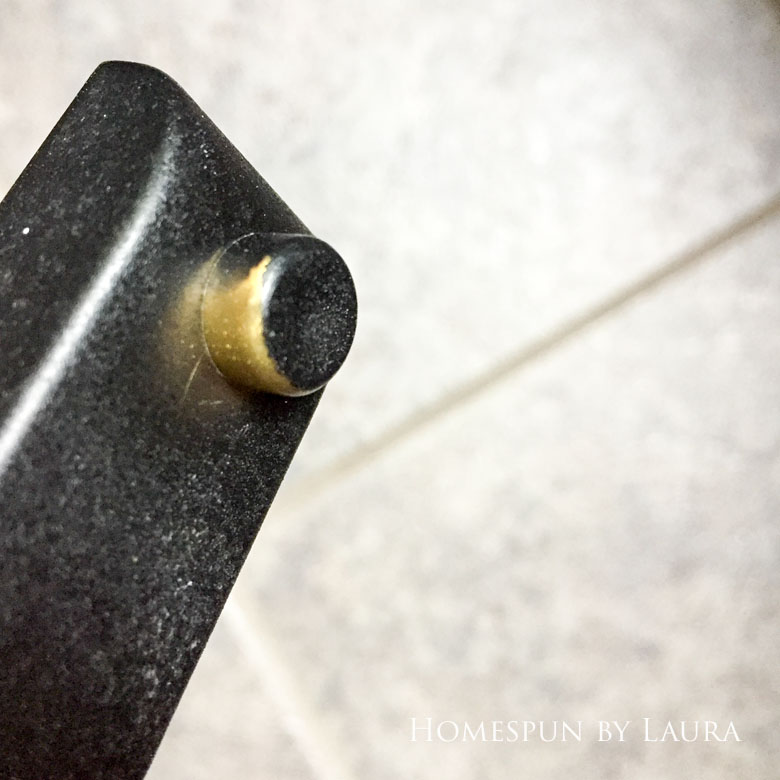
These knobs were fortunately not as gross as the ones in our master bathroom; they only required some light sanding and a few swipes with a damp rag and they were ready for their transformation.
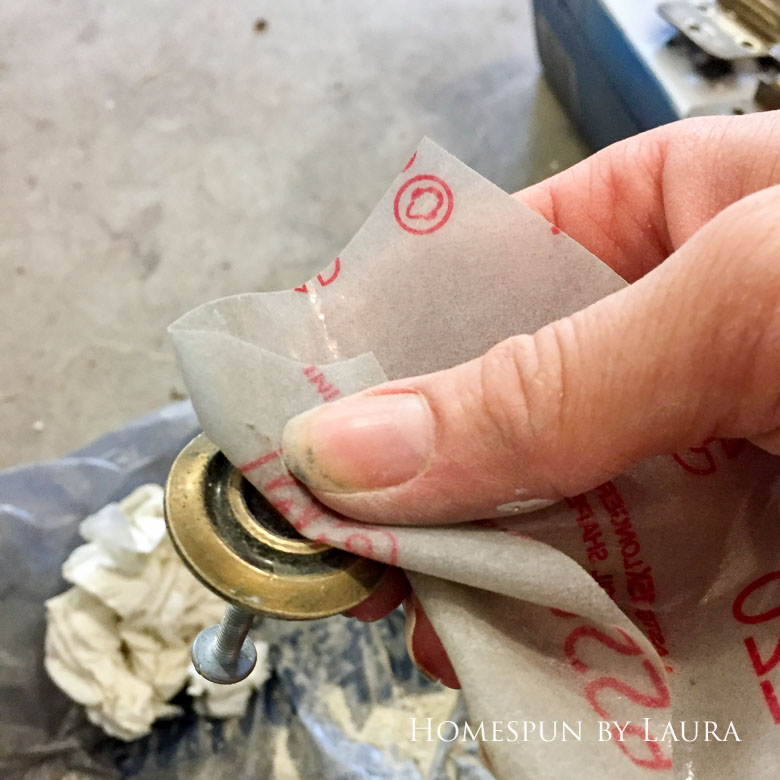
The flexible 3m sandpaper from my Haven swag bag was great for getting into the grooves on the knobs.
The knobs and cabinet hinges will have to wait until the vanity paint is dry to return to their rightful places. I’ll put the rest of the hardware back up next week after I paint the walls and doors.
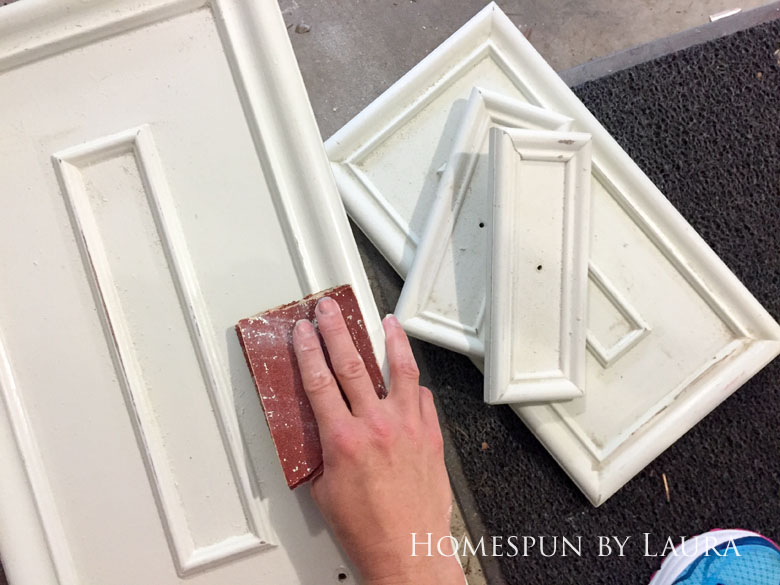
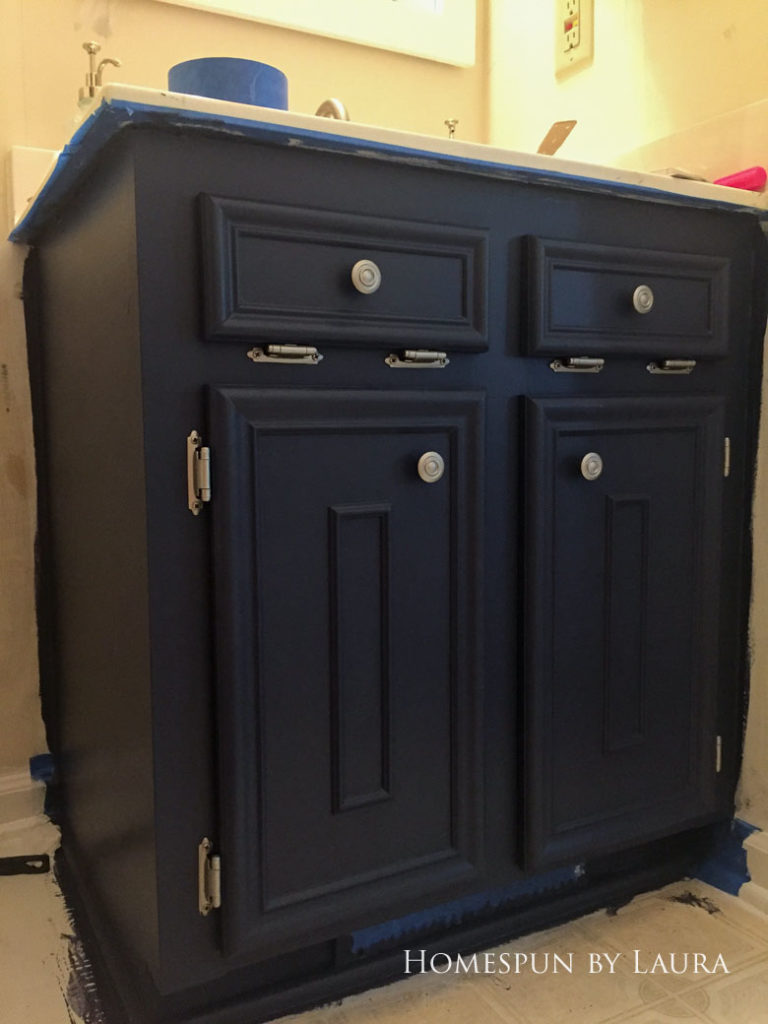
Sand, Prime, + Paint the cabinets
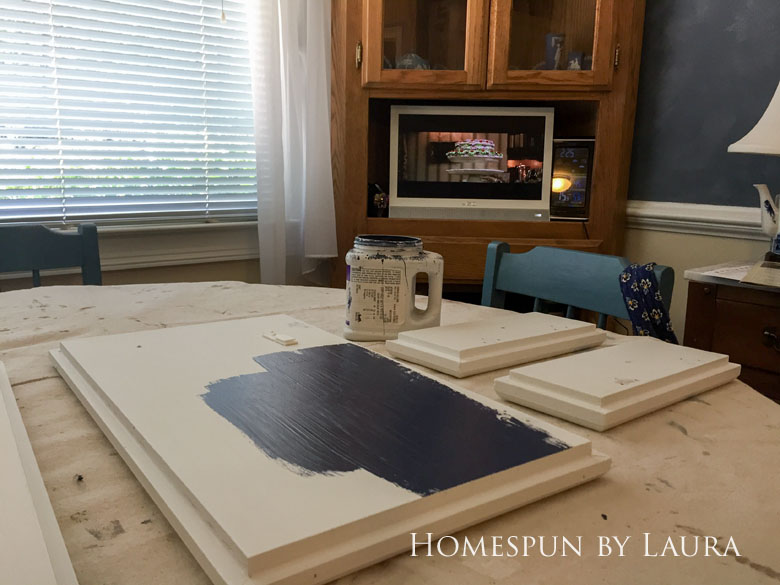
I initially planned to paint the cabinets white again, but in a last-minute decision, I called an audible and changed to navy.
I started by roughing up the cabinet doors so the paint would adhere better. The original paint job was a little rough in a few places, and I wanted a smooth result, so some areas required a little more attention (and a rougher sandpaper) than the rest.

A coat of primer on both sides followed.
Then several coats of navy finished the job.
Meanwhile, Harry watched in horror as Dobby used a hover charm on the pudding.

And Ron barfed slugs.
I bounced around from workspace to workspace until all surfaces were satisfactorily covered with the appropriate paint. Back and forth, back and forth, until the work was done. A couple of Harry Potter movies got me through this pinball machine of a day.
The absence of cabinet doors confused our poor pups, who usually get a treat or food when the cabinet is open.
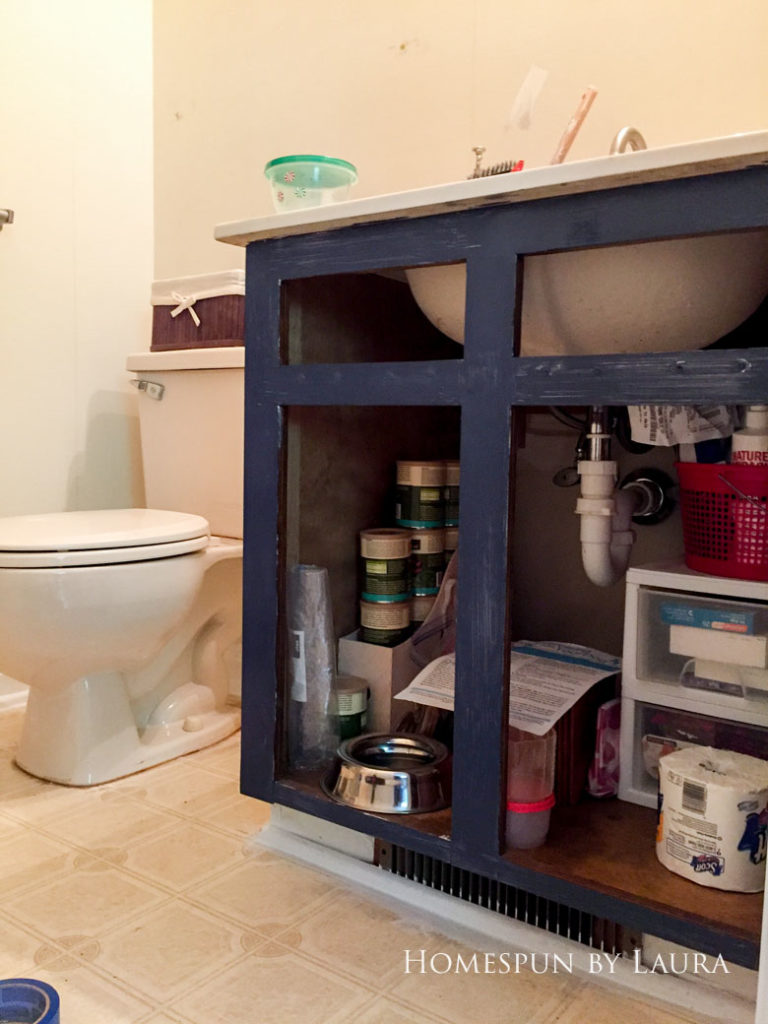
I debated whether to leave the trim at the bottom white or paint it navy. After looking at a few images of navy vanities and cabinets online – some of which left the molding at the bottom white – I decided to take the navy down to the floor.
Since I’ll be painting the floor and walls, I didn’t waste time taping them off. Only the trim, which I primed while all the other paint dried, and the air return grille got the painters tape treatment.
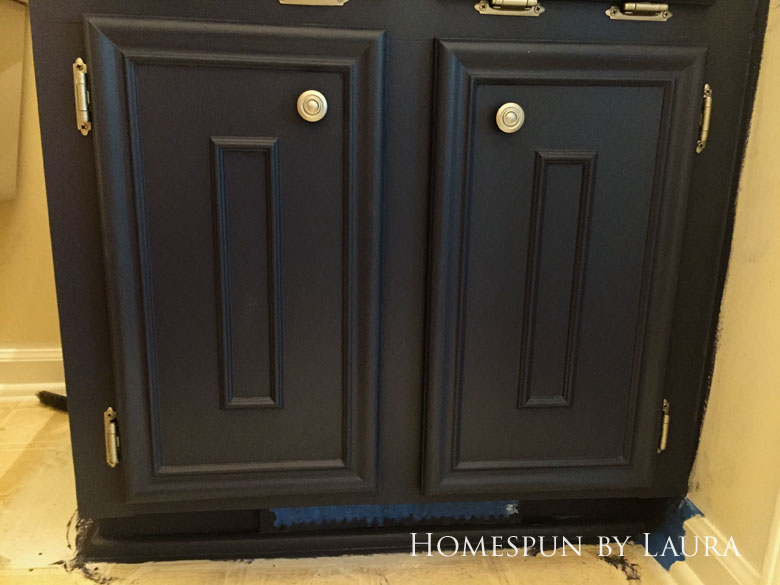
I LOVE the new color! I’m so glad I changed the plan at the last minute and that there was enough leftover paint to cover the vanity.
The ‘new’ brushed nickel knobs and hinges look like entirely different hardware and really pop against the dark navy.
The total cost of this DIY vanity update was…ZERO dollars! I used navy paint leftover from our french door headboard and pretty much always have a can or two of brushed nickel spray paint on the garage shelf, so I’ve made it through another week without dipping into the $75 budget.
budget breakdown
Week 1: Remove wallpaper – $0
Week 2: Paint vanity and hardware – $0
Running total – $0

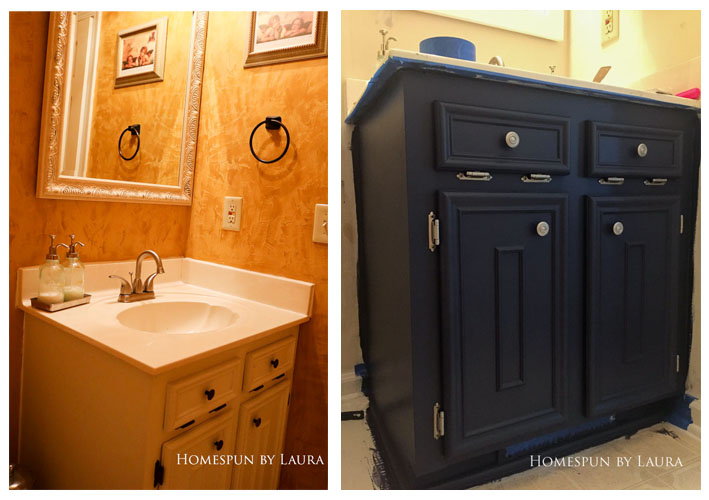
How annoying. I didn’t take pictures from the same angle. :-/
Next week, I’ll tackle the walls, trim, doors, and ceiling. They’ll all get a couple fresh coats of paint, and I can’t wait! In the meantime, check out all the other great works-in-progress over at Calling it Home!
Laura