For about the price of a decent bacon cheeseburger, I created a DIY framed mirror from an old one I didn’t like. Read on to find out how to update your own ugly mirror without using any power tools!
Before I dive into the DIY framed mirror, I’ll start with a quick recap of my progress so far in our half bathroom, which is getting a full makeover in this fall’s One Room Challenge:
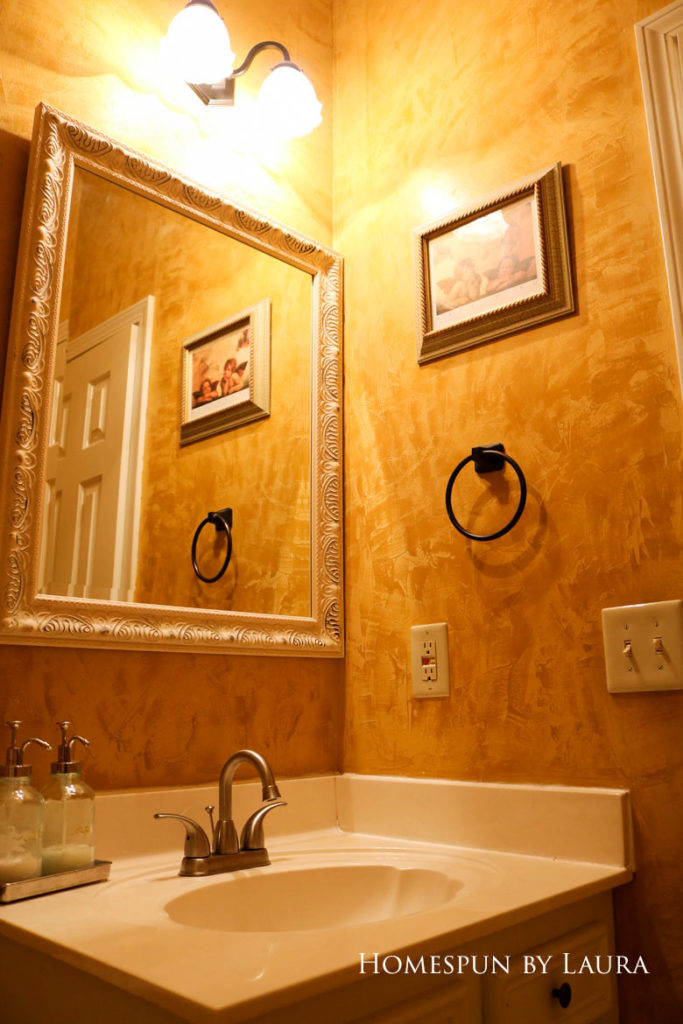
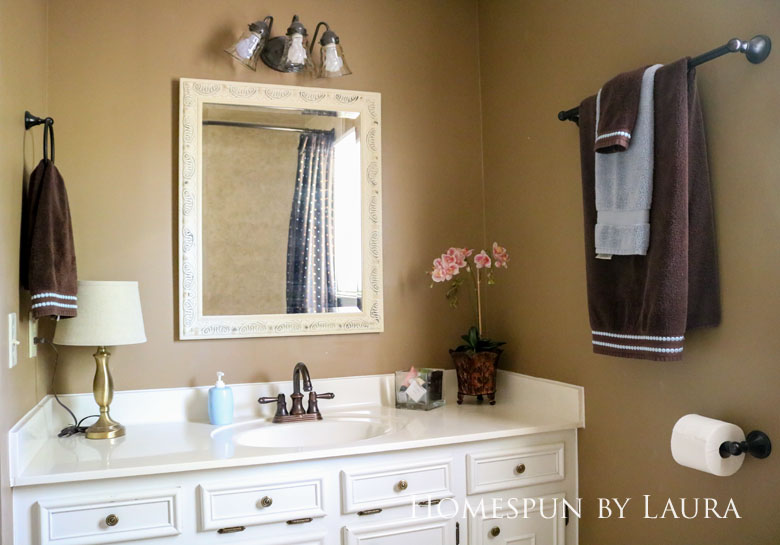
Before the One Room Challenge, the primary word you could use to describe it was YELLOW:


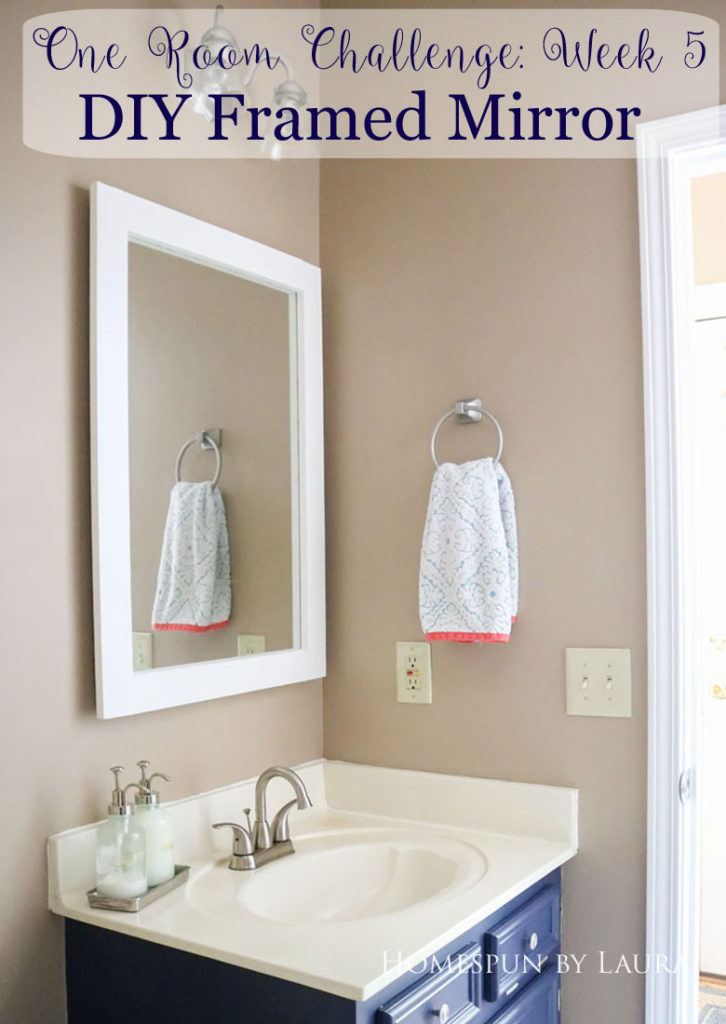
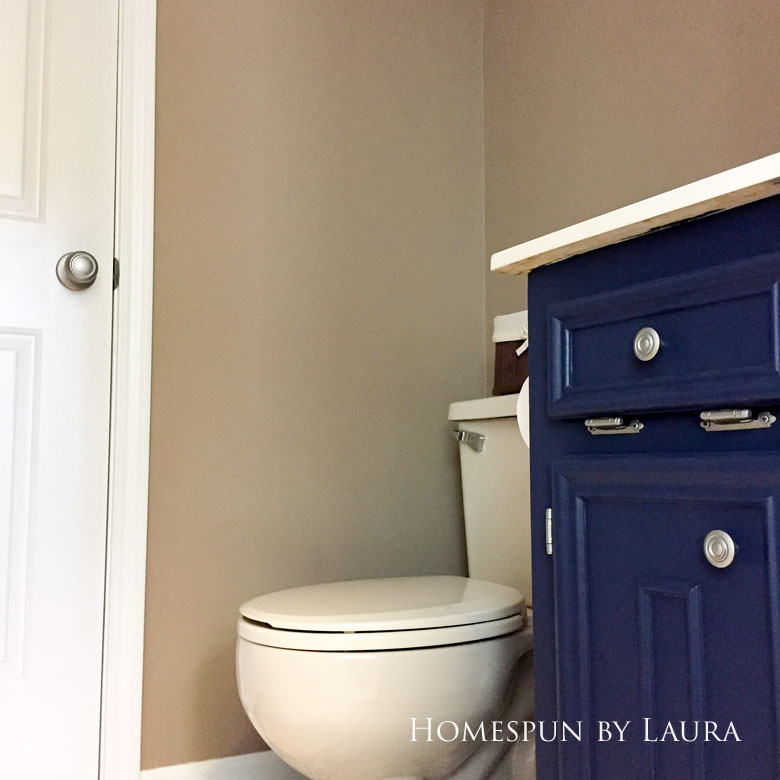
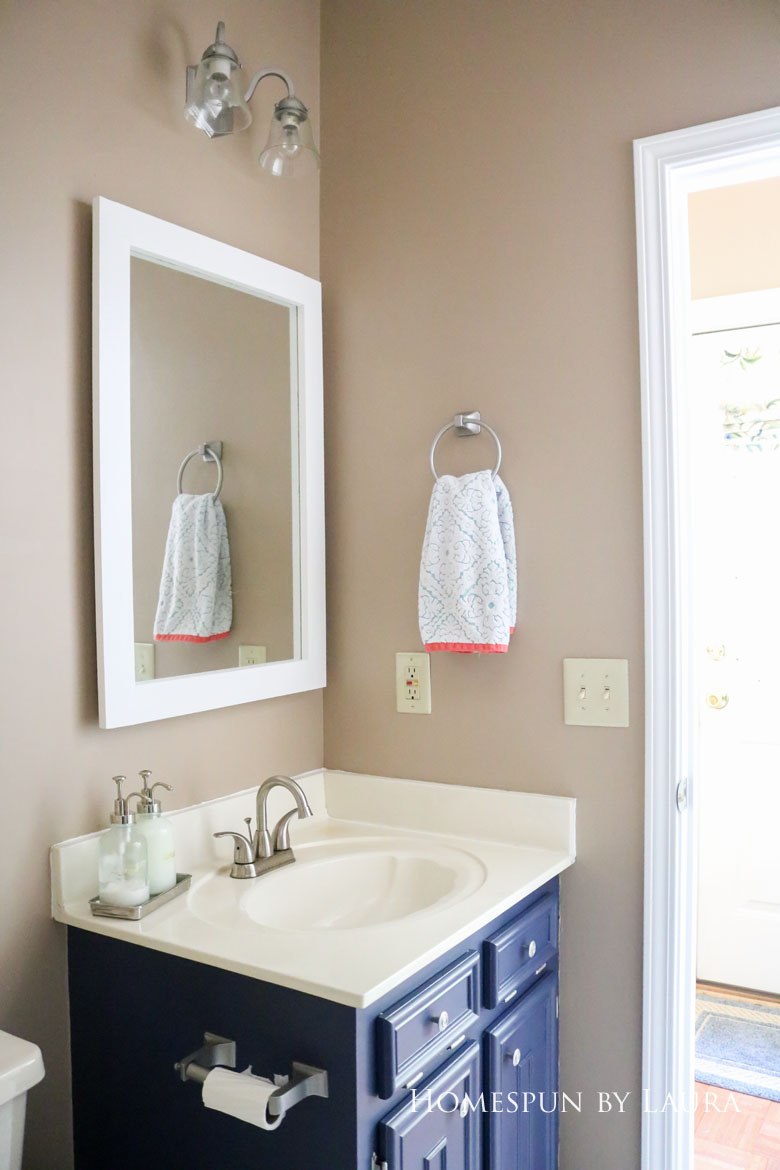
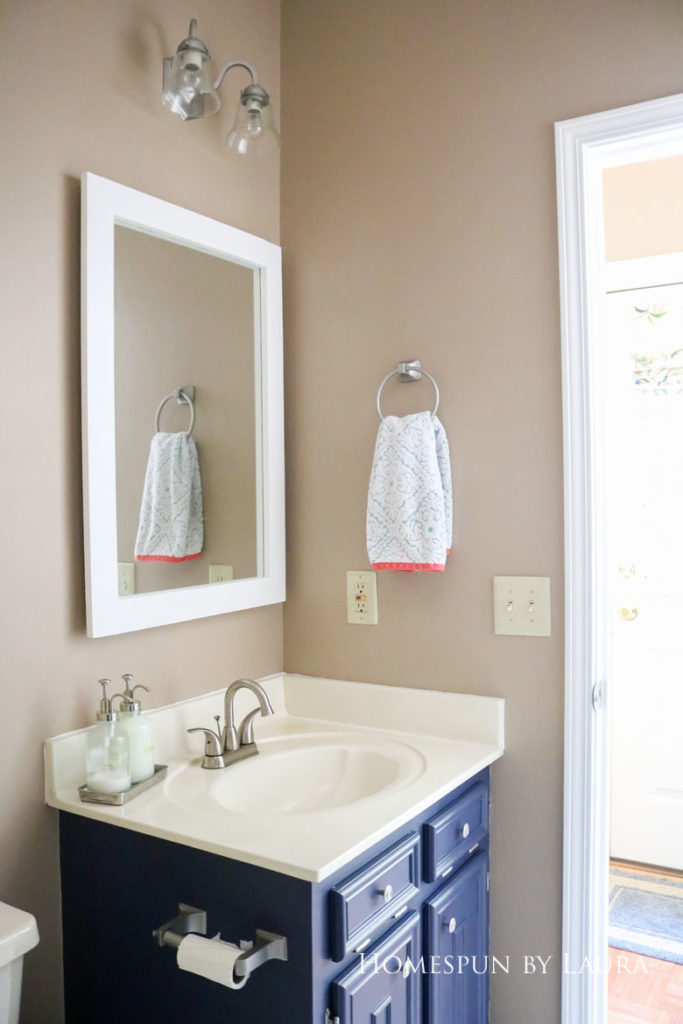
As of Week 4, I’ve painted everything but the toilet and sink, and there’s no more yellow in sight:


This post contains affiliate links. The small commission I receive if you make a purchase helps me keep my site up and running. Thank you for your support!
The DIY framed mirror in the powder room is similar to both the framed print and updated mirror I made recently, and I thought this week would be a great opportunity to share a little how-to with anyone else who might want to give their own ugly mirror a new look.
The supply list for this project is pretty short:
- Old or ugly framed mirror
- Wood plank (I used a primed 3″ pine board for both mirrors) – see below to determine length before purchasing!
- Brackets and Screws
- Spackle or wood putty
- Paint
No power tools are required, but you’ll need to pull a few things out of your tool box:
- Handsaw
- Hammer + nail
- Screwdriver (find my favorite ratcheting screwdriver here)
- Putty knife or painters tool
- Sandpaper
- Paintbrush
Most of the tools & supplies linked above are affiliate links.
How to make a DIY framed mirror
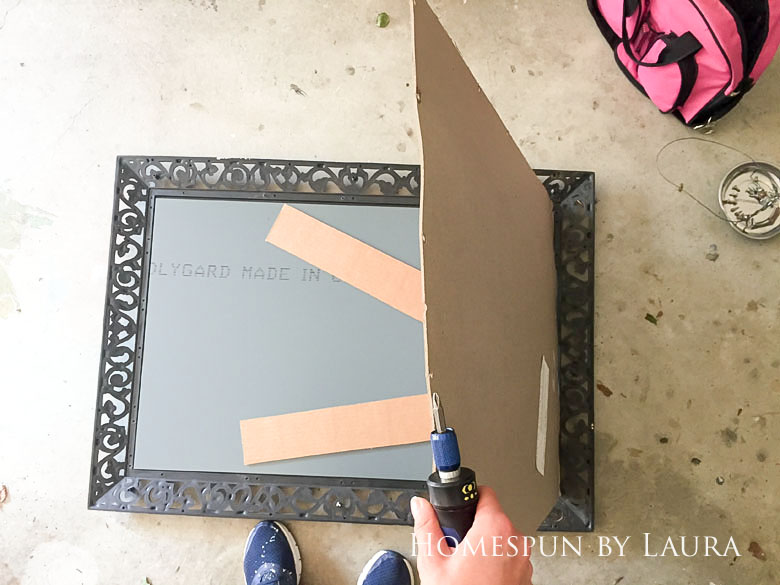
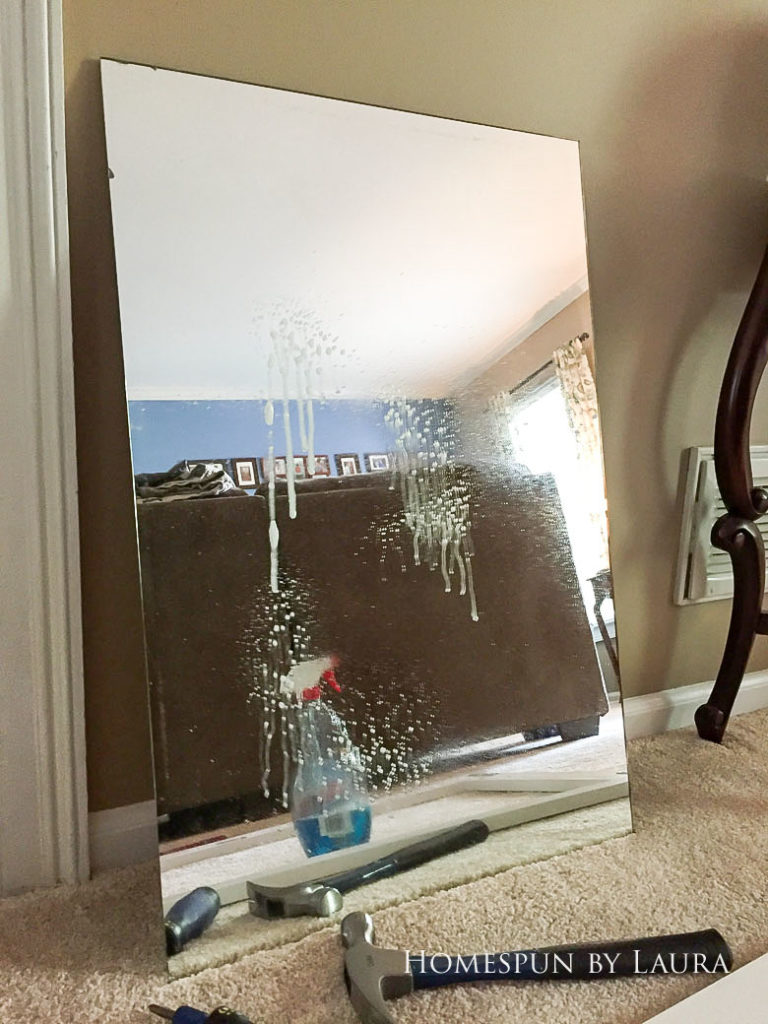
Start with a mirror you don’t like. I had originally planned to spray paint this one, which is why it’s taped off. In the end I changed my mind because even in a different color, the frame was more ornate than what I was going for.

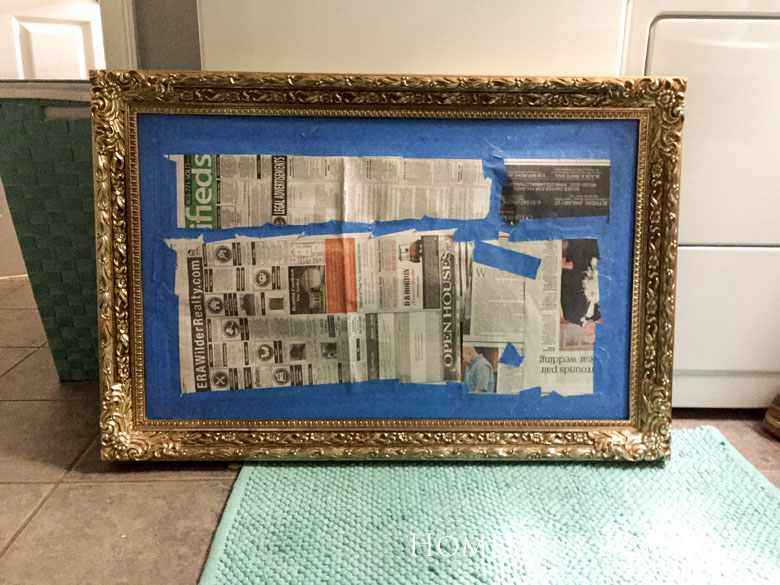
This particular mirror came from the dumpster in my neighbor’s yard a few years ago and sat forgotten in a closet until a few weeks ago.
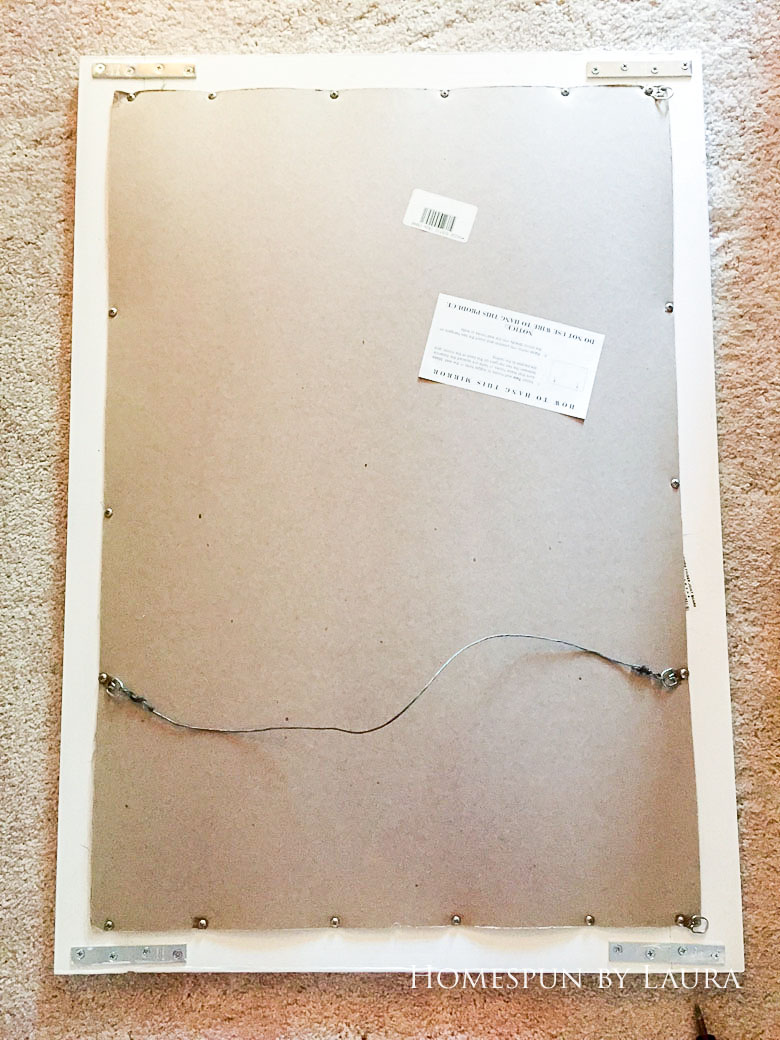
disassemble your mirror
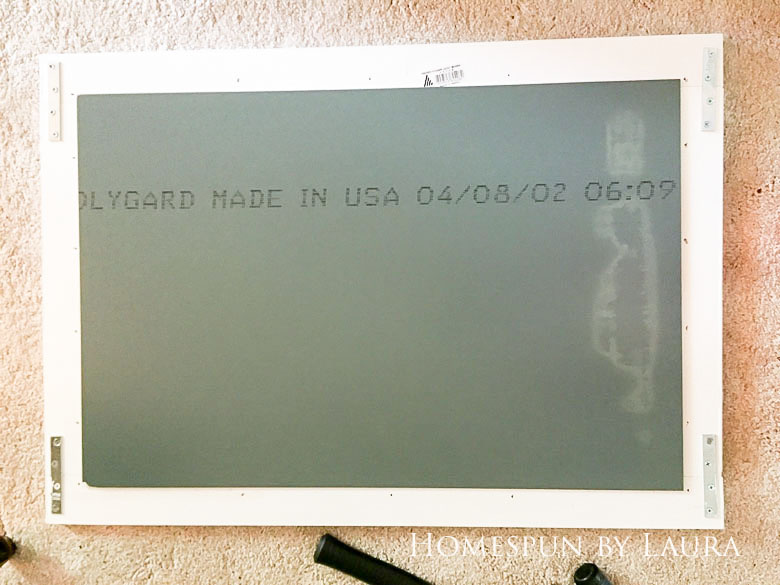
Turn the mirror over and unscrew the frame. Be careful not to break the mirror! You’ll see two different mirrors in the photos below because I’ve made two nearly identical frames for two different mirrors. The method is the same for both!

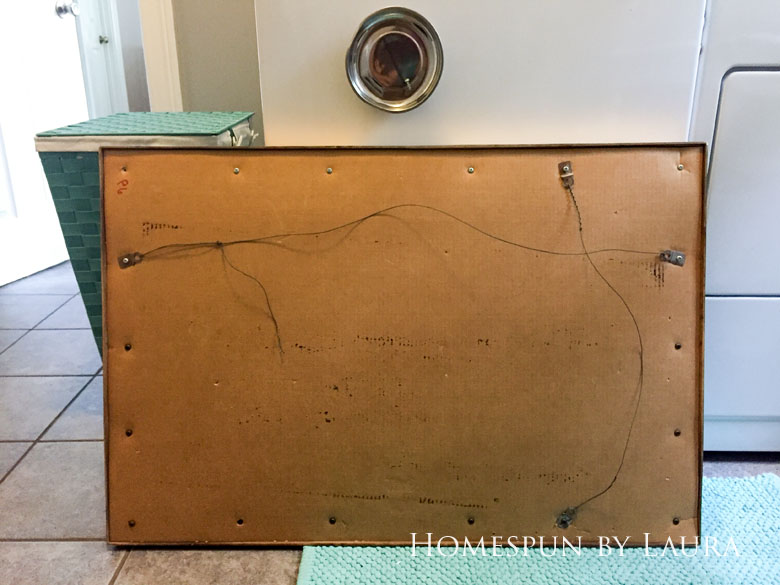
Be very careful with your mirror. Mirrors are made of glass, which is breakable and no fun to clean up.
Keep the cardboard; you’ll reuse it later when you’re assembling the finished product!

measure your mirror
Next, measure the mirror’s dimensions and write them down.

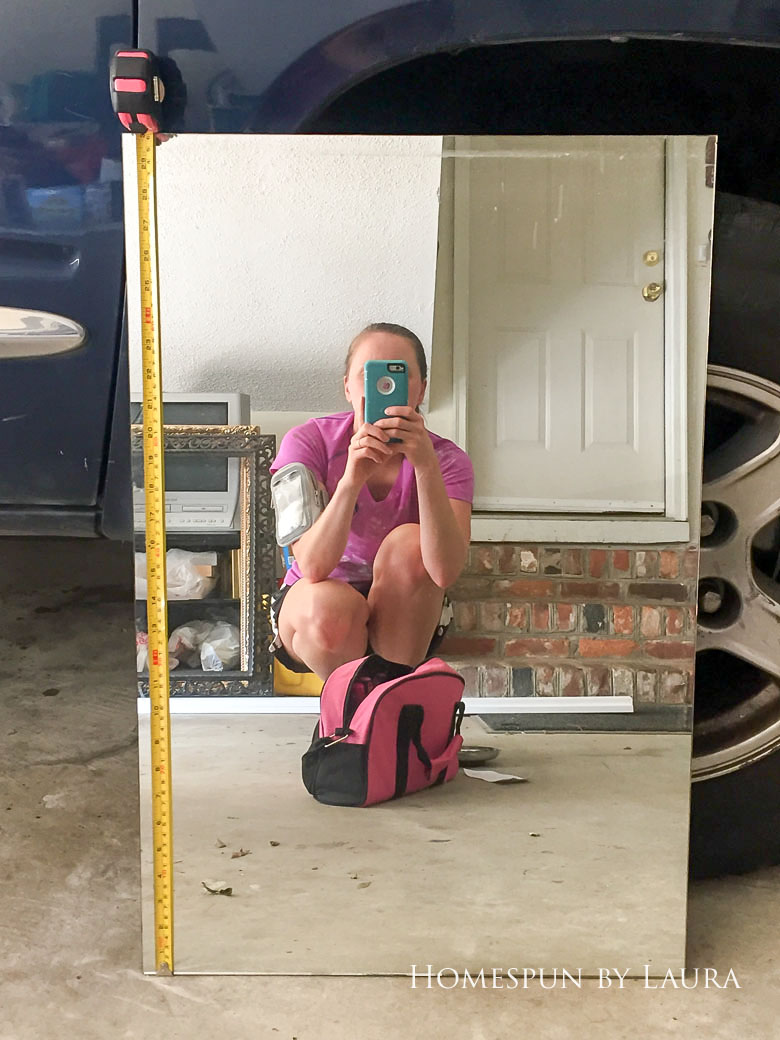
You can see the frames for both of the old mirrors behind me as I use a rather unconventional method to measure the mirror.
For example, one of mine was 20-1/8″ x 32-1/4″. Though I’ve never been awesome at understanding math, DIY math comes to me pretty easily. It’s all in my head, though, so I’m going to describe how to get the measurements for your wood cuts the best I can…
You want the interior measurements of the frame to be smaller than the size of the mirror so the glass will overlap the wood. This allows you to secure the mirror to the back of the wood. To make for easy math, I chose two nice even (well, they are actually odd, but they contain no fractions) numbers for my interior measurements, 31″ x 19″.
If you’ve ever looked at lumber before, you’ve probably noticed that the actual size of the wood is different from the name it’s called (can you imagine calling a 2″ x 4″ a 1-1/2″ x 3-1/2″? Nope, that’s a mouthful.), so make sure to use the actual size when doing your calculations.
It helps me if I draw a diagram of what I’m making before I start measuring, then fill in the numbers as I go:

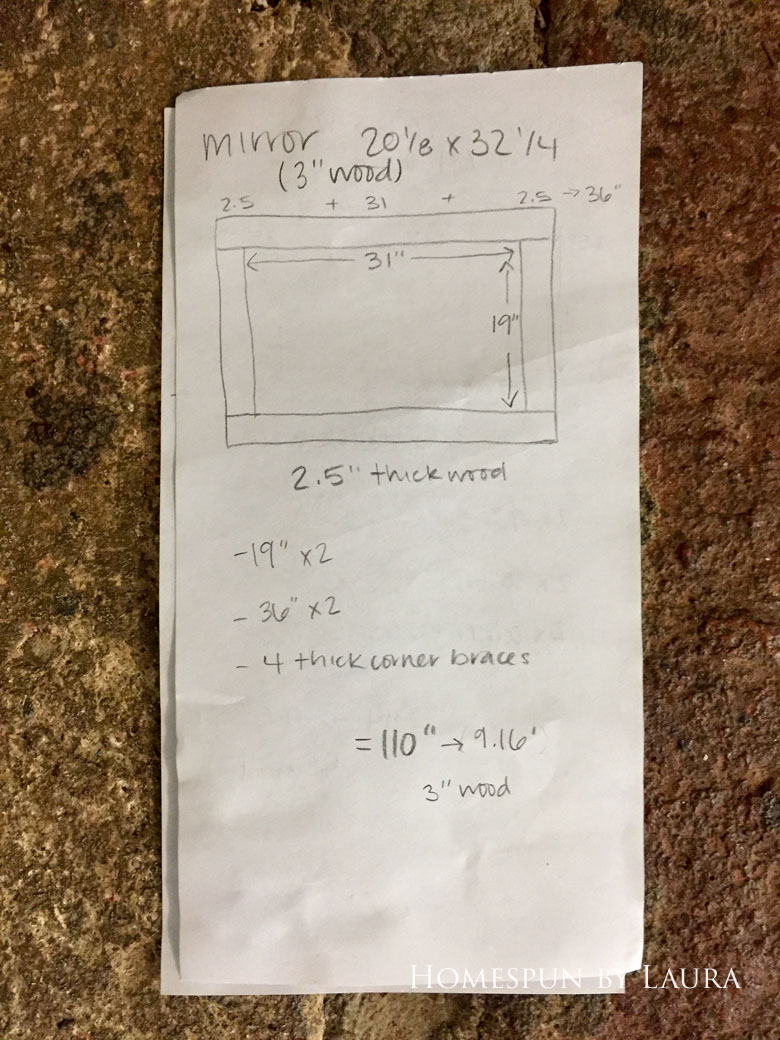
Of course, what I say ‘2.5″thick wood,’ I mean 2.5″ wide wood…
I mentioned earlier that I used 3″ wood, which is actually 2-1/2″ wide. So for the interior measure of my frame to be 31″, I added 5″(2.5″ on each side) to get 36″ (see equation + diagram above).
The second measurement is more straightforward; it’s just the desired length of the side of the mirror, which is 19″.
Since we’re making a rectangle, we require two of each measurement, which gives a total of 110″ or 9.16′. Round UP to the nearest available wood size to determine what to buy. Since I was making two mirrors, my best option was to get two 8′ pieces for a total of 16′ (the second mirror was a little bit smaller).
In summary, to determine the amount of wood to buy, use these equations (make sure to use all inches or all centimeters; don’t mix units of measurement!):
actual width of wood (x2) + desired interior length = total length
total length (x2) + desired interior width (x2) = TOTAL AMOUNT OF WOOD
Finish by converting inches to feet (or whatever unit wood is sold by where you are), and round up to select the board(s) you need to purchase.
If you’re not comfortable with a saw, ask for the wood to be cut to your desired sizes at the hardware store, but keep in mind that the final cuts could be slightly off. Their huge saws don’t always yield exact measurements.
assemble the new frame
Now that you have your wood, it’s time to put your frame together! If you didn’t have it cut at the store, go ahead and cut it down to size now.
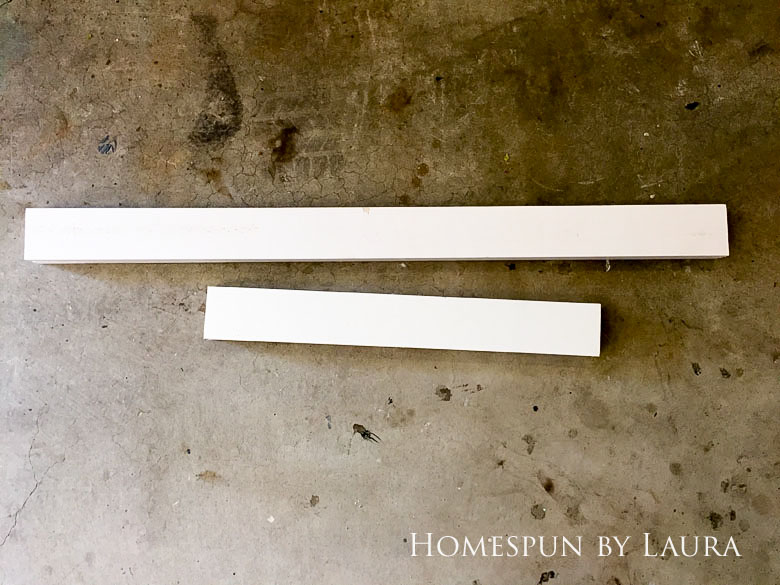

Use a rough sandpaper to smooth out any rough edges left behind by the saw. Arrange the pieces on the ground in a rectangle, lining up the corners the best you can.
Use a hammer and nail to make small pilot holes before screwing one mending plate/bracket to each corner. Make sure you attach them far enough from the opening that your mirror will have room to sit flush to the wood.
Note: Before you begin with the screws, make sure they are shorter than the combined depth of the wood + the bracket so you don’t wind up making a hole in the front of your new frame!

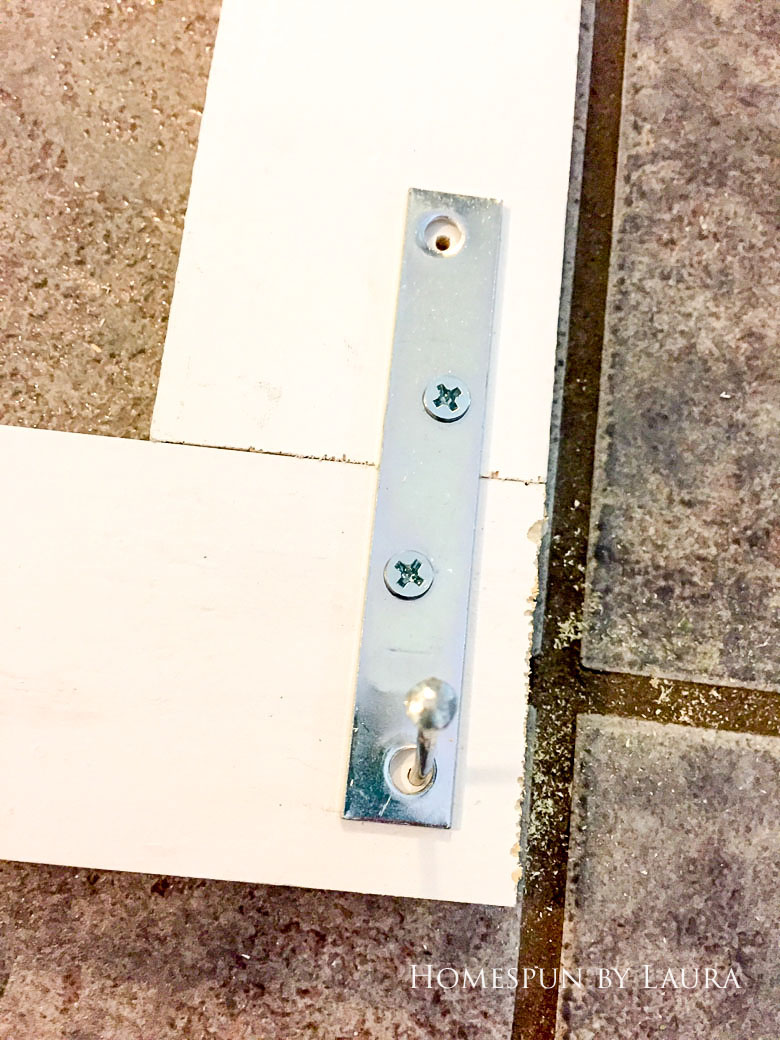
Pilot holes make it easier to get the screws into the wood when using a screwdriver.
Repeat on all four corners, then put your mirror down to ensure it will fit between the braces before continuing.
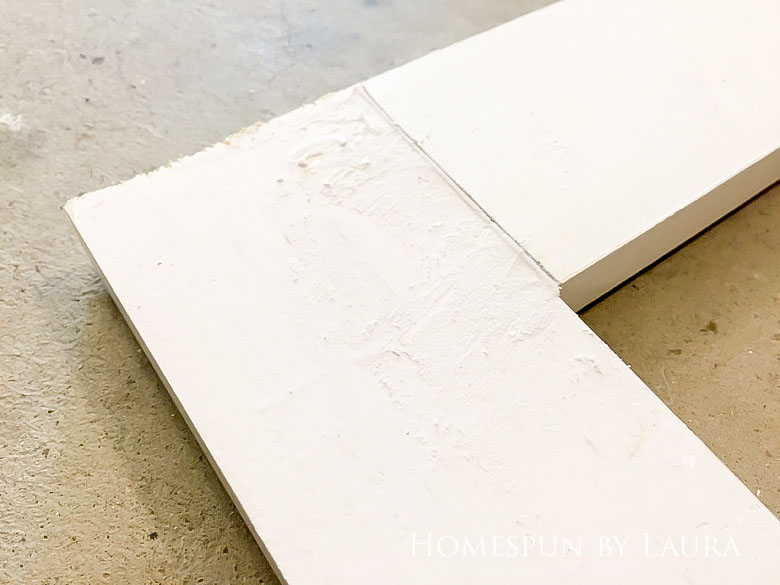
Now fill in any gaps with your spackle/wood putty (if you plan to stain your frame, make sure to select raw wood and stainable putty). Once it’s dry, use a fine grit (higher number) sandpaper to smooth it out, and make sure all exposed cut edges are also smooth (use a rougher sandpaper – lower number – for this).

Paint/stain your new frame.
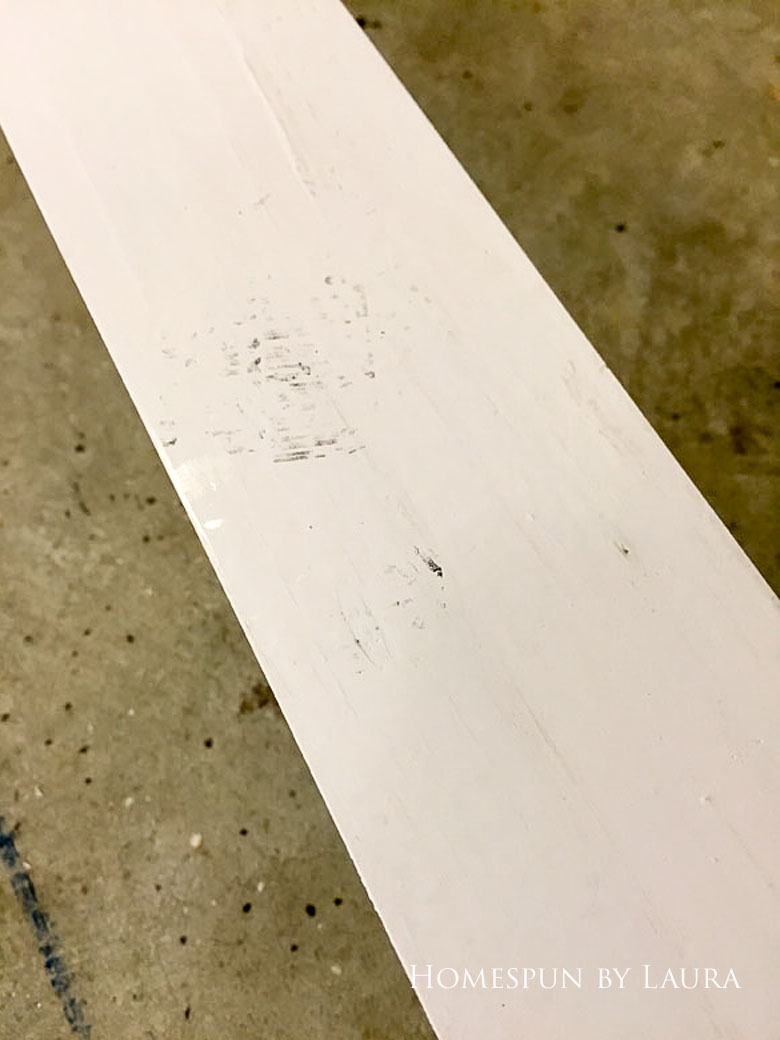
Even though I chose a primed wood, I still put on one coat of primer because it had some marks across it.
assemble your DIY framed mirror
To protect your pretty painted frame, move to a carpet or something else that will preserve your paint job before assembling the mirror.
Your glass has probably gotten a little smudged through this process, so give it a quick clean before carefully placing it down on the finished frame.

Retrieve the original cardboard backing and place it down on the back of the mirror + frame.
If it’s larger than your frame, cut it down to size.
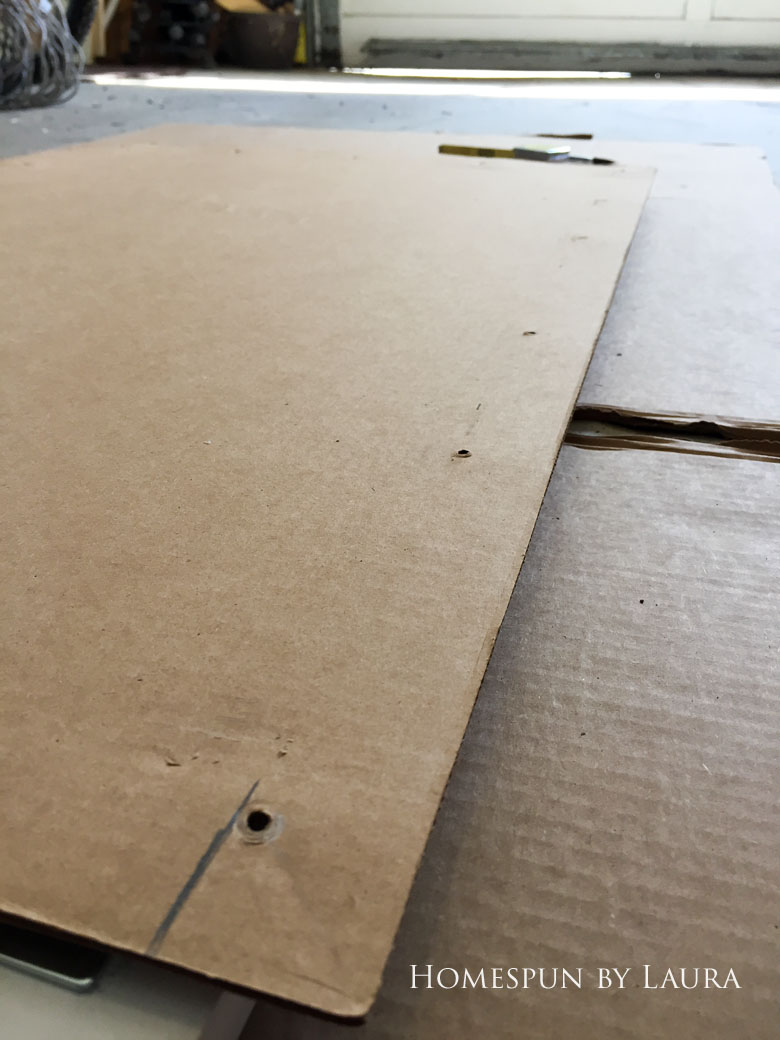
Now, using a pen or marker, go around the frame to mark the locations of the existing holes in the cardboard (make additional marks if you had to cut off some of the original holes).

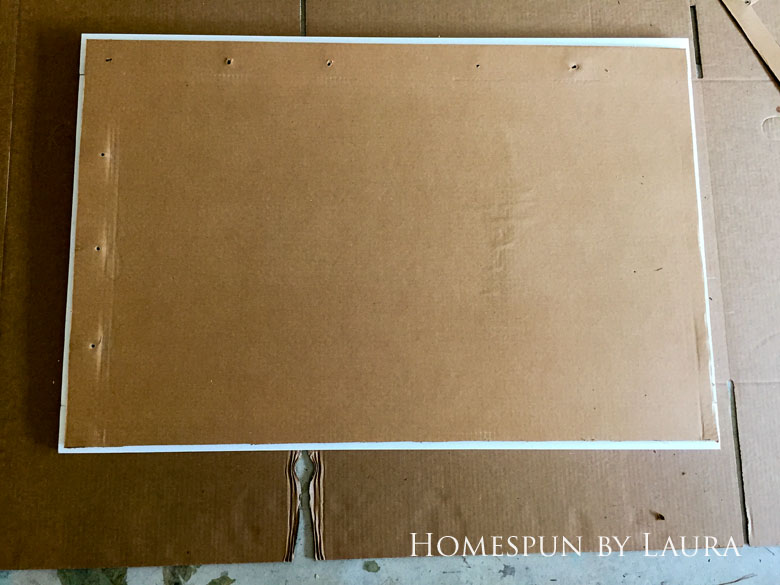
Remove the cardboard, then use your hammer and nail to make pilot holes all the way around.
Add the cardboard back to the frame and use the original screws to attach it to the wood. The screws are what holds the mirror in place, so make sure they’re tight enough to keep it secure, and that you have several screws across the bottom of the mirror.
Make sure the screws along the bottom of the mirror are plentiful and secure; they’re the ones that hold the glass in place!
Then use the original hanging hardware to secure it to your wall. You now have a beautiful new mirror for less than the price of a movie ticket!

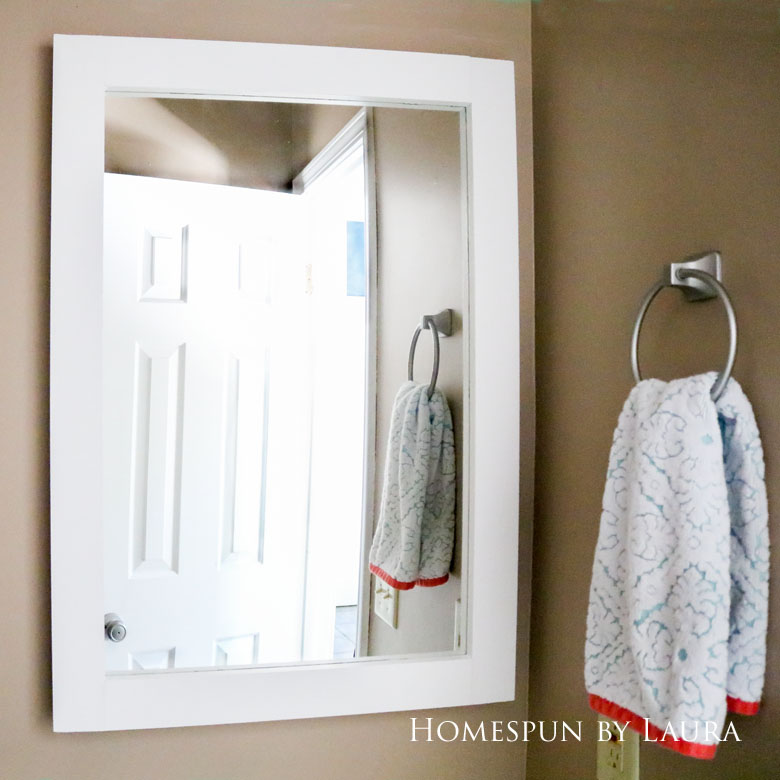

Here’s a side-by-side (well, top-and-bottom) look at the Before and (current) After:

I played musical mirrors with the mirror that was in here before. It was by far the nicest of all the mirrors, very heavy, and well constructed, and I didn’t want to disassemble it. So I tried it out in the guest bathroom upstairs and found that I actually love it when it’s in the right space!

Fun fact: This bathroom is one of only two rooms that I didn’t repaint in the 9 years we lived in this house.
budget breakdown
Though this was a very cost-effective project, Week 5 broke the budget. Only by a few cents…but I still went over:
Lumber – $7.98
Brackets & screws – $4.32
Week 5 total – $12.30
Added to the totals for Weeks 1-4:
Remove wallpaper (Week 1) – $0
Paint vanity and hardware (Week 2) – $0
Paint ceiling, walls, doors, & trim; replace hinges (Week 3) – $0
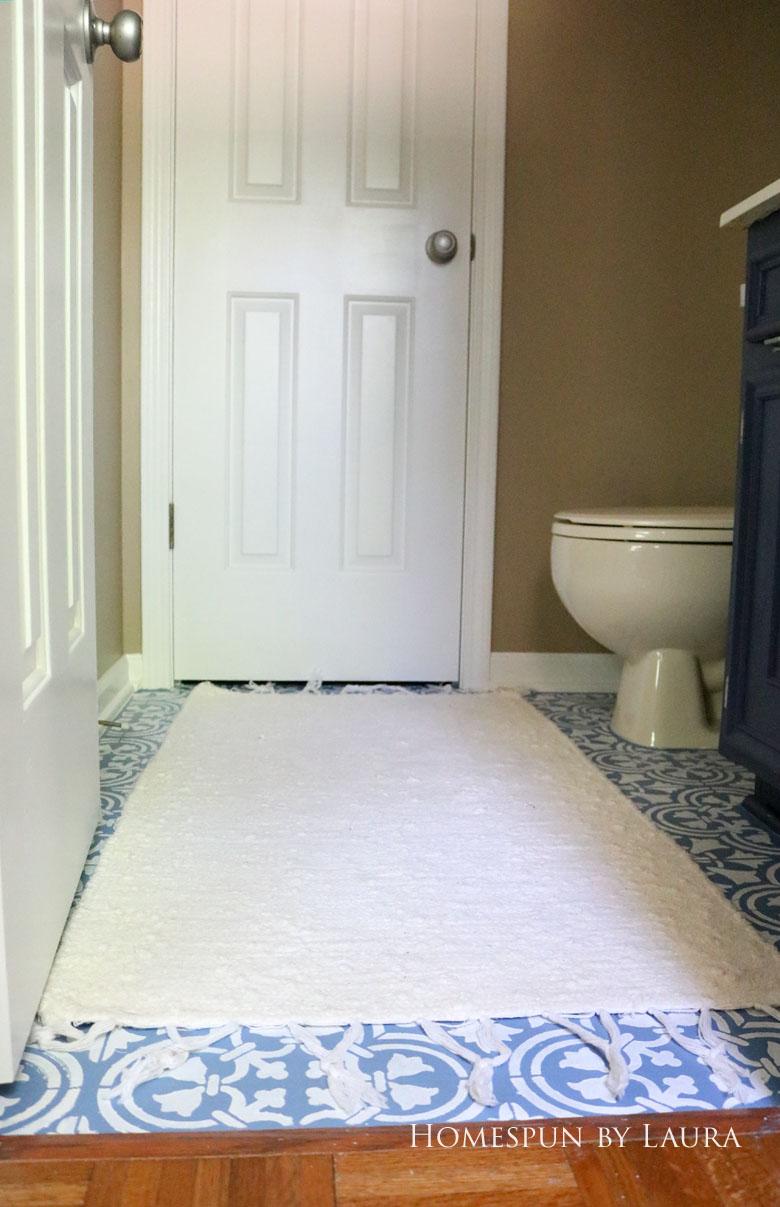
Stencil linoleum floor; update light fixture (Week 4) – $62.81
…brings the total for weeks 1-5 up to a grand total of $75.11. Had it not been for sales tax, I’d have been able to stay under budget. 🙂 This means that I’m back to using items I already have to complete the rest of the tasks, and I’m up for that challenge!
what’s next?
Remove wallpaperPaint trim + door frames, doors, and vanityPaint wallsReplace faucet(replaced in June; not part of the budget but it feels good to check it off the list:-))Update light fixture with spray paint and new globesPaint floorReframe mirrorReplace door hingesSpray paint doorknobs + cabinet hinges and knobs + towel & toilet paper holdersPaint ceiling(to make the whole thing one color)- Organize the pantry (for at least the 4th time)
I didn’t include art/decor in this list, but I’ll add a little bit of both in this week, too. The finish line is in sight! The best and most rewarding part is near.
Head over to Calling it Home for an update on what everyone else has been up to this week and see what they will need to accomplish in the final weeks to finish their projects!
Laura
Here’s an image for you…pin away!!