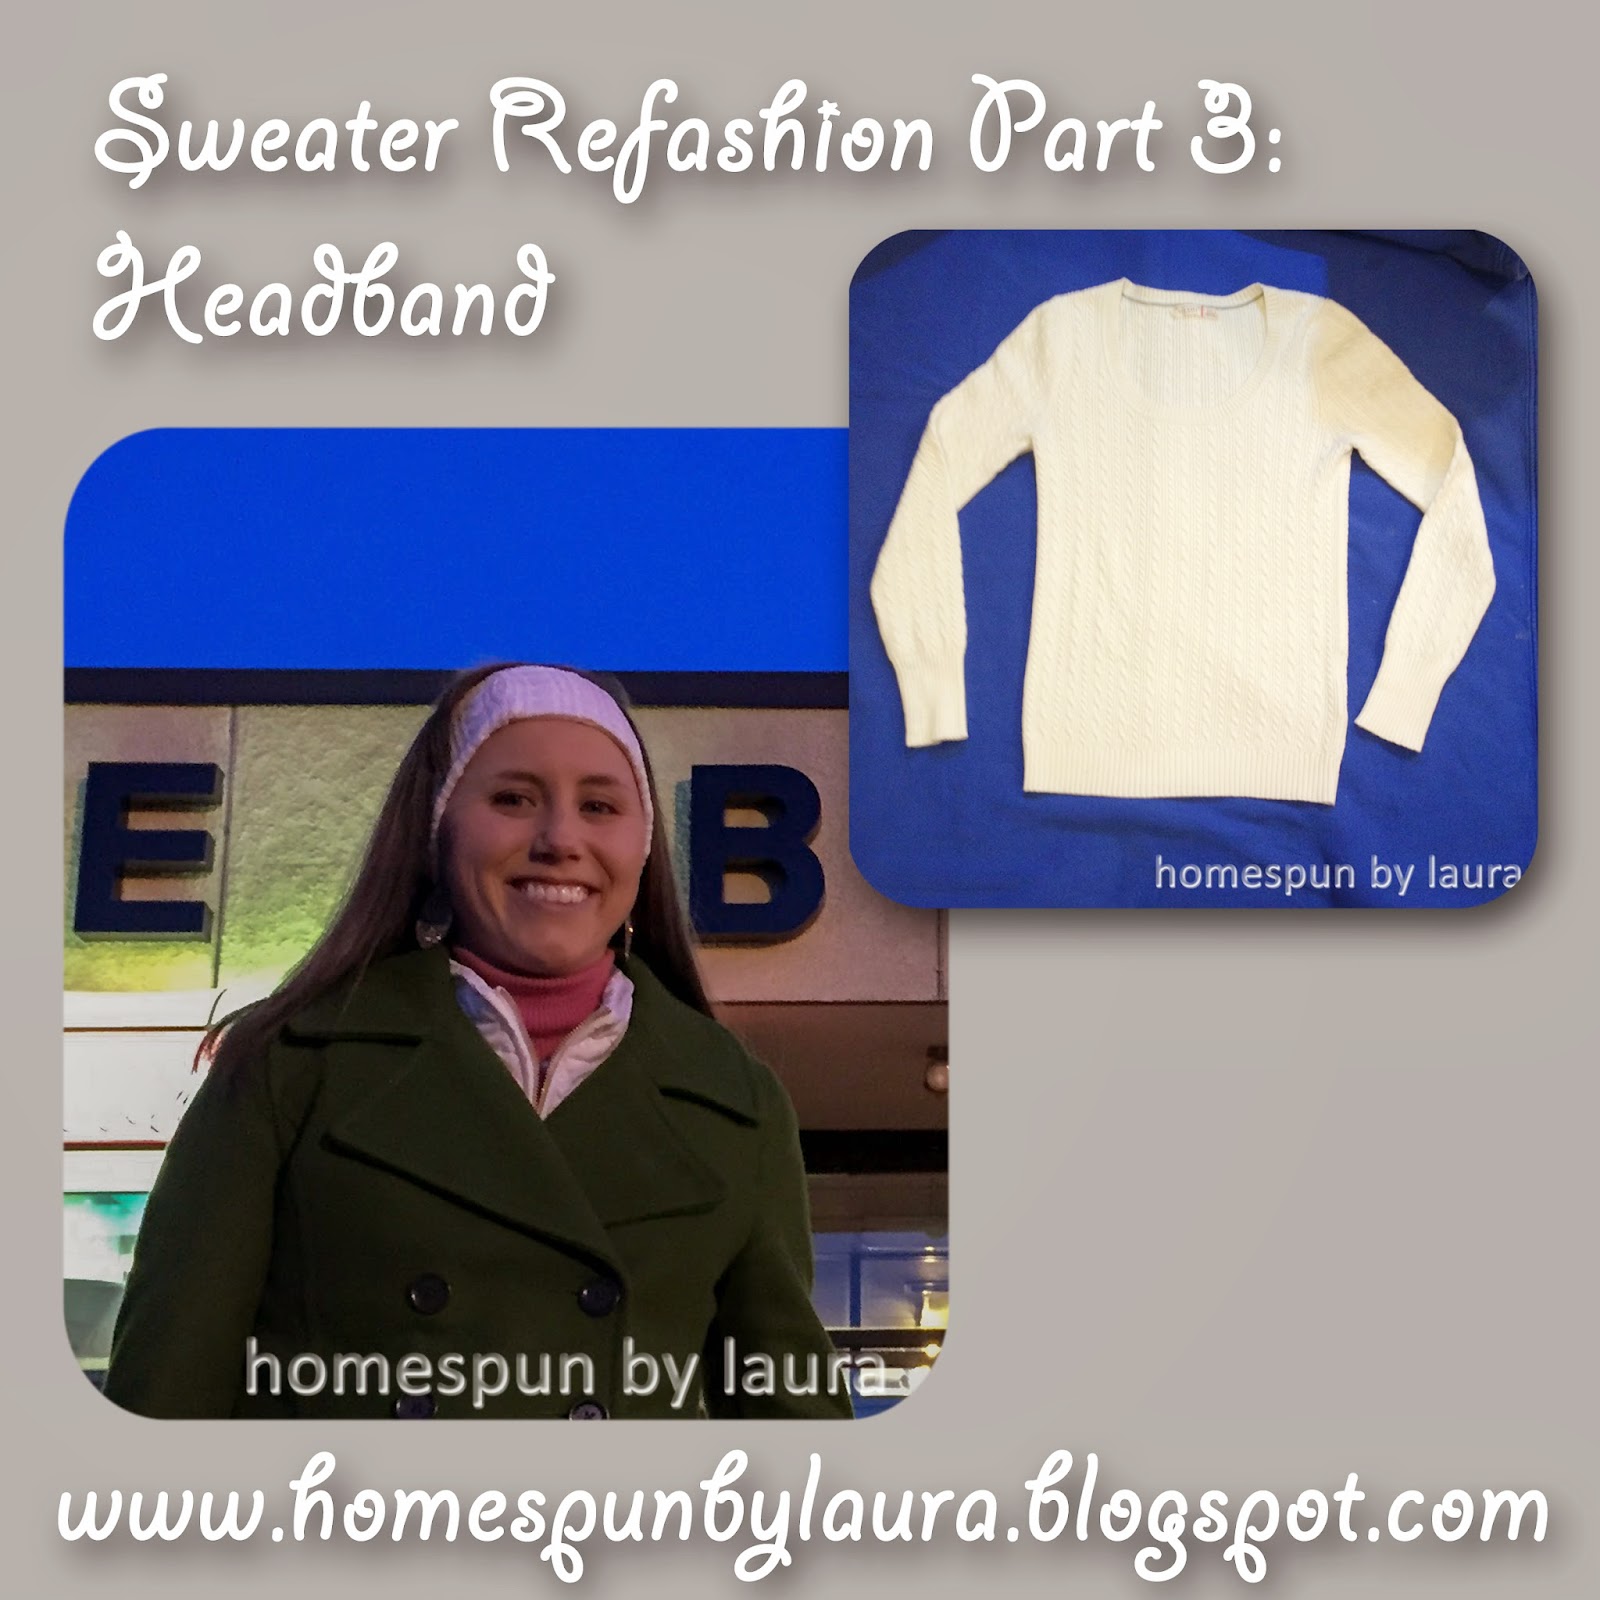
| Front, before cutting it down |
| Back, after cutting it down |
I then folded it in half, with right sides together, and pinned it.
| Pinned and ready to be stitched up! |
Next, I stitched it together, leaving the short ends unstitched.
| I used an overcasting stitch to keep the edge together. |
The next step is the most complicated one to explain, but wasn’t that hard to actually do. Here goes my attempt at a clear explanation:
I turned the headband right-side out and folded it in half. I then pinned the two RIGHT sides together at the opening, but only did one half of it to begin with.
| I pinned from top to bottom, on the inside side only. |
| The view from another angle |
After getting stitched, it looked like this:
| Almost there! |
So then it was time to keep working my way around. Next, I turned the entire thing inside out through the opening and pinned up another inch or so (WRONG side facing out!), then stitched that up, making sure to leave an opening large enough to flip it right-side out again.
| So close! |
After stitching it up a bit more, the opening had gotten smaller and was ready for me to slipstitch it closed.
So I pinned it up,
Stitched it closed,
And it was finished! So I took a couple of sewing room selfies.
And then wore it for a delightfully greasy dinner at THE BEACON!
This concludes the 3-part Sweater Refashion series! I’m certainly not the first person to do this type of project – you can find a variety of other ideas by searching online – there are tons of great ideas out there for ways to reuse a sweater that’s no longer needed! And it feels great to have used the whole thing up. No waste!
Thanks for reading; see you next time!
Laura
