When we moved in to our house nearly nine years ago, the master bathroom was already in bad shape. Seven years of neglect (after I started pretending it wasn’t there) haven’t helped the sad situation. I finally decided enough was enough and gave it a DIY refresh for under $200.
As with our master bedroom, I intentionally used tools, supplies, and decorative items we already had whenever possible, and I paid careful attention to where I spent my money for the necessary purchases. I wanted to keep the entire DIY master bathroom refresh under $250, which I did with room to spare!
This post contains affiliate links; if you purchase an item through one, I receive a small percentage of the purchase at no additional cost to you. Thank you for your support!
I don’t know why (in my head, anyway) I had to leave our master bathroom untouched until a full renovation made its way to the top of the project list (it never did, so…). A shocking 8.5 years went by before I realized this terrible idea that was just preventing us from enjoying the space we have. For week 3 of the #30projectsin30days challenge, I focused my attention on giving this sorry excuse for a master bathroom a long-overdue facelift.
The Before
It’s quite embarrassing to put these pictures out on the internet for the world to see, but you can’t understand the improvement without them!
Let’s take a look at what the master bathroom looked like at the beginning of September: a wall-to-wall builder grade mirror, paint samples on the wall, spackled holes, an old vanity with gross dirty knobs, and a bunch of clutter on the counter. We had already put in the new faucet, so at least one thing looked nice. 🙂
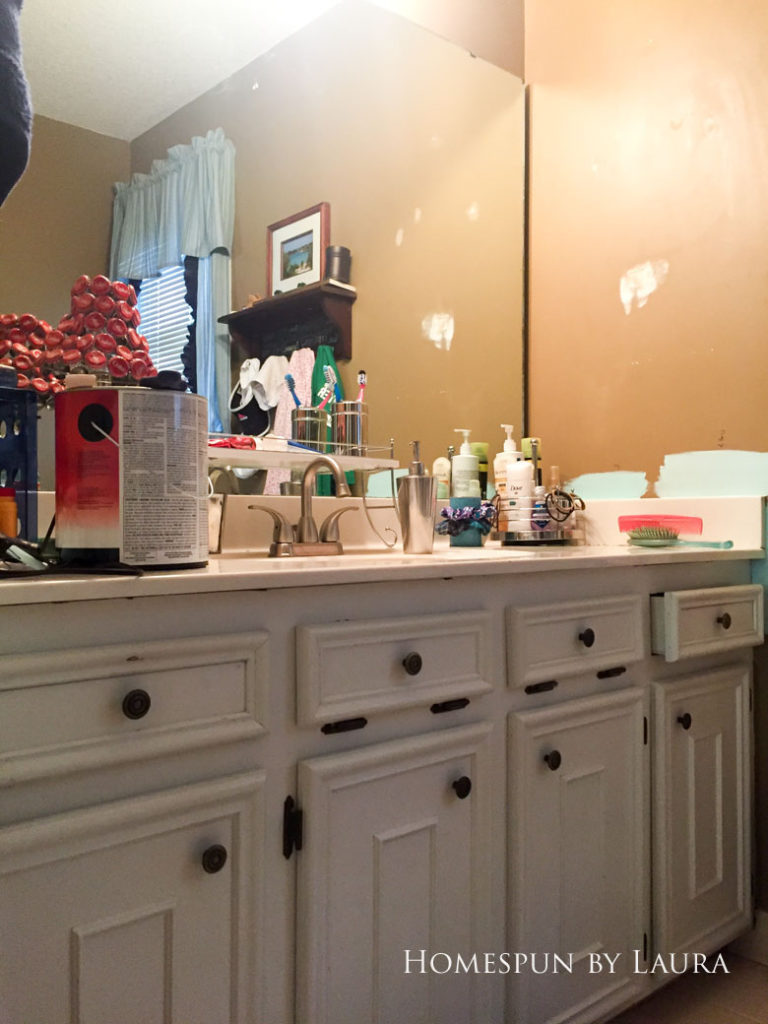
Brown, brown, and more brown.
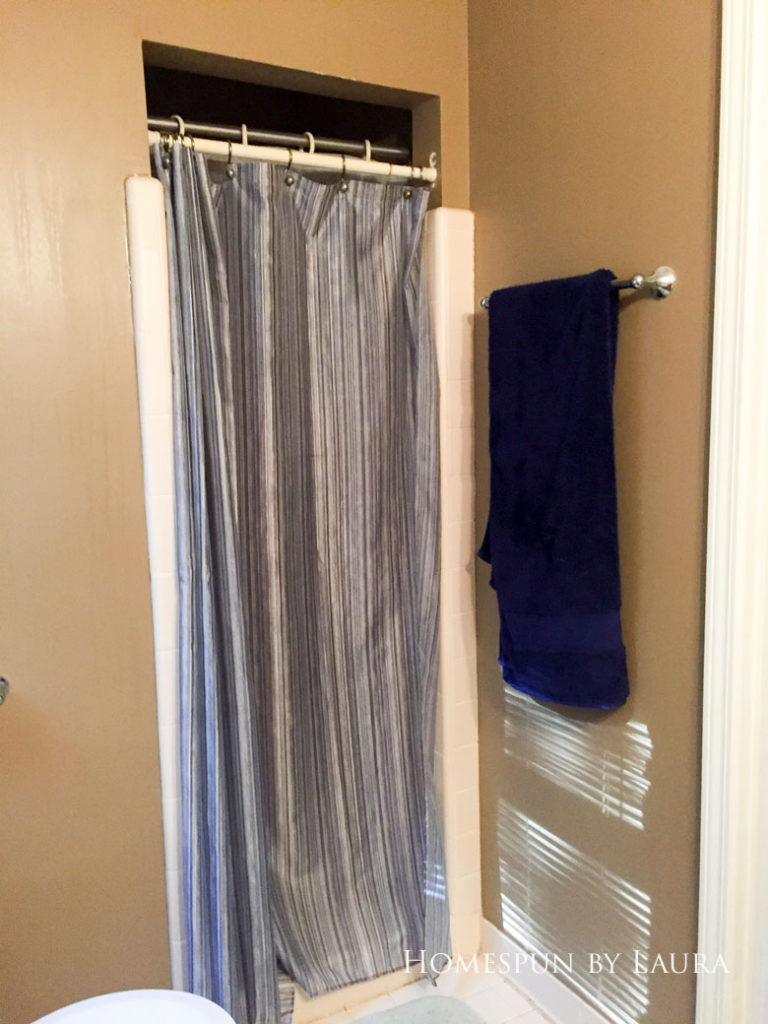
A dark and depressing corner of the dark and depressing bathroom.
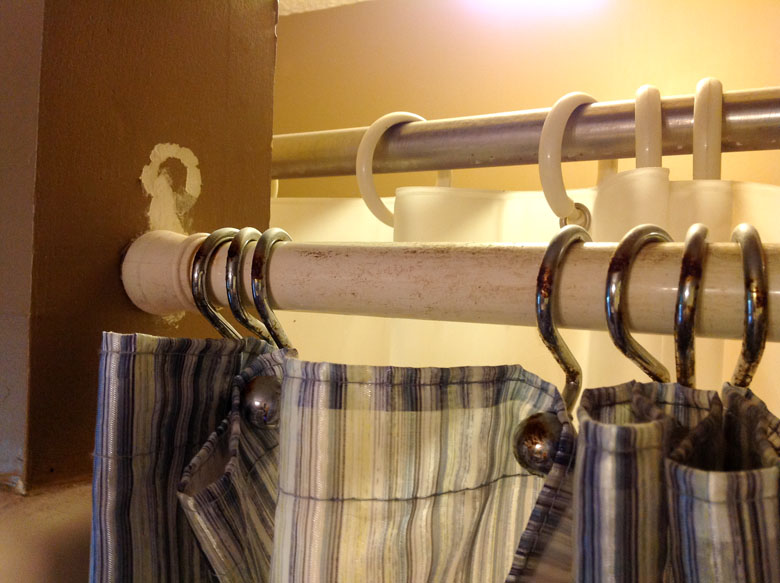
Years of humidity in the room had rusted the shower hooks and produced mold on the rod, which had ripped chunks off of the wall.
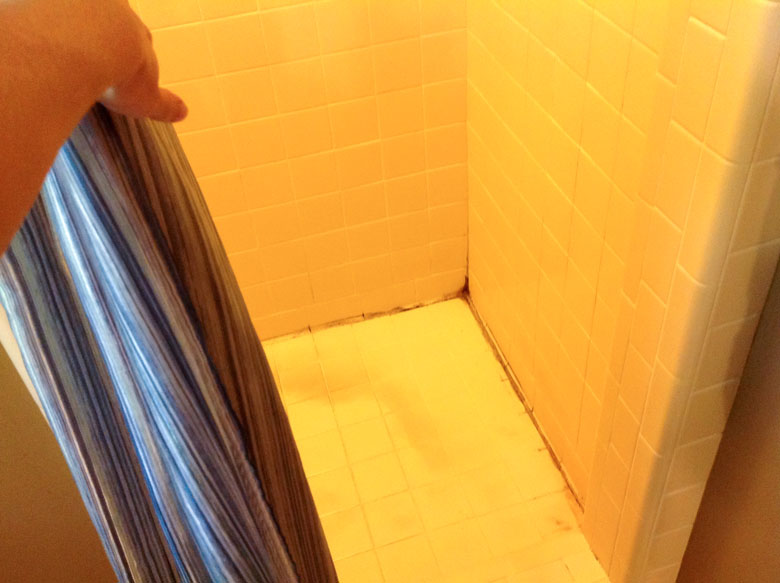
Here’s what’s hiding behind curtain #1!
I’ve always liked the pattern and color of these curtains, but the valance hung too low, and in such a dark room, the ensemble blocked a lot of the light. Also, the blinds never worked properly and someone was too lazy or too cheap to go buy another set of $4 blinds from Walmart to replace them…
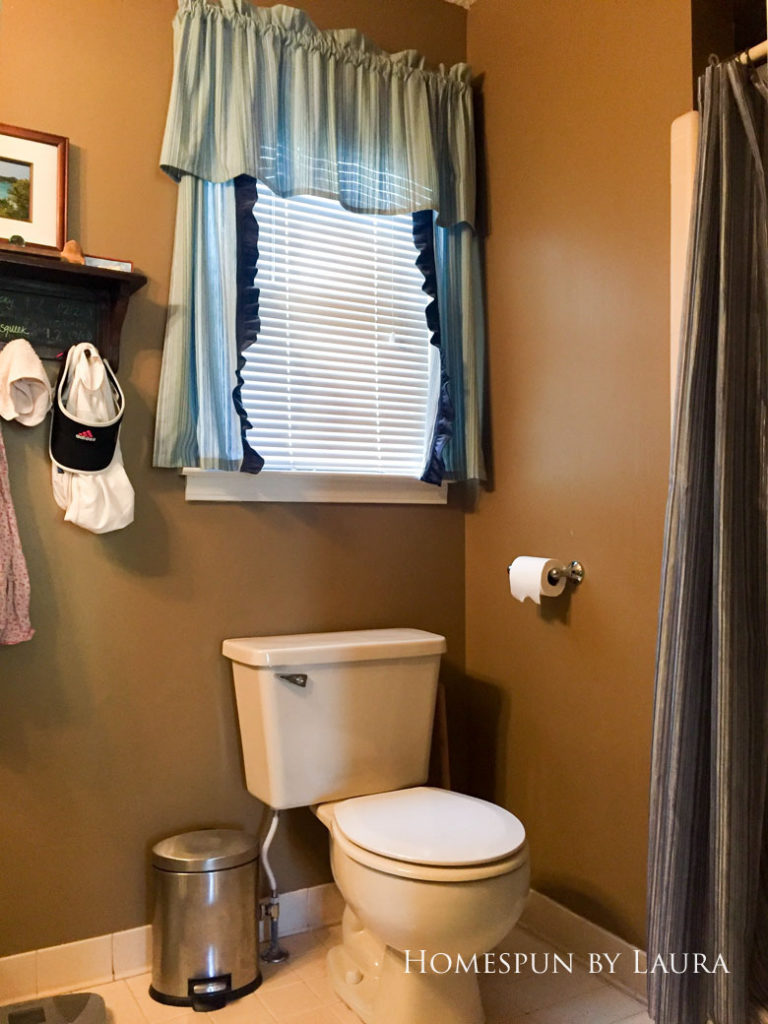
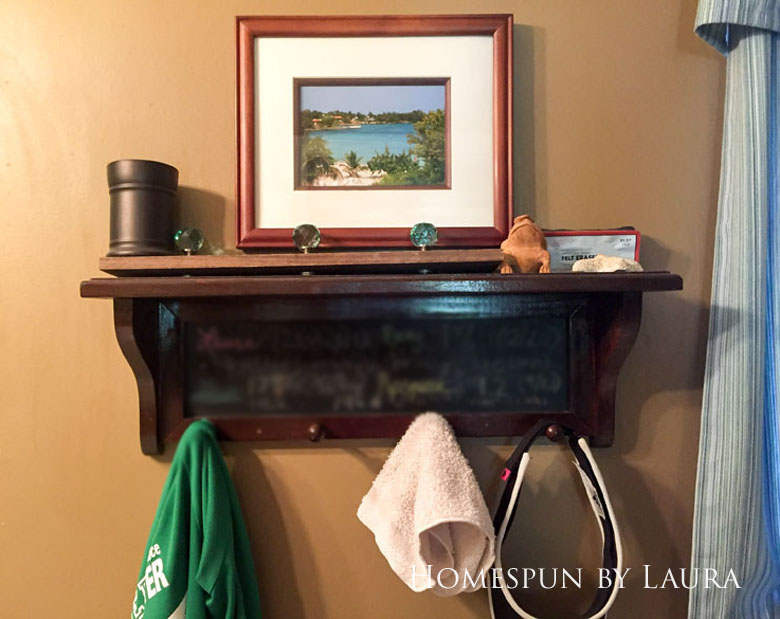
We hadn’t written on the chalkboard in ages, and while the peg part of this shelf remained very useful, the shelf part had become a catchall for clutter.
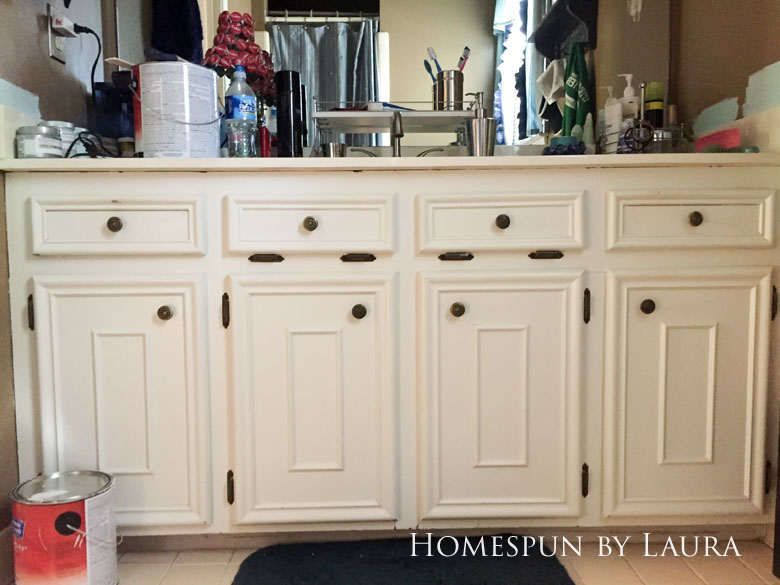
Chipped, yellowing cabinets and their ugly, dirty hardware. Ugh.
The DIY Master Bathroom Refresh
Here’s what I did to change that, what it looks like now, and what remains on the to-do list.
New barn door
I know I shared the DIY barn door in last week’s post, but it made an equally – and potentially more – significant impact in the bathroom as it did in the bedroom, so it only seemed appropriate to share it today, too. The old folding door cut into the already limited space both when opened and when closed. The barn door added a small but significant amount of space to the already tiny – approximately 20 square foot – space. Combined with all the other changes you’re going to read about, the bathroom now feels both brighter and larger – like a different room altogether.
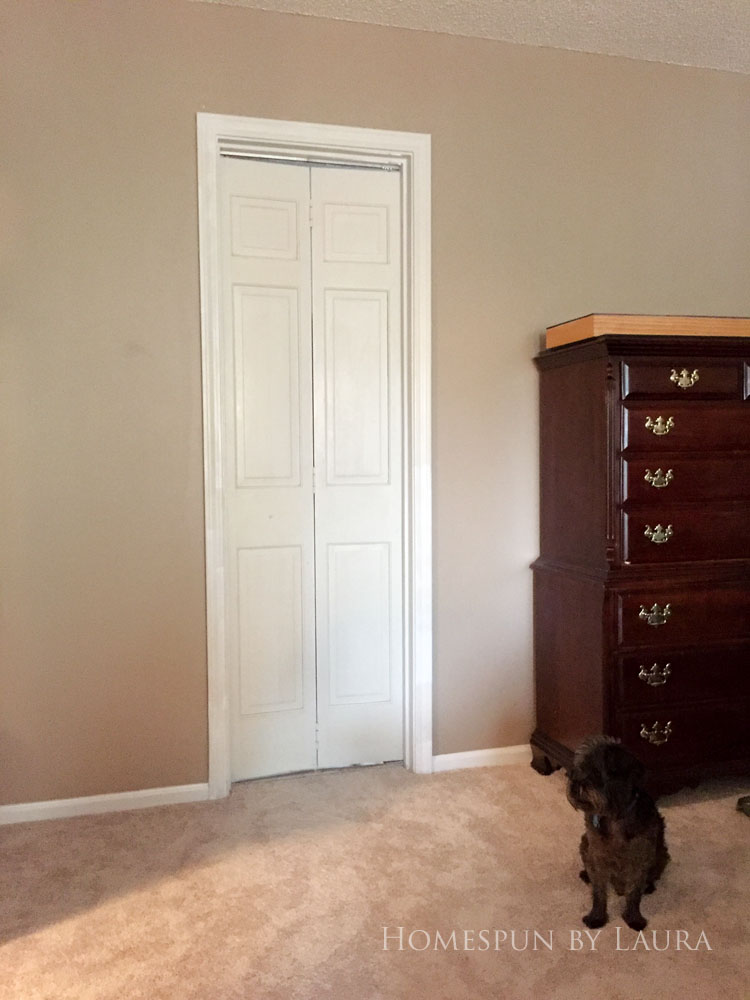
The folding door before, from the bedroom.
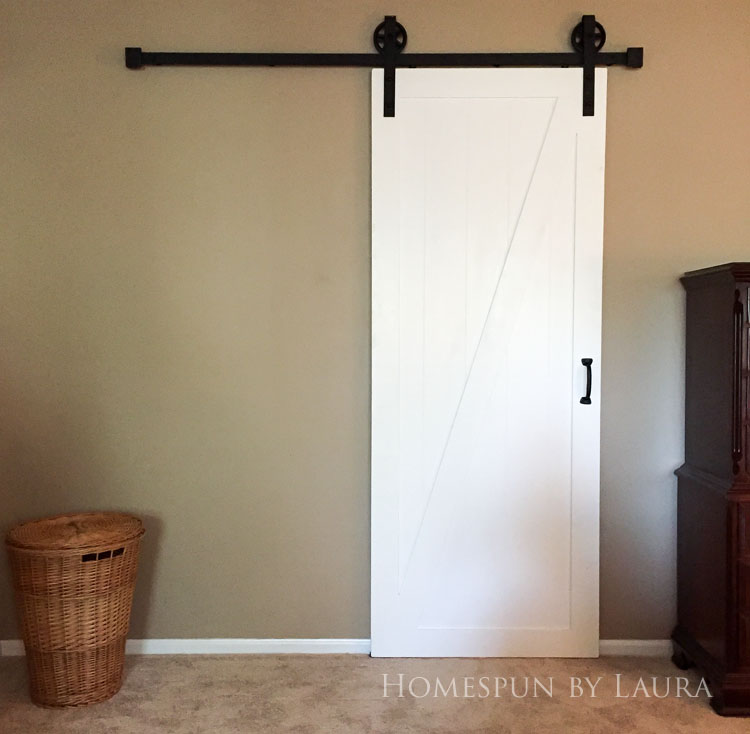
The finished barn door!!
You can see here that, when we opened the door, it would jut into this small space. Even when closed, it didn’t add much to the room, except a place to hang the bathrobes we never use.
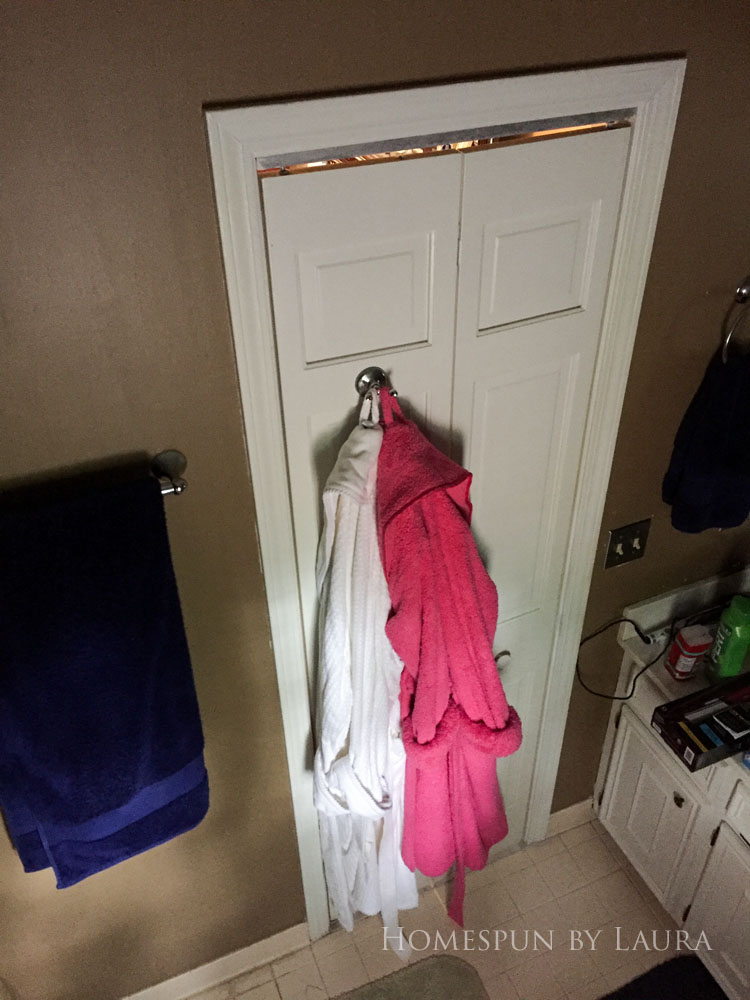
The folding door before, from inside the bathroom
It only added a few inches, but those few inches make a huge change in how the size of the room feels. It seems so much larger than before!
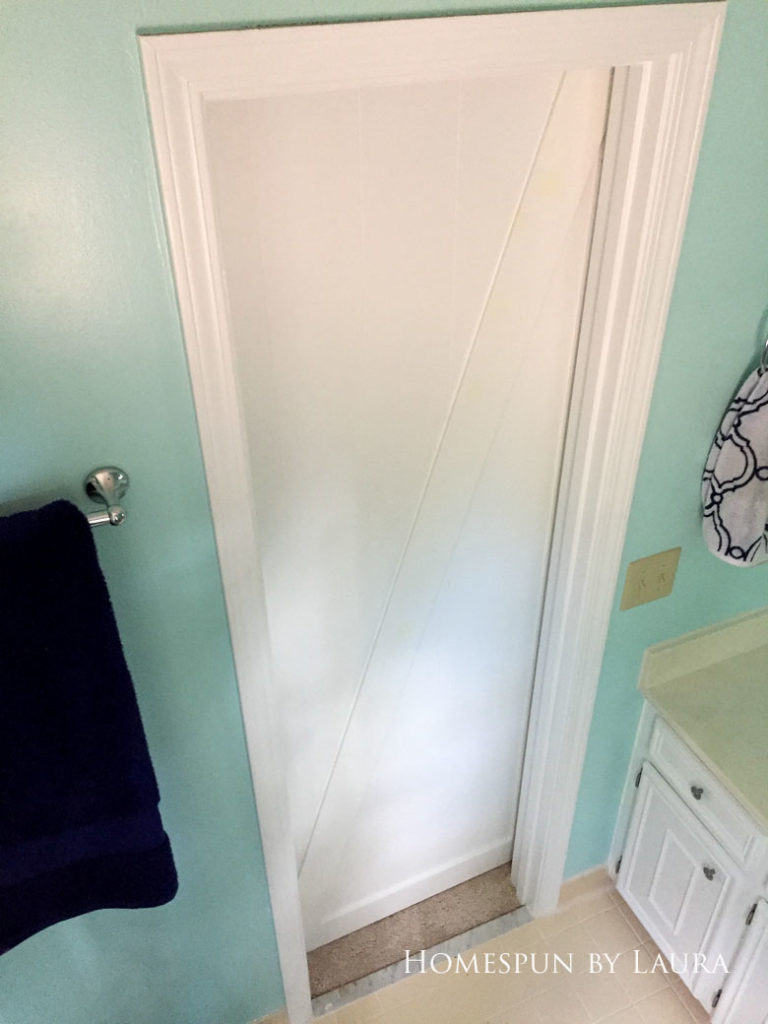
And look how much cleaner the grout by the door is!
Including the barn door in my $200 DIY Master Bathroom Refresh reveal post might be a little misleading since I haven’t included the cost of the barn door and its supplies in my bathroom budget total. Maybe it’s just semantics, but the door was part of our bedroom project and we included in that budget. I’m talking about it here because it wound up making such a big difference in our bathroom, too. I realize a barn door is less private than a fully closing (and locking!) door. But if you have a tiny bathroom problem, it’s an idea that could improve your space. So here it is! You can find all the info and sources in the bedroom reveal post.
Clean the shower
The last time I cleaned this shower, I had gotten tired of trying different sprays and cleaners that wouldn’t remove the gross black stuff from the walls and floor. So I stopped cleaning it. For years.
This time around, I searched for alternate options and landed on a bleach pen and a bleach + baking soda concoction. The combined effort of these two methods, an old toothbrush, a stiff grout brush, and a LOT of scrubbing yielded a MUCH cleaner shower. I already had most of this on hand but had to replenish when the nasty black stuff depleted my supply.
Read about the bleach pen method here and the bleach plus baking soda method here. They’re both pretty magical and easier than anything I’ve tried for cleaning gross grout!
Total cost: new bleach pen + additional bleach = $5.18 (affiliate link)
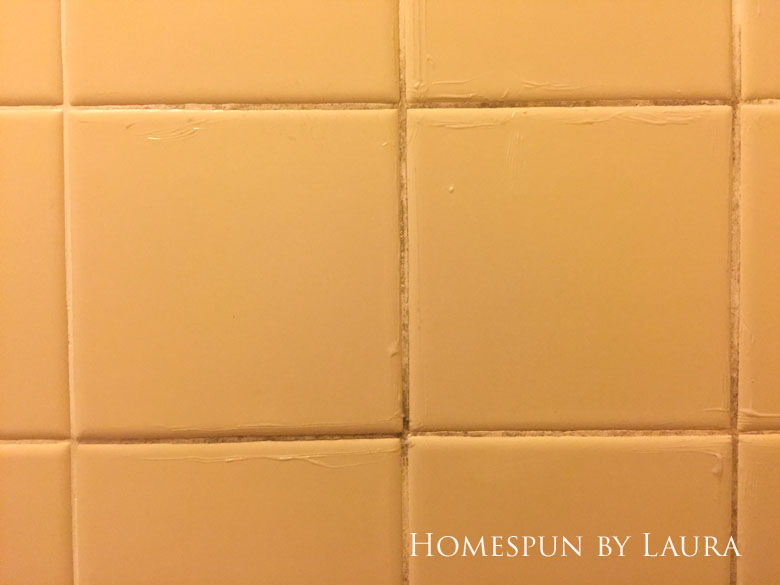
Going…
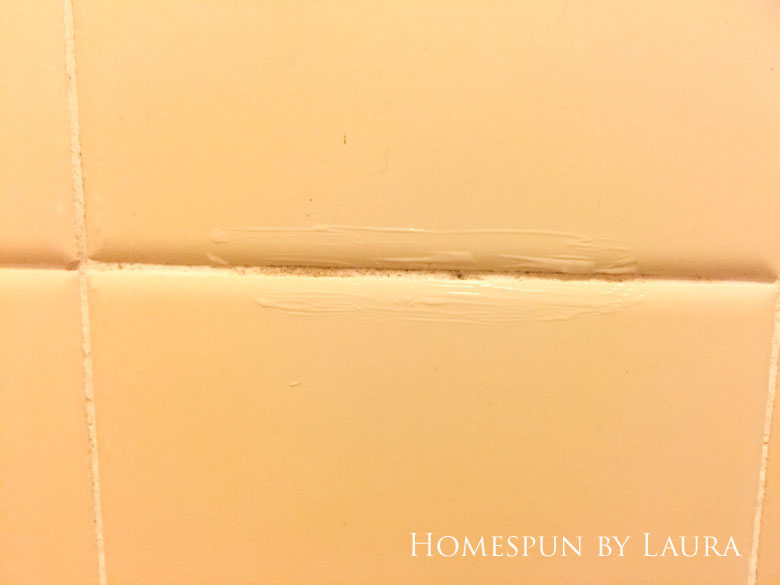
…going…
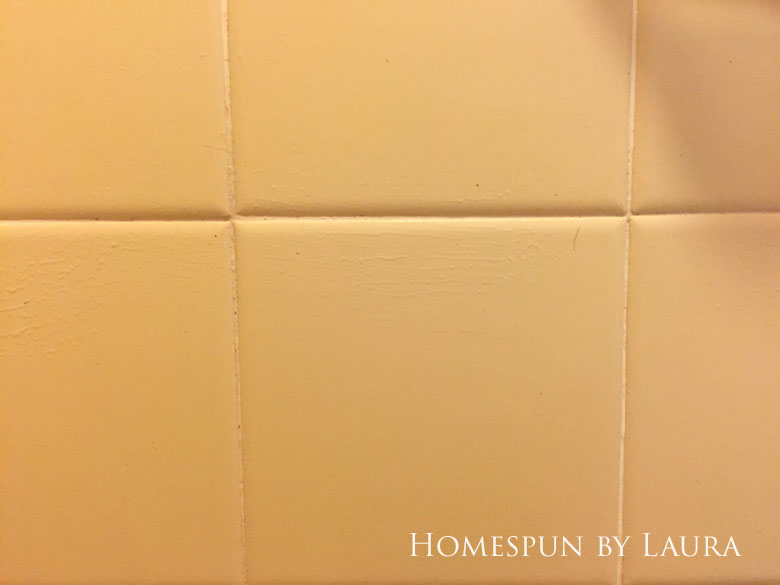
…gone!
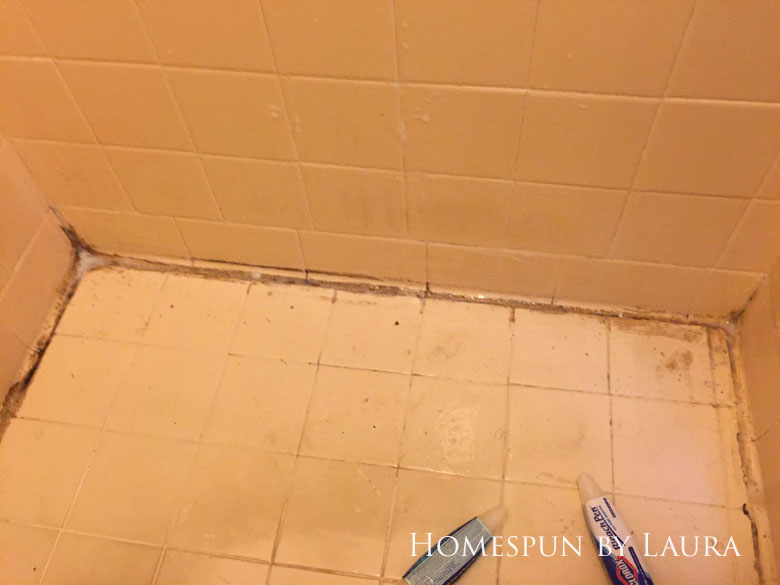
Not a pretty sight, and precisely why I didn’t use this shower for years. It never seemed to bother the Mister.
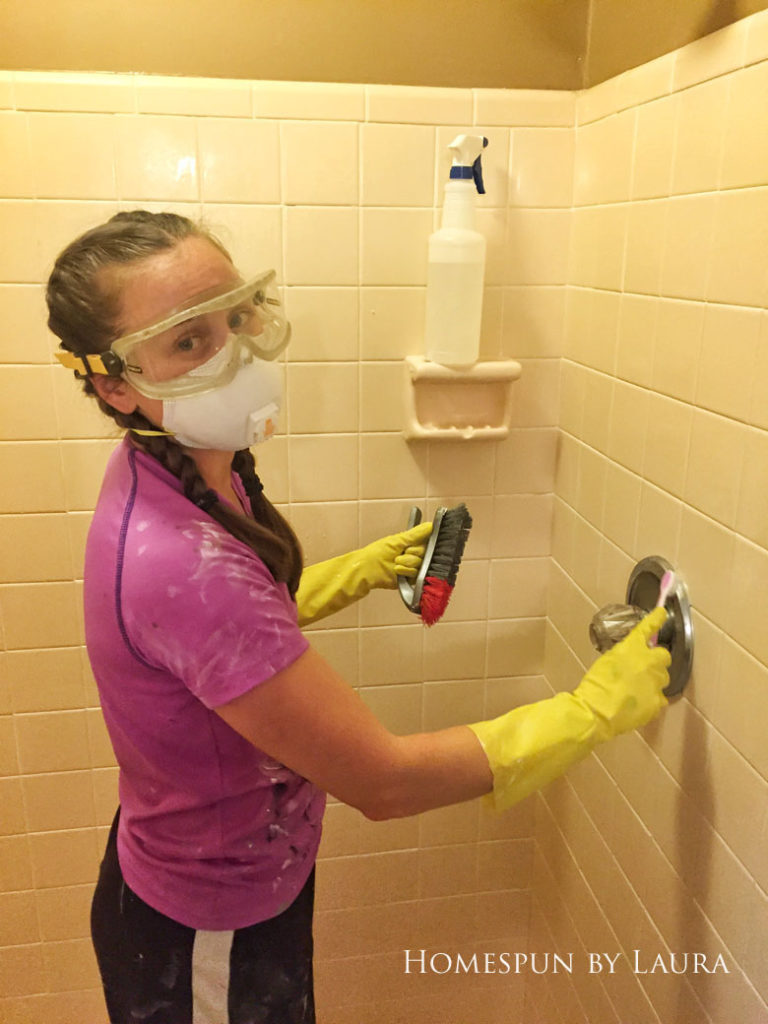
Always make sure you’re using the right mask for the job. I realized AFTER I was finished that this particular mask was for particulates, not for strong smells like bleach. The dry throat and cough went away after about 24 hours, though. Oops.
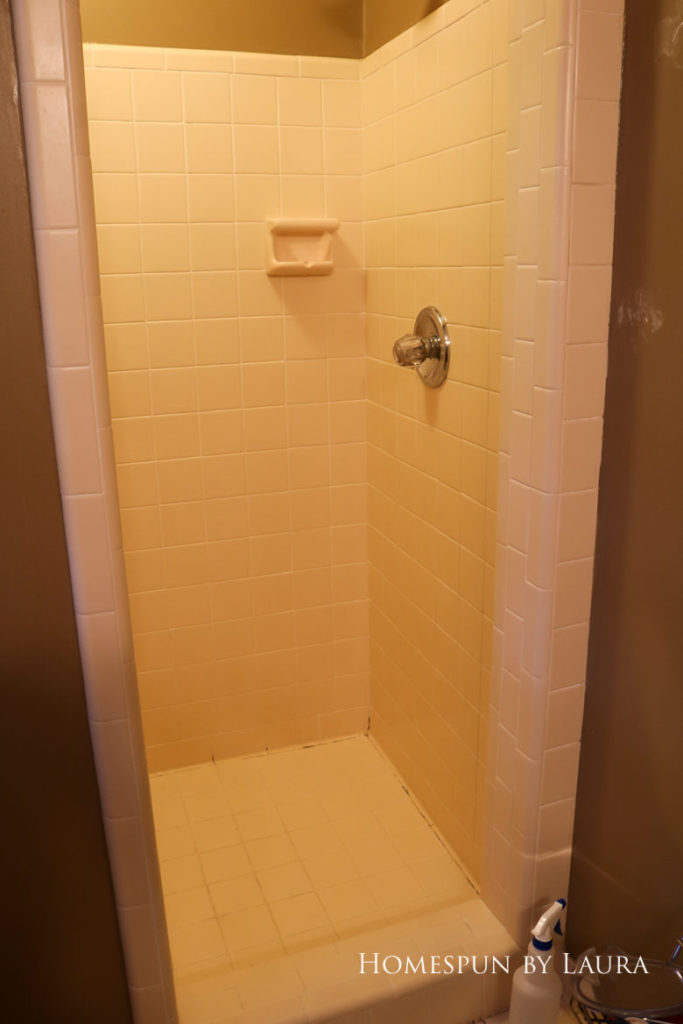
After one thorough cleaning, it wasn’t perfect, but it was a major improvement. I went at it once more a few days later before I recaulked it, and I think now it’s as good as it’s gonna get.
Paint the vanity + hardware

And as a reminder, it looked like this before I got started. :-O
I nearly chose not to paint the chipping vanity, but I’d already done half the work when I removed the hardware to spray paint it.
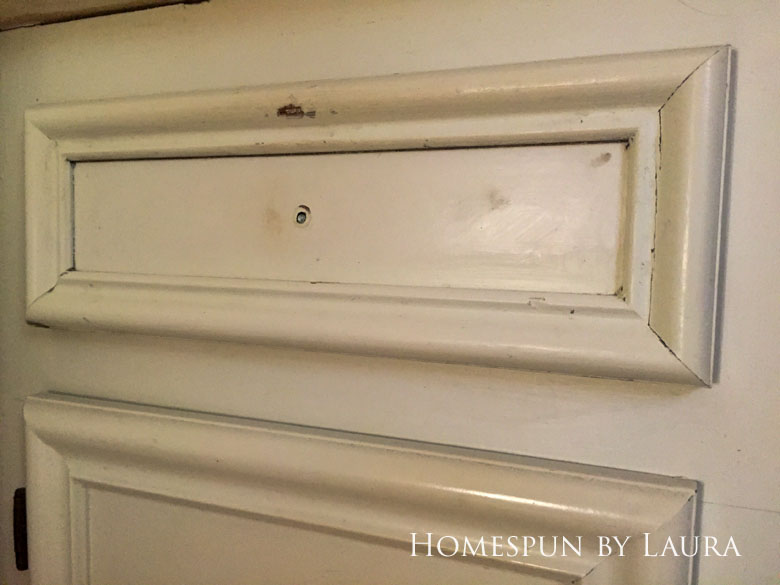
Looking back at these photos, I’m not sure why I ever considered NOT painting the vanity!
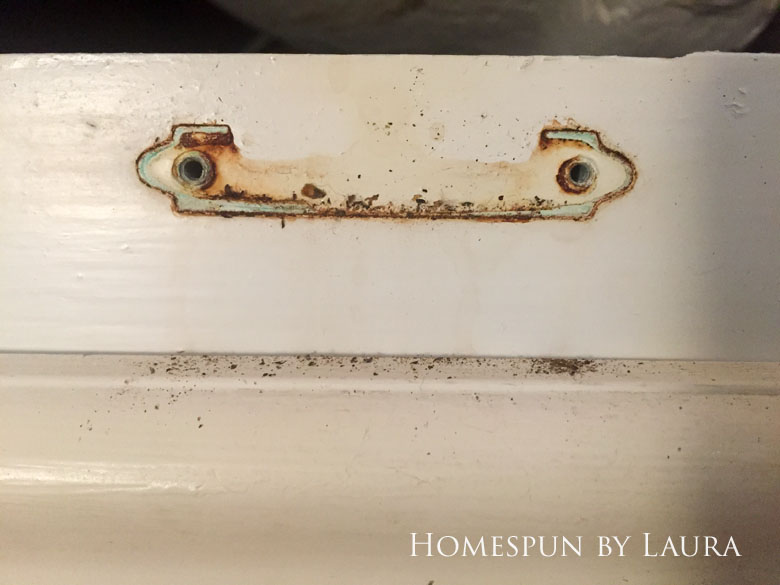
That’s just gross.
The hardware was pretty disgusting, too. I scrubbed and sanded it before I sprayed it.
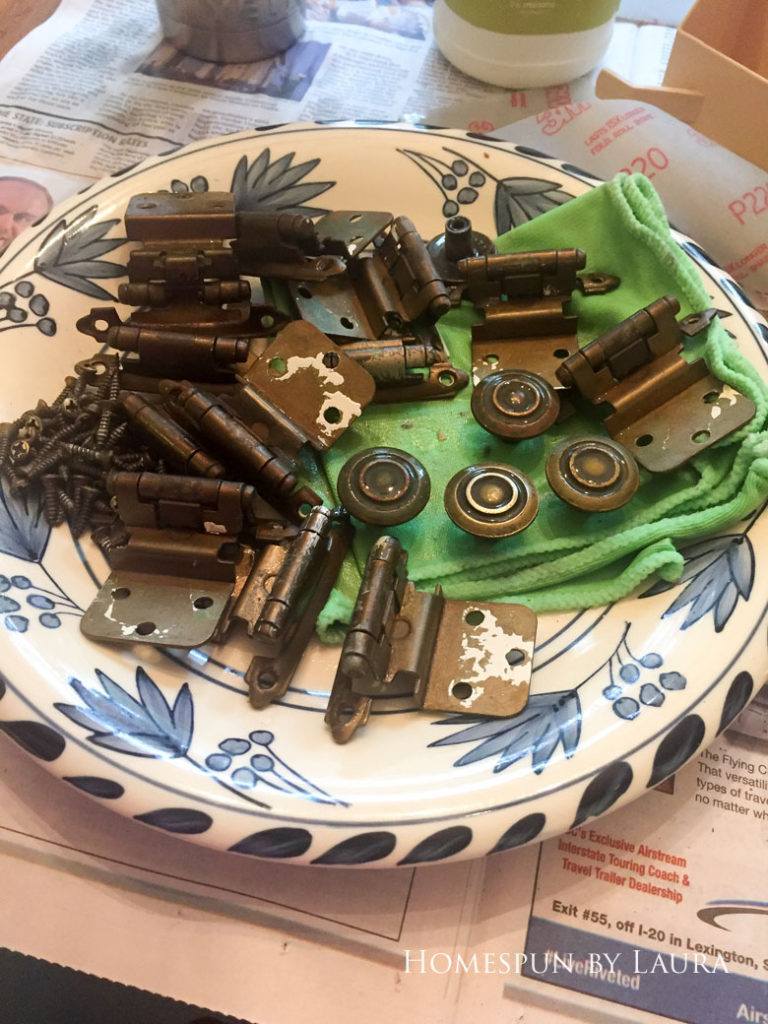
Turns out, the hardware was totally gross, too. Take a look at the knobs in the center of the plate. You should easily be able to pick the one that’s clean!
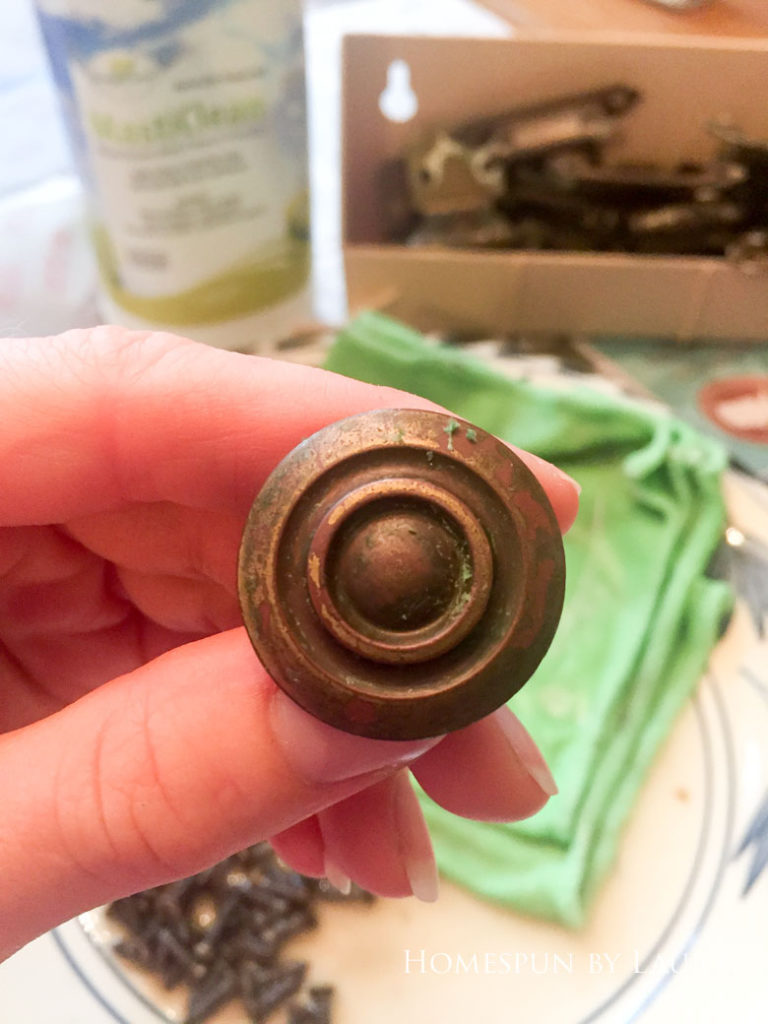
You can see the green-ish gunk that came off this knob. Each knob and several of the hinges had this stuff on them from nearly 30 years of use.
Then between coats of spray paint in the garage for the knobs and hinges, I brushed a few coats of bright white paint on the cabinet doors and vanity.
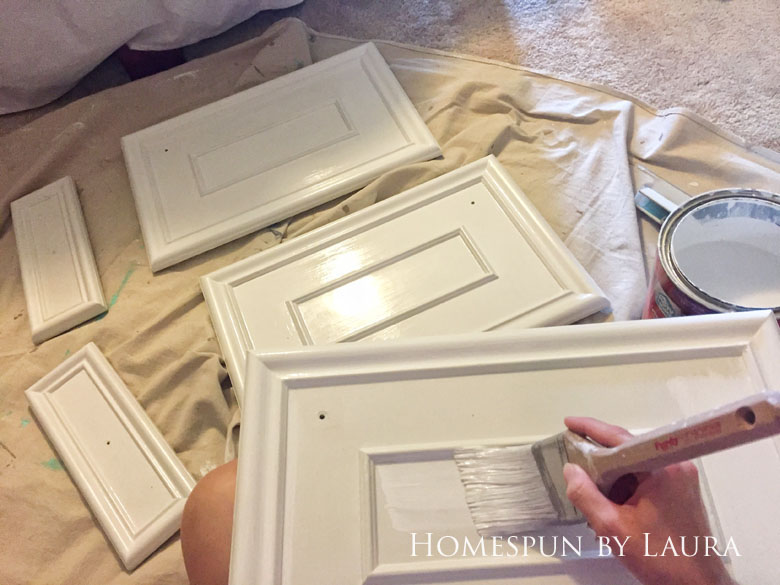
I saved time and paint by only painting the front of the cabinets & drawers.
The difference is huge and was worth the small extra effort painting required.
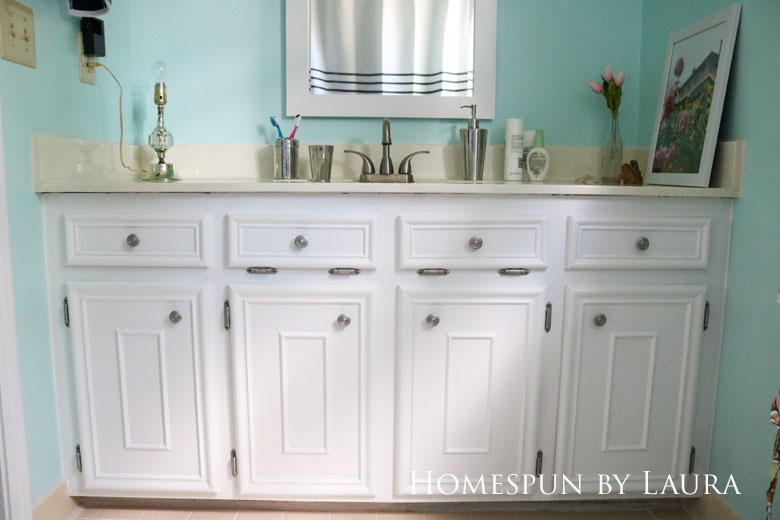
What a difference!
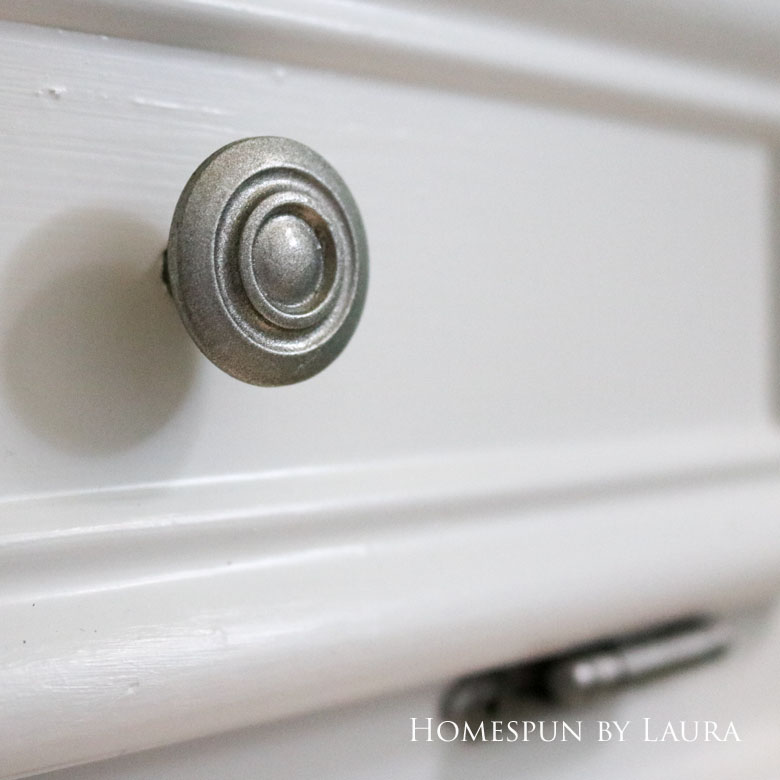
A close-up of the ‘new’ knobs and hinges.
Total cost: free (I already had the paint!)
Paint the walls
I’m not sure why the previous owners chose this brown for the master bathroom. It’s the same terrible color the office/craft room was before I painted it a couple years ago, and it was no better there. I wanted to choose a paint color that would be peaceful but also colorful.
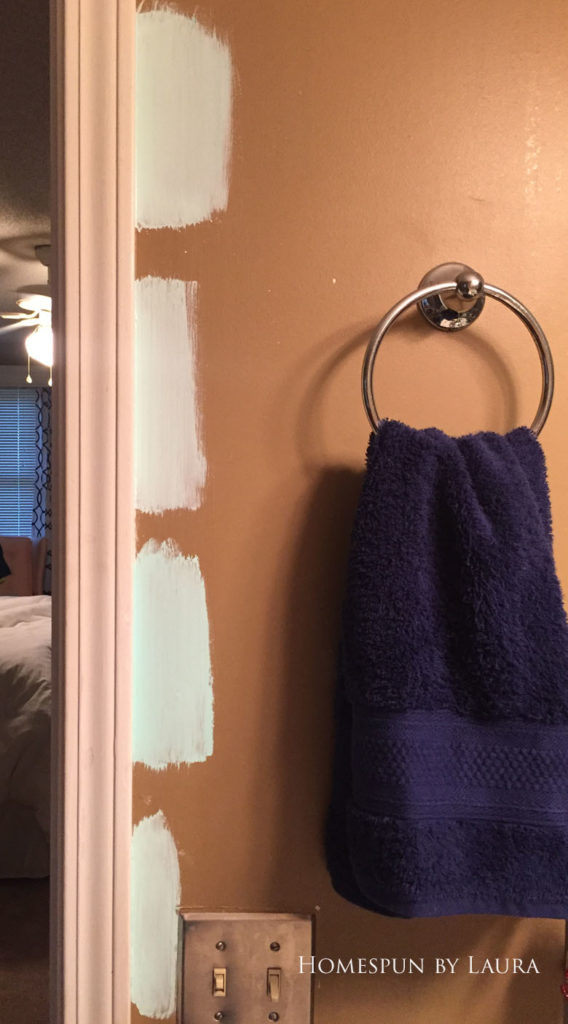
Paint samples sat on the wall for about a month before I got around to making a decision.
I didn’t do the math until later, but the five colors I sampled – which were really too alike to justify the cost – added up to over $18! When combined with the yellowish-almond counter and tiles, this color looks brighter than I was going for, but it’s a much better look than the dingy brown was. Note to self: for a true idea of a color, don’t just test it against the true white trim; also, don’t test five nearly identical colors!
How to paint behind a toilet
Using this method for painting behind a toilet was actually kind of fun. I already had a Shur-Line Paint Edger (that’s an affiliate link, by the way), which I attached to a sturdy paint stick with duct tape. I used the longer, thicker paint stick that’s meant for stirring the 5-gallon containers, and it worked really well.
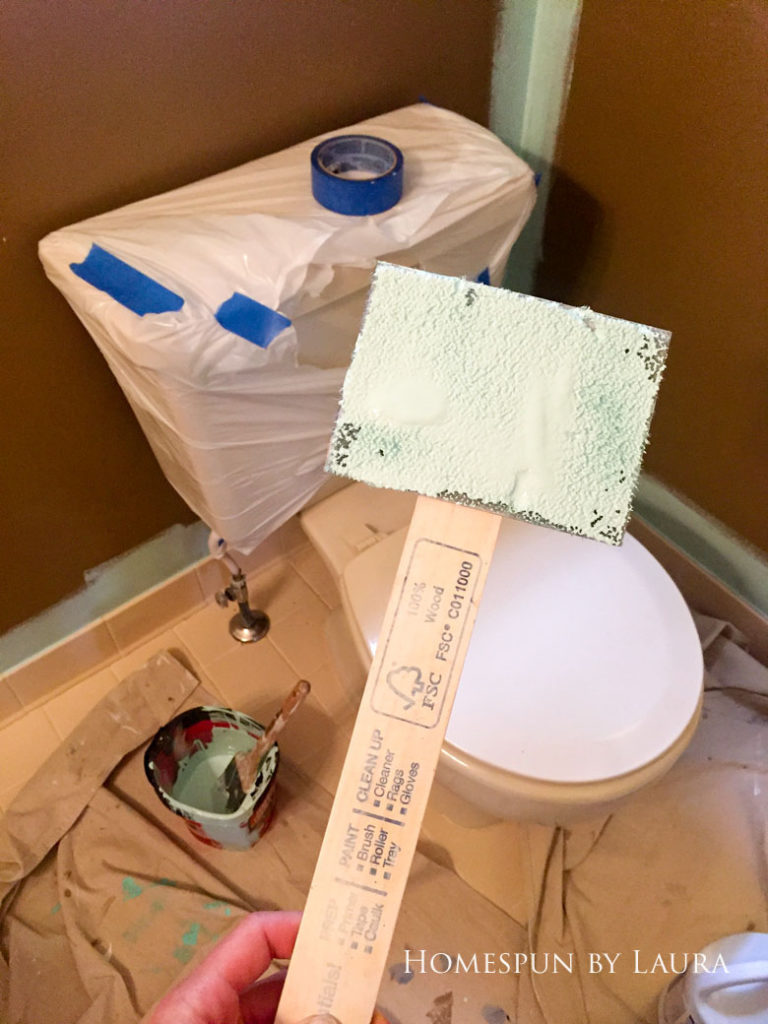
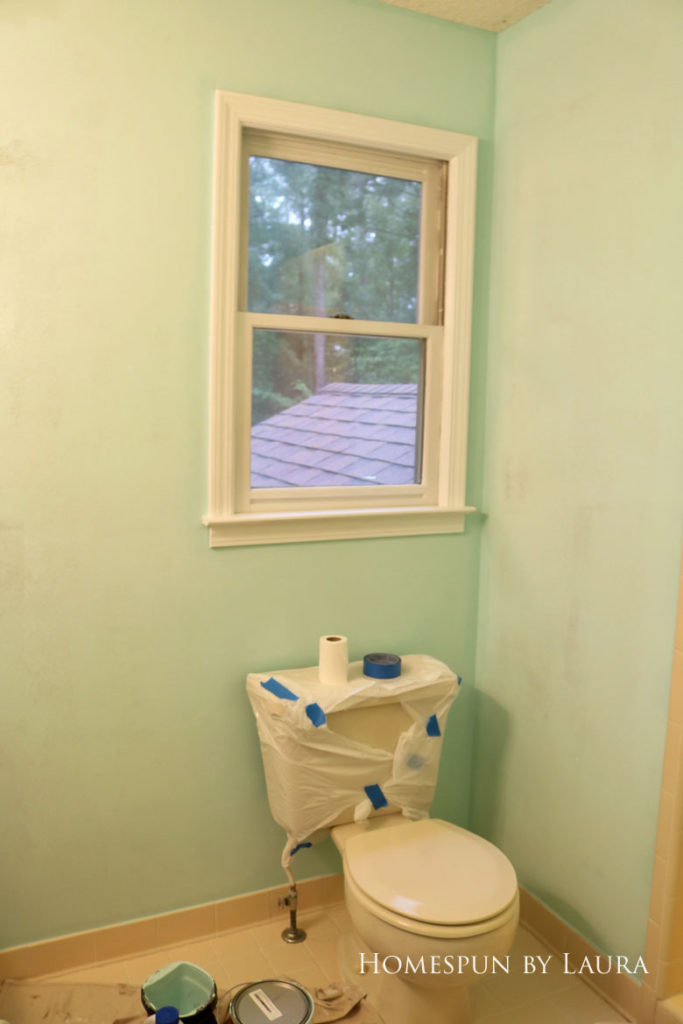
Oh, THAT looks better!! It needs another coat or two, though!
It took three coats to fully cover that dark brown color. But it looks great now!
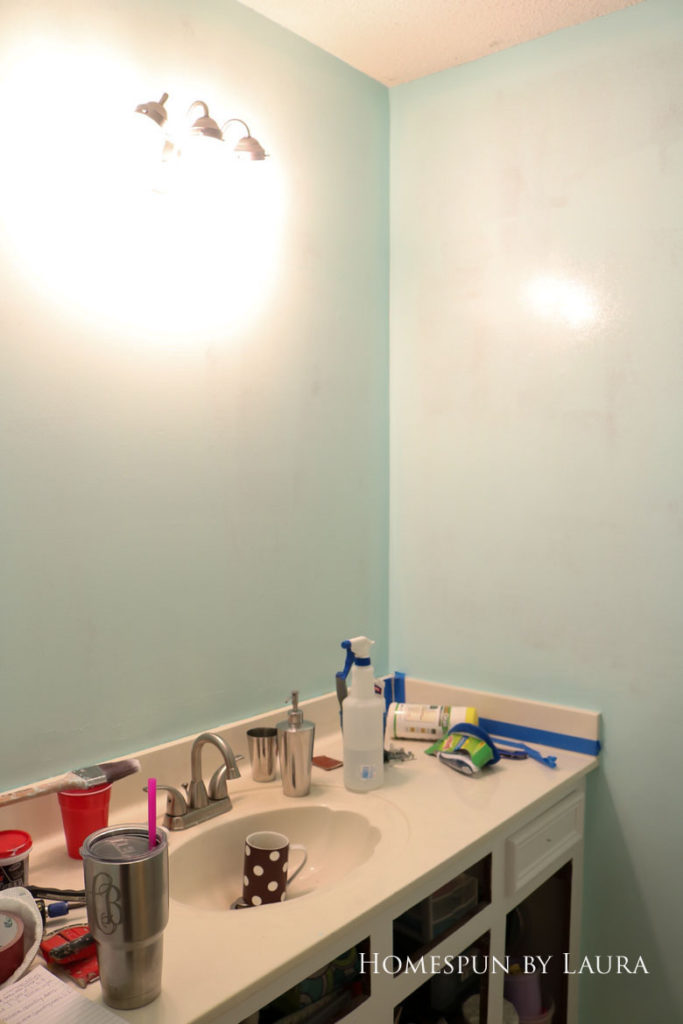
After one coat.
Total cost: $22.38 (bought paint during Lowe’s Labor Day $10 rebate), plus $18.79 in samples
Replace the faucet
While replacing the actual counter – or adding a second sink since it is, after all a master bathroom – wasn’t in the budget or within my skill set, we did have control over the faucet. We like to joke that the secret to a solid marriage is having to brush your teeth while sharing a sink, so until we move or decide to do some construction, the marriage remains strong. 🙂 Our previous faucet worked fine, but it looked like it belonged in a gas station bathroom. We donated it to the Habitat store and replaced it with a new one from Lowes.
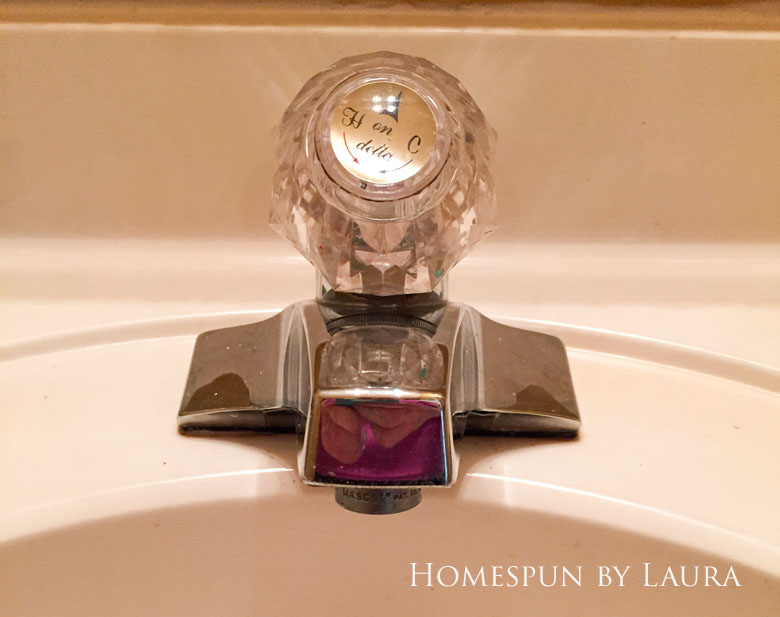
This faucet is available at the Habitat store if you’re interested!
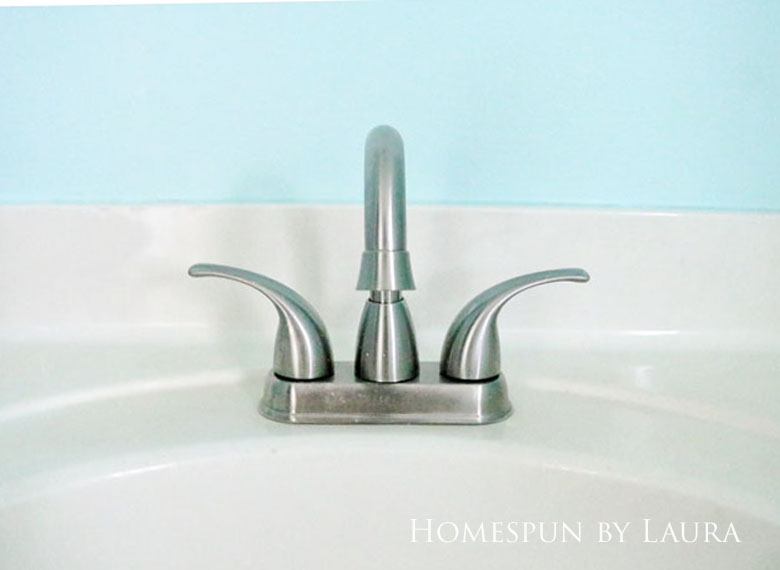
Again, the difference is huge!
Total cost: $12.64 out of pocket (used a gift card, redeemed from credit card points)
DIY updated light fixture
I originally planned to buy a new fixture, but I decided to give spray painting the existing one a shot first. It looked pretty good in brushed nickel, so I went on a search for new globe covers. I’ve gotten really lucky when checking the Habitat store for good lookin’ $1 globe covers for two other light fixtures in this house, but the luck didn’t stretch to the third fixture. To transform this one, I forked over about $20 for new globes and used spray paint I already had.
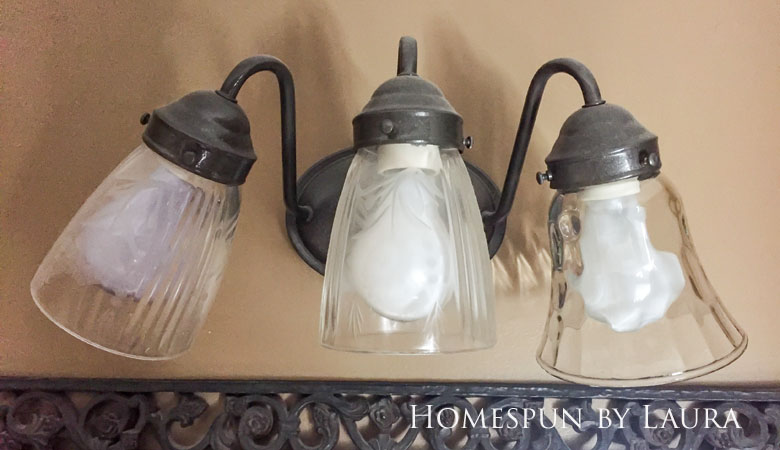
The fixture in our hall bathroom (shown here) was identical to the one in the master. The globe you see on the far right was one of those $1 finds at Habitat, and its counterparts replaced the other two. The fixture in the master had those same fancy globes (center and left) on it before I updated it.
I absolutely love it – and the fact that I saved at least $40 by going the DIY route.
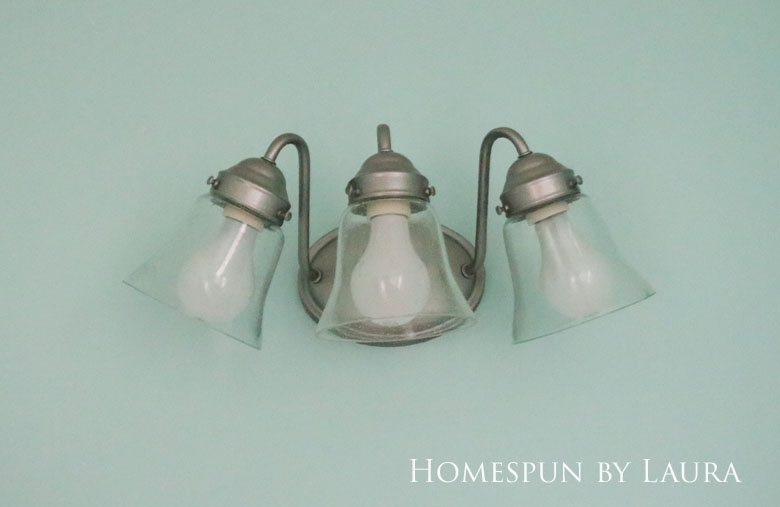
Easy and inexpensive DIY updated light fixture!
Total cost: $19.38 for new globe covers
New Shower Curtain, Blinds, and a Bathmat
New Blinds for a Brighter Room
I haven’t been able to make a decision on a pretty window covering, so for now we’ve just hung a cheap set of blinds from Walmart. I have some large scraps of sheer white curtain fabric so might stitch up an easy valance to cover the mechanics at the top of the blinds. It’s so much brighter without those curtains we had before, and I don’t want to lose the light.

As a reminder….
What a difference it makes! For about three weeks, we had to dodge the window. Having blinds again is so nice.
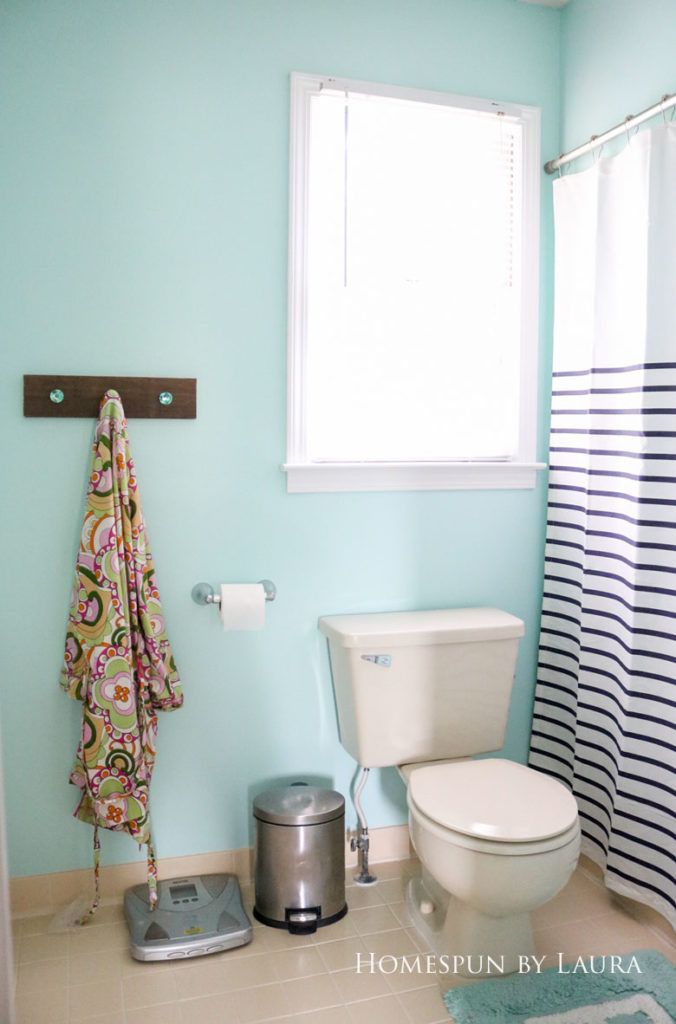
Extending the new shower curtain across the whole wall made the tiny shower feel like a little less of an afterthought.
Shower Curtain Splurge
One thing I’ve thought about for several years was that if I moved the toilet paper holder to a different wall and bought a longer curtain rod, the shower curtain could cover the entire wall instead of getting squished into the tiny shower opening. I love this change, and like many others in the room, I wish I hadn’t waited so long to make it.
I splurged on the Kate Spade shower curtain at Bed, Bath, and Beyond. Using a rare $15 off $50 plus a $25 gift card brought the price down to my range – Always be on the lookout for coupons! I was able to reuse one of the shower rods, but the other was too short since I reconfigured things. In addition to the new rod, a new liner was also necessary (the old one as just too dirty to be worth the effort cleaning it would have taken). I happened to have enough rings lying around to replace the rusty old ones, so I saved a few bucks there.
A New Bathmat
The clearance bathmat adds a touch of fun, though technically it’s lying since there isn’t actually a bath in this bathroom! I found out the hard way that it didn’t have a non-skid backing, so I made a DIY non-slip rug pad out of an old yoga mat.
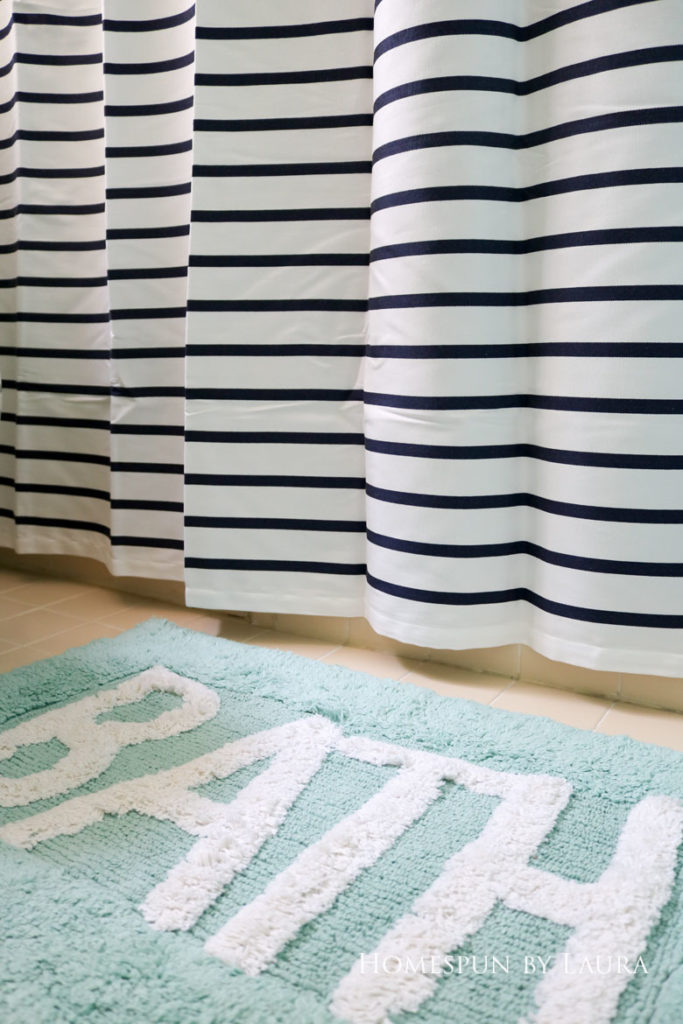
Total cost for blinds, curtain, rod, and mat: $57.67 (thanks to coupons and another credit card points gift card)
Caulk, Caulk, and More Caulk
This was a major change for a small amount of dough. I was totally afraid of caulking, and we strongly considered hiring someone to do it until I read about this bathroom refresh on Blake Hill House. Stacy made it seem pretty straightforward, so I decided to give it a try.
Before I got started, I cleaned the shower (again) and floor with the same bleach pen and bleach + baking soda method that I used earlier in the week.
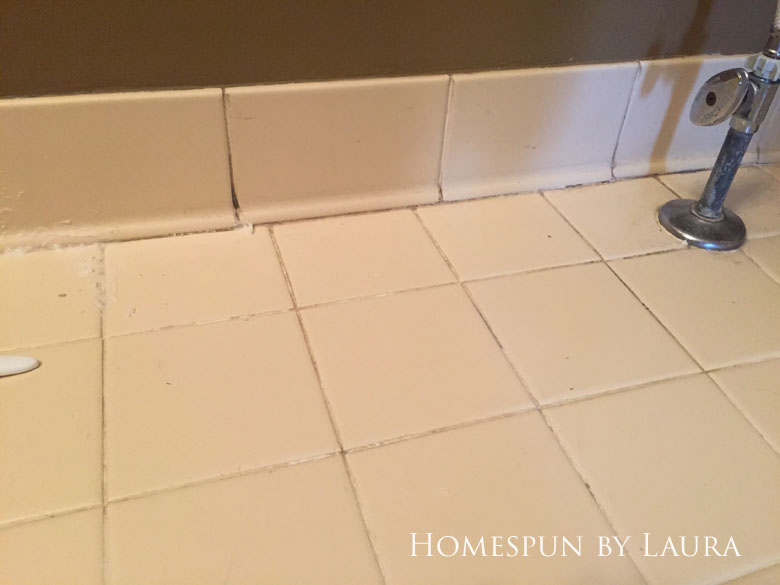
An in-progress ‘before’ shot
It made a big mess before it made an even bigger difference!
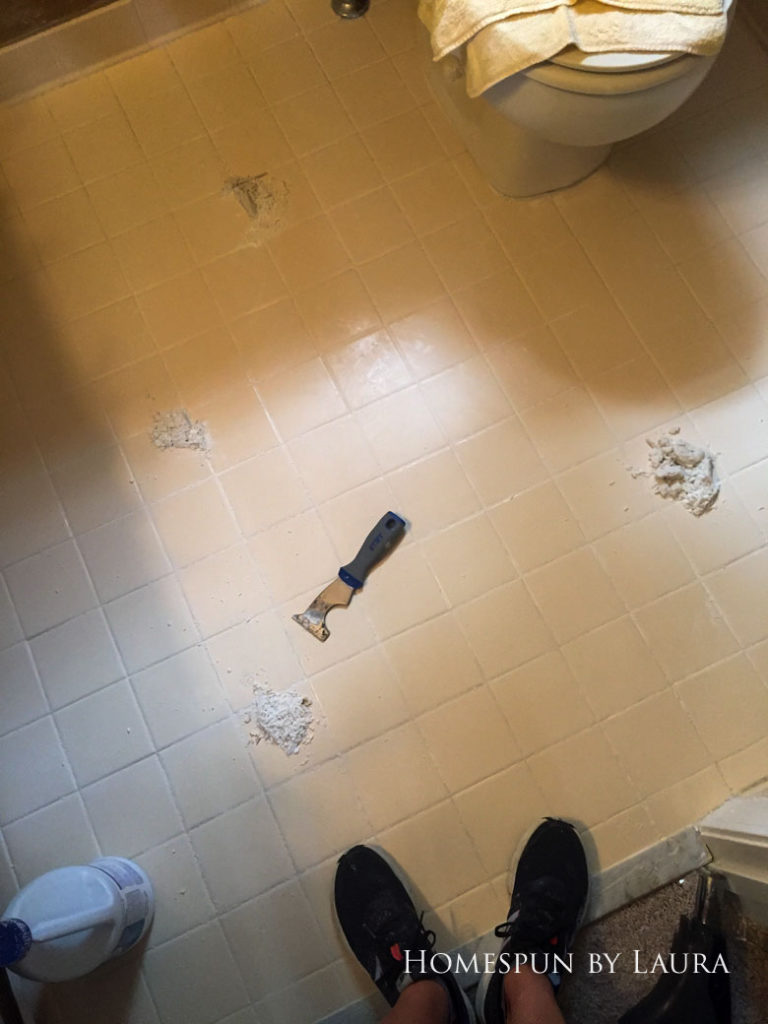
Cleaning up the dried paste residue was no fun.
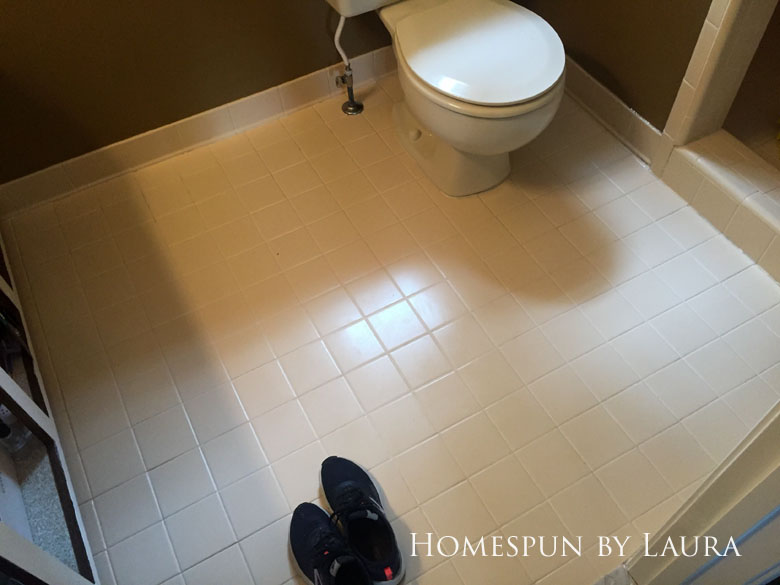
So clean!
Even after a second cleaning, the shower still looked kind of gross. The caulk itself was harboring the black stuff, so the only option was to pull it all out and start fresh.
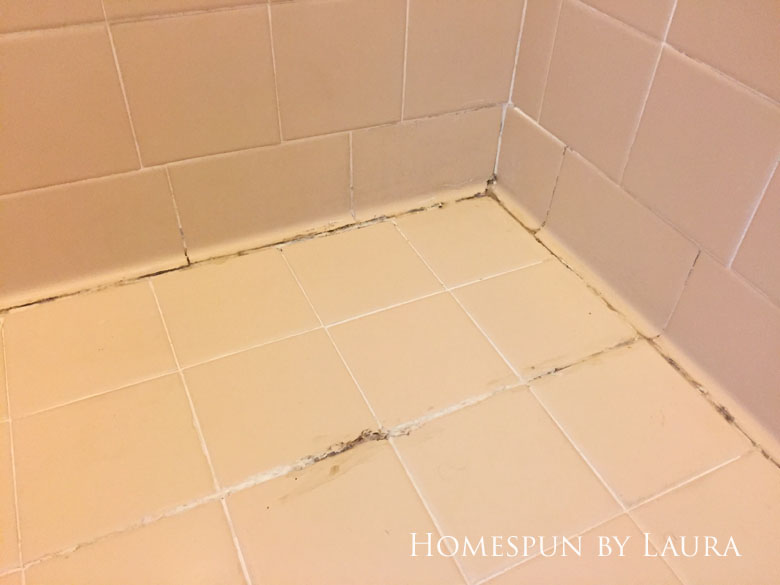
Before the second cleaning
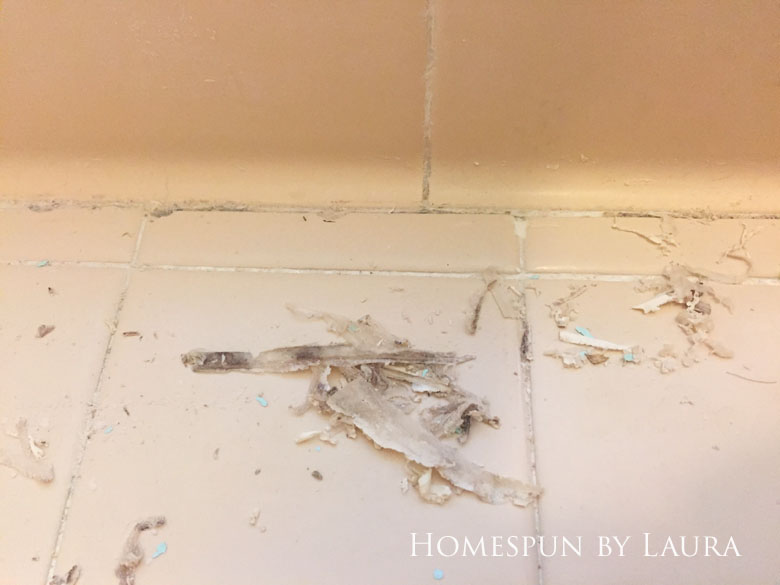
Scraping out the old caulk was quite the undertaking.
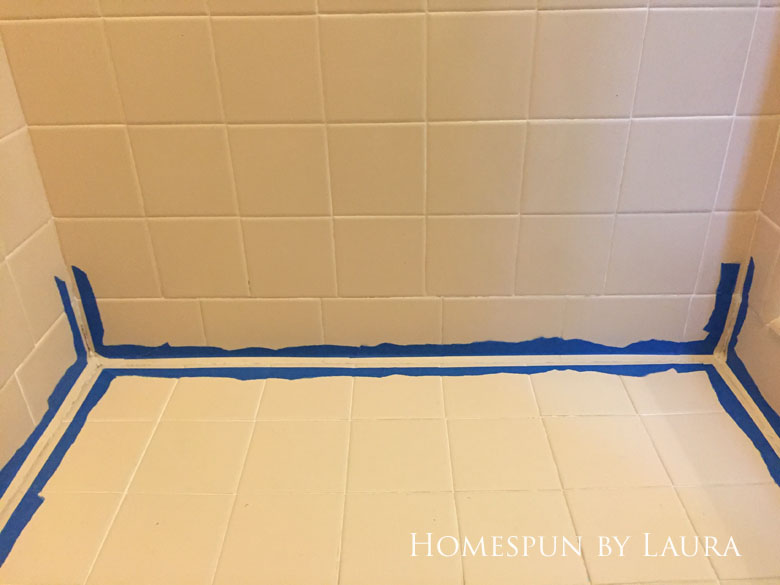
Almost looks clean, but there was still a good amount of grossness left behind.
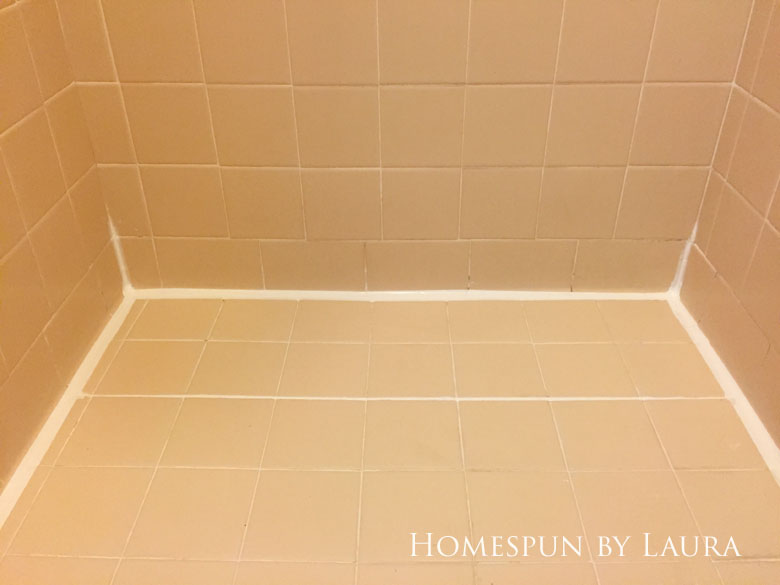
I laid the caulk down very thick to ensure I’d covered all the problem areas and that the shower was completely sealed.
I also caulked the gap between the vanity and wall. Tiny change; big difference!
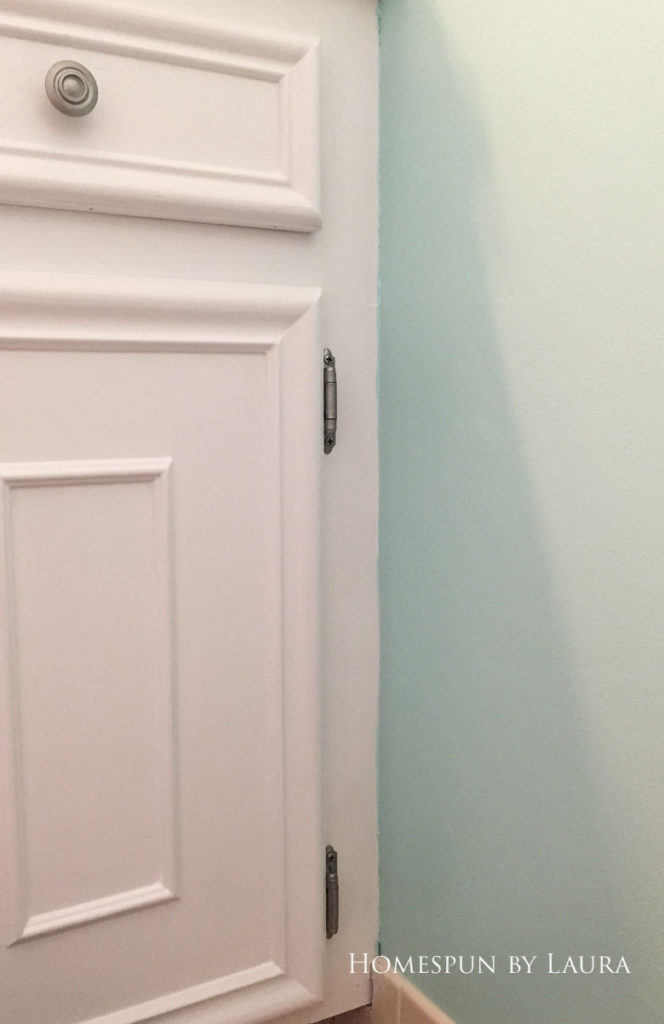
It was worse on the other side (there was actually a big gap between the wall and vanity!), but I caulked it before I thought about taking a picture.
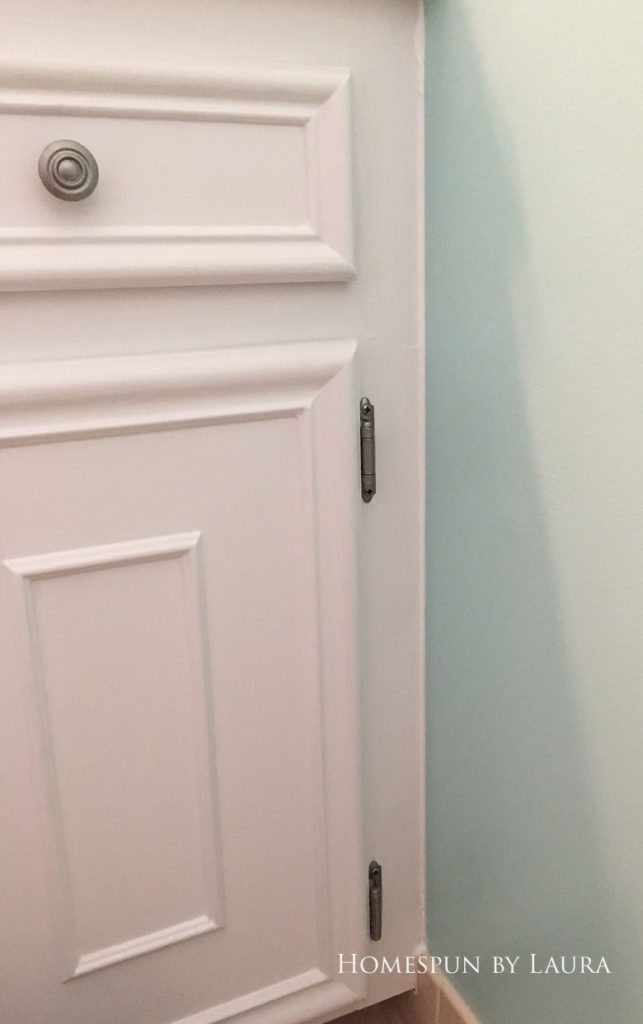
Now both sides look awesome.
There was a definite learning curve, especially with the caulk gun, which I really don’t like, but I’m pleased with the result and the fact that it cost next to nothing. In fact, I decided to go ahead and recaulk the guest shower and vanity and will probably do the vanity in the half bathroom in the next few weeks. Buh-bye, black caulk!!!
Total cost: $12.29
Replace the mirror
A few years ago, I spotted a perfectly good mirror next to the neighbor’s construction dumpster and saved it from its doom. It then sat in the attic for a few years gathering dust and I forgot all about it until I came across it a couple months ago.
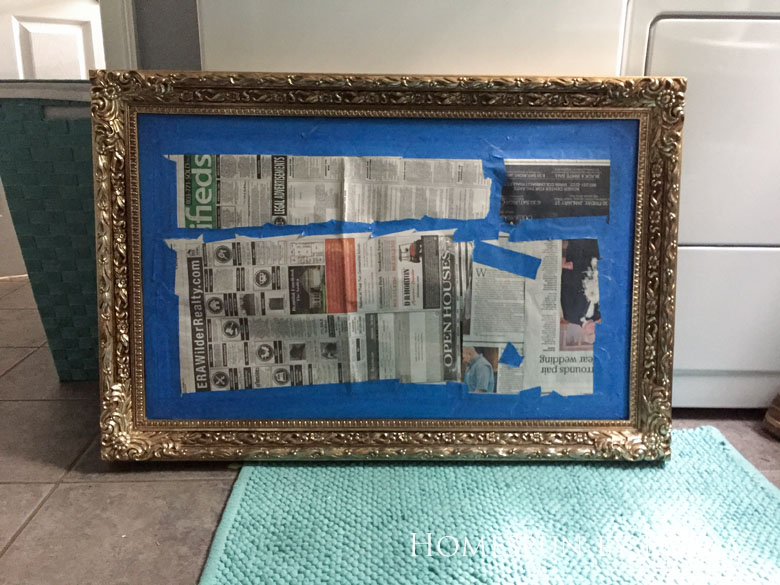
My original plan was just to spray paint it, then I realized I really didn’t like the fake plastic frame – and that no amount of spray paint would help it.
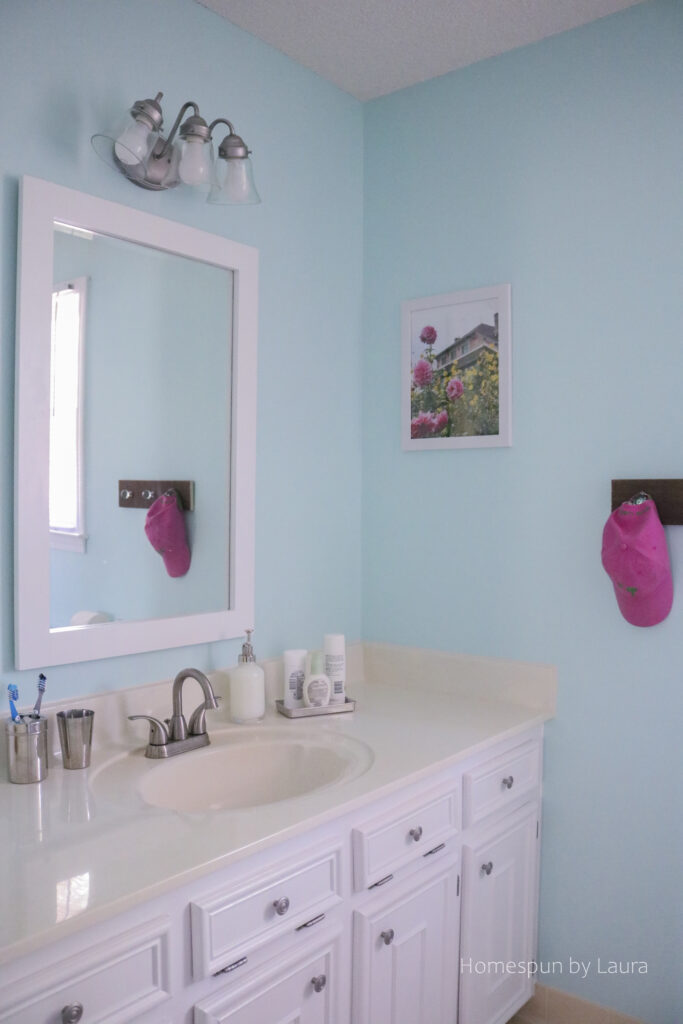
I decided that instead of buying a new mirror or framing the existing one, I would pull that dusty salvaged mirror out of the attic and reframe it. I used a similar method to the cedar frame I made for the master bedroom earlier this month. So we removed that huge wall-to-wall mirror in favor of a smaller DIY one!
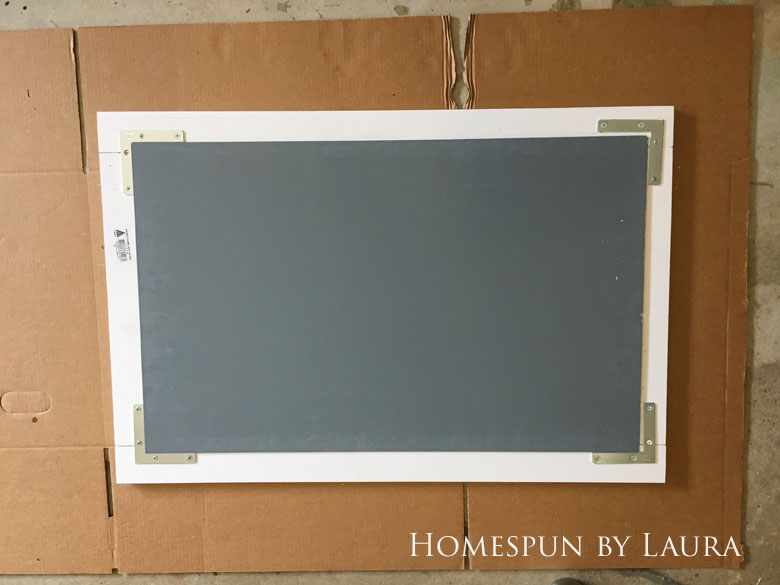
Scroll a few more inches to see the full ‘After’ below!
Total cost: $14.10 for lumber and brackets
Décor and art
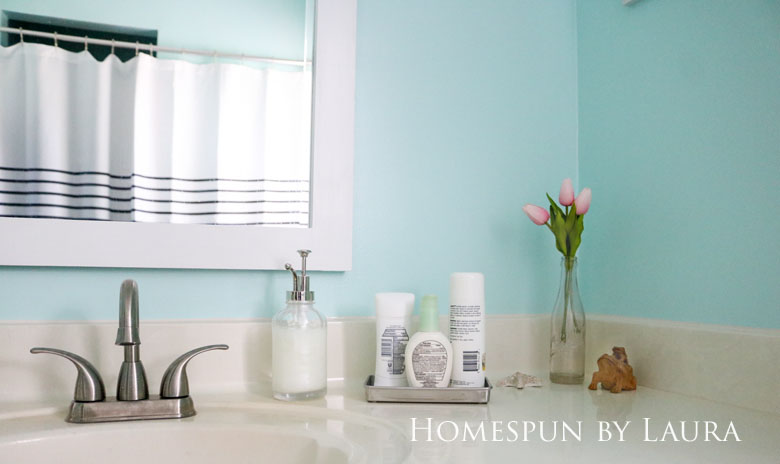
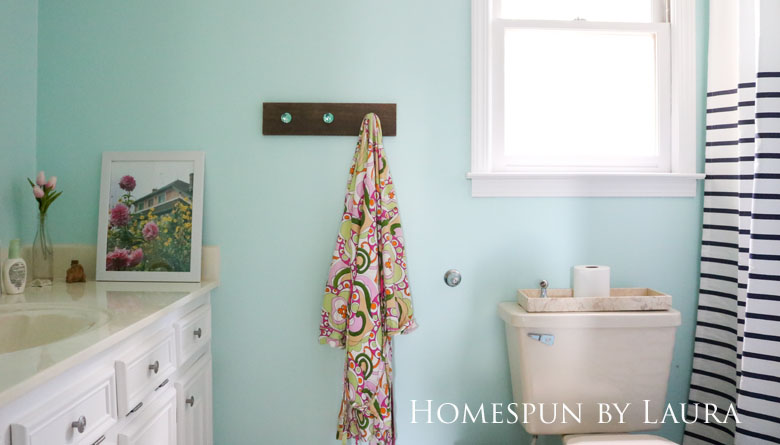
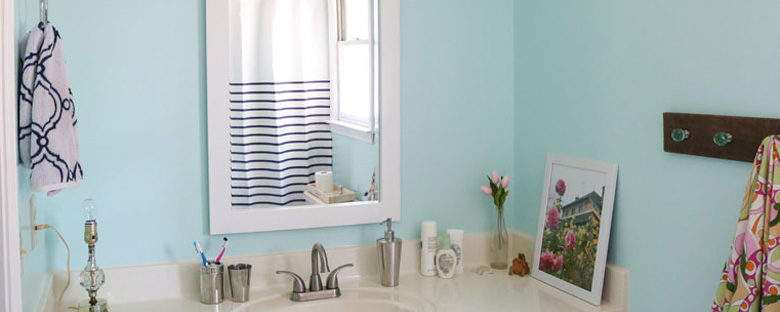
We have decided to make a conscious effort to keep the counter free of clutter. Besides a few items we use daily, we’ve moved all the excess into the drawers and cabinets and tossed what we don’t use. I moved in a lamp I bought at an antique store several years ago, but I haven’t found a shade I like, so it’s a little bare for now. The star and frog are souvenirs from trips we’ve taken to tropical locations, and I stole the faux tulips and vintage Dr. Pepper bottle turned vase from my desk.
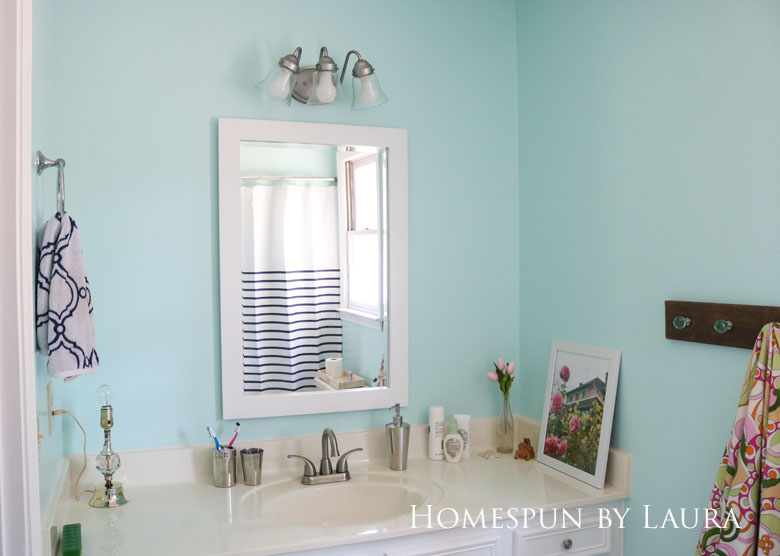
I was too excited to wait until we hung the art or found a lampshade to take after photos!
Instead of getting a fancy or expensive frame for some art, I found an $8 everyday deal frame at Michaels. I had trouble determining which photo to print so finally just closed my eyes, picked one of my favorites, and sent it to Sam’s Club to have it printed (their large prints are very inexpensive!). I love this one from our visit to Monet’s home in Giverny, France last year in this space. It’s just the right punch of pink.
The shelf was an easy (and free to me) DIY at the Haven conference this summer; the wood was supplied by Behr and the purty glass knobs are from Liberty Hardware.
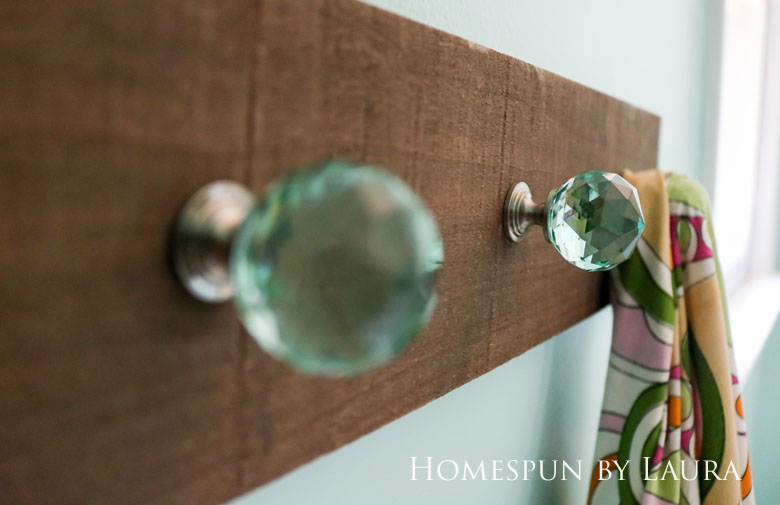
So shiny!
Total cost: $9.80, including the frame (I wasn’t kidding; Sam’s has great prices for enlargements!)
Remaining wrap-up stuff
- I never found a lampshade for the lamp, so I removed it. It really wasn’t serving a purpose since there is already a light in here…
- I wanted a small tray to corral toiletry items on the vanity, but couldn’t find something cheap I liked. Finally I just went and stole one from the set in another bathroom. It makes more sense here.
- One of the screws stripped out and made our original toilet paper holder useless, so I had to fork over about $10 buy a new one. The new one is chrome like the old one and nicely coordinates with the towel rods we put in years ago.
- Enjoy having a cute master bathroom!
Total costs:
The final cost of the changes was $181.94. The entire DIY master bathroom refresh came in under $200! It didn’t cost much to make a big impact in this small space, and now we can enjoy the bathroom instead of ignoring it.
– – – – – – – – – – – – – – – – –
The yellowish counter and almond tiles aren’t going to turn into Carrera marble and white subway tile anytime soon. But a week of dedicated effort made a huge turnaround in this space. I even used this shower for the first time in seven years! I call that a major success.
Moral of the story?
Don’t wait for years to make your house what you want it to be.
Small changes can add up to make a major difference, and it doesn’t take a huge amount of money to make many of them. Don’t have the time or budget to make all the changes you want to make? Pick two or three small changes to start with, then add others over time. Good things come to those who wait – and to those who work hard. You can make it happen!
A parting glance
Check out the rest of my #30projectsin30days, or head over to Blake Hill House to see what everyone else has been tackling this month!

I like your approach of use what you have, or at least keep the costs reasonable. And the clean and refreshed results are more than amazing. Your “elbow grease” contribution is, well, priceless. Job well done.
Thank you, SH! A little bit goes a long way, if you set your mind to it!