Welcome to our DIY old world mud room! For less than $250 (yes, you read that right!), we transformed the space from beige and boring to blue and beautiful over the course of 7 weeks! Read on to find out how we did it.
The One Room Challenge officially ended last week…but I’m one of the select few who required an unofficial 7th week to complete my project, the ‘DIY Old World Mud Room’. Normally 6 weeks long, the One Room Challenge is a design challenge hosted twice each year by Calling it Home and sponsored by Better Homes and Gardens.

My goal at the beginning of the ORC was to first improve the function of our mud room, pantry, and two closets right off the mud room. Then, I wanted to make the mud room a little prettier – and a little less beige. You can read more about the improved functionality in our closets and pantry in my Week 6 post, the ‘Almost Reveal’.
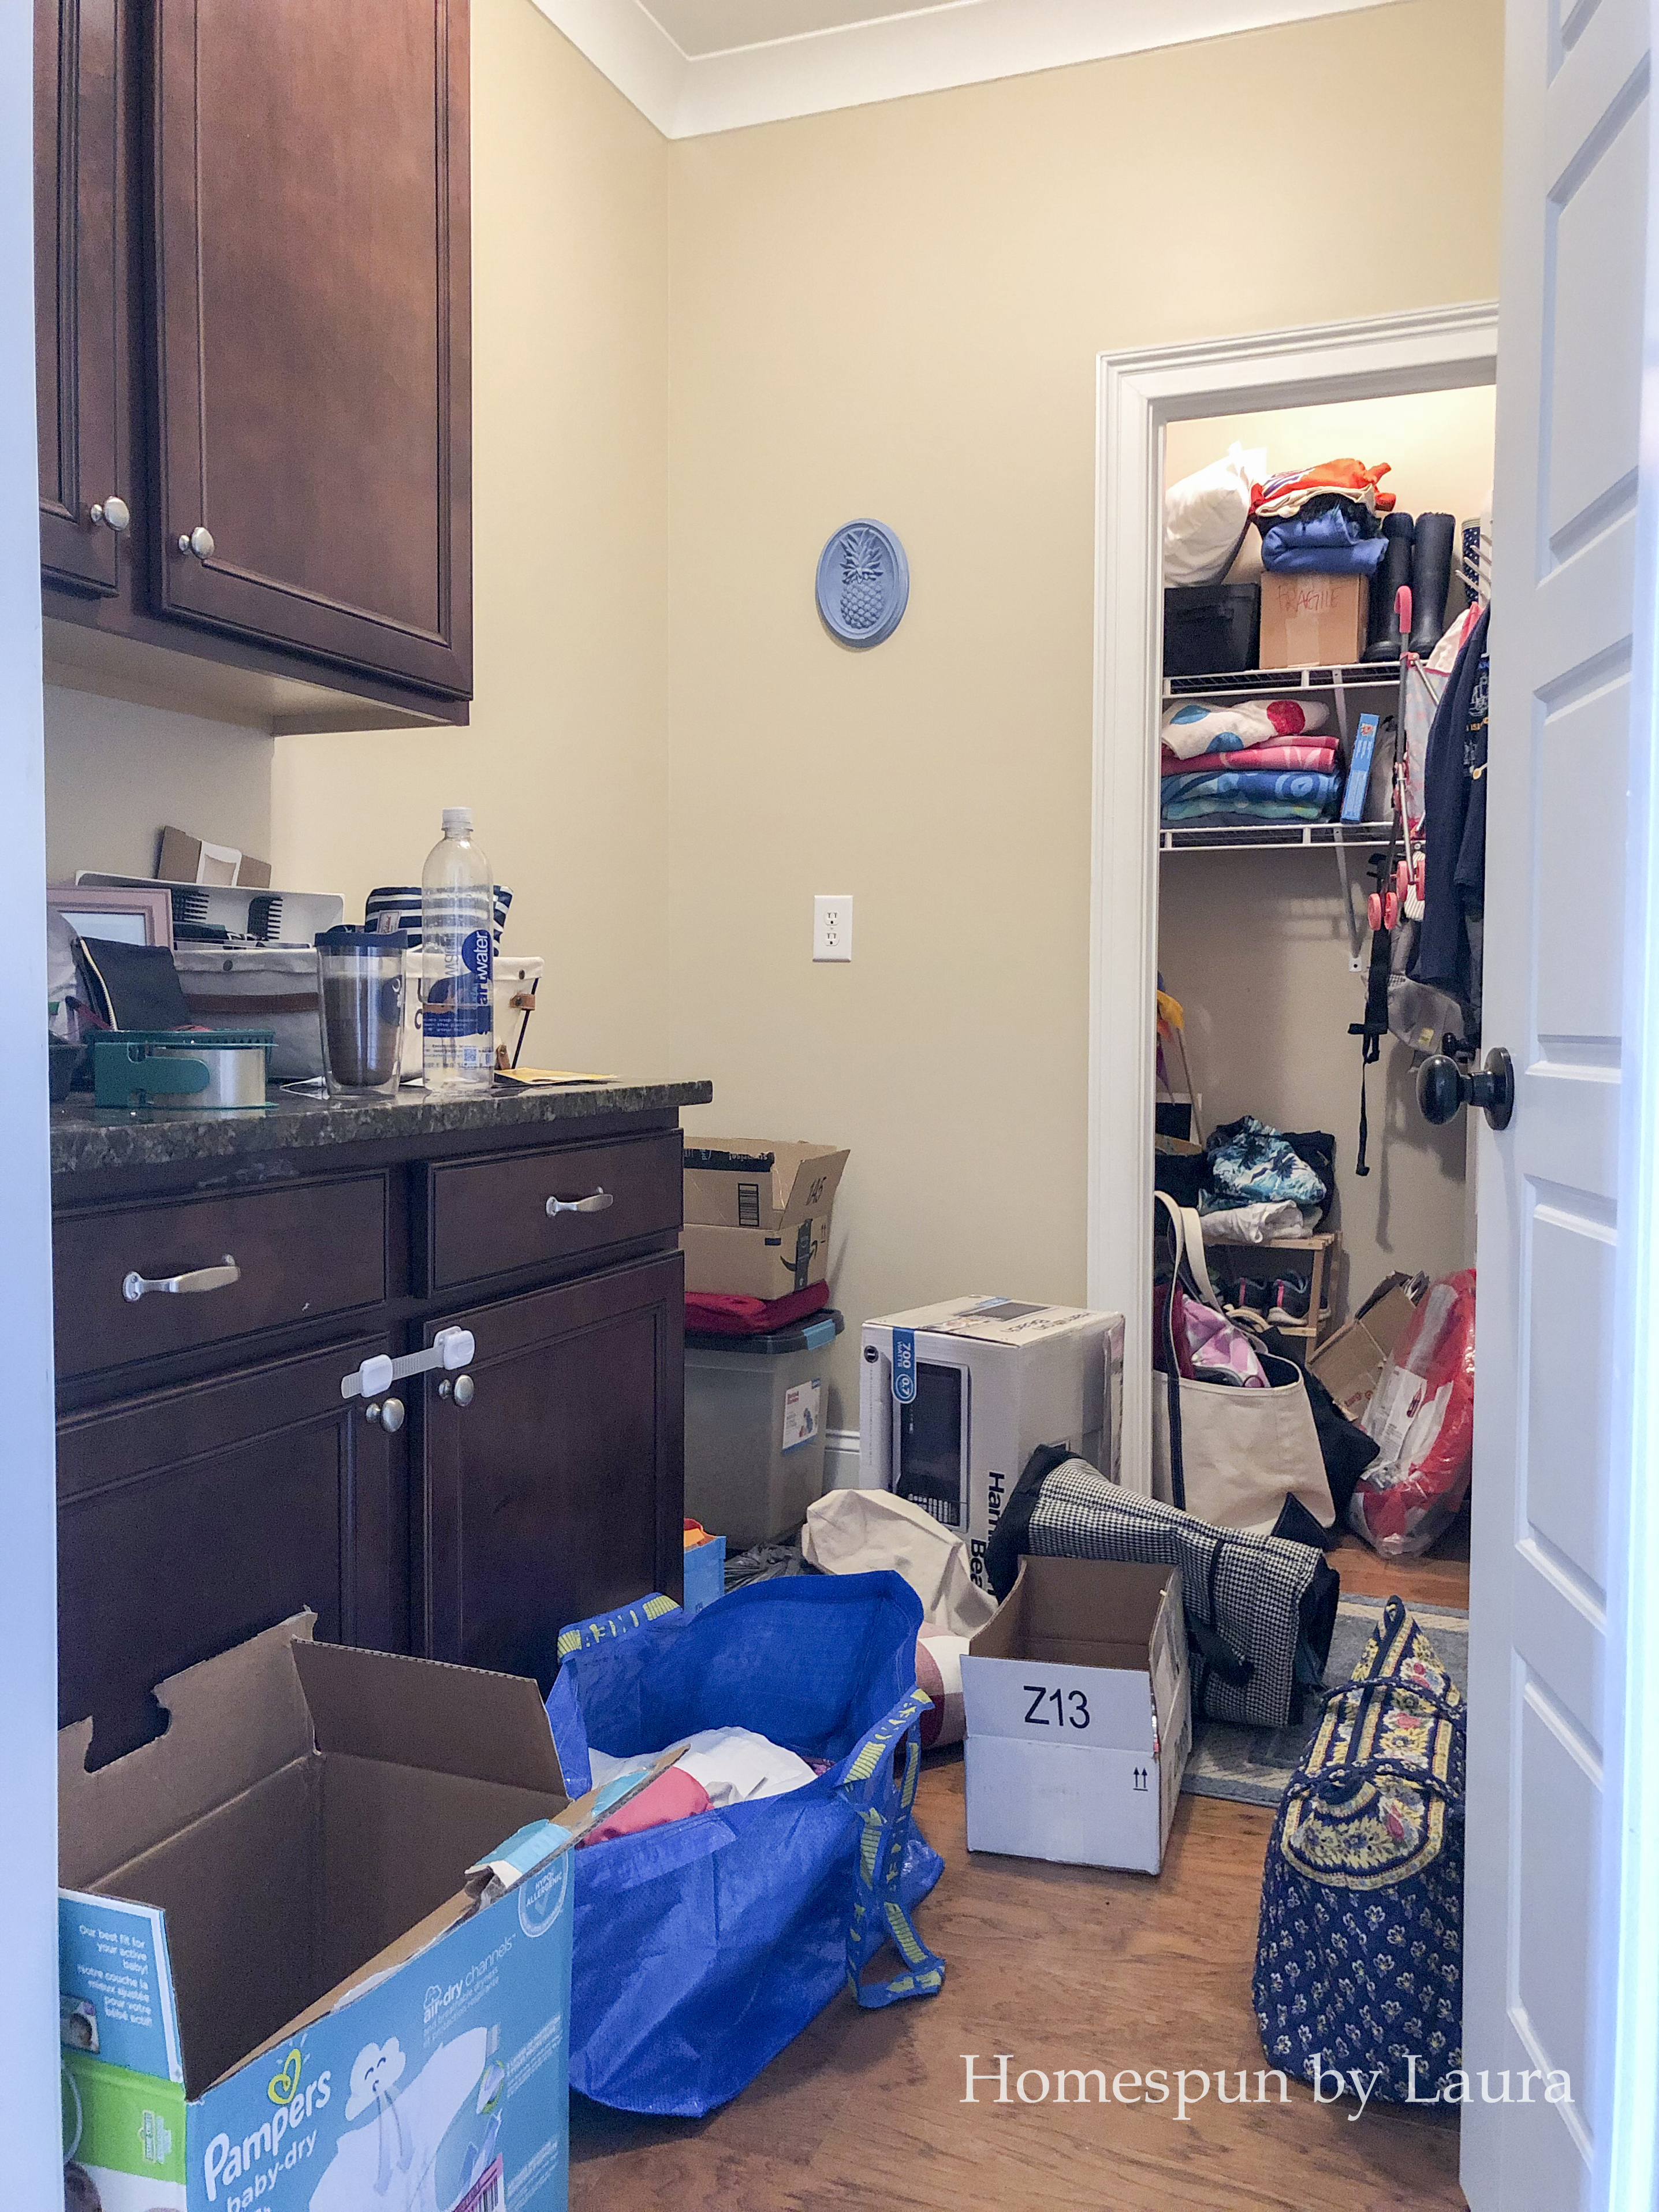
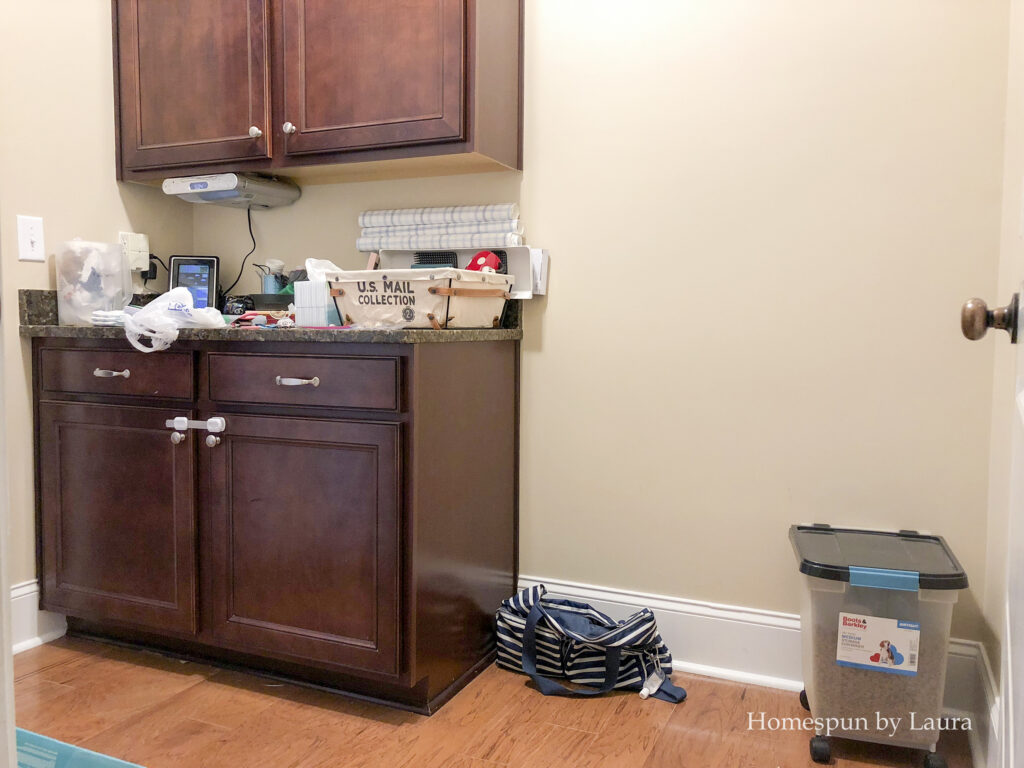
Before I share our now non-beige beauty, here’s a reminder of what we started with. It was a good space with huge cabinets and a counter top, a big 46″ wide gap of nothingness, two big closets, and a really high ceiling:
…And now it looks like a completely different room!!
Here it is again, beige and boring…
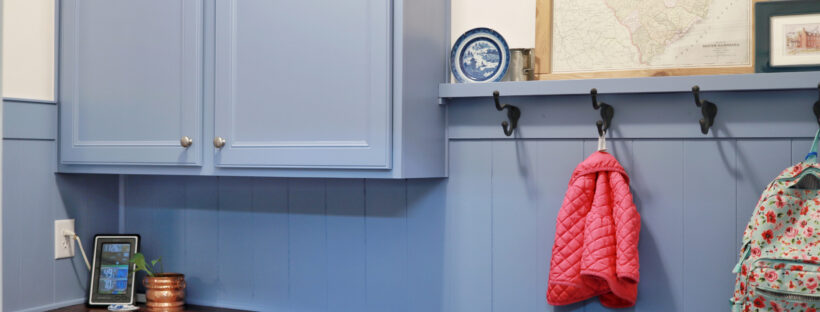
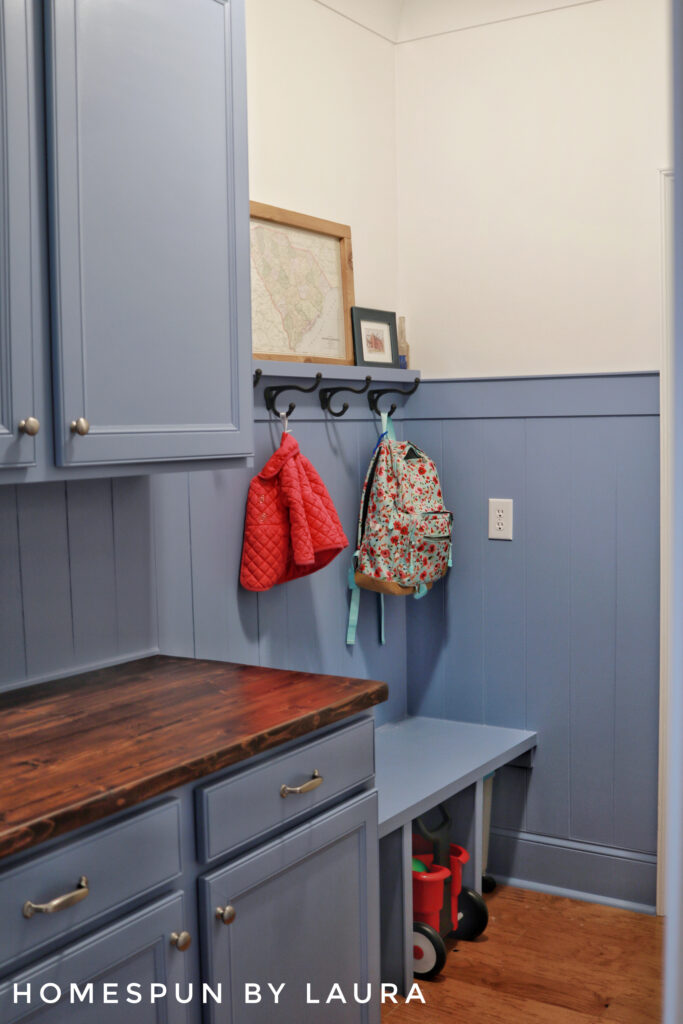
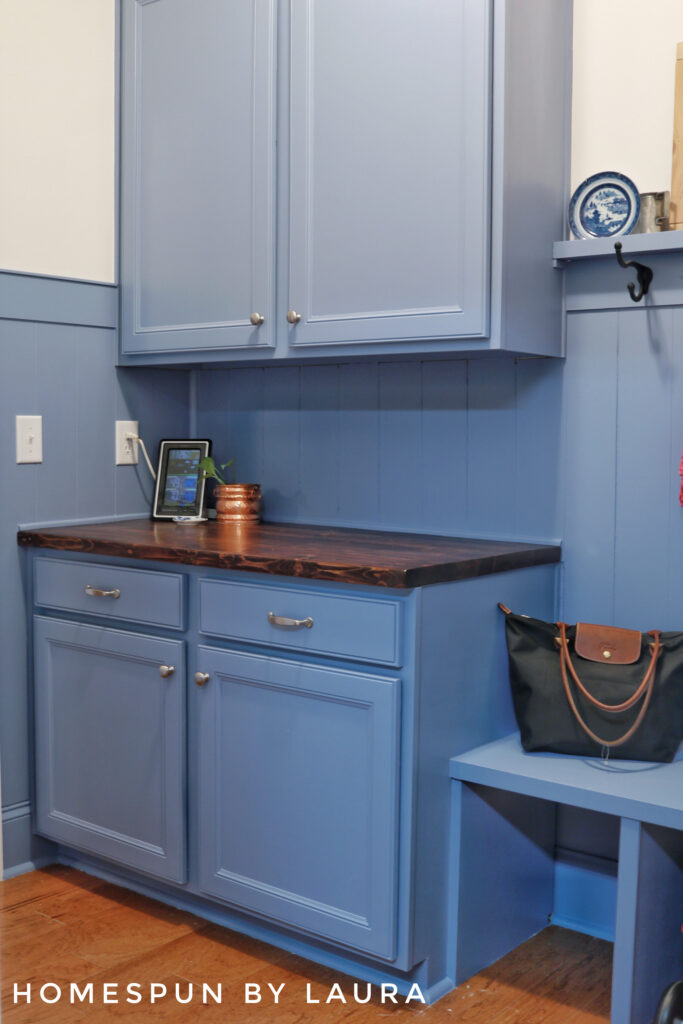
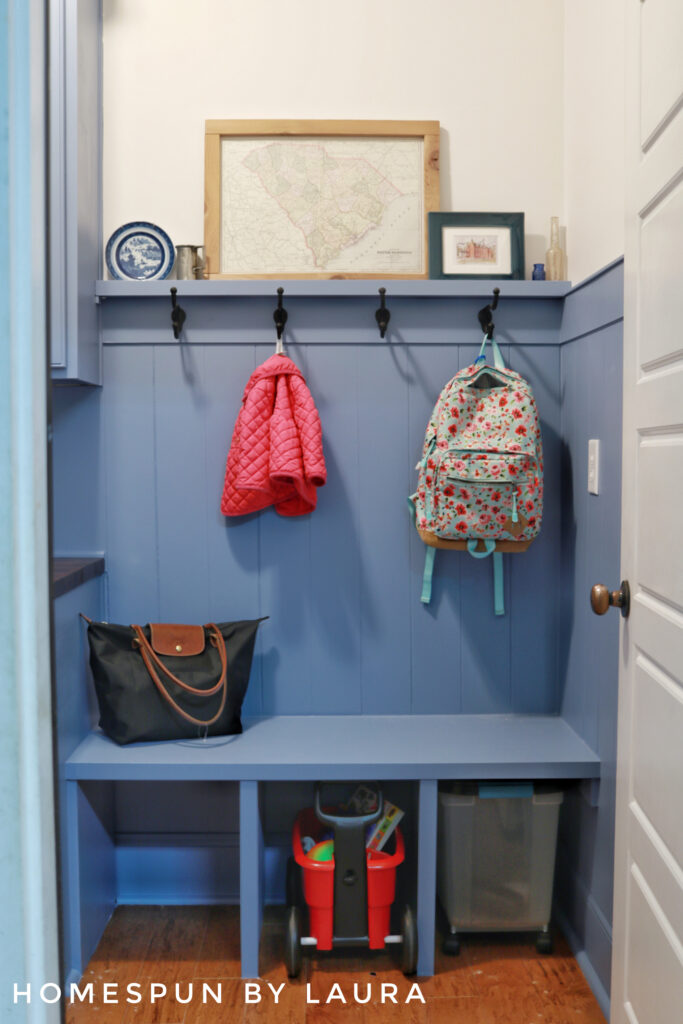
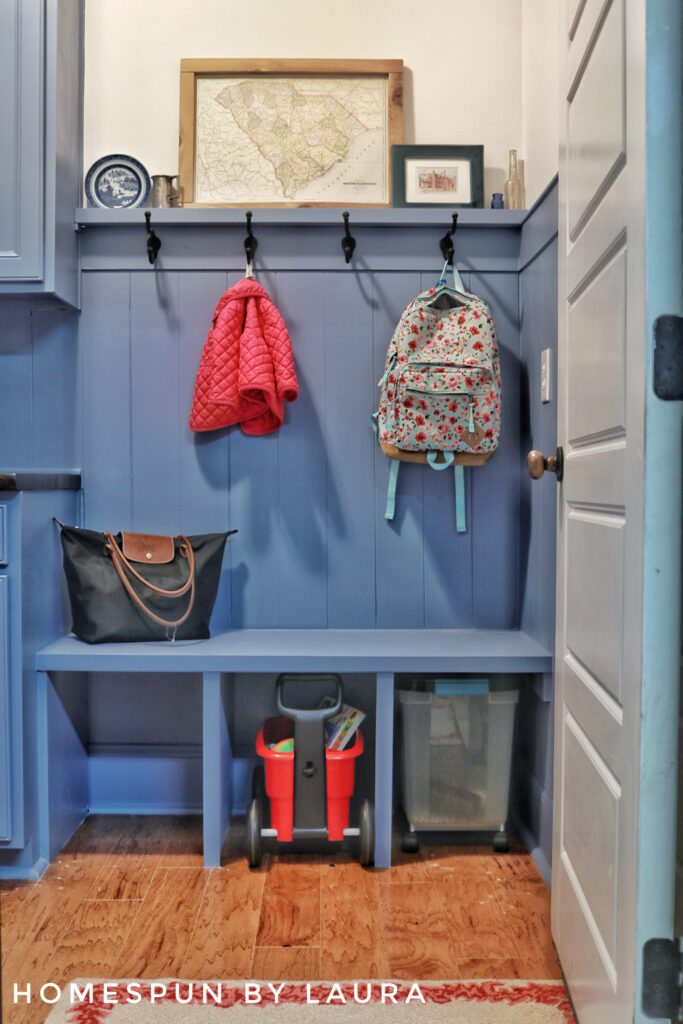
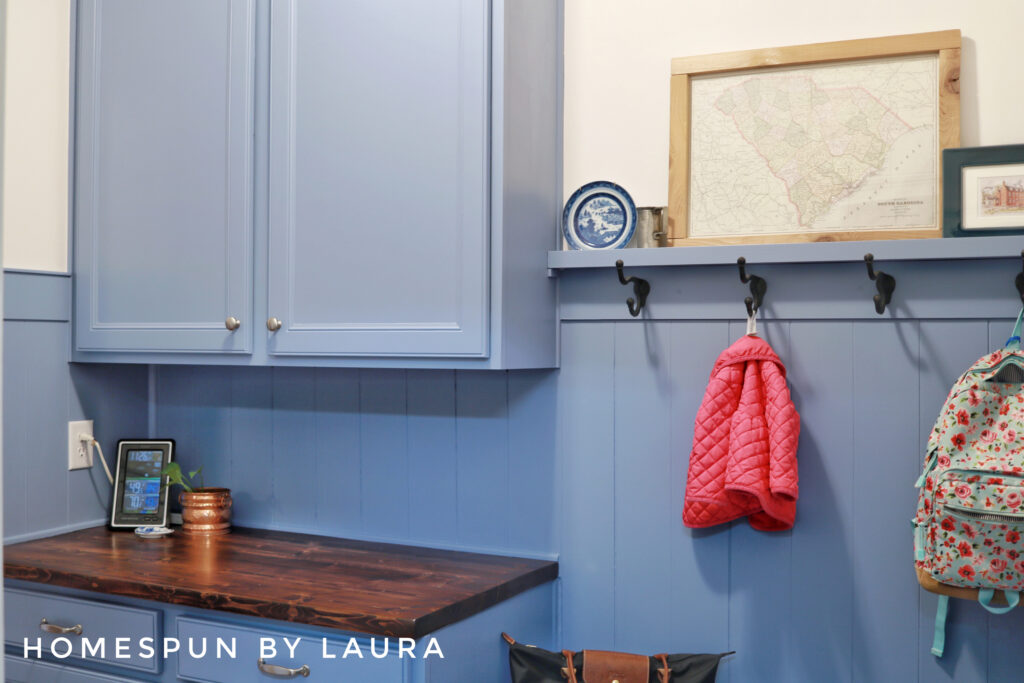
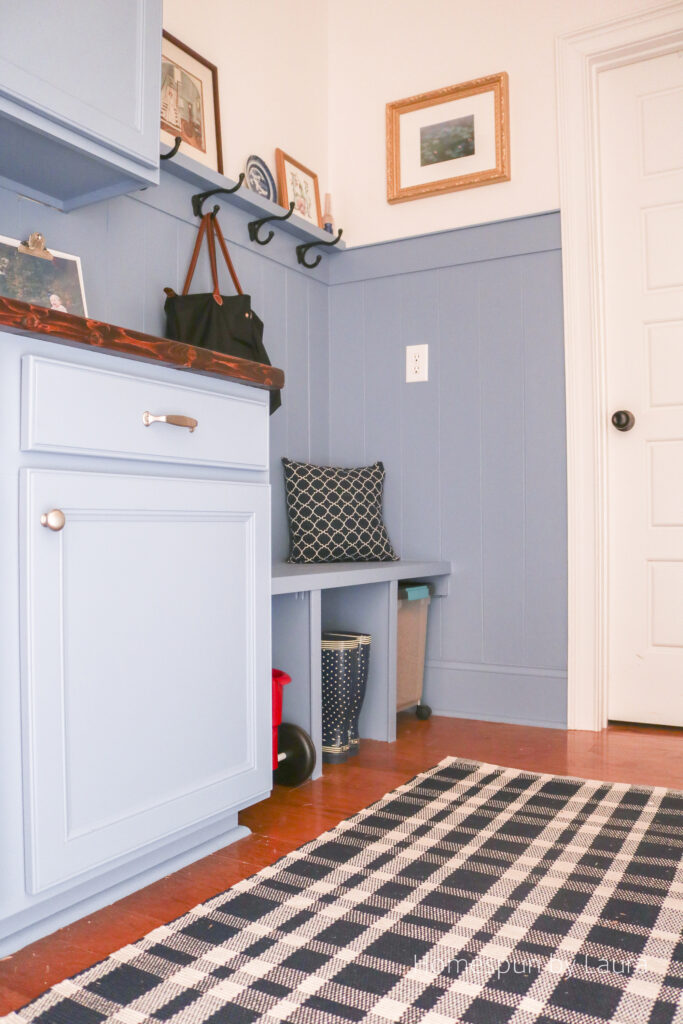
Now it’s blue and beautiful!
I just discovered that I can create an image gallery (I’m a little slow when it comes to the blogging part of blogging!), so here’s a fun look at our new old world mud room:

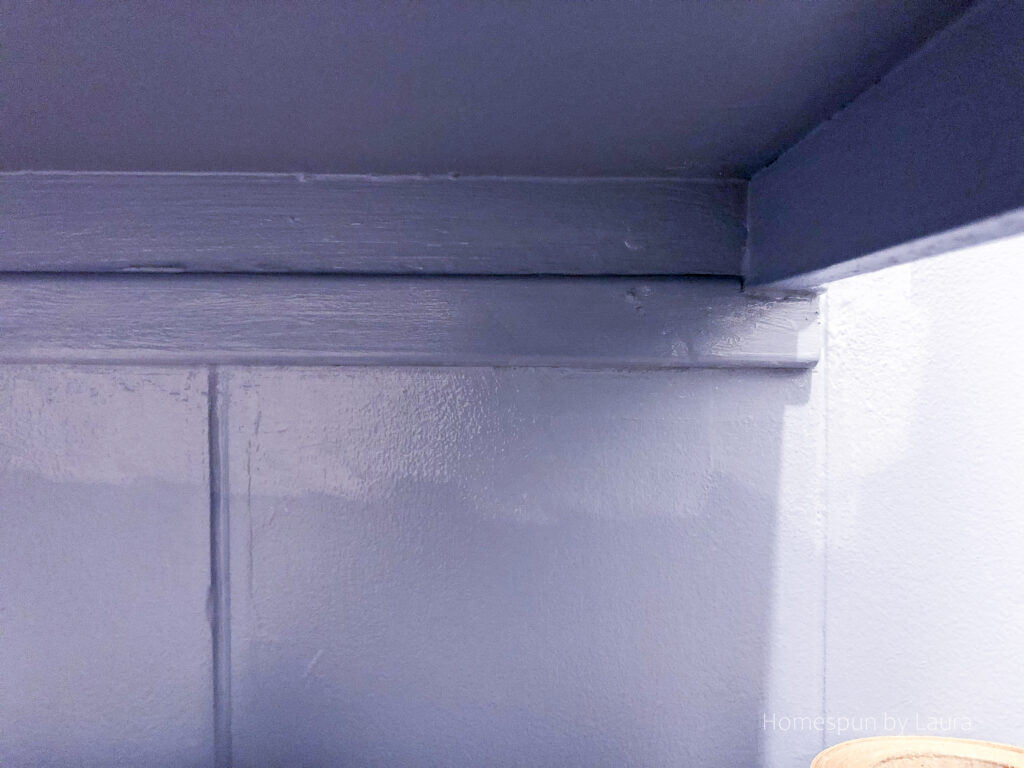
Additional trim under cabinets
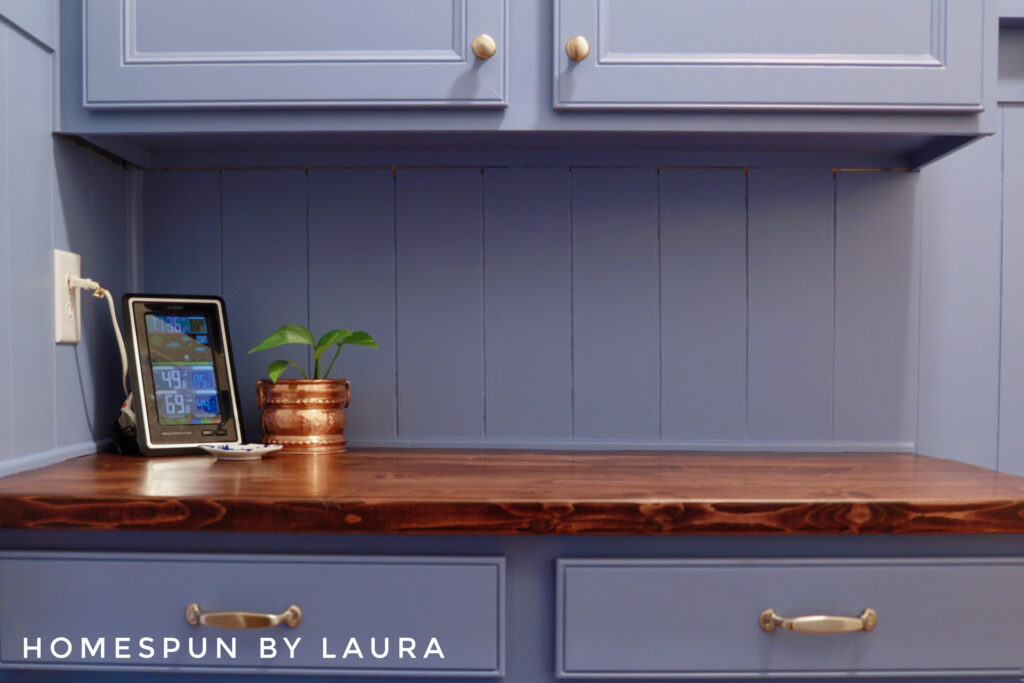
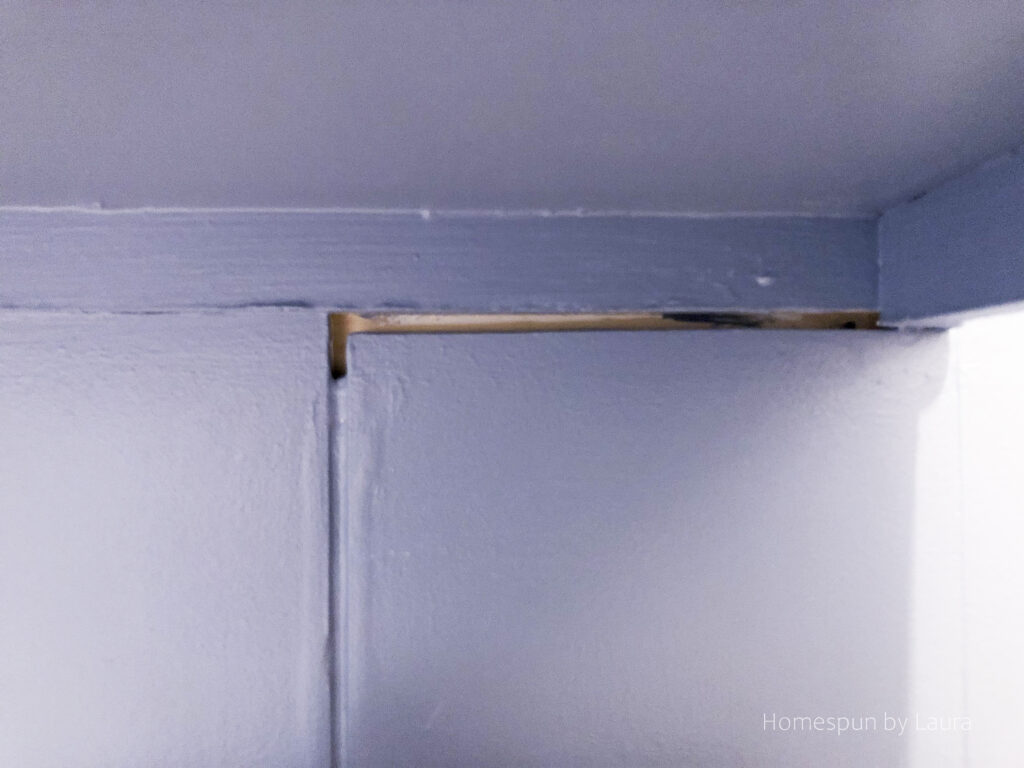
I added a tiny bit more trim in front of planks below the upper cabinets for a more uniform look. I completed the trim along the top of the counter but didn’t have quite enough to make the pieces for underneath the cabinets, and it took me a week to get back out to Lowe’s to grab more. Then the extra trim leaned against a wall in the garage for a few weeks months.
Nobody but me noticed its absence, and nobody but me will notice its presence. It’s not like anyone is walking around ducking their heads to see if the top of the planks meet the bottom of the cabinets.
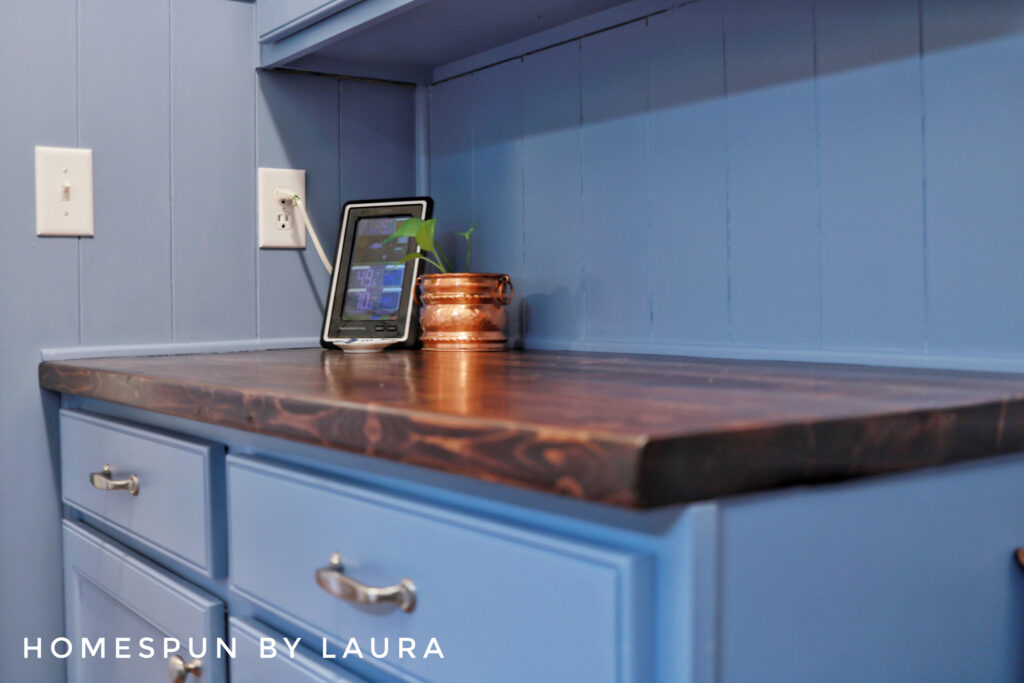
You can see the slight gap in this photo, especially on the far right.
How to Add Trim Under Cabinets
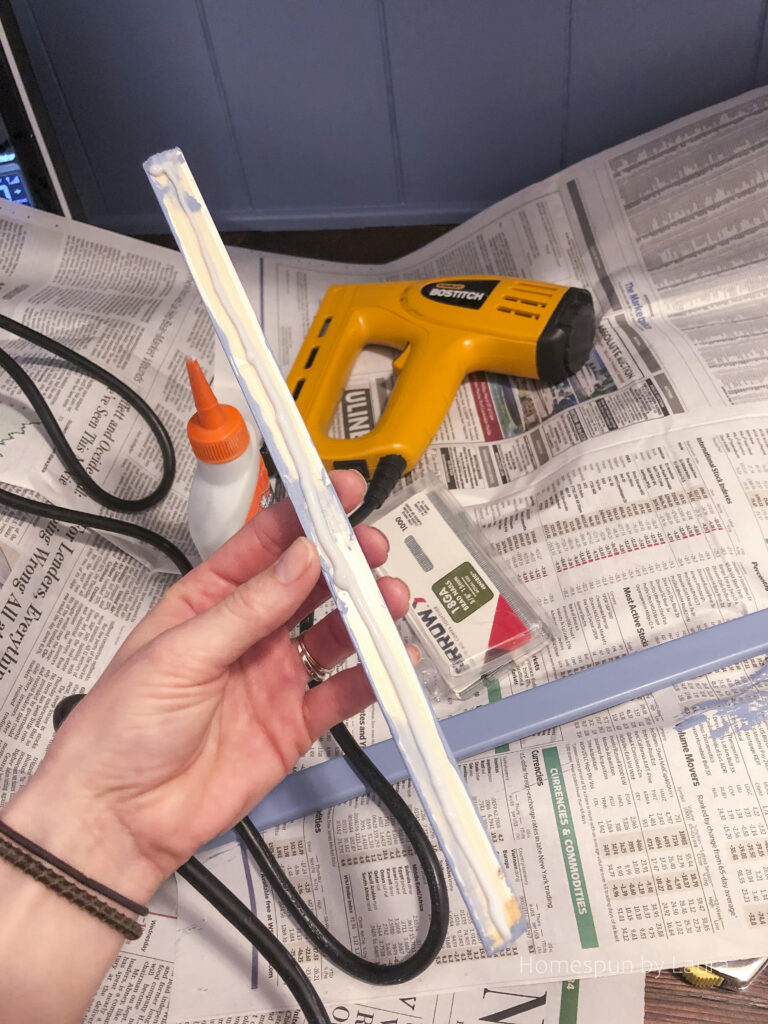
This step involved measuring, cutting, and painting the trim, installing it with Liquid Nails and the nail gun feature of our electric staple gun, caulking around it, and a final coat of paint to cover the nails and caulk.
It sounds more involved than it actually was, but waiting for all that paint and caulk to dry is time consuming. A few steps each day for a few days got the job done.
I went ahead and painted both trim pieces after I cut them and let them fully dry.
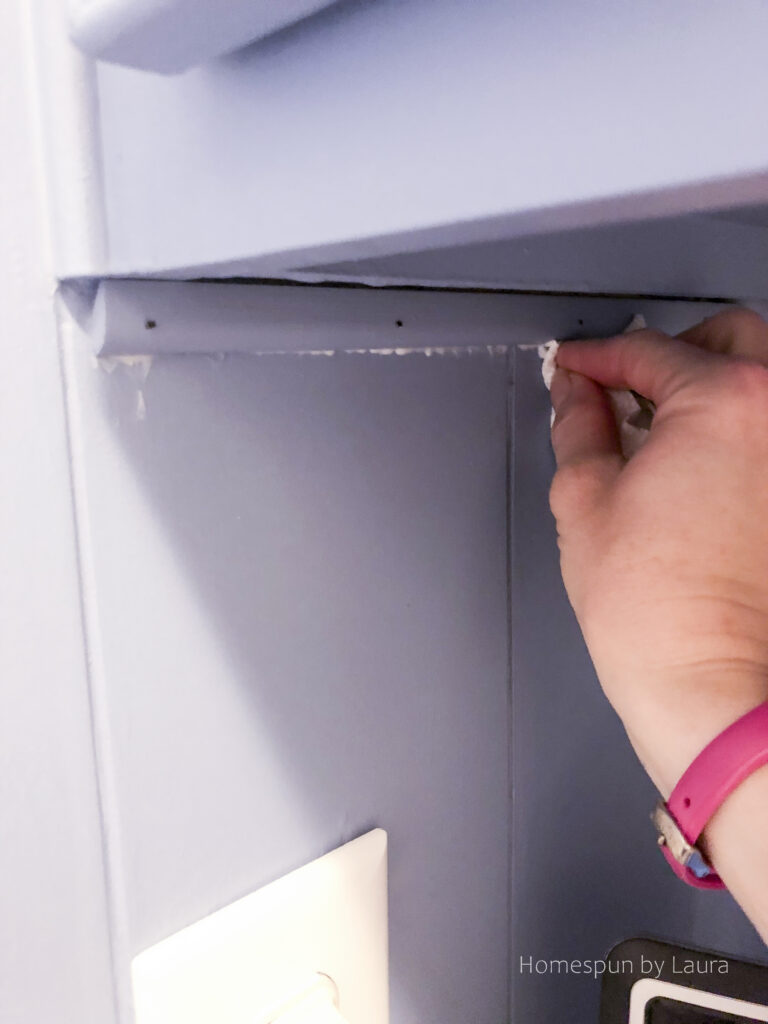
Then, using wood glue, I put them in place…
…nailed them in with my staple gun/brad nailer…

…wiped off the excess glue that squeezed out as the nails went in, and let it dry.
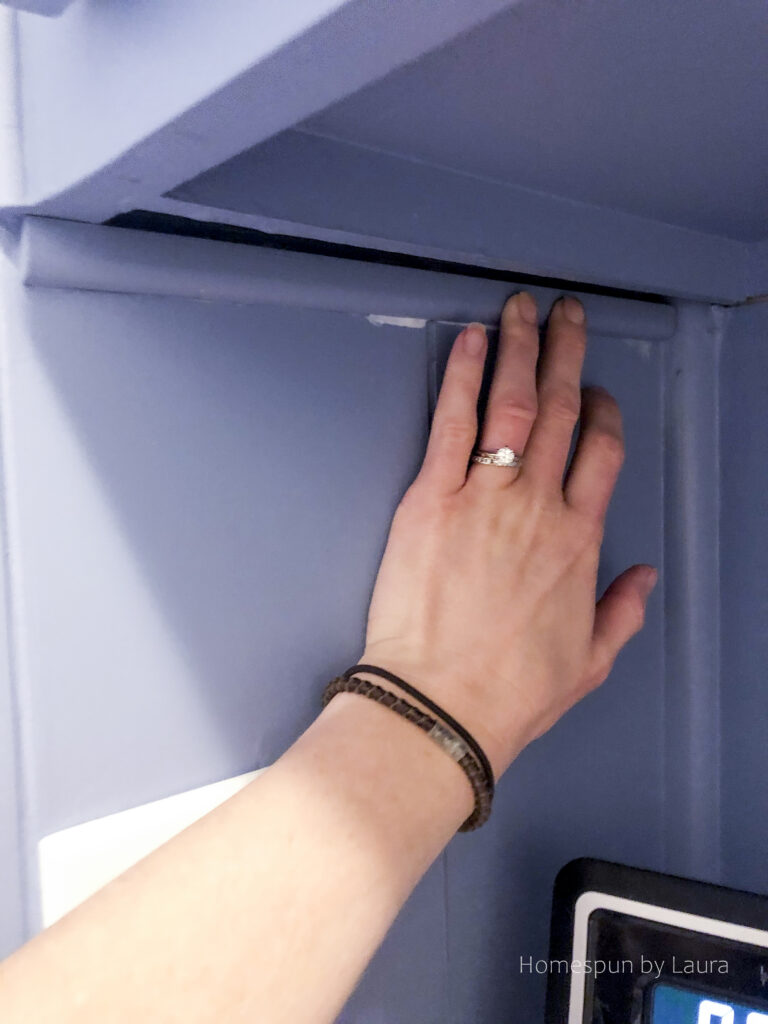
I’ll use the back to illustrate the next steps but couldn’t resist sharing how satisfying it was to finally hide this gap!
Before…
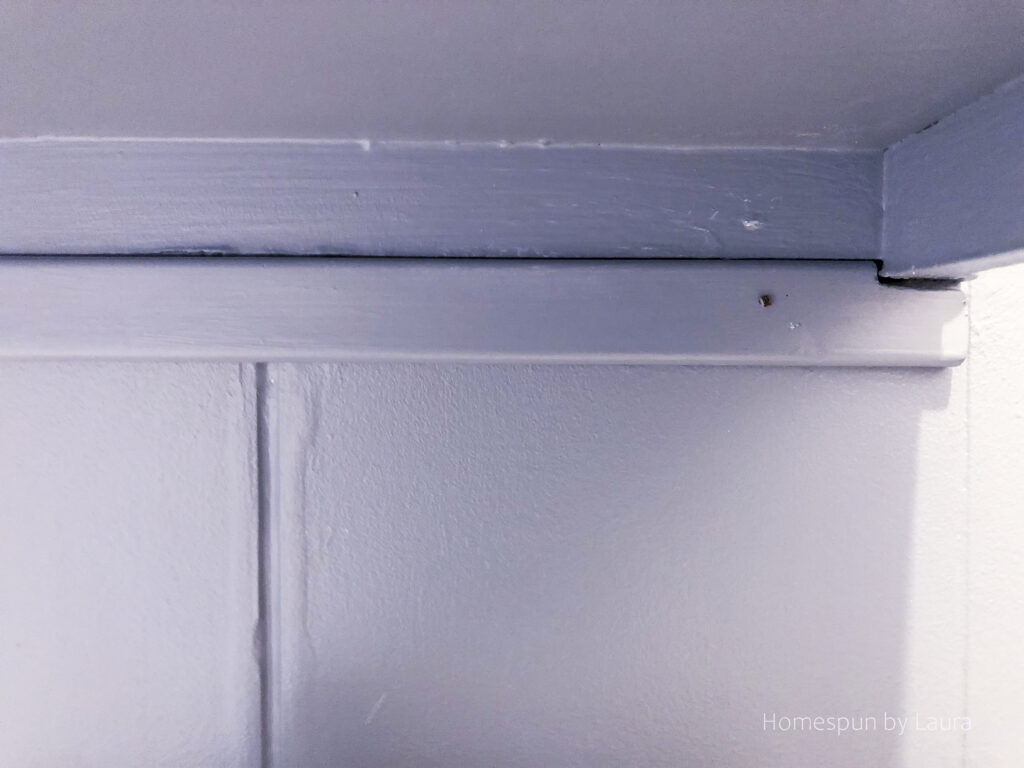
Already loads better!
The next step was to fill in the remaining gaps with caulk and wait for it to dry…
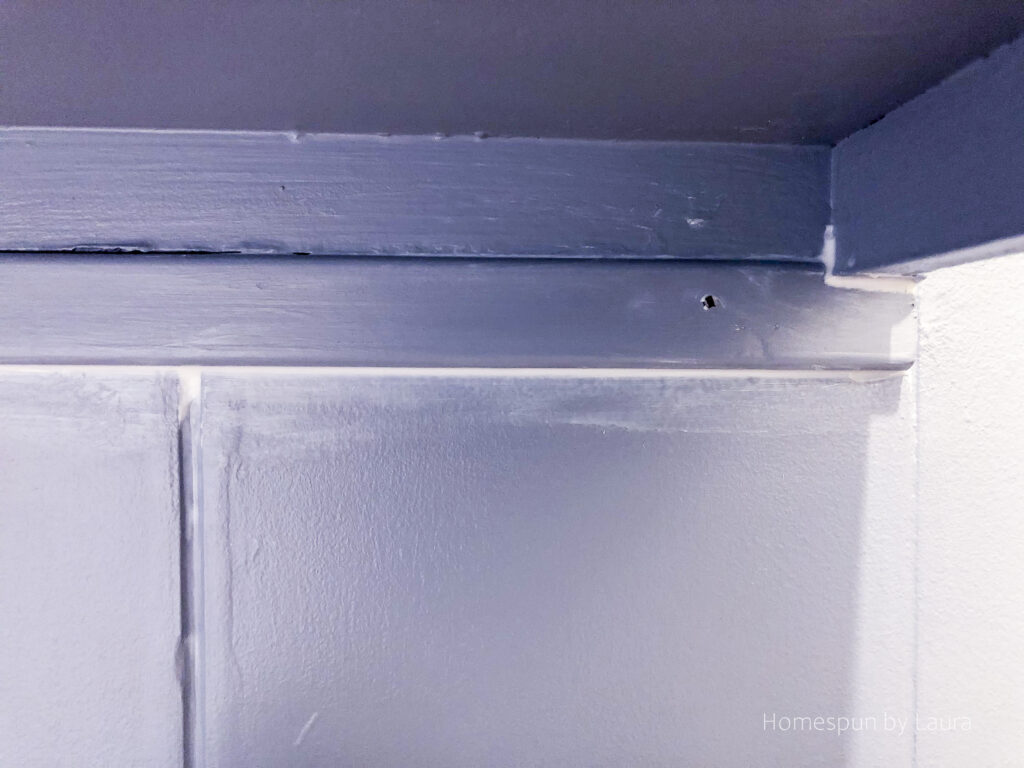
Once dry, I gave it one final coat of Finian Blue and was too impatient to wait for it to dry to photograph it!
The paint did finally dry, and now it looks like the extra trim was always there!
While this was a very minuscule step as far as the outcome of the room goes, it goes a long way in truly finishing the space.
Remaining To-Do List Items
Once the ORC ‘deadline’ has passed…the projects tend to drag on, and while I’m officially calling this project ‘finished’, there are a few tasks that remain before I can stick a fork in it. We’re moving into a busy time of year, so I’ve decided to give myself a break on these steps until after Christmas:
DIY ‘boob light’ replacement
To be completed: My plan is to rig up an inexpensive ‘replacement’ using a large lampshade I found at Goodwill for $3.75. I’ll cover it with this embroidered fabric that belonged to my great-aunt. She and my great-uncle bought it years ago intending to have a chair covered in it. They never did, and I’m now its caretaker. The first use I see for it is to cover the lampshade with it. I think it’ll be the perfect injection of fun, and the palest shade of blue is similar to the color of the planks.
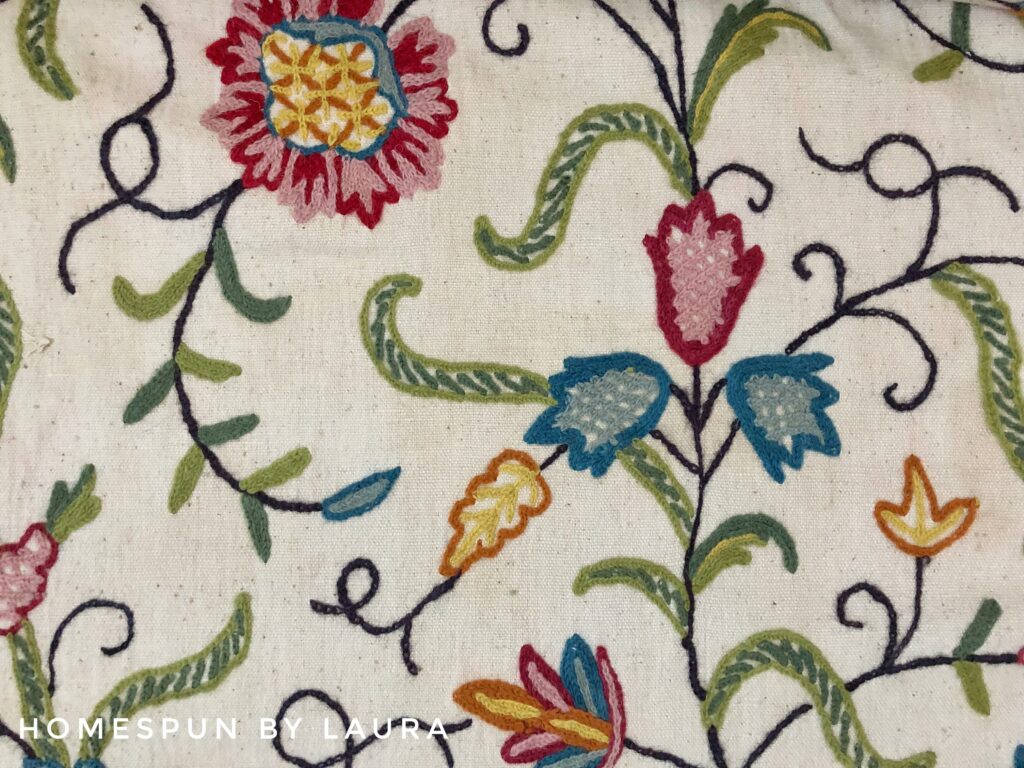
It’s got the old world feel that this room has taken on.
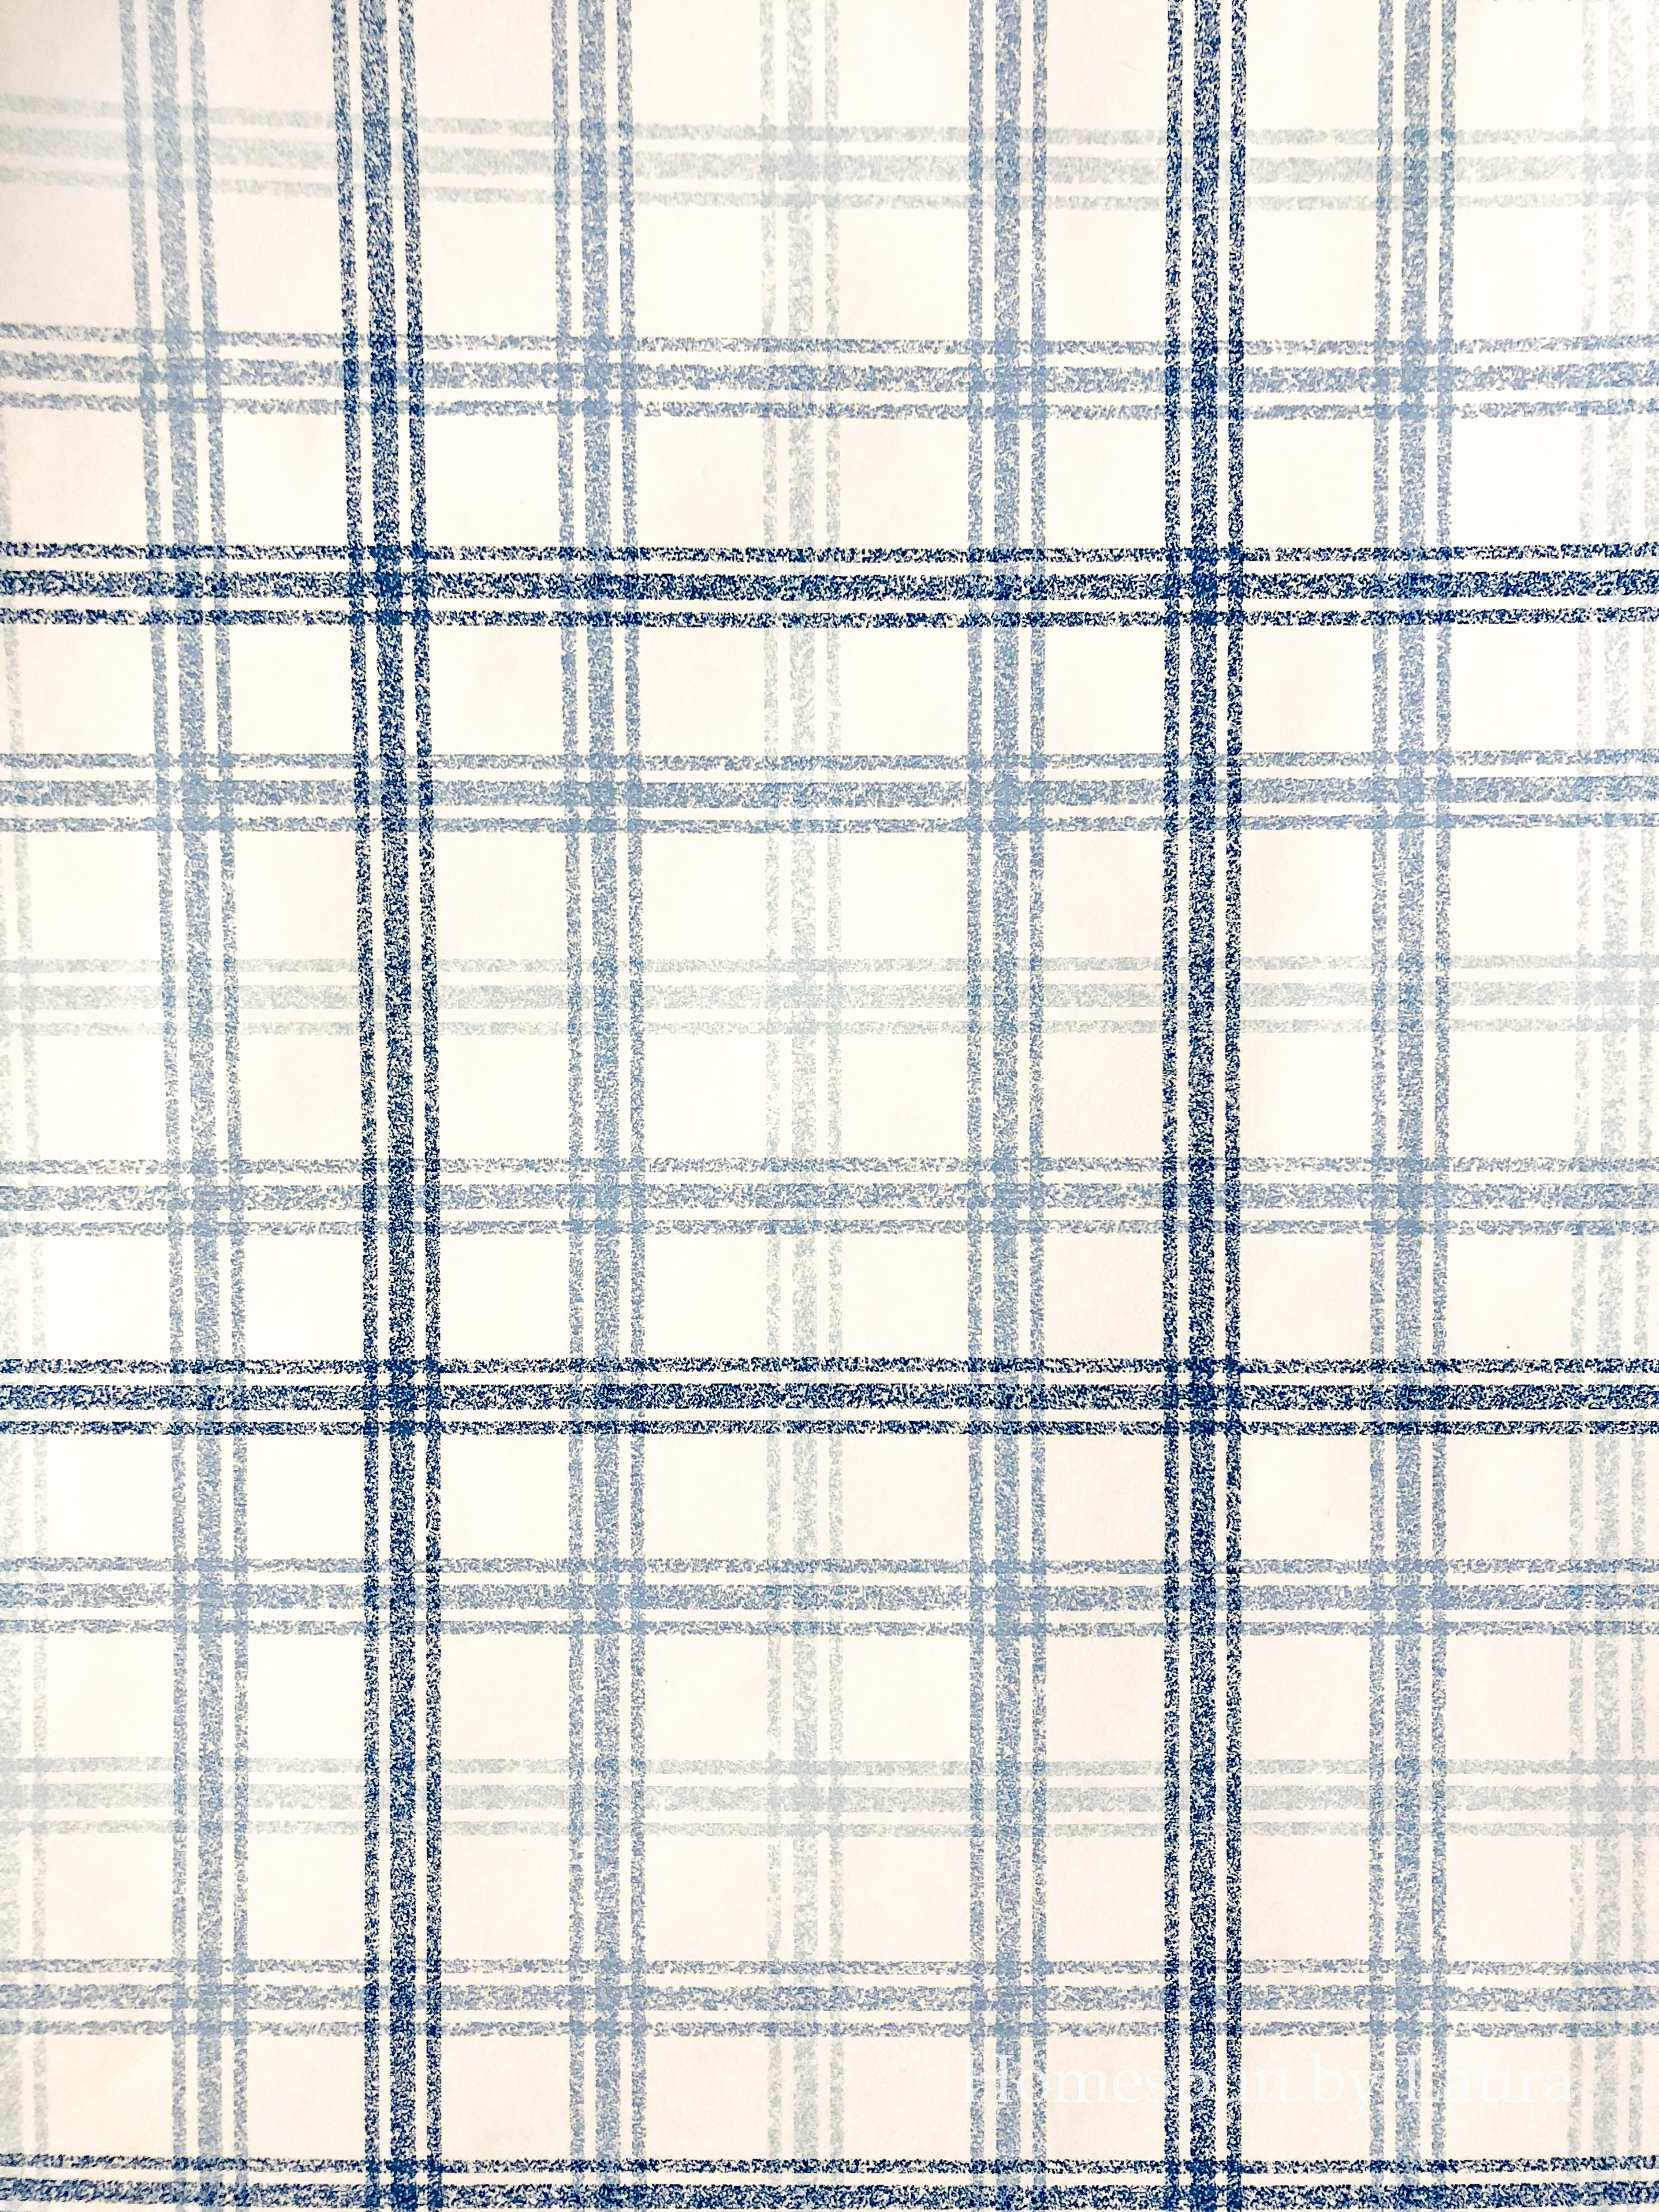
DIY Painted Plaid Wall?
The jury is now out on whether the painted plaid design is the right one to put above the vertical planks. It definitely needs something; it’s entirely too white above the planks, and I have the paint and tape I’ll need to complete it. I so wish that I had another roll of the wallpaper from my grandmother’s old house because it would be just perfect. And a lot less room for error – and quicker – than handpainting the entire wall…
Like the DIY light fix, I’m tabling this decision until brilliance strikes.
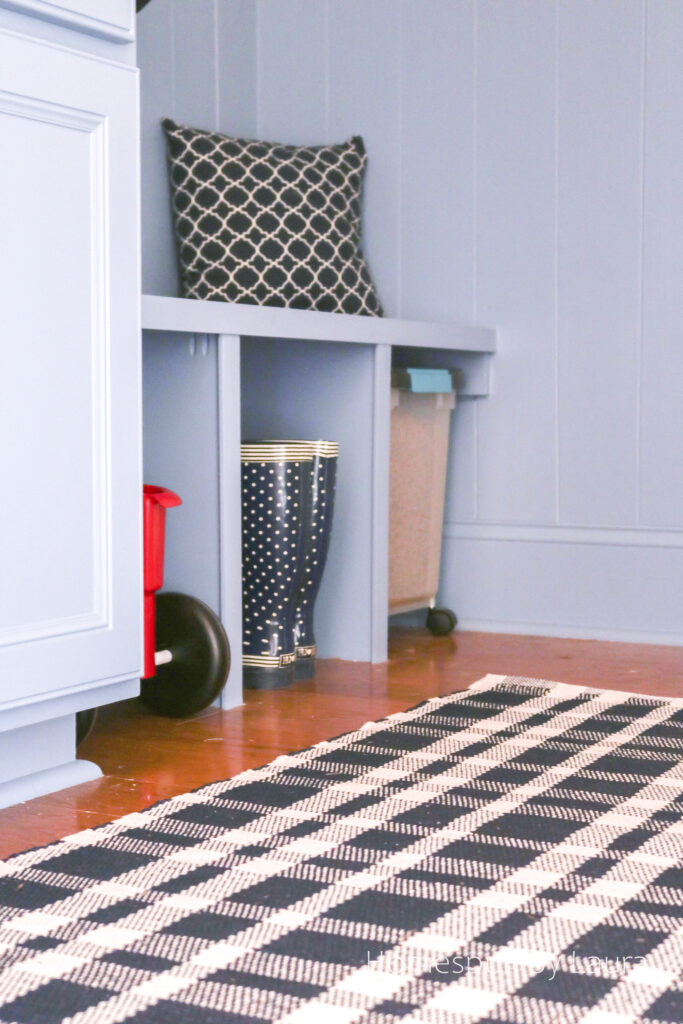
Find the right rug!
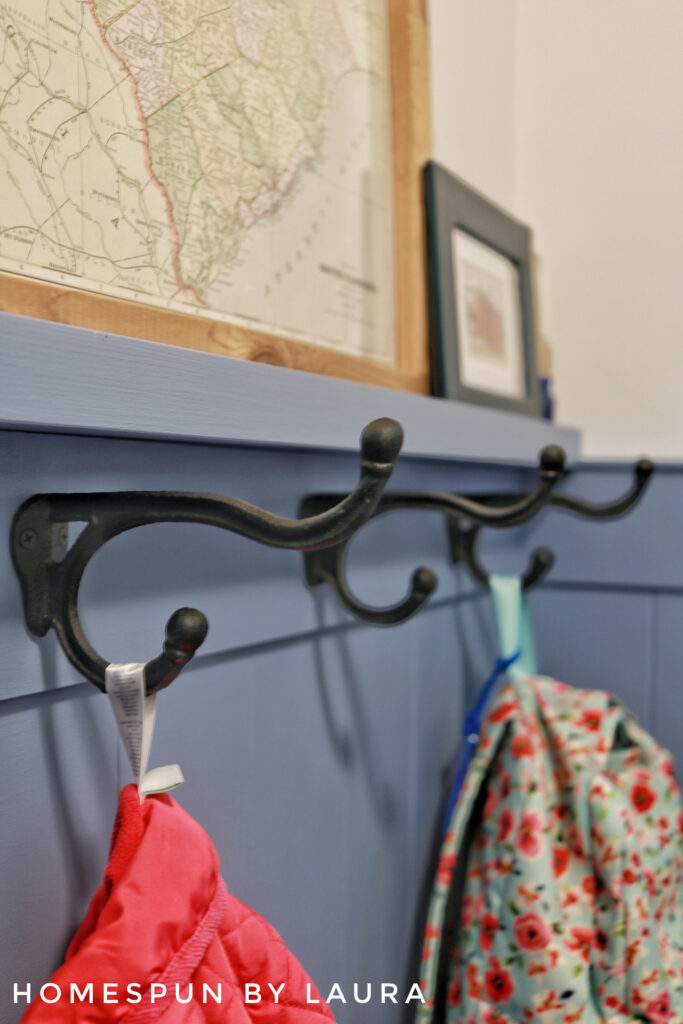
The two small rugs you see in the reveal photos are not going to stay in the space if I can help it! The little blue one is one we’ve had for years, and I still like it but would like something new.
The pretty little red/pink floral one belonged to my great-aunt and is surprisingly clean for its age… This is a high-traffic area and I don’t think it will look clean much longer if it remains here.
I’d like a large rug that will fill the room with similar pink/red/white tones to the little floral one. I’m hoping I’ll find one in an antique or thrift store as we travel across the country in December.
5/5/20 UPDATE: FOUND the right rug!!
I’ve liked this Annie Selke Tattersall rug for a long time and finally bought it during their Presidents Day sale. It was marked down to only $96!
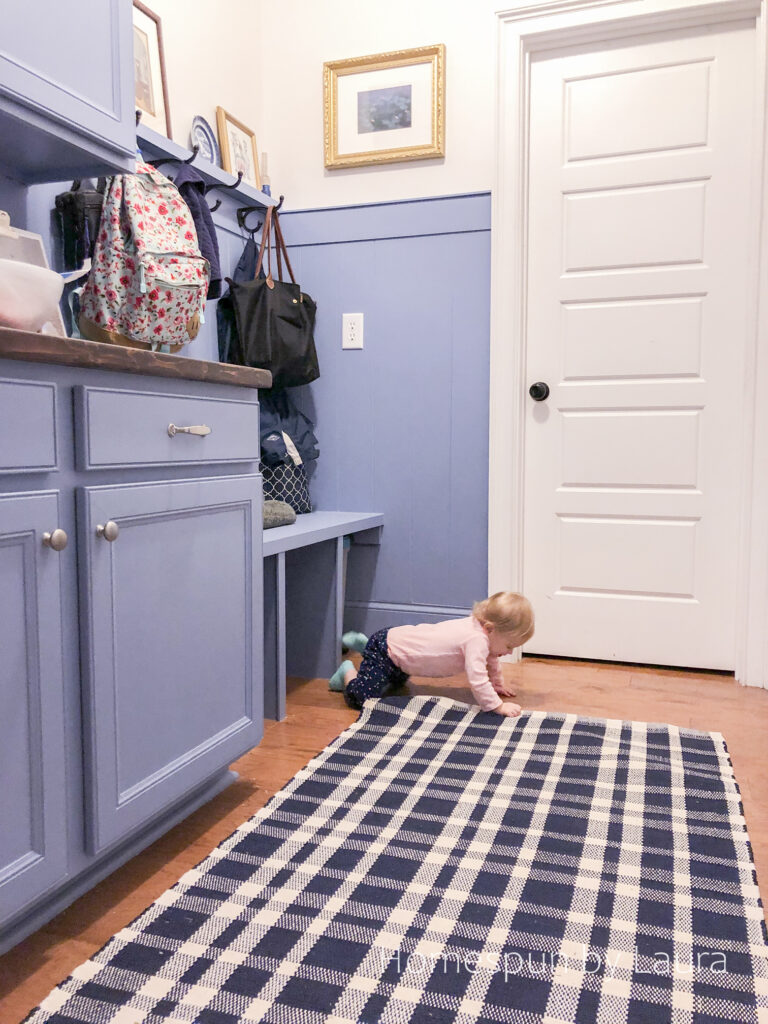
The girl loves the rug pad underneath it.
Please excuse the great variety of colors you see on these photos. This is a very dark room with no windows and therefore difficult to photograph.
It’s the perfect size and adds the right amount of present day to this old world room.
Sources + Cost
I’m typically very budget conscious and often set limits for myself (like the $100 Colorful Laundry Room and the $75 Painted Powder Room I transformed in previous One Room Challenges), but I didn’t do that with this project. I knew that with all the wood it would add up, and I went with Sherwin Williams paint instead of going to Lowe’s like I typically do. It’s a high traffic area, and I wanted a better quality than I usually go for.
This will also be new to me as its the first time I’ve totaled up the receipts: (My guess is somewhere in the $300-400 range. It was a lot of wood!)
DIY Old World Mud Room Supplies + Materials
For this project, we had to replenish our stashes of both supplies and materials a little more than usual since we used up our stashes on the last few projects in our old house and the first few in this house. Even in the case where we purchased an entire package of something only to use one or two items, I’m counting it in the total cost – if I usually consider items from the stash as ‘free’ in other projects, I’ve got to count them somewhere.
This section contains affiliate links. If you purchase an item linked here, you pay nothing extra, but Homespun by Laura receives a VERY small commission to fund future blog projects. Thank you for your support!
Wood + Trim for Bench:
3/4″ x 4′ x 8′ plywood: $31.47 (for top only; used scraps from other projects for legs)
1/4″ x 2″ x 4′ (2x) for trim: $5.31
Wood + Trim for Vertical Planks:
1/4″ x 4′ x 8′ panels (2): $50.25
3/4″ x 8′ Polystyrene craftsman baseboard moulding: $4.28
Wood + Trim for Counter:
2×6 lumber (32 feet total): $24.79
1/4″ x 8′ polystyrene shoe moulding (x2): $6.38
24-hour saw rental at Home Depot: $51.84
Total Wood + Tool Rental: $122.48
Paint
Sample paints (4x): $16.79
One Gallon SW Finian Blue in Satin: $32.69 w/ coupon
Total Paint: $49.48
Tools + Other Stuff
3m Platinum Painters tape: $5.98
Caulk (2x): $3.54
Liquid Nails (2x): $6.79
Sandpaper circles for orbital sander: $19.98
Stiff putty knife to remove counter + sidesplashes: $8.22
1 Qt. Valspar Latex Bonding Primer for cabinets: $12.42
Electric box screws + Extenders: $1.58
Cast iron hooks (4x): $8.43 (Half off at Hobby Lobby)
Total Tools + Other Stuff: $66.94
I used paint brushes, sandpaper, wood putty, drop cloths, caulk gun, white paint (for walls), Kilz primer (for bench and planks), brad nails (for electric staple gun) that were already in our supply stash.
TOTAL DIY OLD WORLD MUD ROOM COST: $238.90!!!
This blows me away. What a huge change for under $250! If we’d purchased tongue-and-groove boards for the vertical planks, we probably would have spent close to the project total just on the planks. Or if we’d purchased a premade butcher block counter! There’s no question this is one of our more expensive undertakings, but with this design in this room there was no way to keep it as low as I usually do.
When I find the right rug and add its cost, plus the whopping $4 for the DIY light fixture replacement – and possibly a painted or wallpapered design on the wall over the planks – the cost for the room will definitely tip over the $300 mark. But for now we’ll leave it at ‘less than $250’. Oh, and remember this project technically included the pantry and two closets? The total cost for supplies for those spaces was under $30 for wire shelf liner (which I highly recommend if you’re looking for an inexpensive and easy way to make your wire shelves a little easier to work with), an extension cord, an over-the-door shoe organizer, and a wine crate for pantry storage.
5/5/2020 Update: including the rug I finally bought, it comes to $334…still not too bad if you ask me.
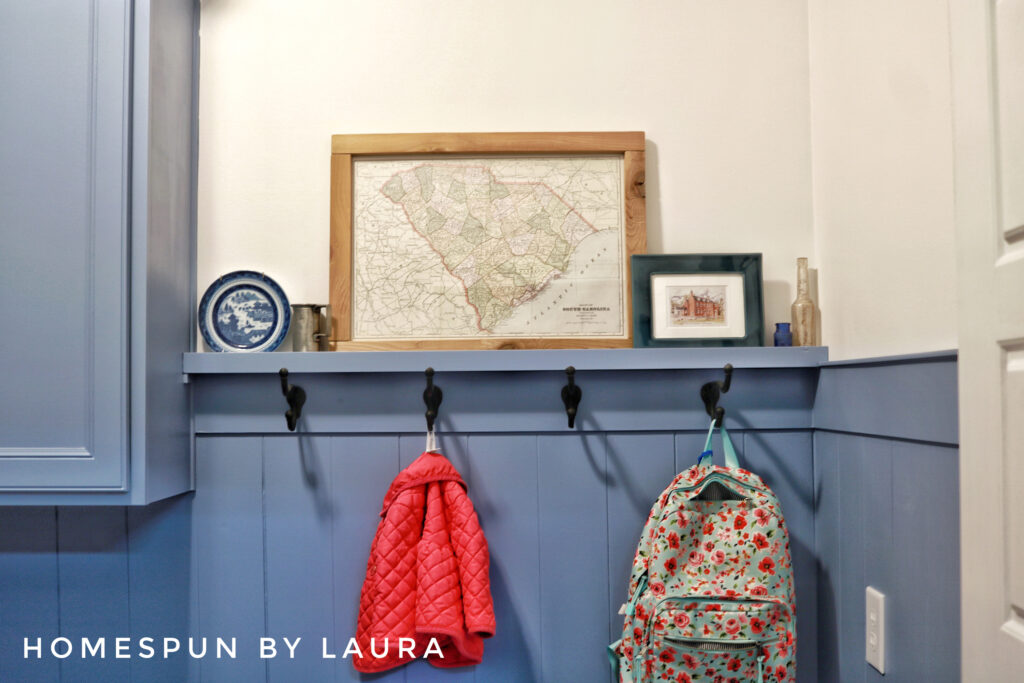
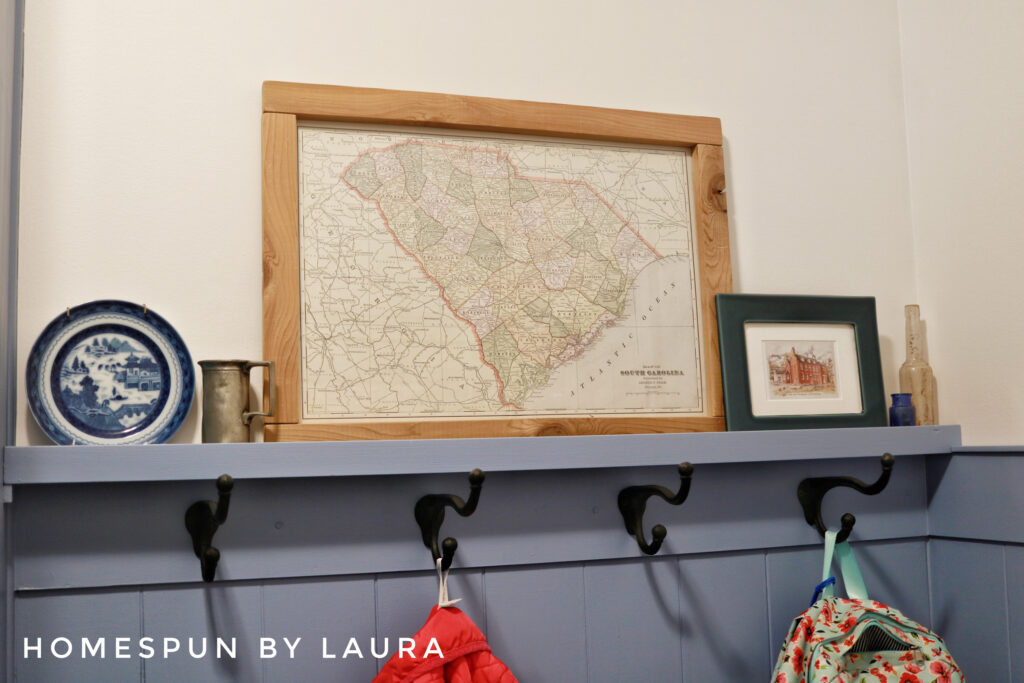
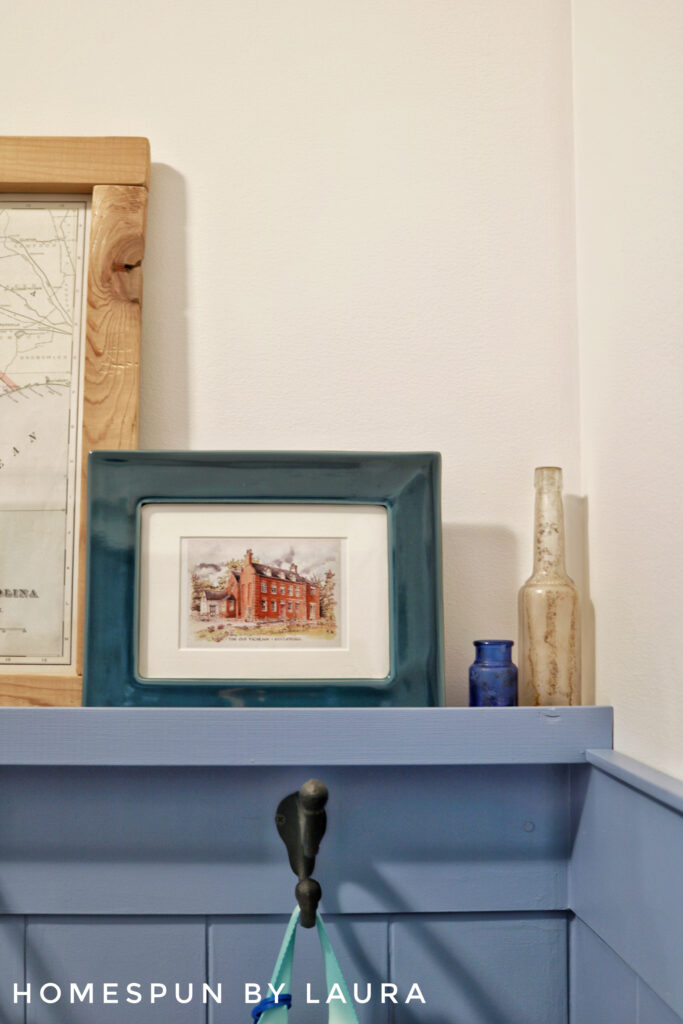
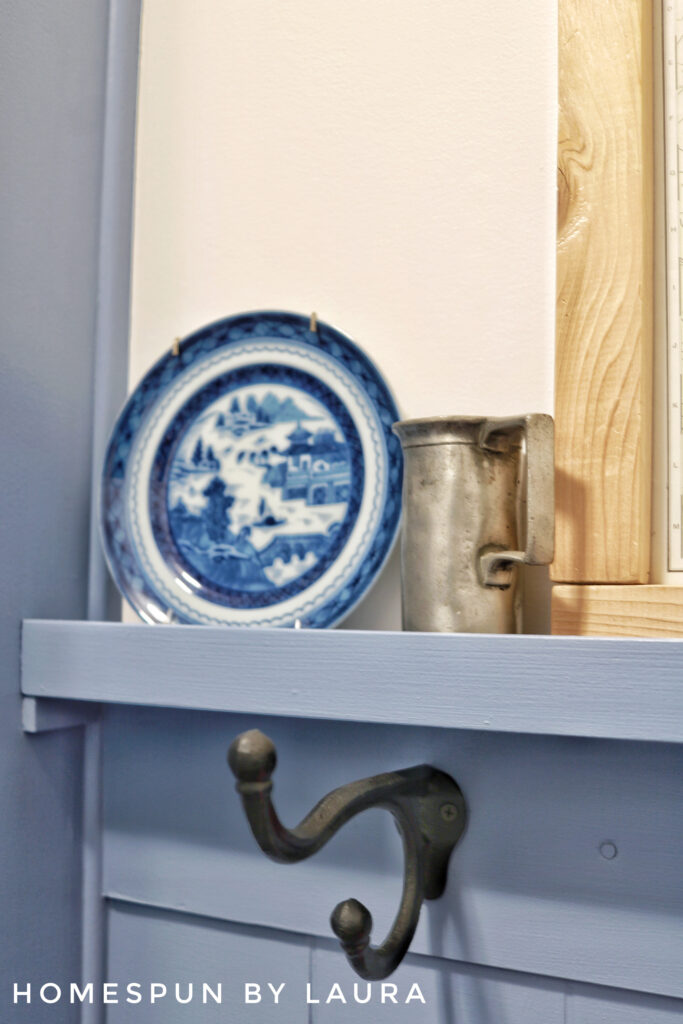
DIY OLD WORLD MUD ROOM DECOR
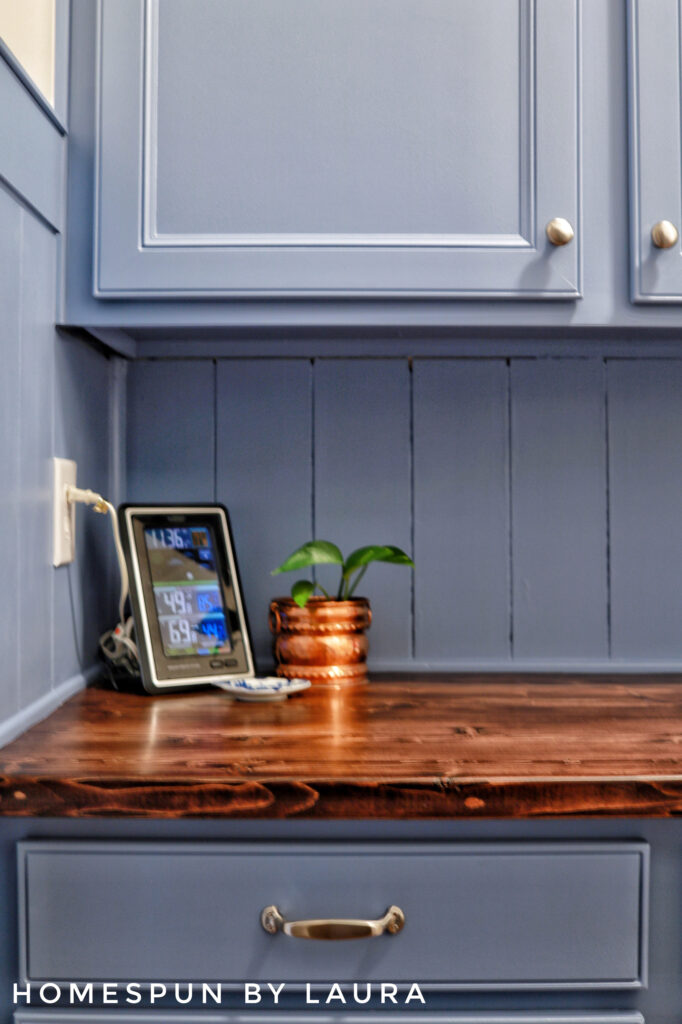
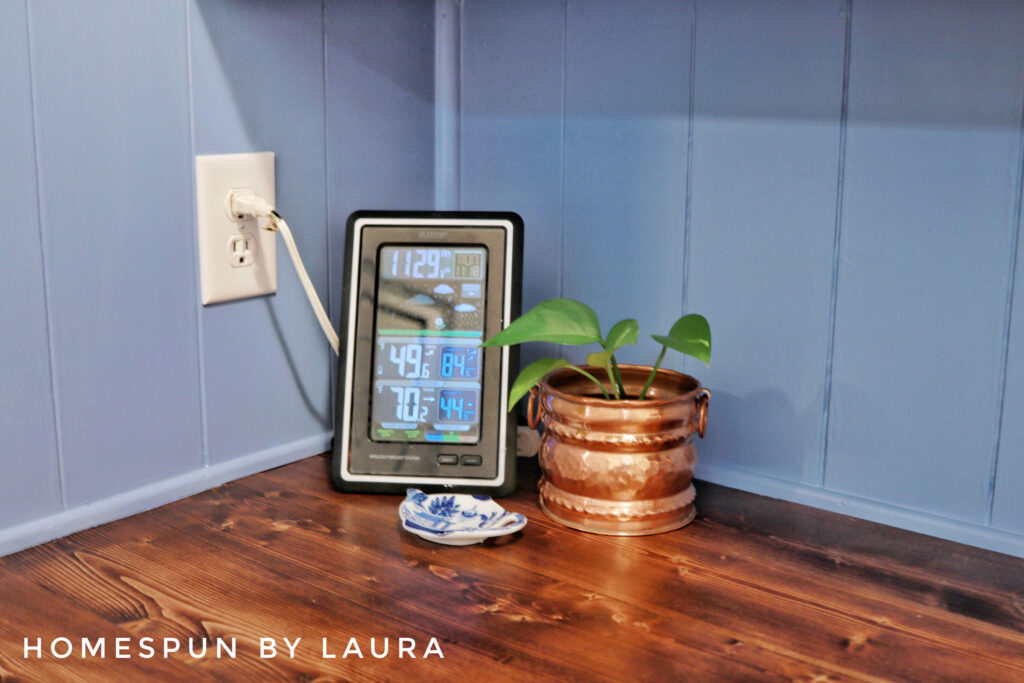
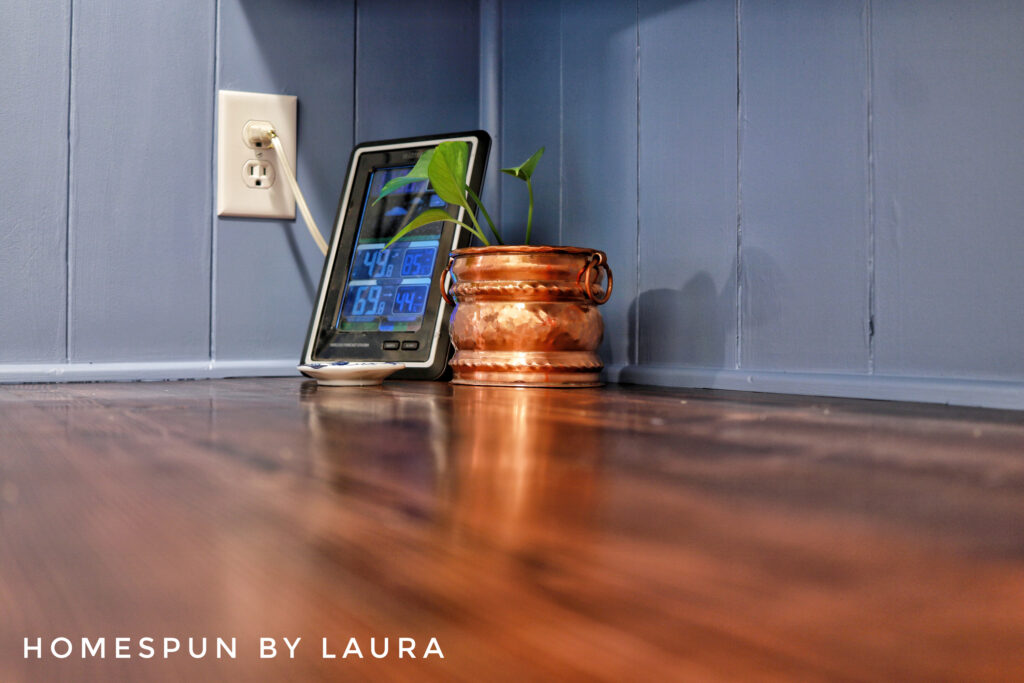
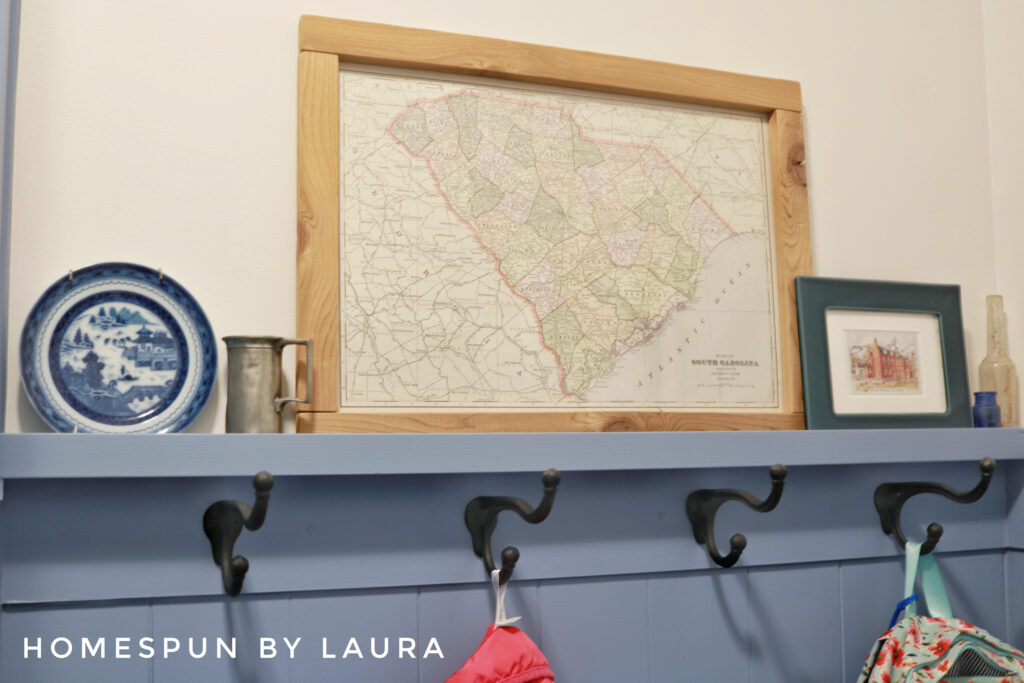
I bought nothing as far as decorative items go. Instead, I gathered items from around our house. I made the frame for the map print out of scrap wood a few years ago. The dark turquoise frame was on clearance at Target a couple months ago; the print inside it is our English friends’ house, cut from their wedding program. The pewter mug and copper plant pot (on the counter) belonged to my great-aunt. The Blue Willow plate belonged to my grandmother. The glass jars were dug up in the street in our old neighbhorhood. The wireless weather station…well, it’s not pretty, but remember the first goal for this room was functionality, and we love having it in such an out-of-the-way but still easy to see location!
It’s a touch European and it’s by far the fanciest room I (we!) have ever (almost) completed. I’m SO happy with how the room looks and can’t wait to see it in the spring with the final few touches.
Don’t forget to head over to the main One Room Challenge page to check out the couple hundred folks who completed their projects already and would love for you to take a look.
Thanks for stopping by my little corner of the internet!