Tag: One Room Challenge | Old World Mud Room
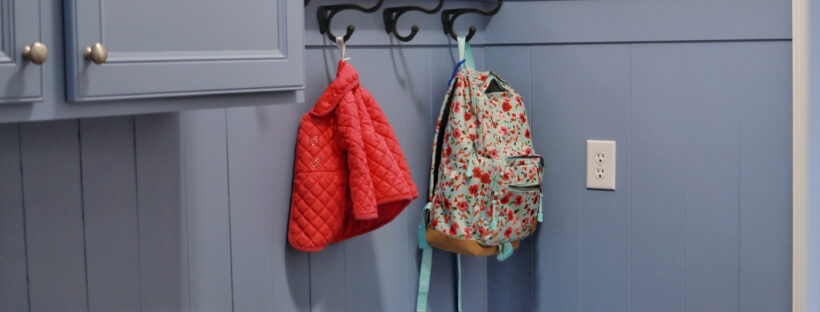
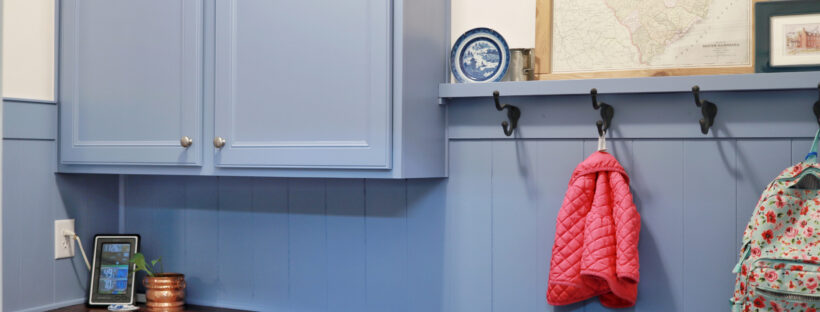
DIY Old World Mud Room: The Almost Reveal | One Room Challenge | Week 6
The One Room Challenge has officially come to an end…but I’m one of the select few who have added an unofficial 7th week.
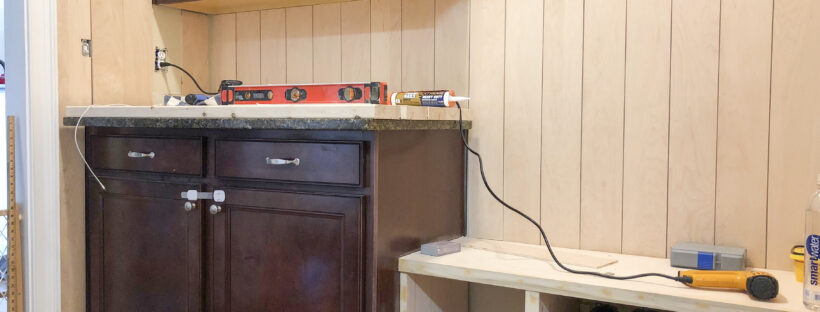
DIY Vertical Paneling + Counter: Fall 2019 One Room Challenge | Week 5
It’s Week 5 of the One Room Challenge already?! This week, we cut ALL THE WOOD. I also began installing and painting our partial vertical paneling around the room.
Week 5 of the One Room Challenge is already over?! That means just one more week until the reveal…Oh, boy! Continue reading
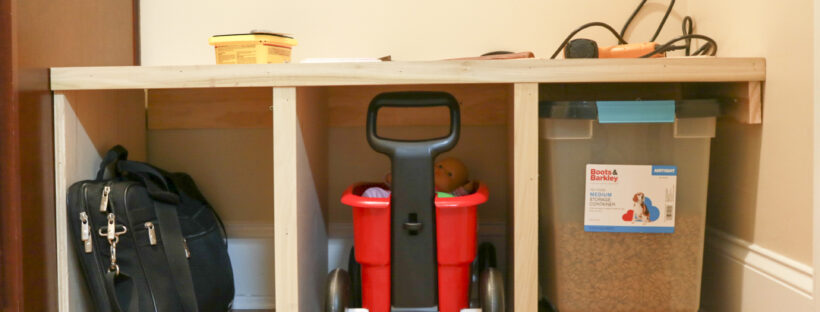
Mud Room Bench + Plans: Fall 2019 One Room Challenge | Week 4
This week I’m talking about our DIY built-in bench and sharing the ‘final’ decision on design plans (it’s probably not actually final until it’s finished!).
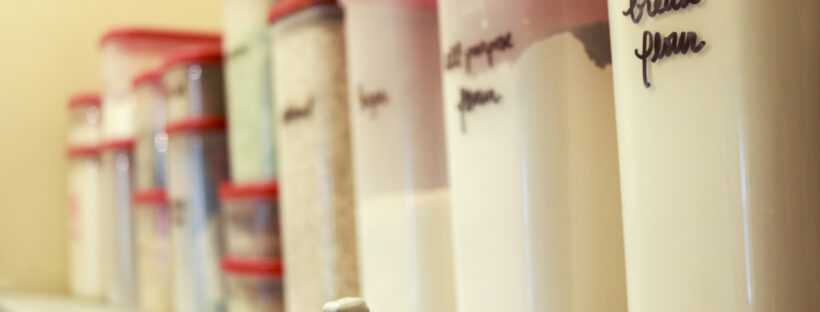
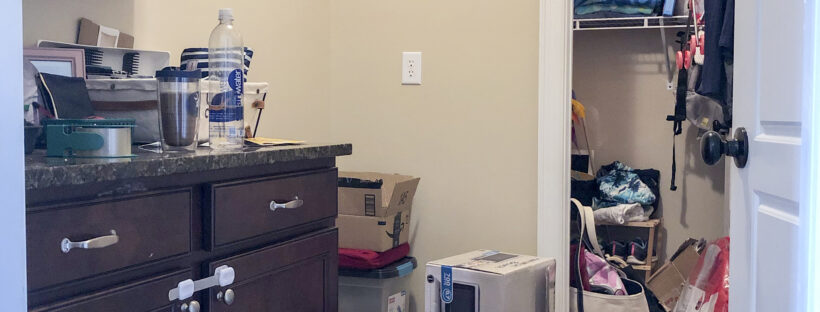
Organizing the Pantry and Closets: Fall 2019 One Room Challenge | Week 3
Oh, the pantry. For 15 months, it’s been a disorganized mess, just like the other areas I’m focusing on. When we moved in, I threw everything in, filled it to the brim, and left it. Now I’m rearranging it all in a way that makes sense and adding shelving to maximize storage space.
DIY Old World Mud Room: Fall 2019 One Room Challenge | Week 2
In Week 2 of the One Room Challenge, I’m sharing my plans to improve organization and add color to our messy, beige mud room.
DIY Old World Mud Room: Fall 2019 One Room Challenge | Week 1
It’s October again and that means it’s time for another edition of the One Room Challenge!