It’s Week 5 of the One Room Challenge already?! This week, we cut ALL THE WOOD. I also began installing and painting our partial vertical paneling around the room.
Week 5 of the One Room Challenge is already over?! That means just one more week until the reveal…Oh, boy!

The One Room Challenge is a 6-week long design challenge during which participants improve a space (or spaces!) in their house.
The Budget
One of my goals as we complete projects around our house is always to keep them budget-friendly. Usually, that means using supplies and tools we already have left over from previous projects and only purchasing new paint/tools/other stuff when absolutely necessary (like the spring One Room Challenge, where I updated our laundry room for just under $100!).
This project is a little different in that I didn’t go into it with a set limit. I did go into it with the usual mindset to use supplies and materials we already have and to not spend if I didn’t have to. For example, renting a table saw and cutting up large plywood sheets came in well under what it would have cost to buy premade shiplap or tongue and groove boards, and we were able to adjust the widths of the boards slightly to fit our space. I’m saving receipts and I will add up the total cost at the end. I’ll be interested to see what it set us back. My estimate is somewhere in the range of $250-$300, which for the result will actually be pretty reasonable, though that amount is nothing to shake a stick at.
What Happened in Weeks 1 – 5?
Week 5 of the One Room Challenge has come and gone, but there’s so much left to do (wait, just me?).
But at this point, I’ve committed.
This is how it all started.
We built a storage bench
The idea of this project was to improve function in the mud room plus two closets and the pantry, which are directly off of the mud room. Building the bench was the first (and main) step toward that goal.
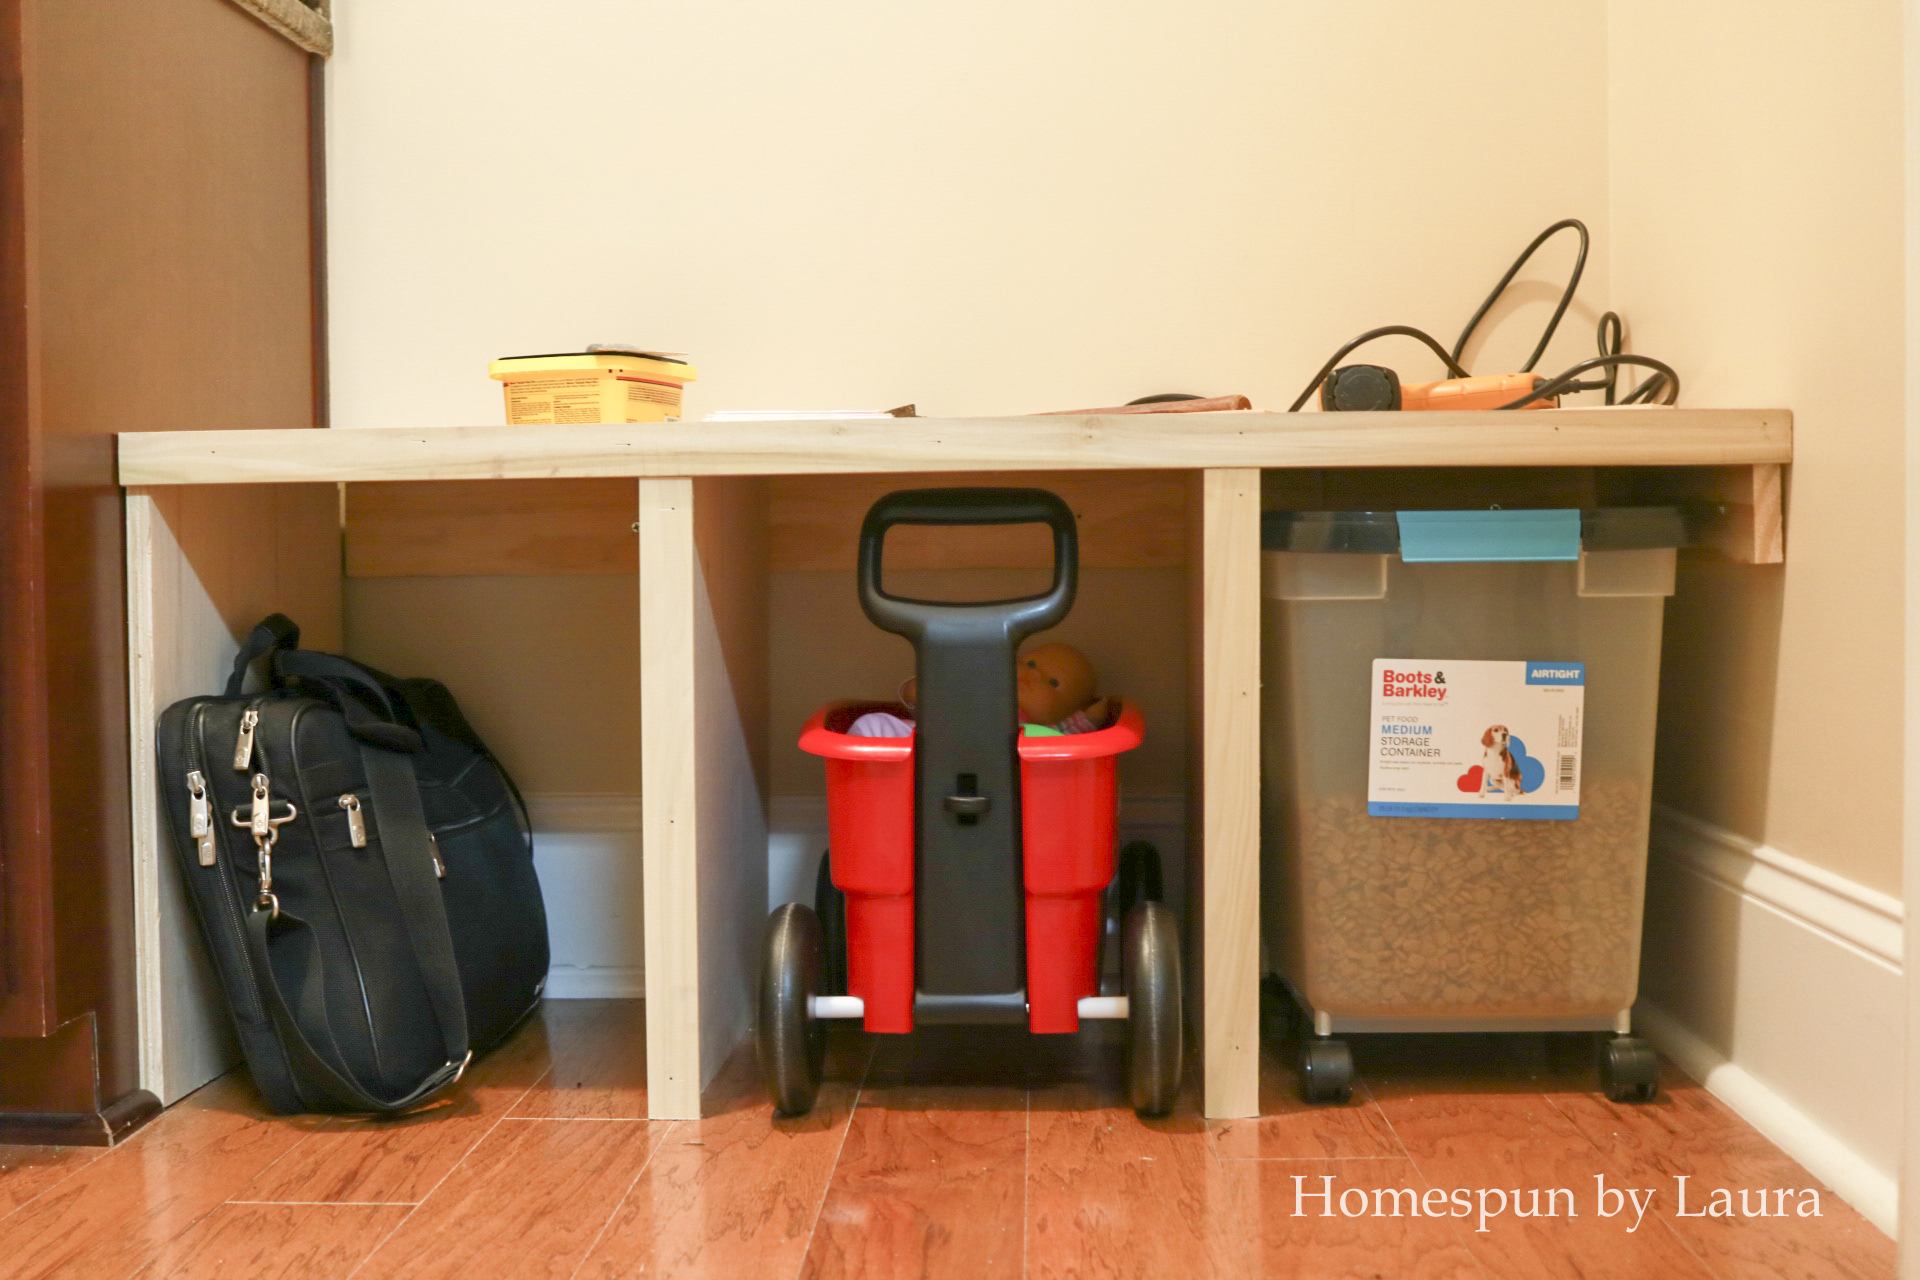
The baby’s wagon can park perfectly under the bench, and she knows where to look for it!
We could have stopped here since my main goal was to improve function. Did we? Nope. This is the One Room Challenge. Where would the fun be if we stopped here?
I don’t want this to be the view from the kitchen sink for the rest of the time we live here, so…
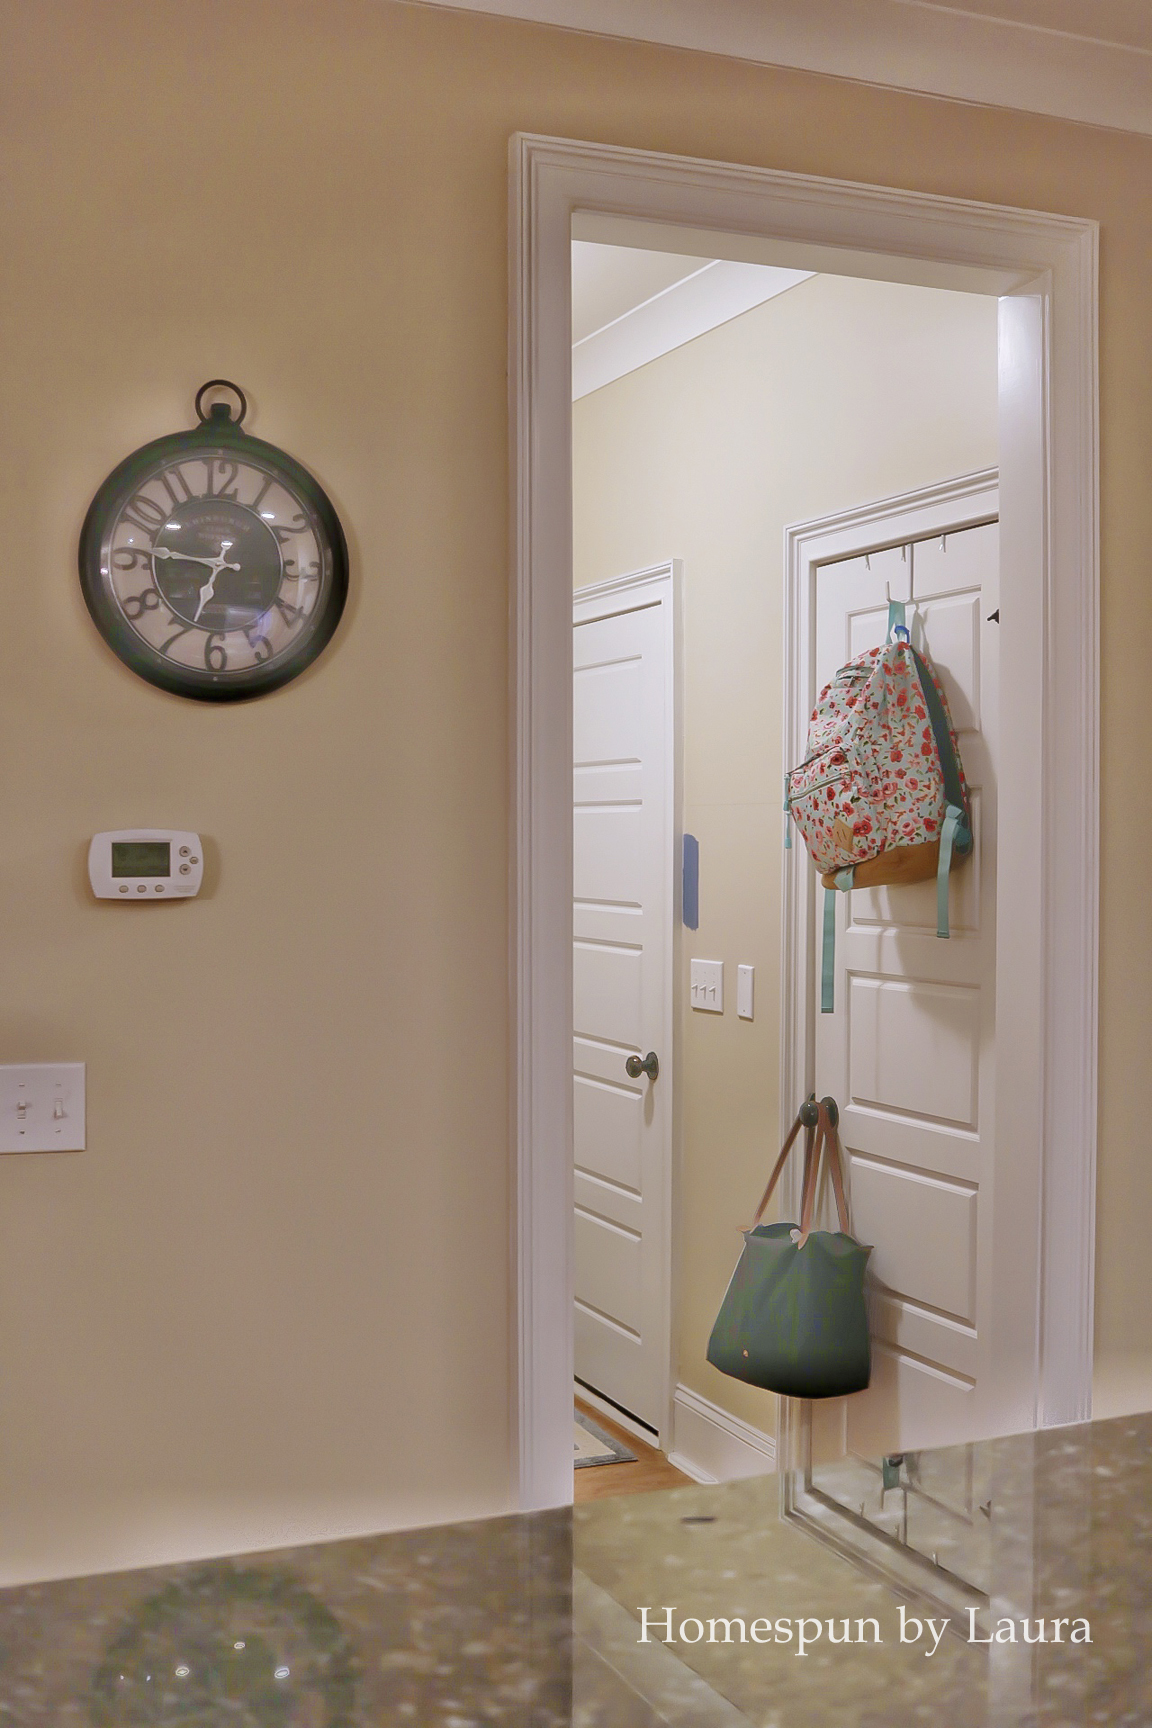
Not much of a view while washing 1000s of dishes every day!
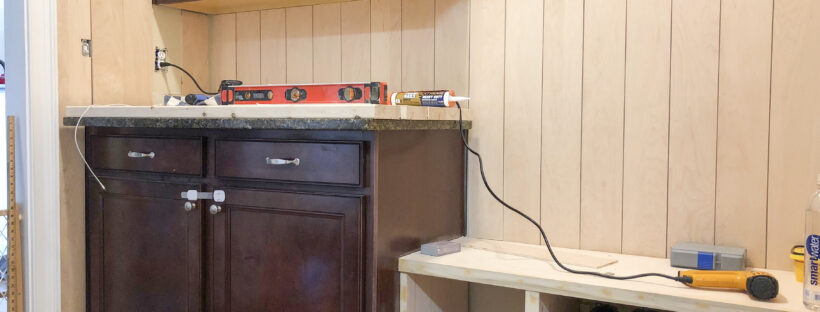
I tore off the granite sidesplash and ripped up the counter.
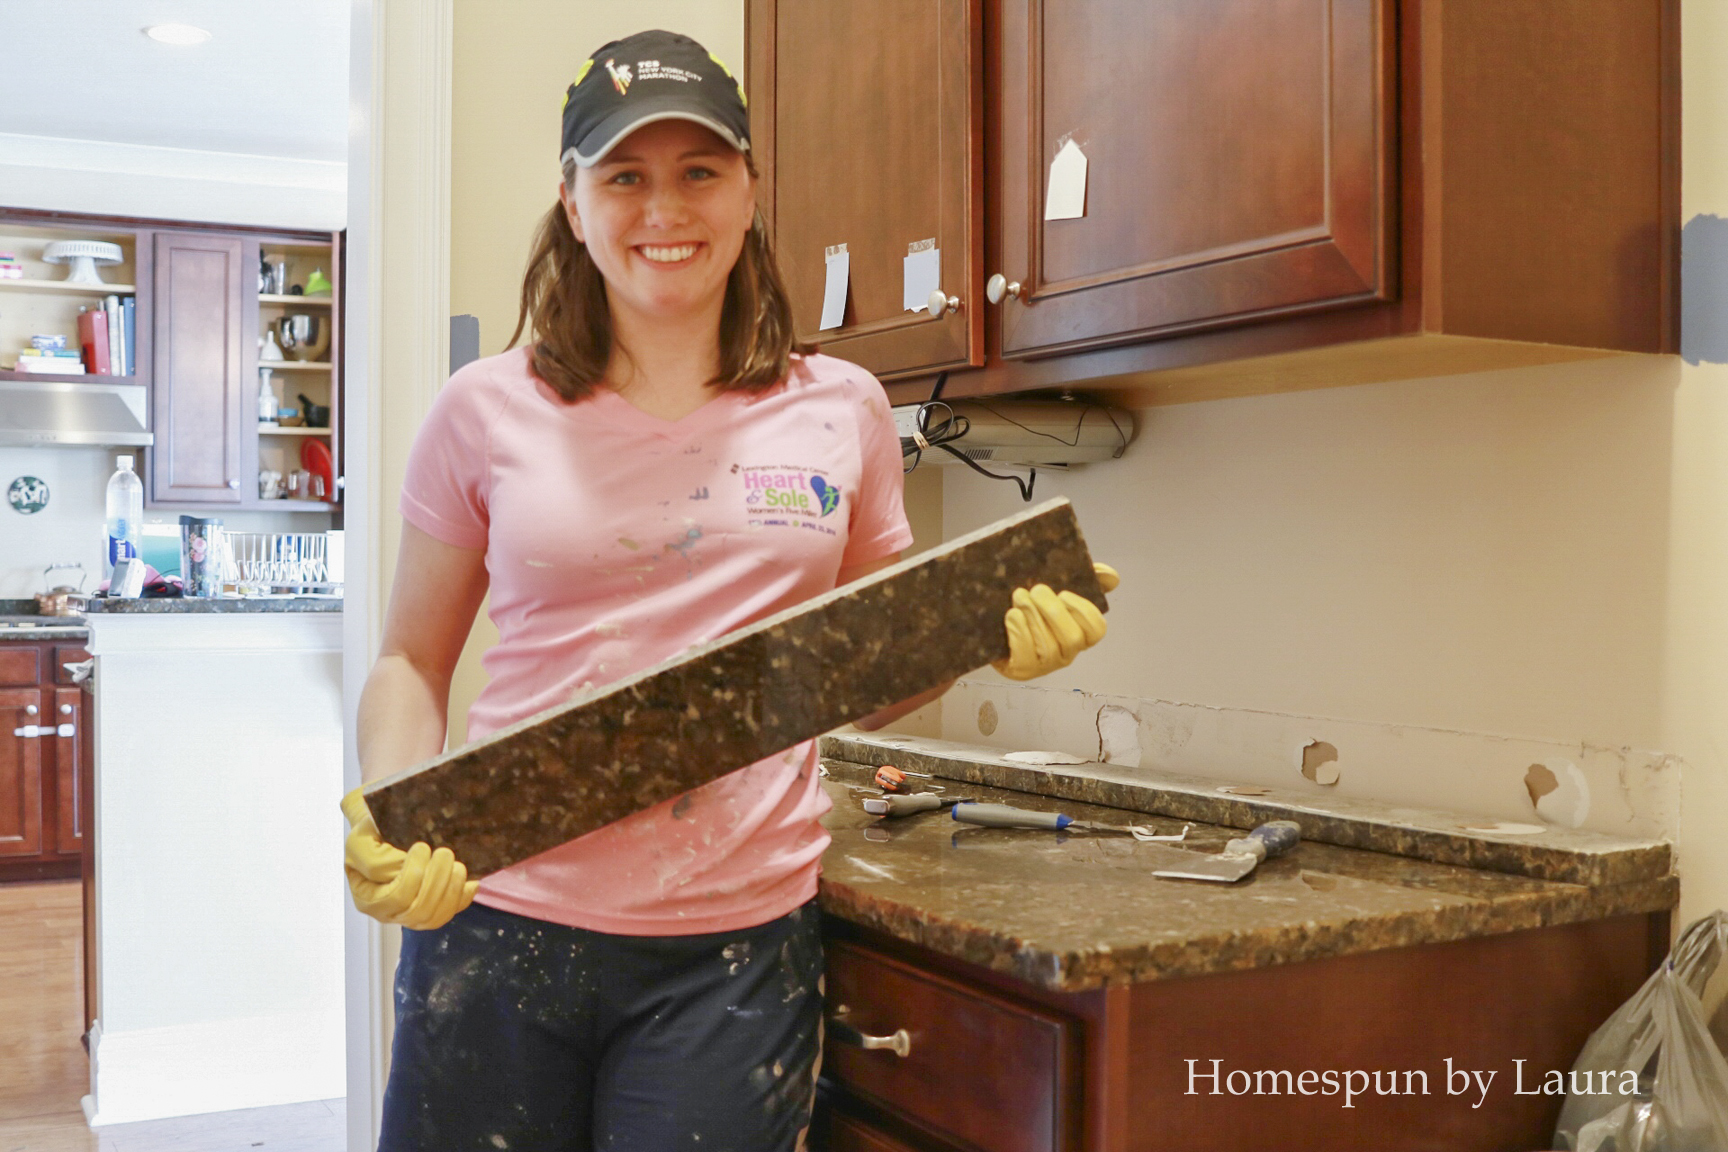
The side + back splashes were way more difficult to remove than the counter. In fact, they might have been the only thing holding the counter in place!
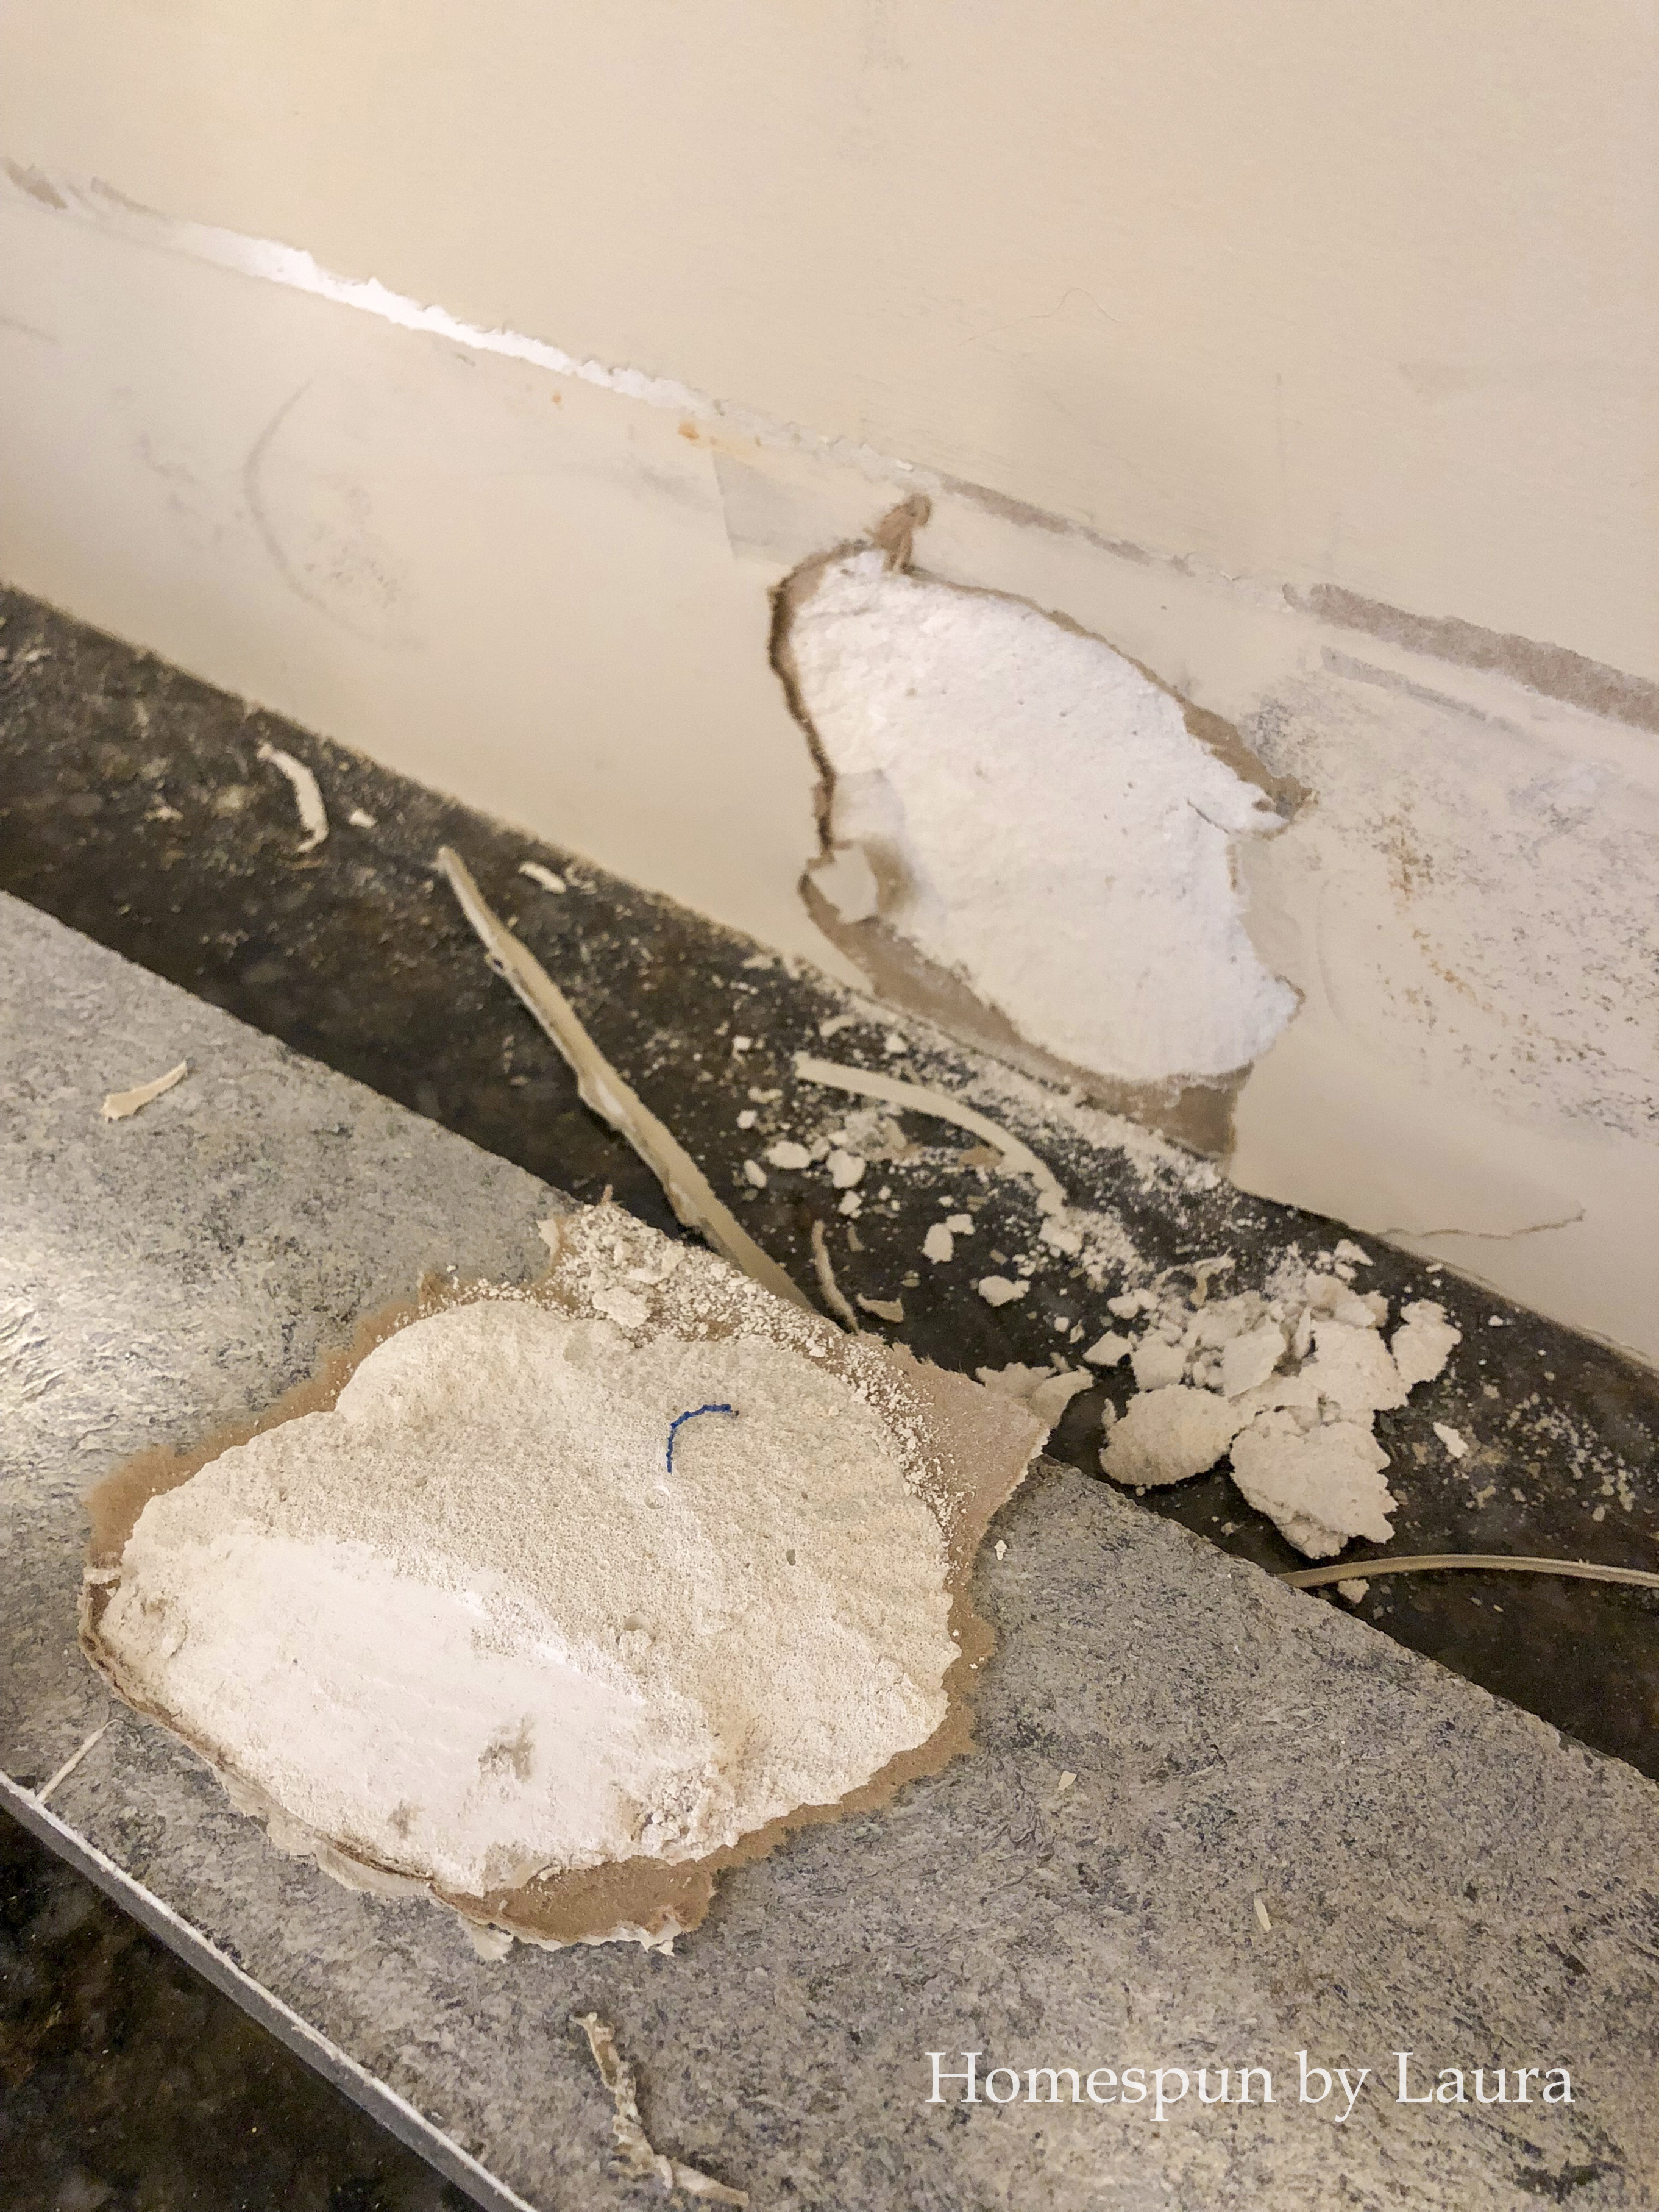
Other than this giant chunk of drywall coming off, there was relatively little damage as a result of removing the side splash.
We cut up all the wood
We rented a table saw, cut up two 4’ x 8’ maple plywood panels into individual planks, and I hung most of them on the wall with glue and nails (five of them need extra attention because there are outlets/light switches to cut around).
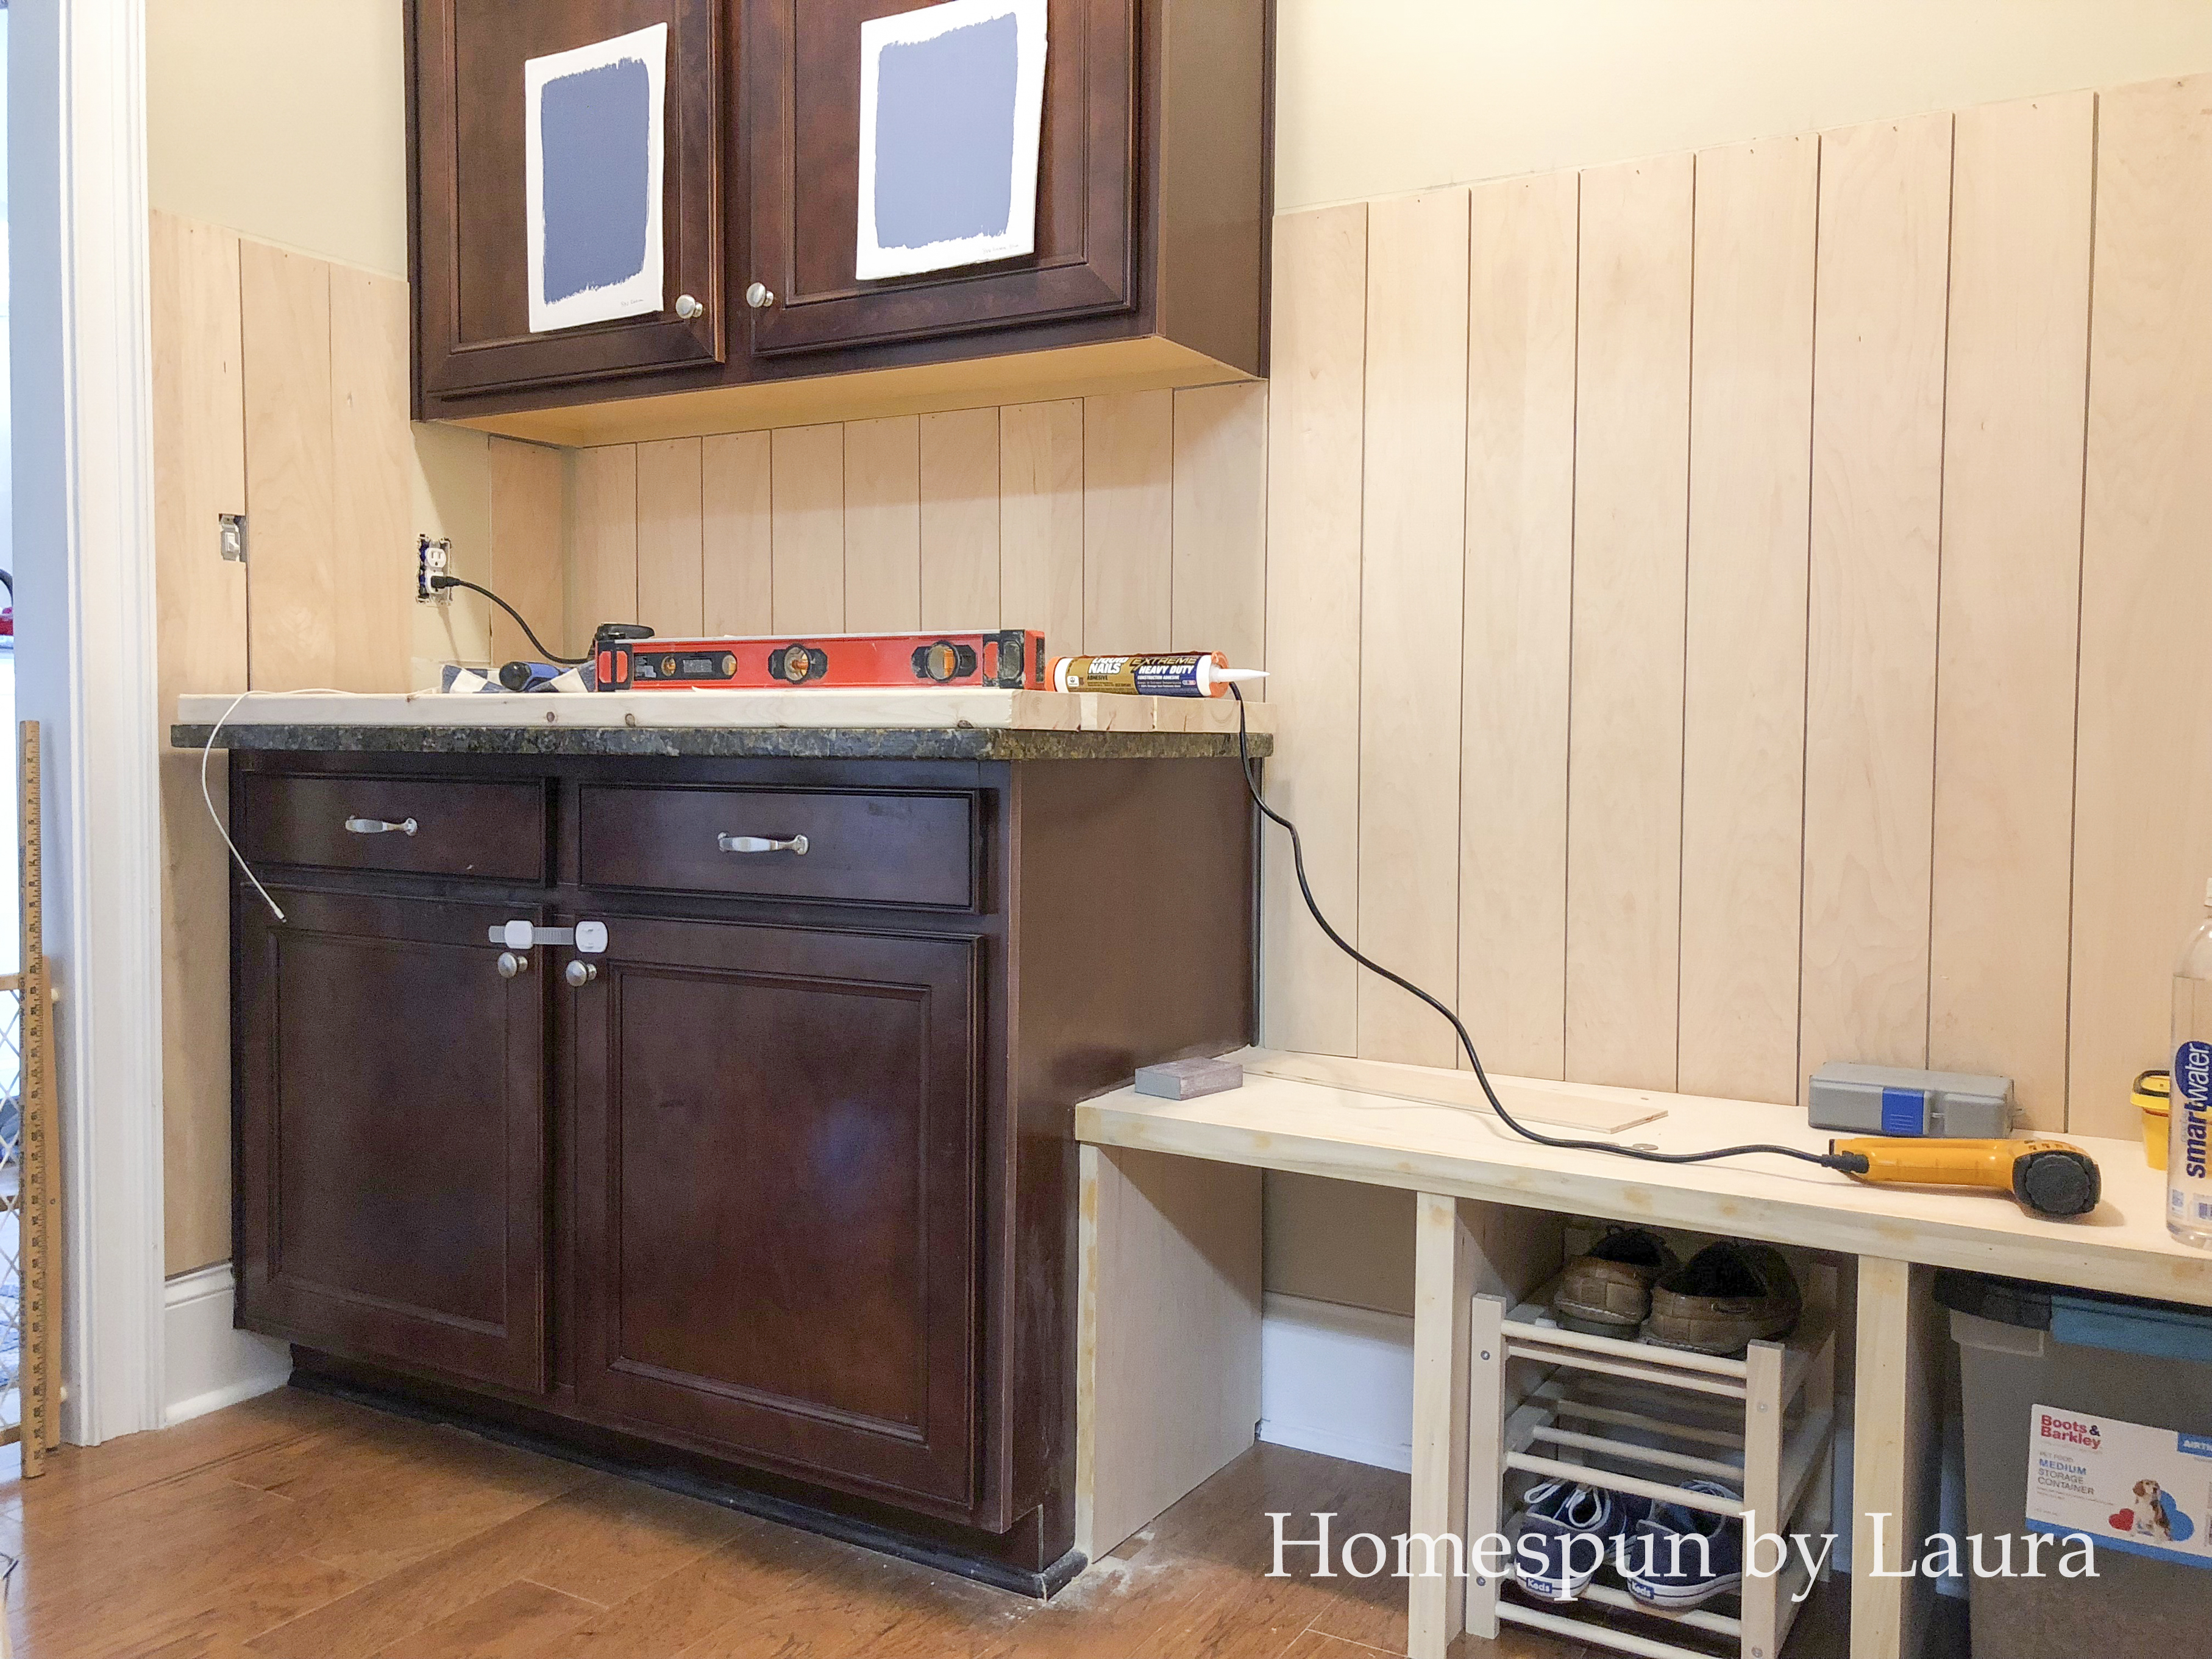
When combined with liquid nails, the brad nailer function on my electric staple gun was sufficient. No expensive nail gun with air compressor required!
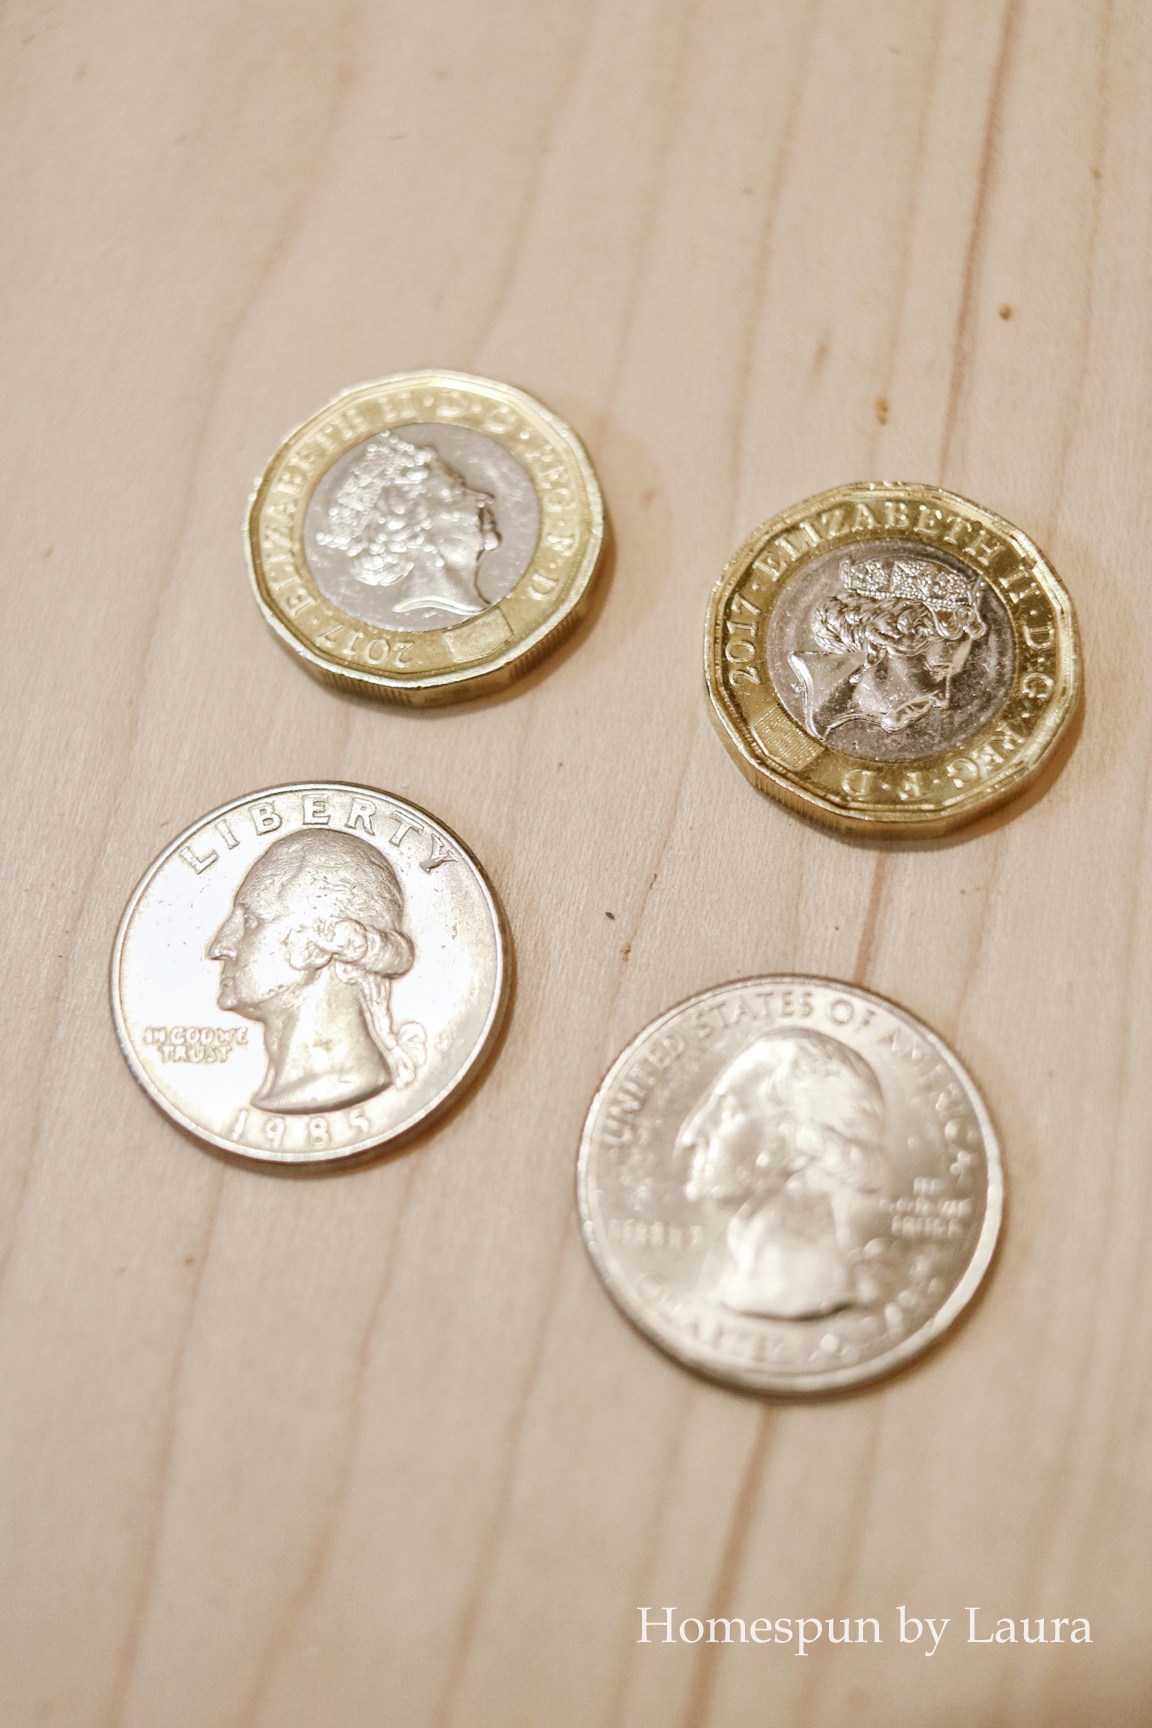
The British pound turned out to be the perfect spacer between vertical planks. Sorry, George!
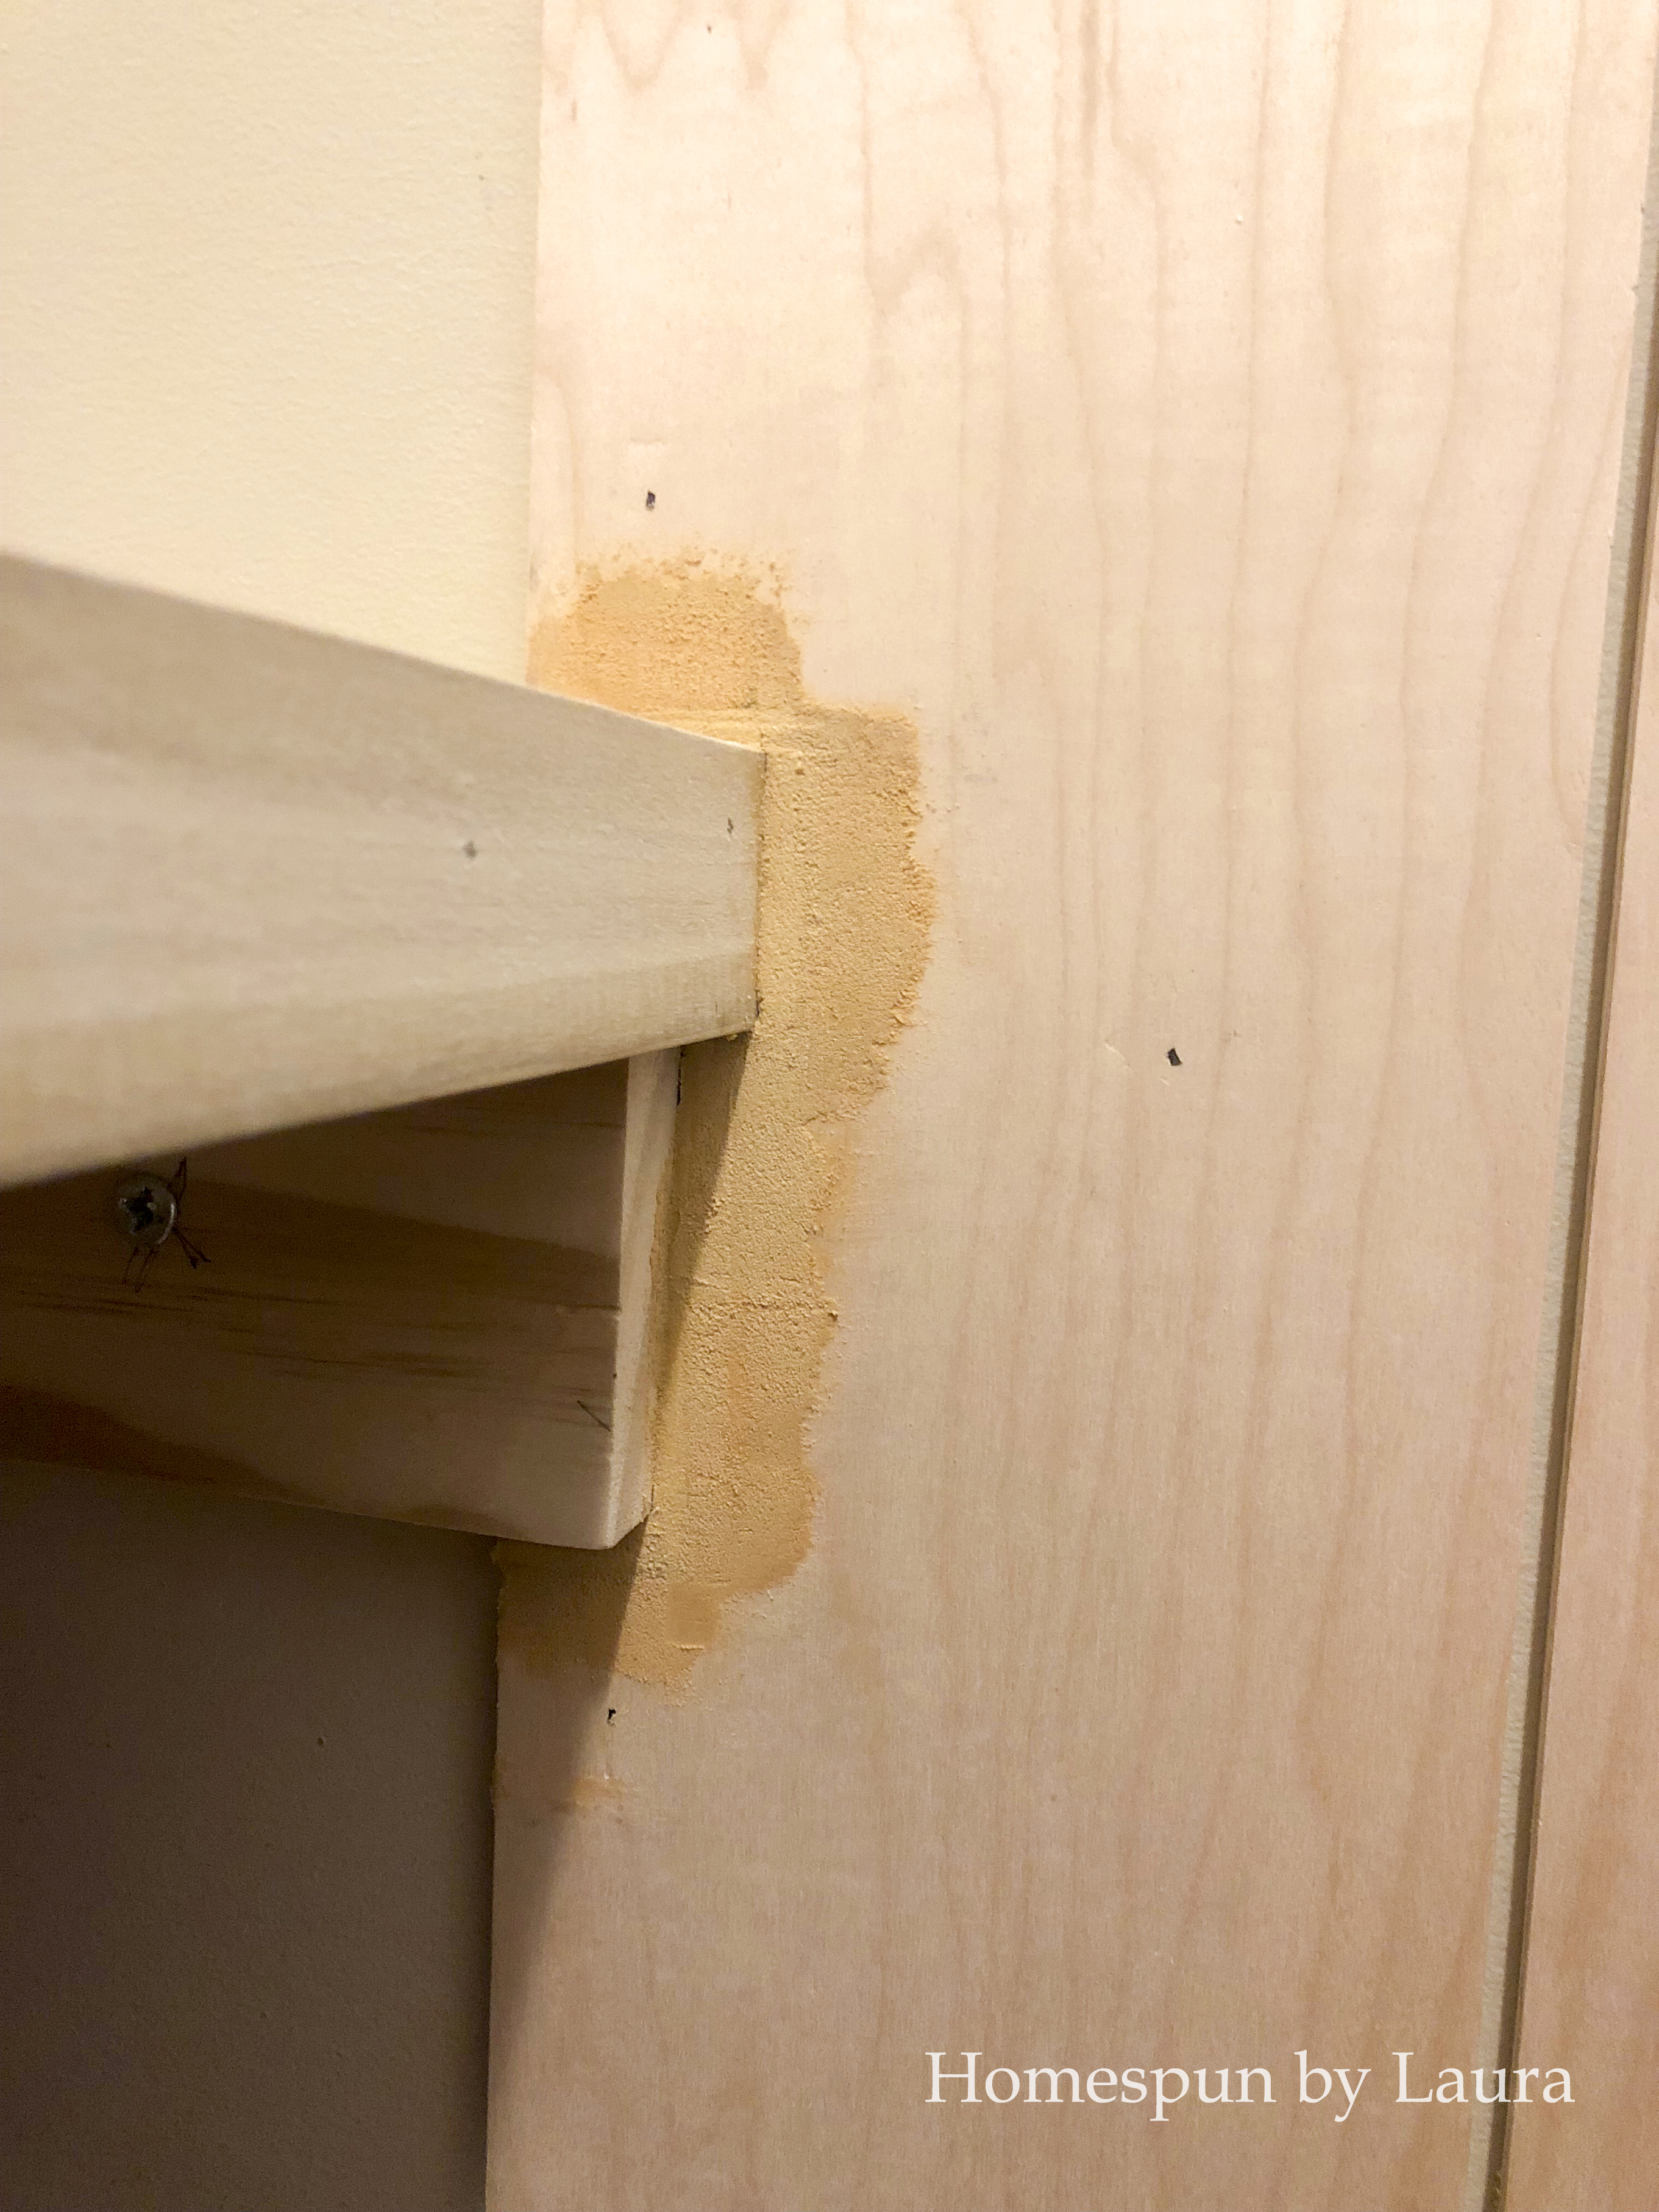
Wood putty to the rescue on this rough cut I did with a hand saw. I’m going to make the ones around outlets with our reciprocating saw.
We used the saw to cut up 2” x 6” lumber for a counter.
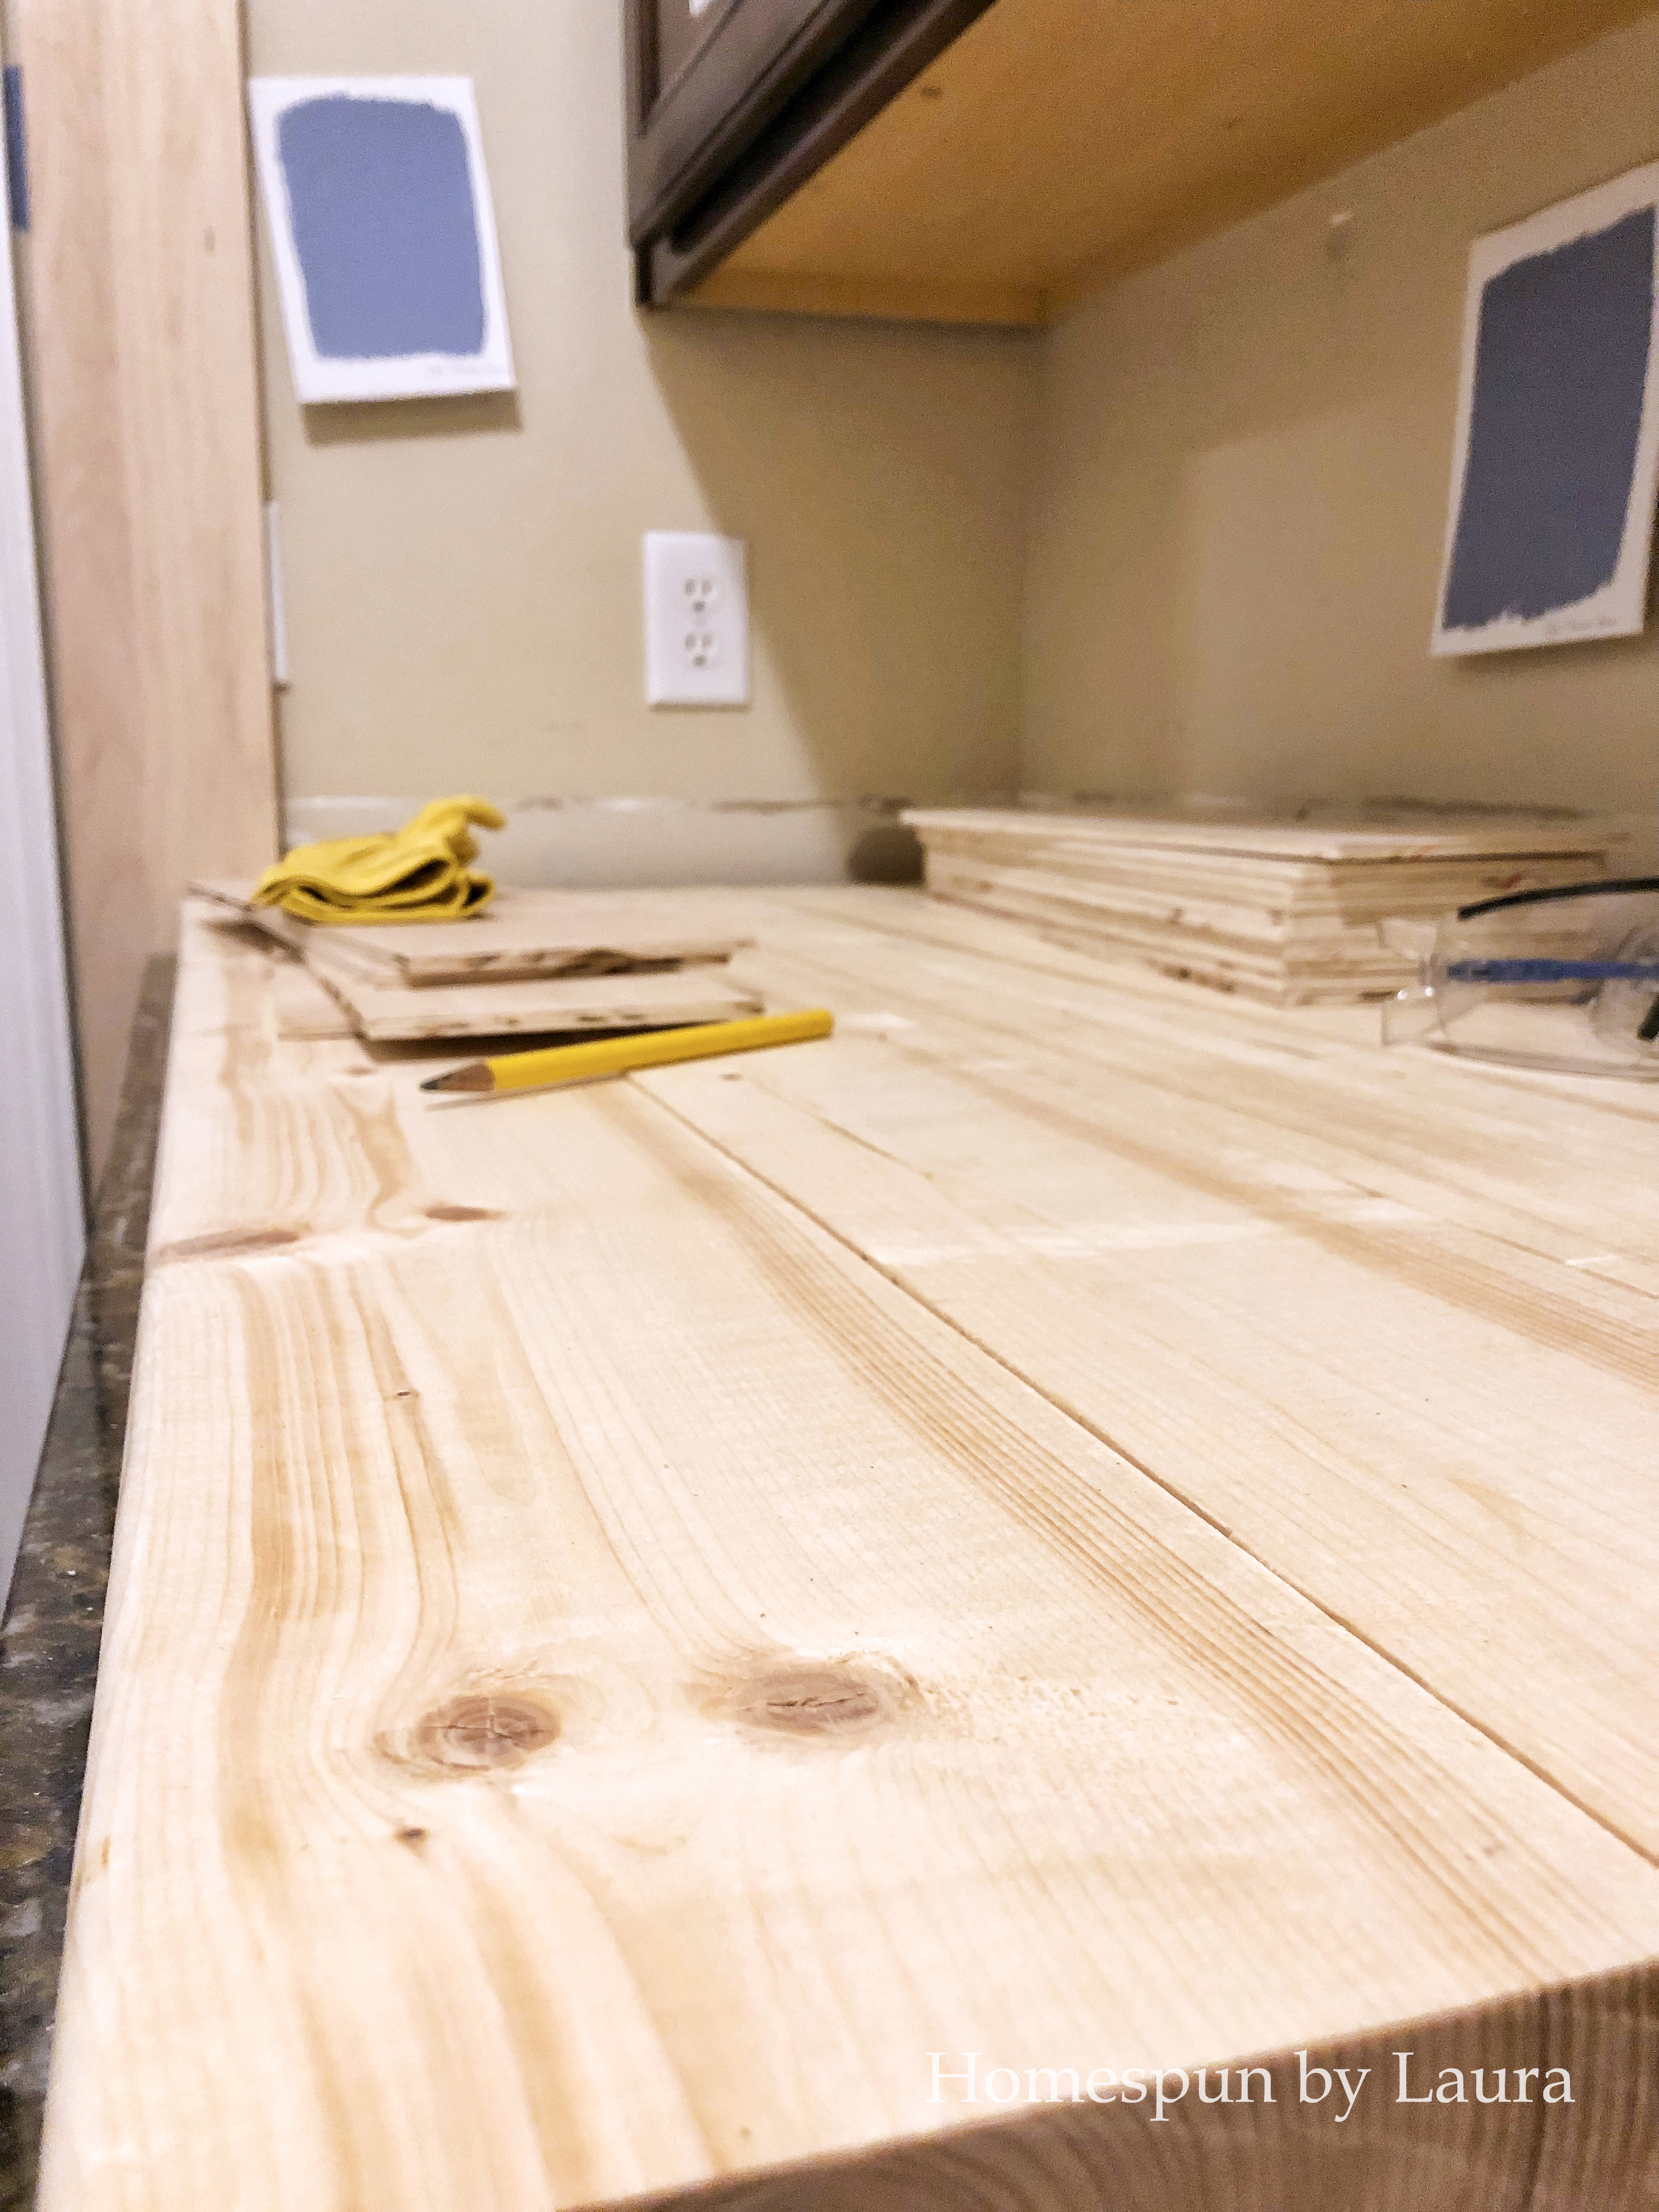
We trimmed off the rounded edges on all but the front and back pieces for a smoother finished surface.
I began prepping for primer + paint
This includes sanding and cleaning the cabinets, bench, and paneling, removing cabinet doors and hardware, and vacuuming up all the dust. I didn’t take a photo of this step. It’s boring. 🙂
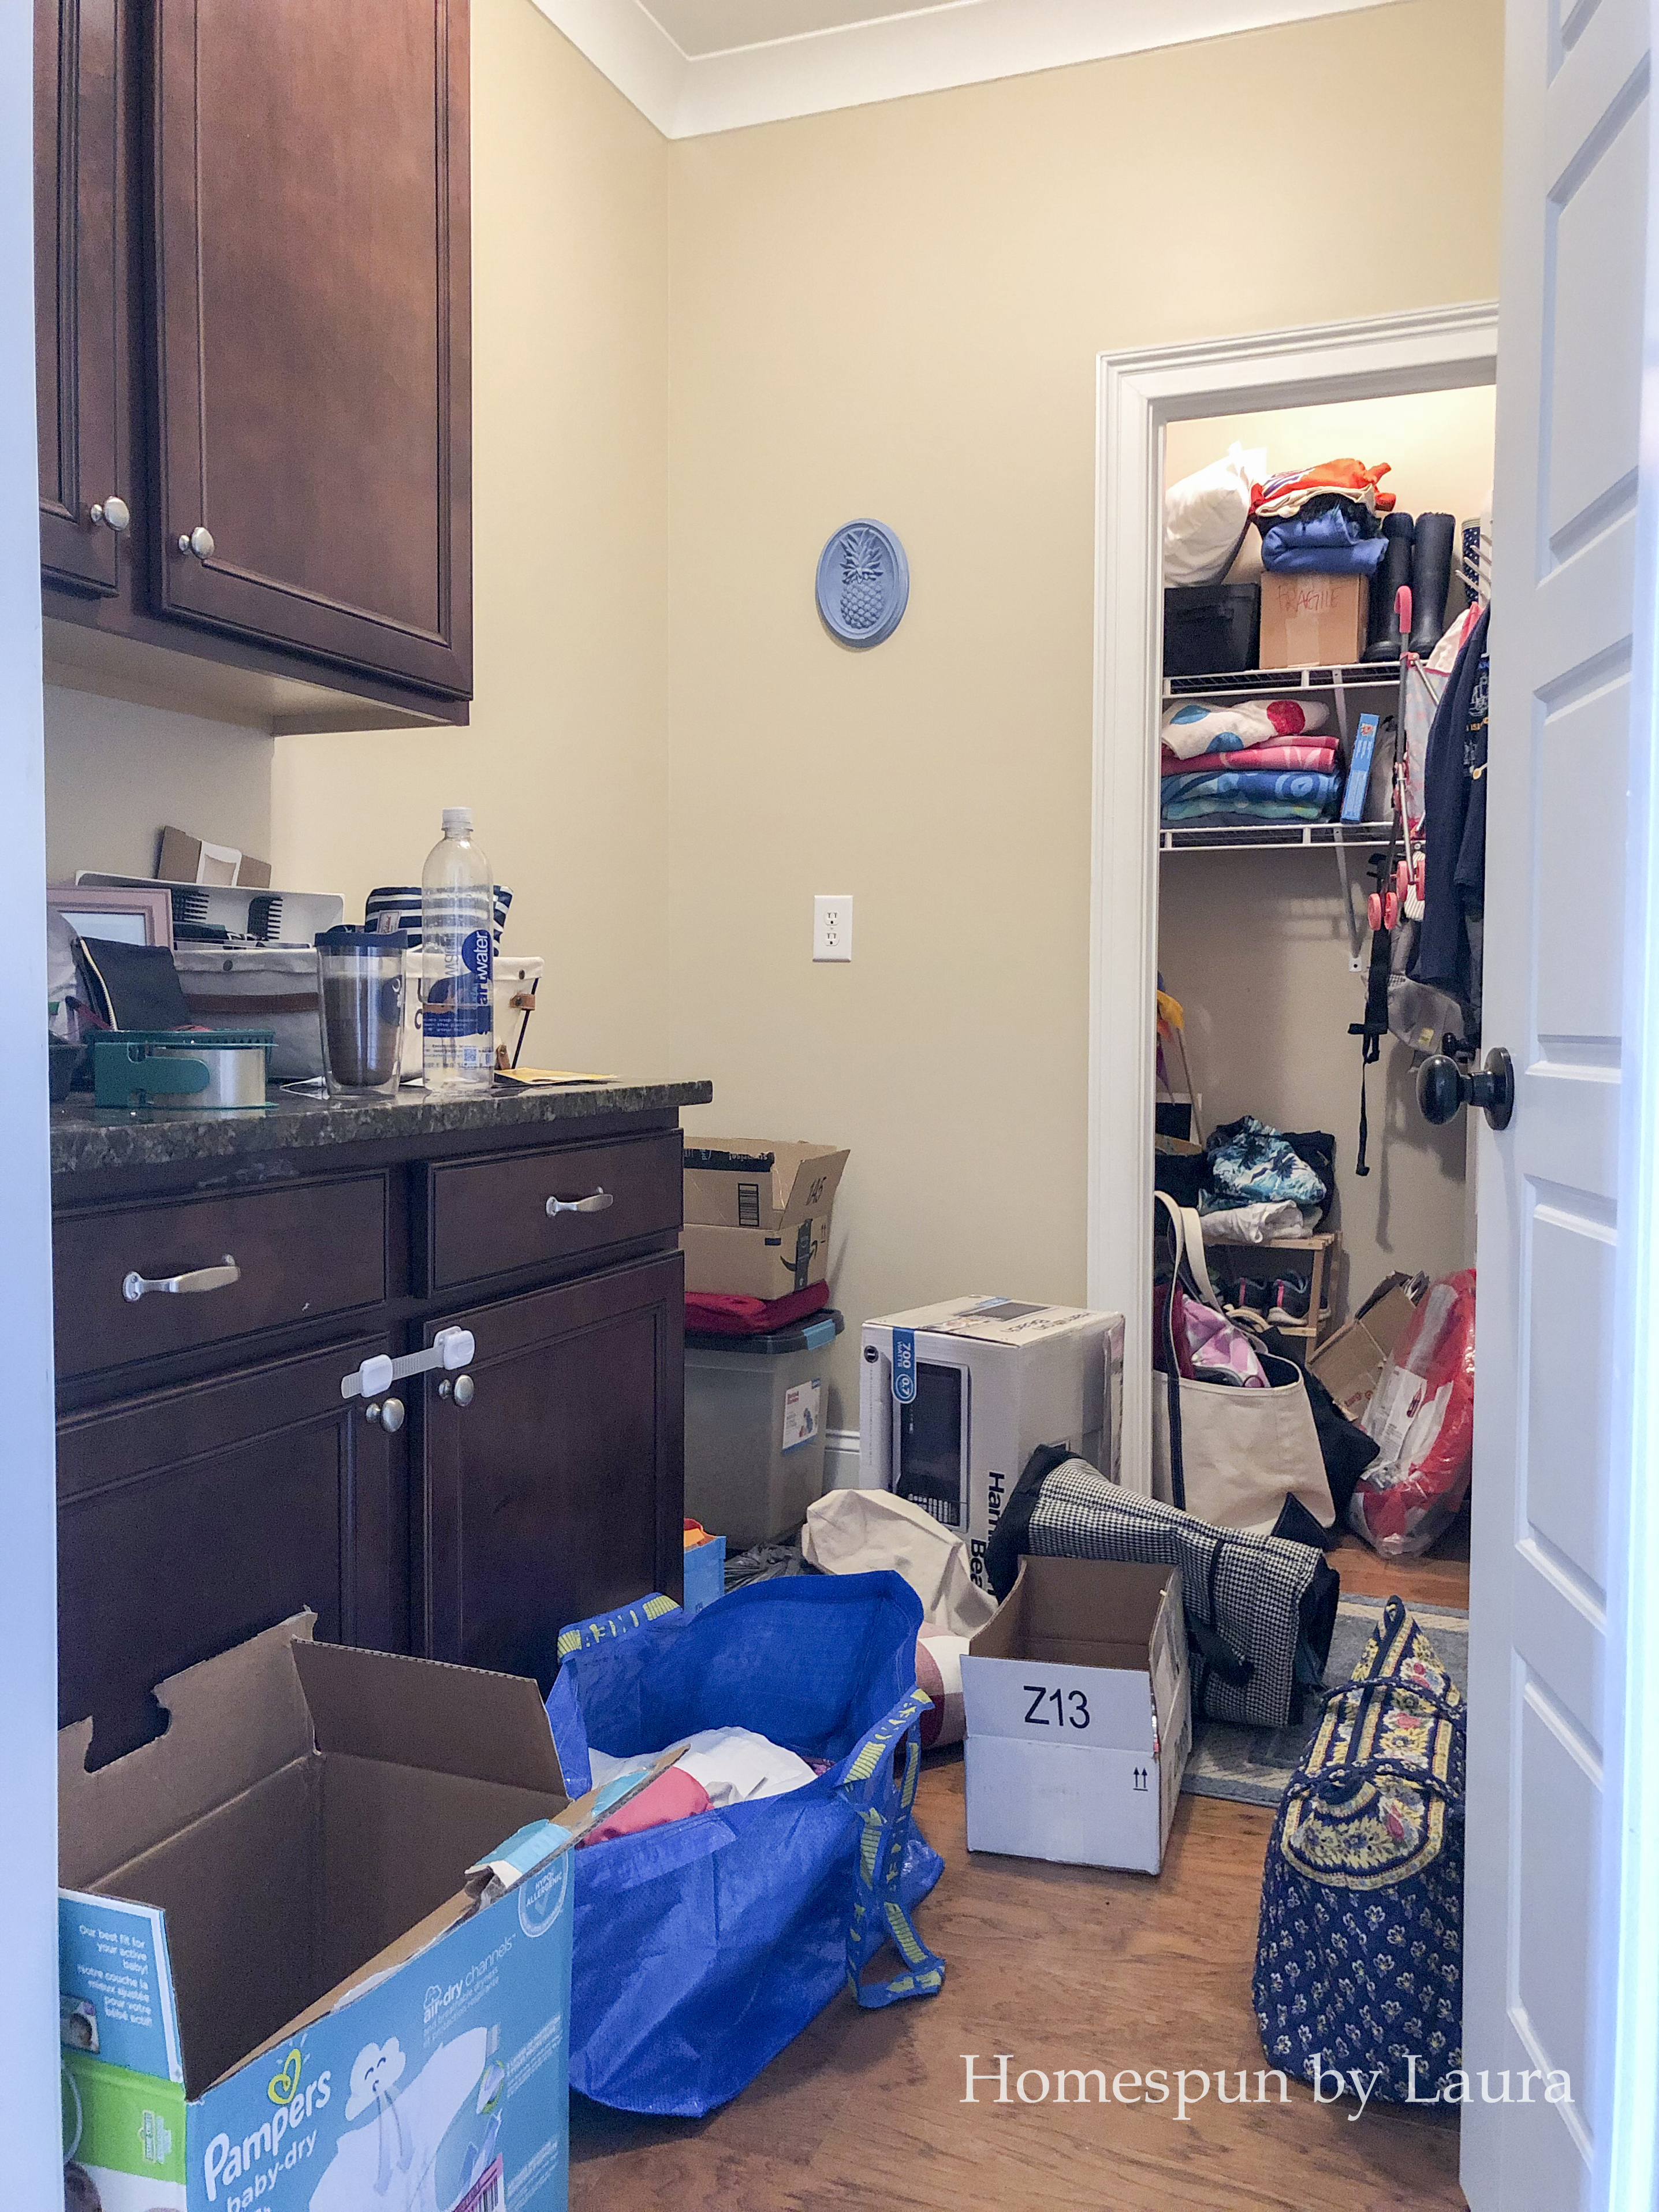
I organized things to improve function
I also organized and cleared the junk out of the mud room, two closets, and our pantry. I probably spent a little too much time on this step, but it really was the most important one in improving the function of these spaces.
What’s left to do during Week 6?
A lot has happened, but nothing is actually finished. Even the closets and pantry that I organized early on (doing the fun stuff in the mud room was my self-imposed ‘reward’ for cleaning up the closets) have now taken in a bunch of things that overflowed out of the mud room and will need to be cleaned up again.
So I’ll keep going until I’ve finished and I’ll do my best to get it all done in the next week (ish!)! Because once the ‘deadline’ to finish the ORC has passed…the projects tend to drag on.
- purchase paint
- caulk between wall panels and around cabinets
- prime cabinets, bench, and paneling
- paint cabinets, bench, and paneling
- paint plaid design on wall above paneling
- add hooks above bench
- add ledge above hooks?
- build, stain, and install DIY wood counters
The list above doesn’t really seem like that much, but each one involves multiple smaller steps. And I’ll be squeezing them into nap and pre-school time the best I can! During a space of 7-10 days. So the week’s gonna fly by!
I’m SO EXCITED to see this room come together! Check back next week for the reveal!!
********************
Catch up on previous weeks here, watch for progress in Week 6 on Instagram, or head over to the One Room Challenge blog to check out the status of all the other great projects happening across the world!
Thanks for stopping by!