This week I’m talking about our DIY built-in bench and sharing the ‘final’ decision on design plans (it’s probably not actually final until it’s finished!).
It’s Week 4 of the One Room Challenge, a 6-week long DIY design challenge. where participants focus on a space in their house to improve it cosmetically, functionally, or both.

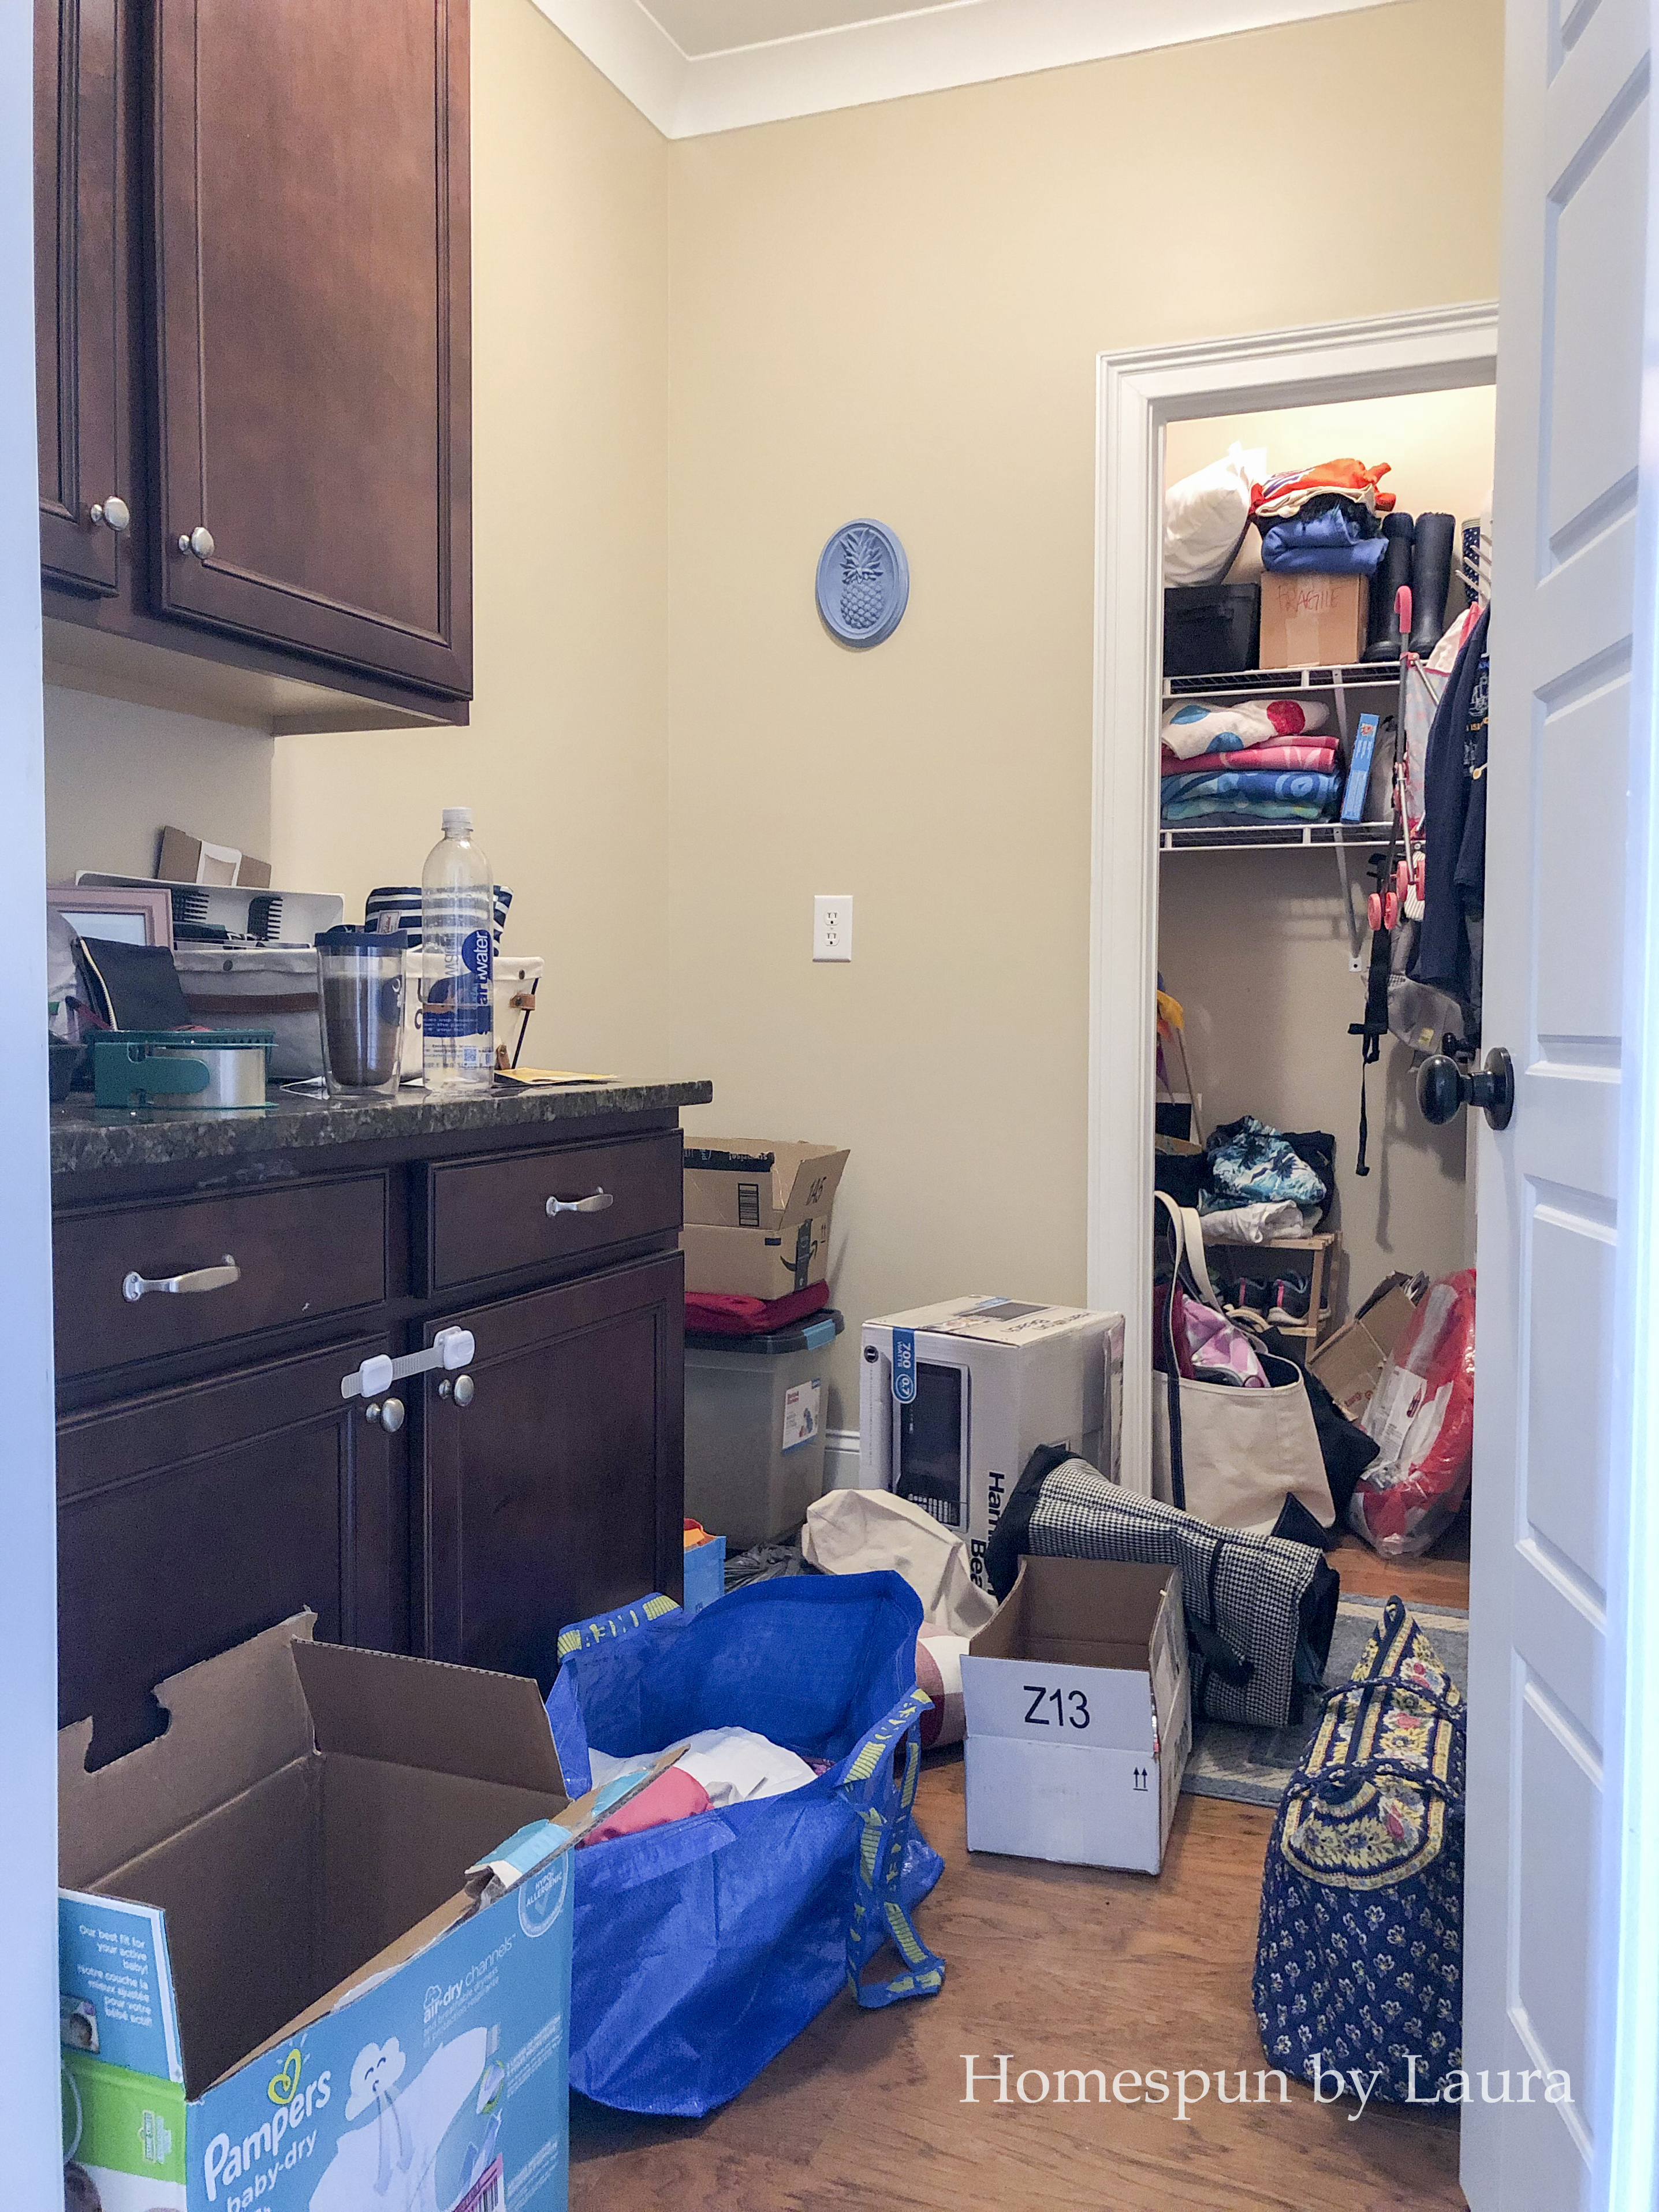
I’m taking on four spaces because I’m a little crazy – and because they weren’t functioning well for us. Our mud room, two closets, and a pantry are all just off our kitchen and were all crying out for help. You can catch up on previous weeks here!
DIY Bench with Cubbies
The minute I walked into our mud room the first time we toured this house, I realized it was crying out for a bench in this 40+” nook.
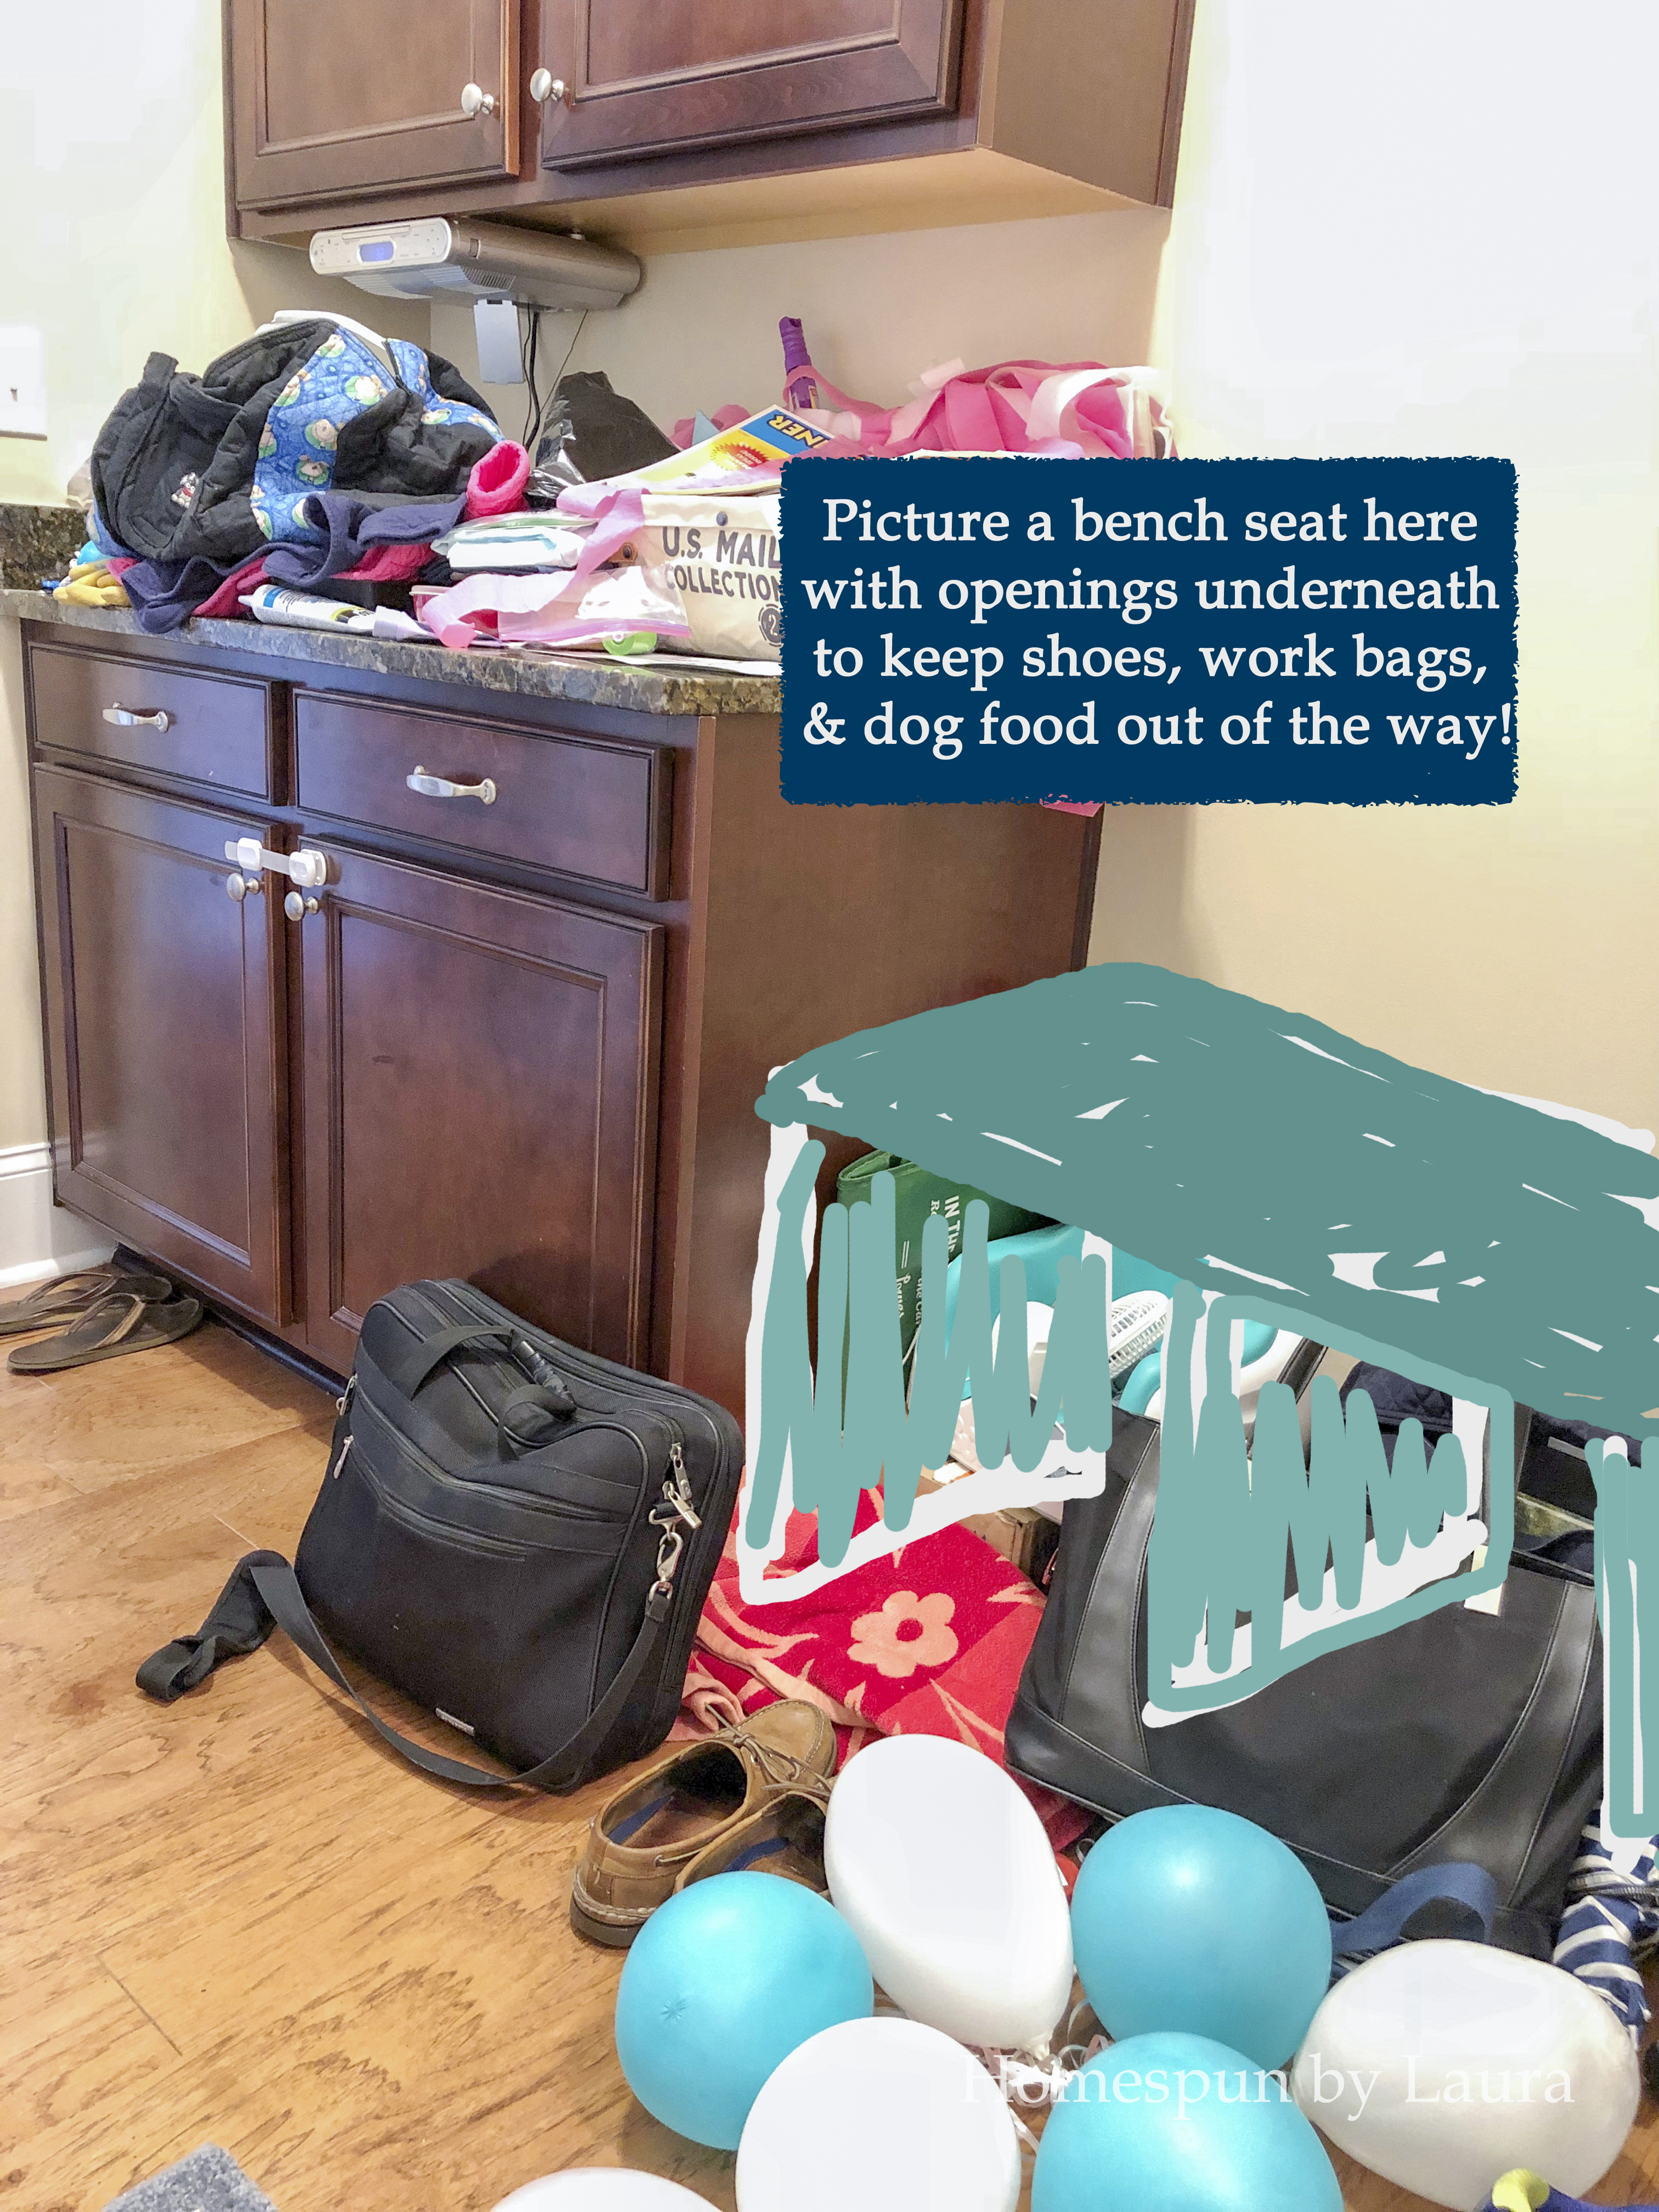
For our first year here, it just attracted ALL THE CLUTTER. I’d tidy it up every now and then when it got bad enough, but inevitably it would become a mess all over again.
It didn’t always look quite this bad. Believe it or not, this photo was taken while I was cleaning up!
The addition of a built-in bench has given us a preview of the improved functionality in our mud room. I’m SOOO excited to see the outcome, but I’m at the point where I find myself over planning and under performing because I’ve never done most of the remaining steps before. It’s a lot to ask of my spacey, sleep-deprived mom brain, but I’m gonna get it done! I’m squeezing every second out of school and nap time for the foreseeable future…
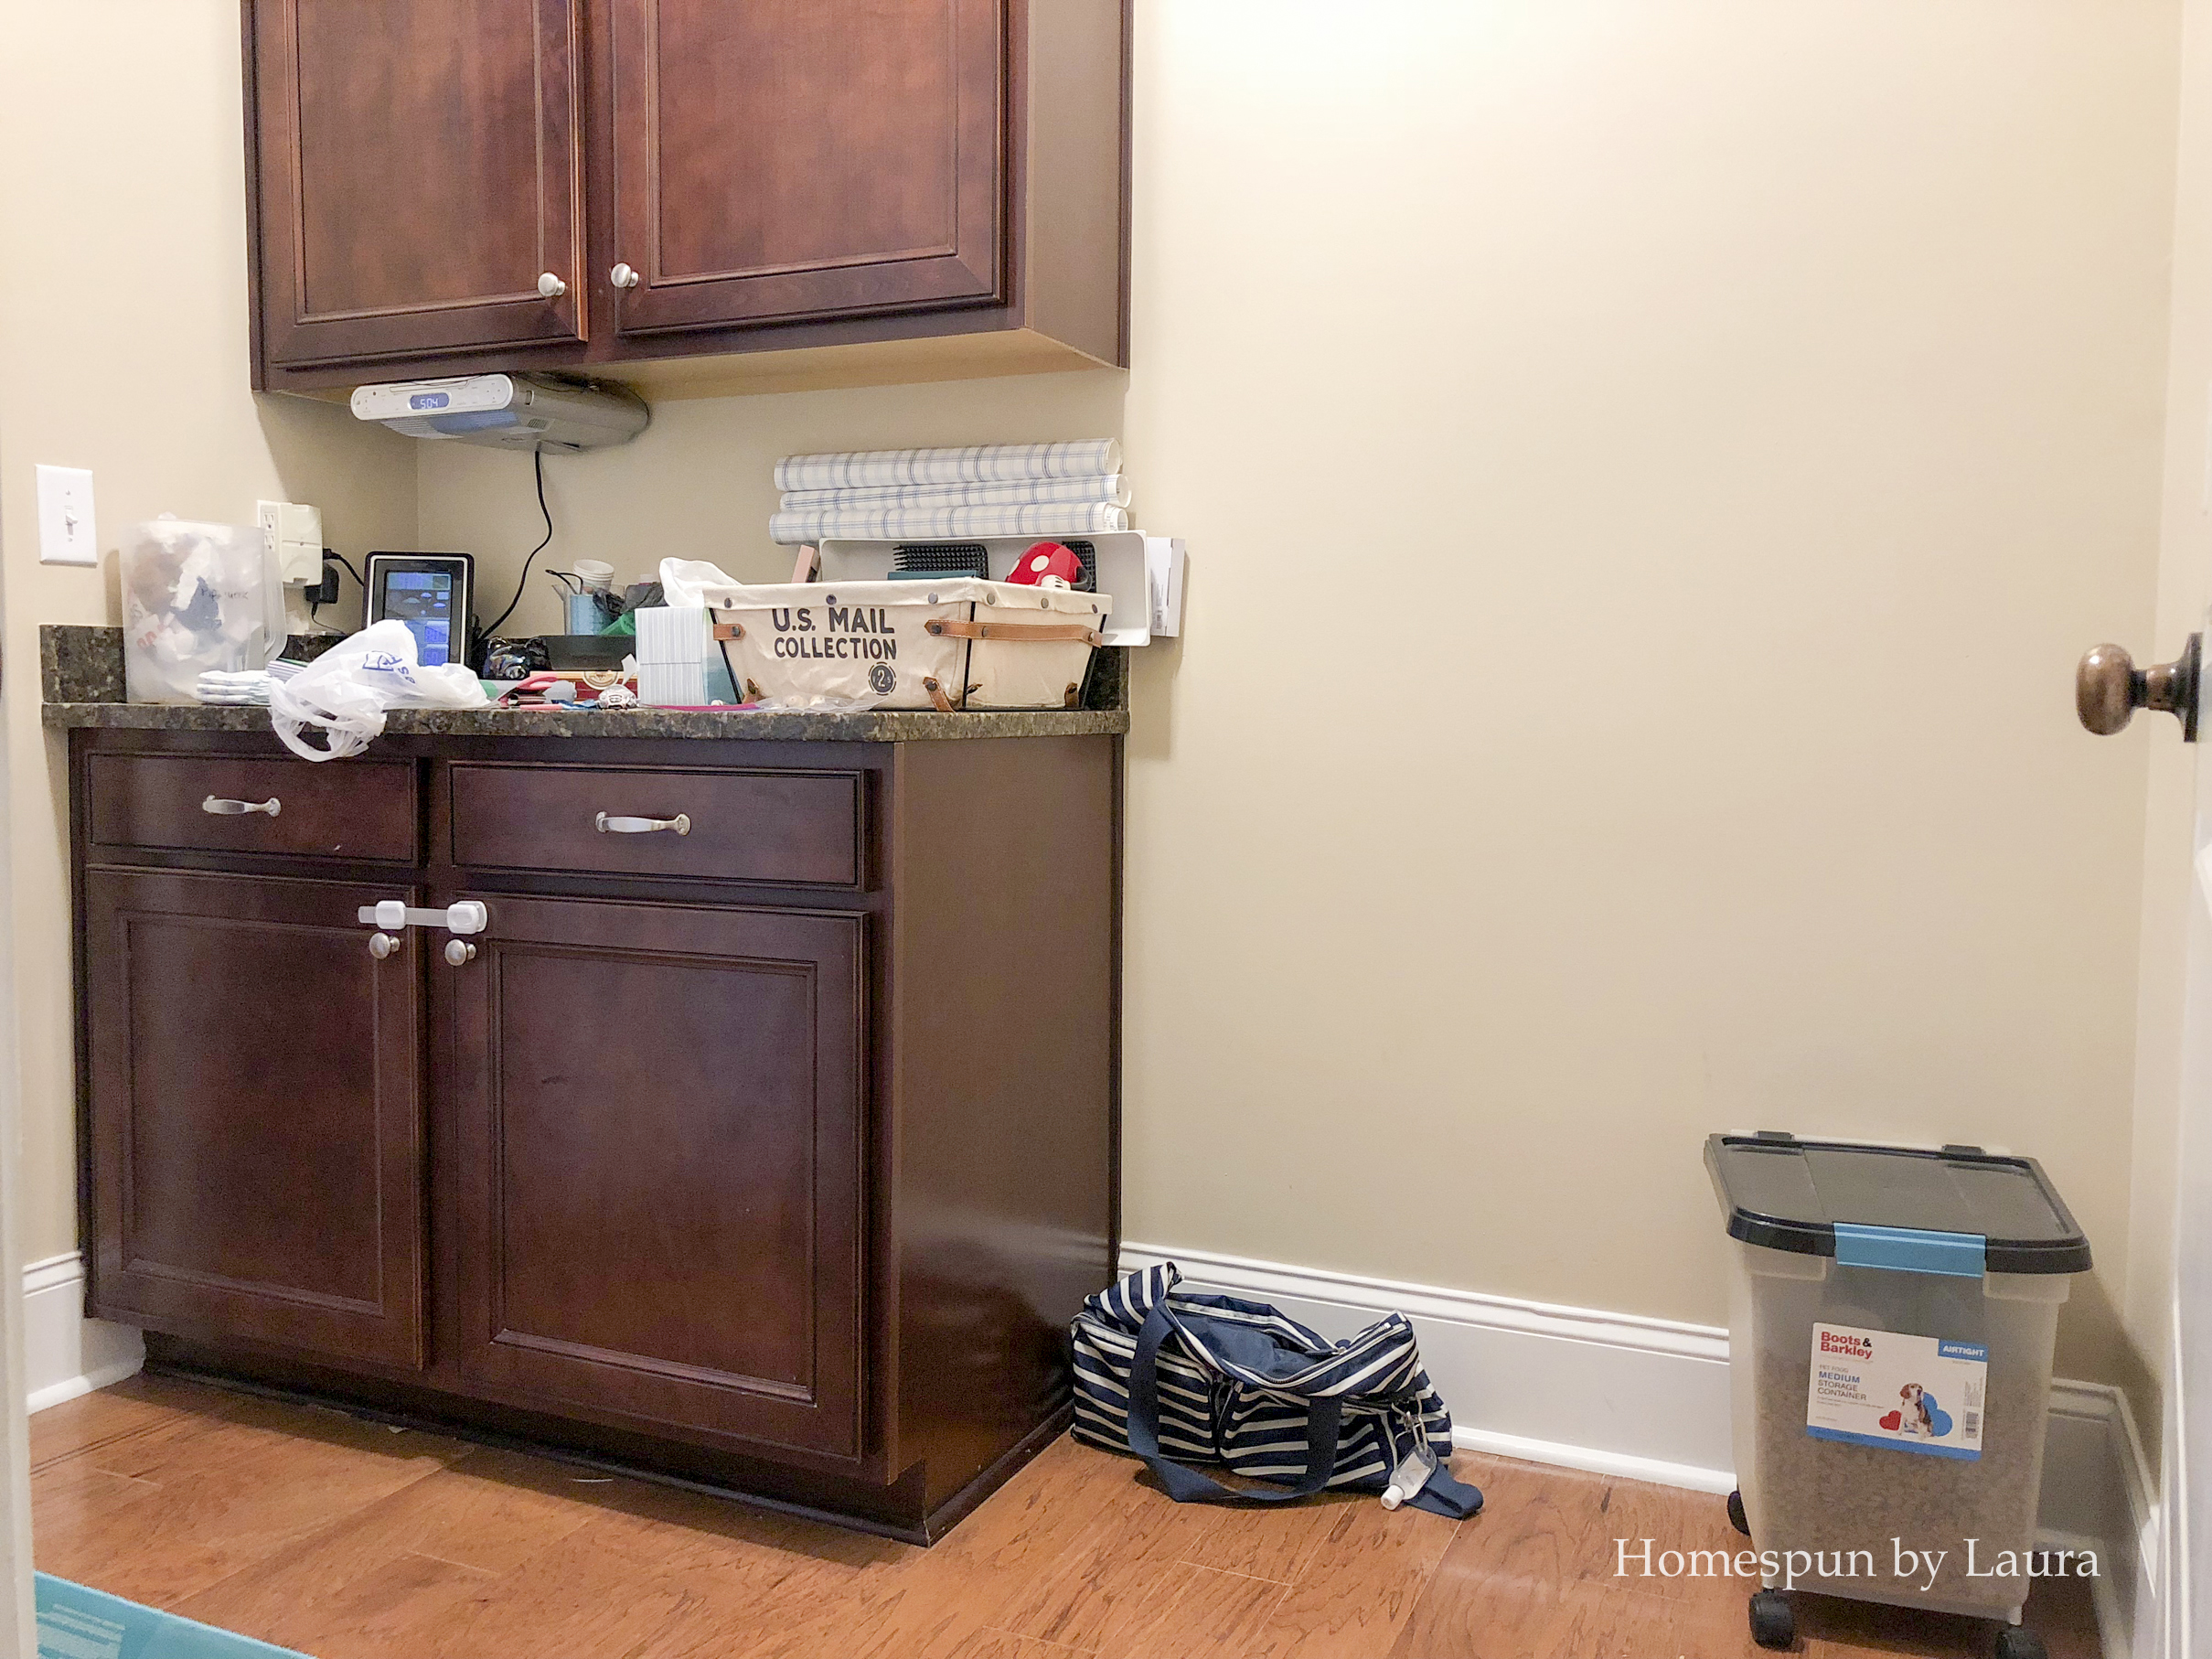
Finally clean!
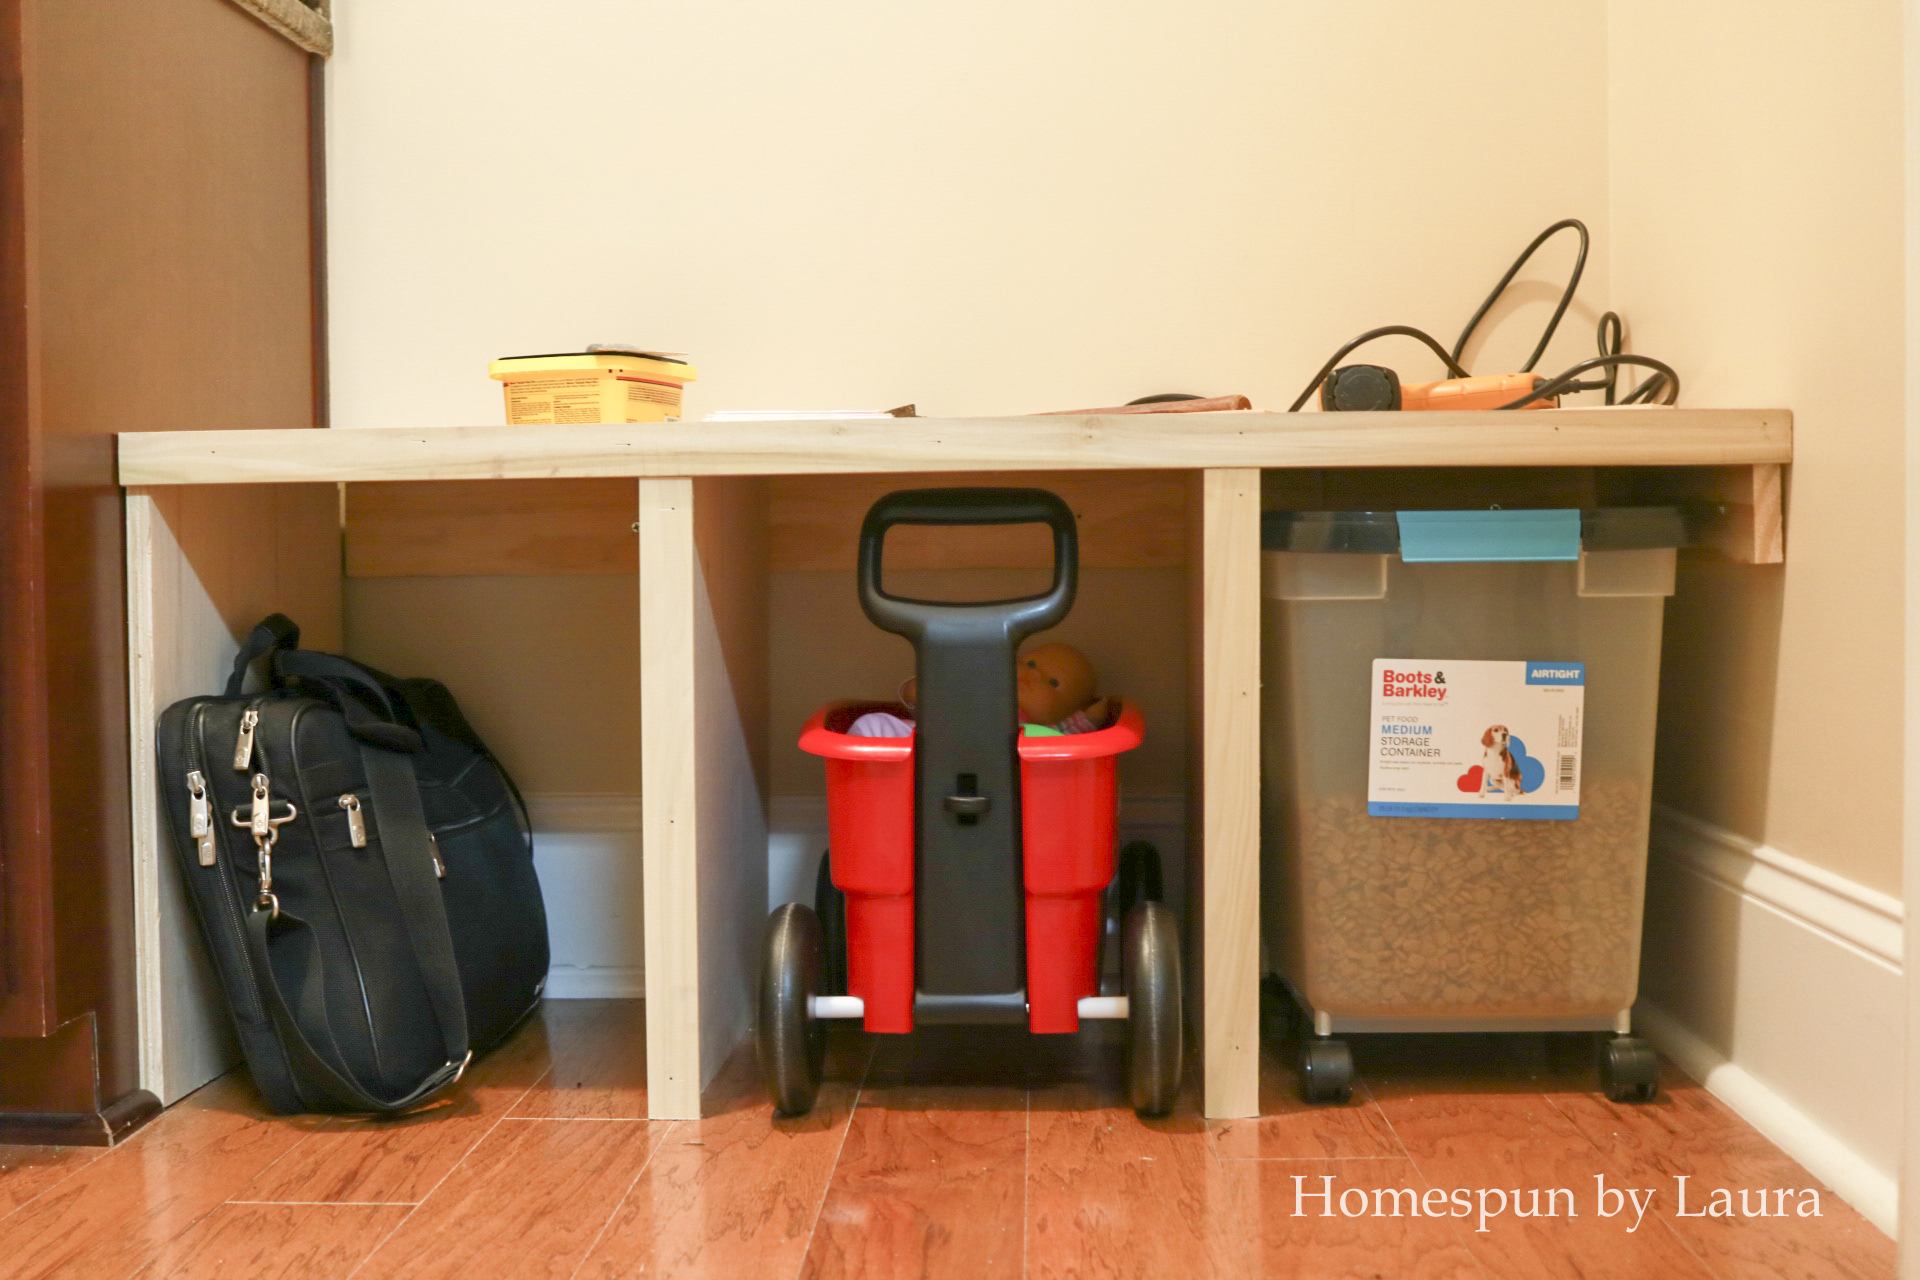
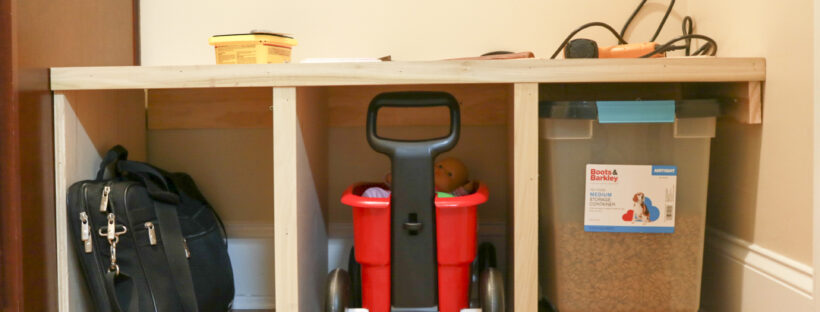
The bench is in!!!!
The Design
While I knew basically how I wanted to go about adding color into the room, my mind ran wild with different variations of my initial ideas.
The general plan was to build the bench, add trim/paneling, wallpaper, and paint. LOTS of paint. And perhaps a rug. But in trying to create a more specific plan, I wound up finding an overabundance of possibilities and got myself pretty confused. When my parents came to spend a night while the Mister traveled for work last week, I sat down on the floor in the mud room with my mom and went through nearly ALL the ideas I had, showing pictures from Instagram and Pinterest so she could visualize each one. She and I are very different in that she accepts a house as it is and I see a blank canvas full of potential. So she just listened. To all my mad ramblings of “But I could do this…” and “I really like this…”. Thanks, Mom!
Hearing myself talk through all the options I’d thought of helped me rein myself in – which helped tremendously when the Mister arrived home. We talked about a much more realistic number of variations on the original idea and came up with something resembling a final plan!
Paneling vs Board and Batten
There are several reasons that board and batten would be a better option than vertical paneling: It would cost less. It would take less time (I think! We’ve never done it before!). It wouldn’t require weird cuts or extenders around outlets. It would’t require borrowing any power tools. We could do it now instead of waiting. The list goes on.
But we landed on vertical paneling (for now, anyway).
Paint!
I love the idea of colorful vertical planks. But I was certain the Mister would want white, so it blew me away when he said he actually liked the idea of blue painted paneling! The plan is to start out by painting the cabinets and bench a blue-gray color.
I’m not sure whether it would look weird to paint the paneling and cabinets blue but leave the baseboards and door frames white. If we go that route, it might be better to paint all the trim – who knows!
After the paneling gets a coat of primer, we’ll decide whether we like the idea of contrasting paneling or want it to be blue-gray, too.
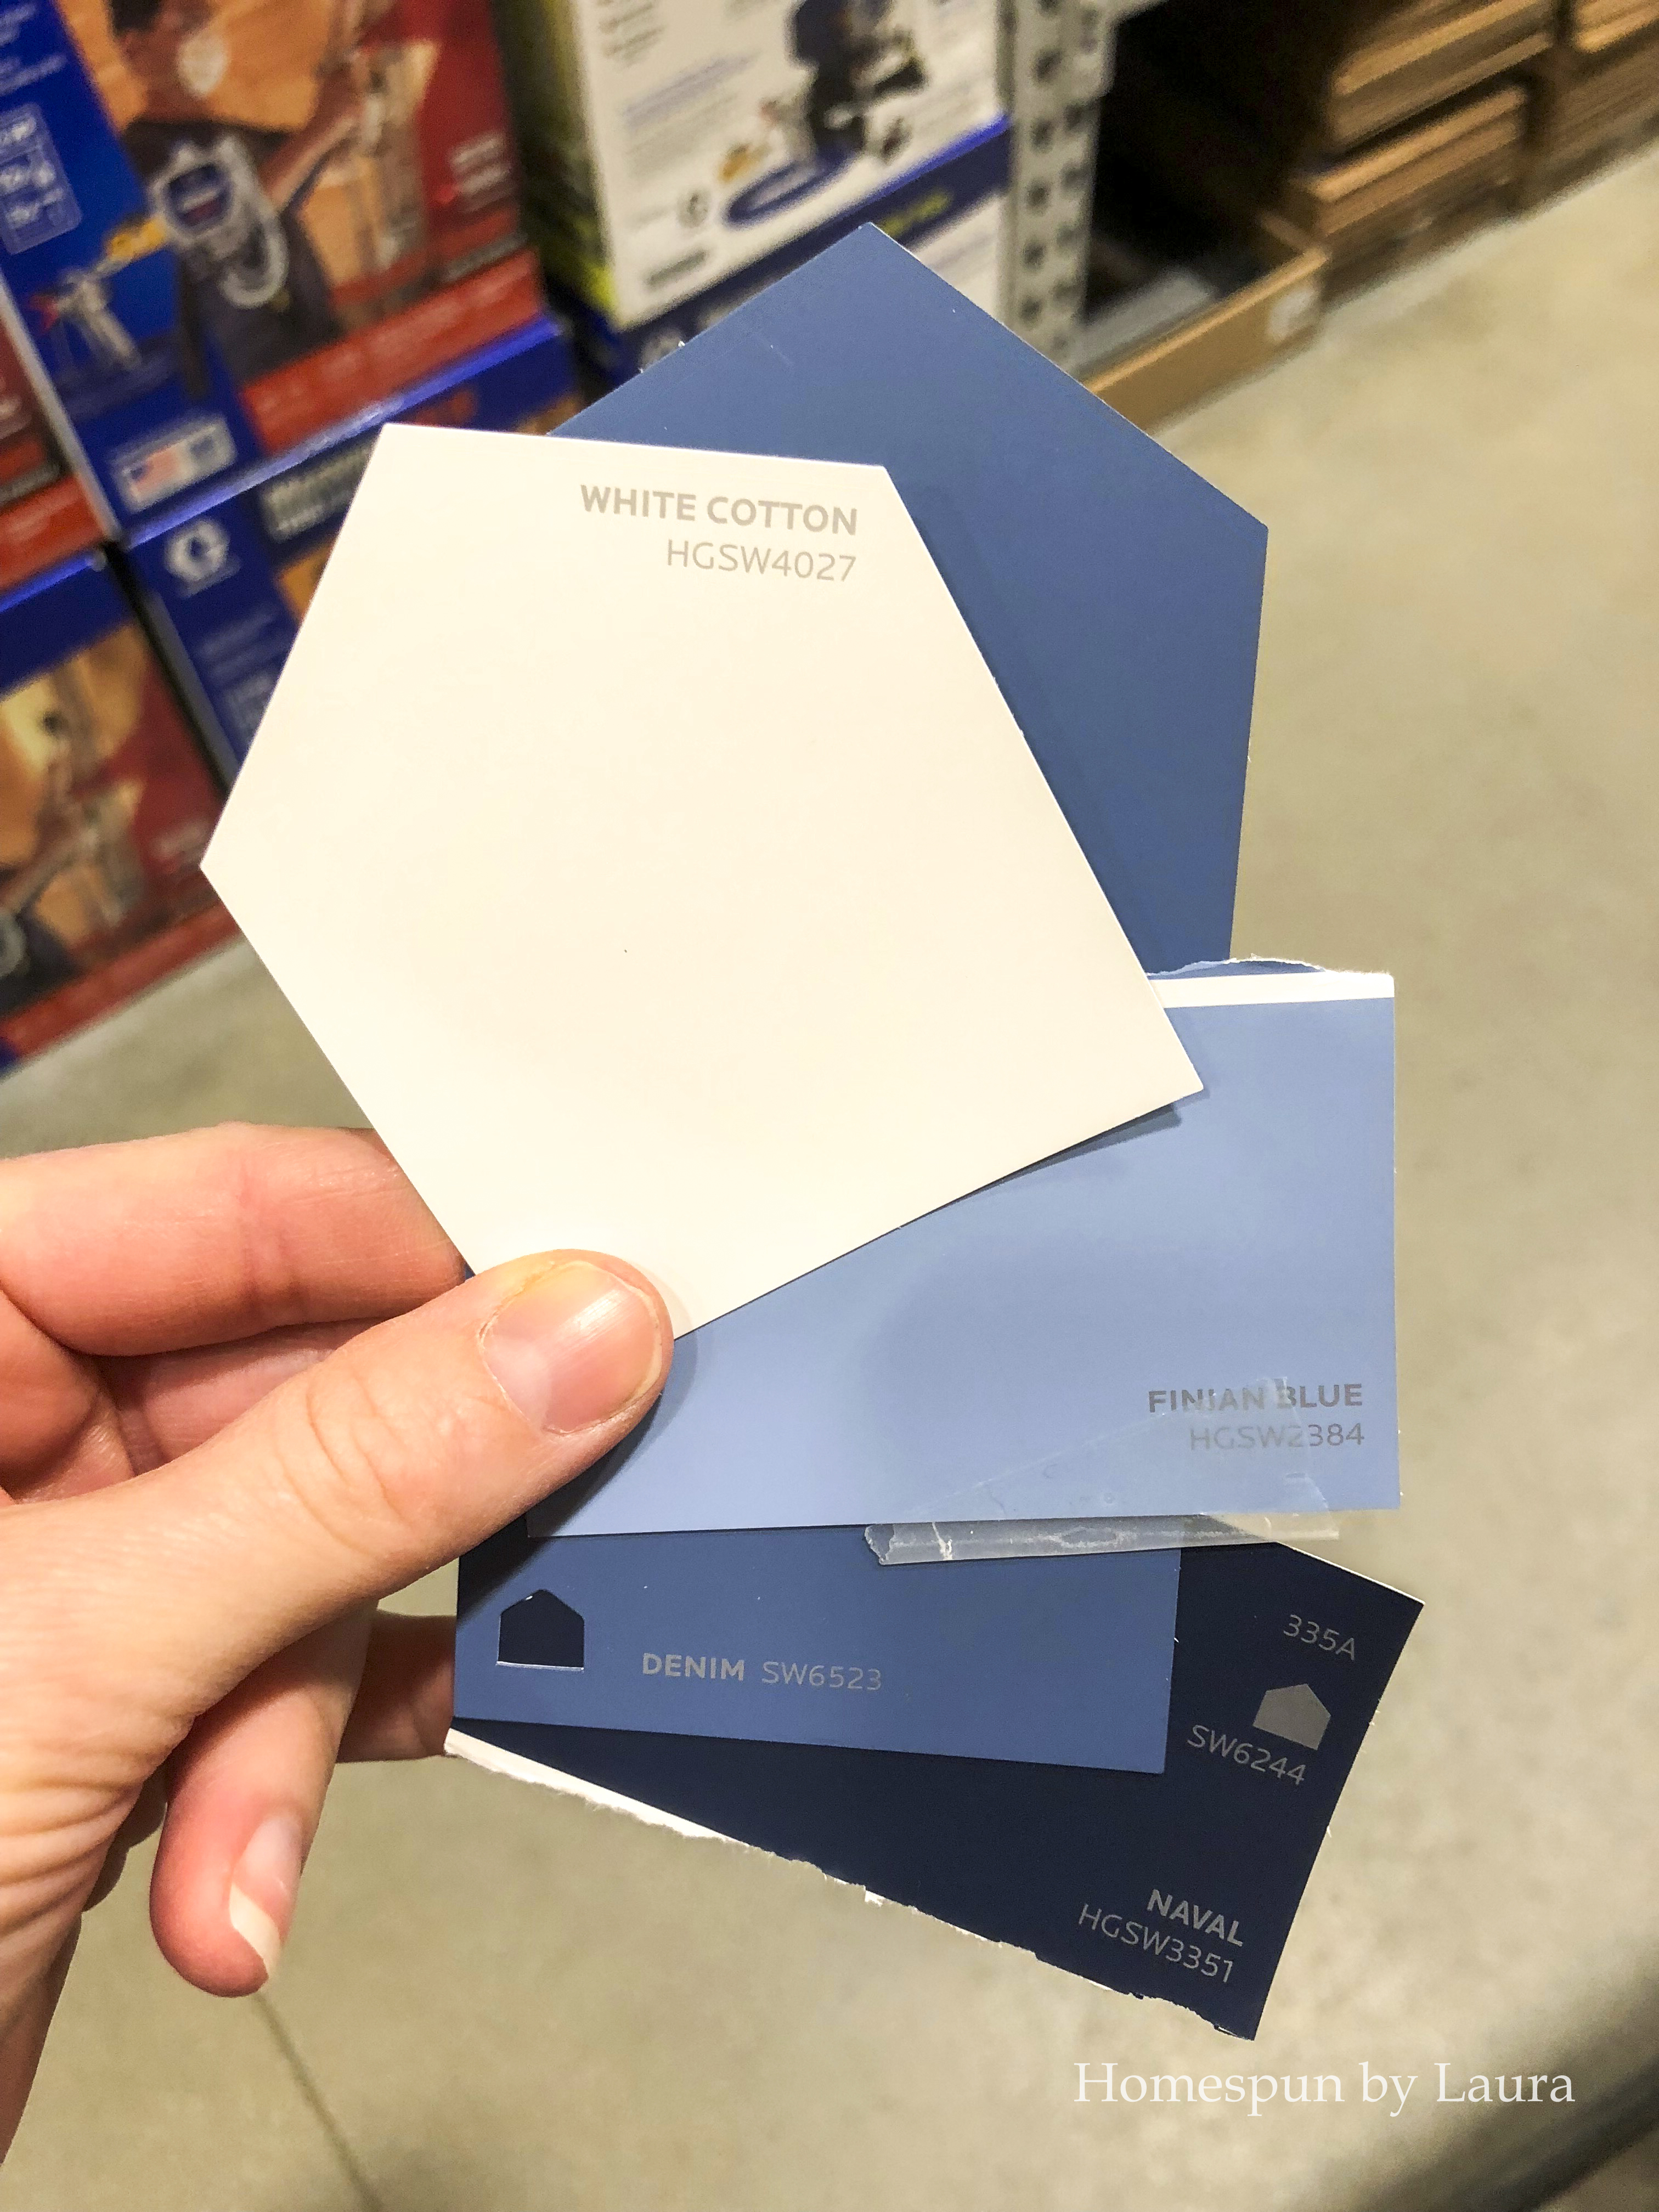
The colors are a little off in this photo thanks to the lovely lighting at Lowe’s.
DIY Handpainted Plaid Wall
I originally planned to use this vintage wallpaper, left over from my grandmother’s house, which she built in 1989.
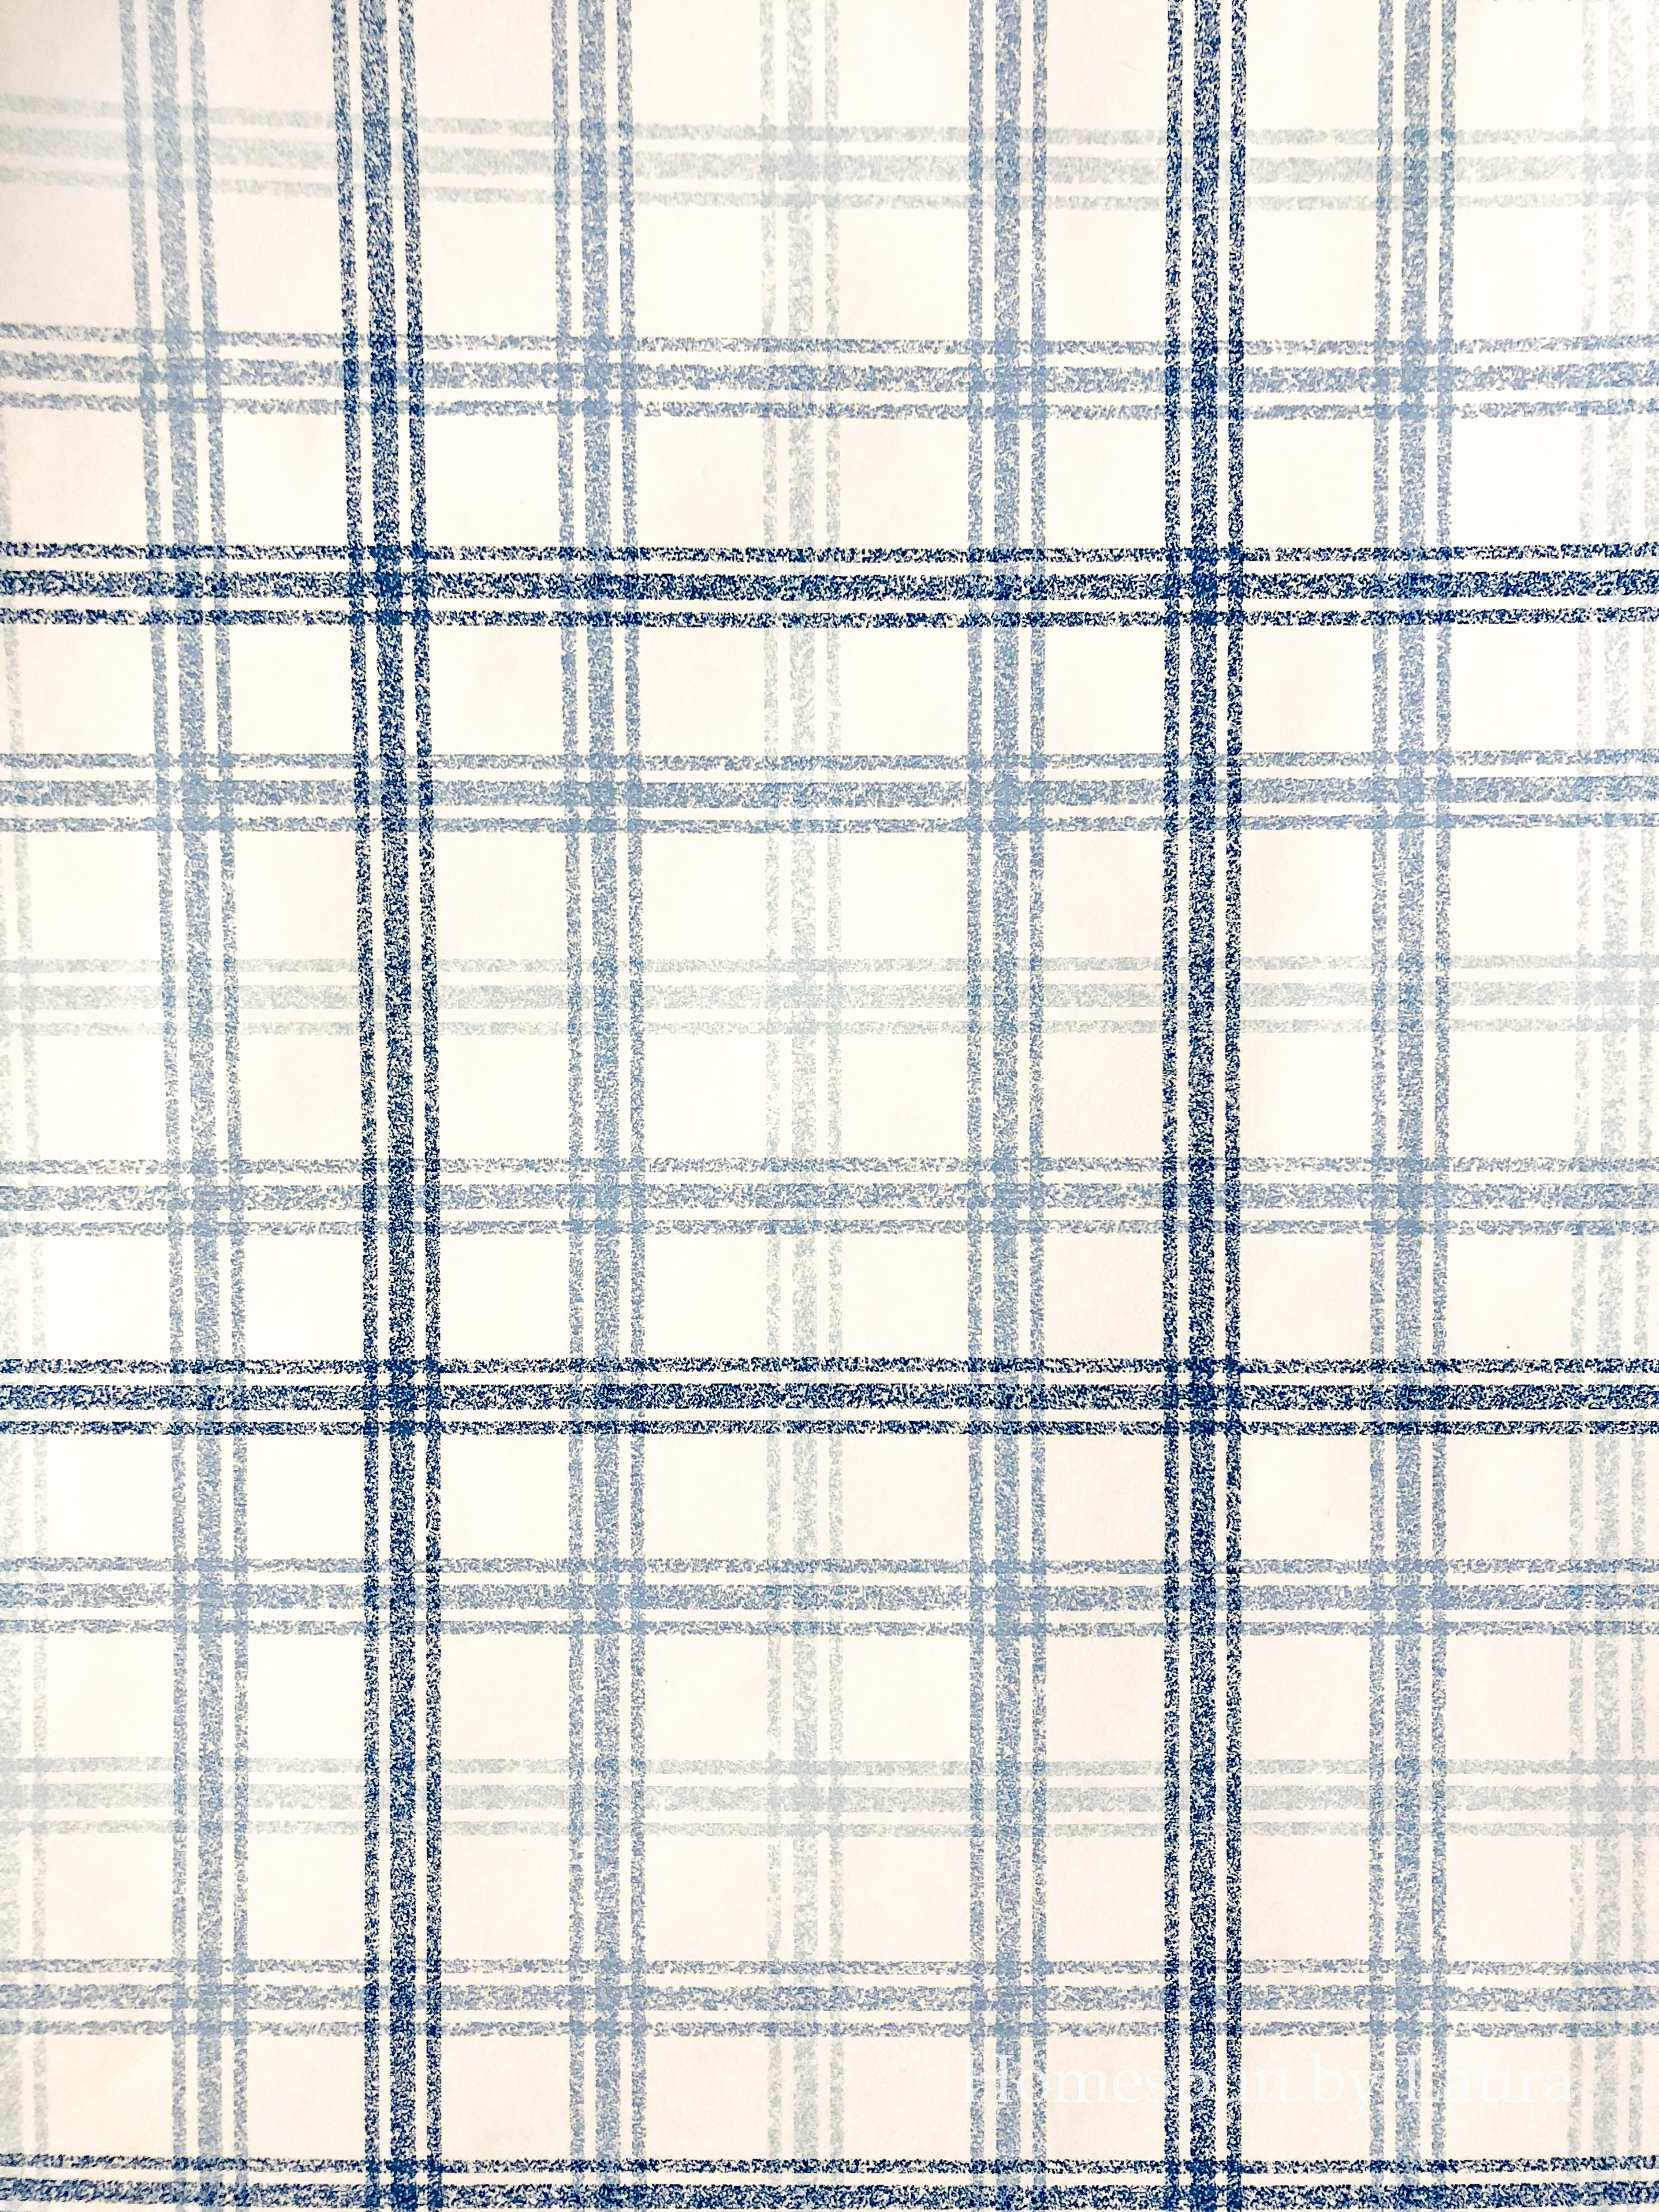
But I did some rough calculations, and there’s not enough. We’d have to take the paneling up almost all the way to the ceiling to stretch the roll and a half around the room. So my options are to use it on one wall as an accent or to use it as inspiration for a painted wall!
I’m excited and terrified.
I bought an inexpensive laser level and three different blue paint colors and plan to get to work sketching out the design later this week…

The guy at the paint desk at Lowe’s kindly labeled each sample for me. However, he got his ‘navel’ mixed up with his ‘naval’.
The Timeline
It’s going to be down to the wire on this one. We decided to try our hand at cutting the vertical planks out of a thin sheet of plywood instead of buying individual planks to keep cost down (like, a couple hundred dollars down!). As I have mentioned many times before, we don’t own a table saw. We make small cuts ourselves with a hand saw or rely on the folks at Lowe’s to cut down larger pieces with their huge saw. But we do know someone with a table saw who has lent his expertise in a previous project or two (like when we built a coffee table around an old window). We’ll either ask to borrow that saw or will rent one from Home Depot, depending on the timing.
As we enter Week 5, I’ll be busy sawing and sanding and painting every free moment I get. And when Week 6 rolls around…I will probably be taking the ‘after’ photos before the paint even dries!
You can follow along on the progress – without getting your hands dirty – on Instagram!
******************
Take a look at what all the other One Room Challenge participants are up to, from high-end projects to budget creativity!
And as always, thanks for stopping by my little corner of the internet!