Oh, the pantry. For 15 months, it’s been a disorganized mess, just like the other areas I’m focusing on. When we moved in, I threw everything in, filled it to the brim, and left it. Now I’m rearranging it all in a way that makes sense and adding shelving to maximize storage space.
Enter the One Room Challenge, where participants transform a space (or in my case, four spaces) in their house over the course of six weeks, sharing their progress along the way.

Six weeks isn’t that long, and it’s already Week 3!
The spaces I’ve chosen are our mud room, two closets, and the pantry. All are located off the kitchen. All were in a state of disarray. During Week 3, I focused on the pantry, a coat closet, and a storage closet. While there’s still room for improvement, I’ve made great strides already.
The Pantry
I started by tossing out all the too-old food and pulling out rarely used items like cupcake carriers, which I’ll move to additional shelves we plan to add later on (more under Use the Vertical Space below).
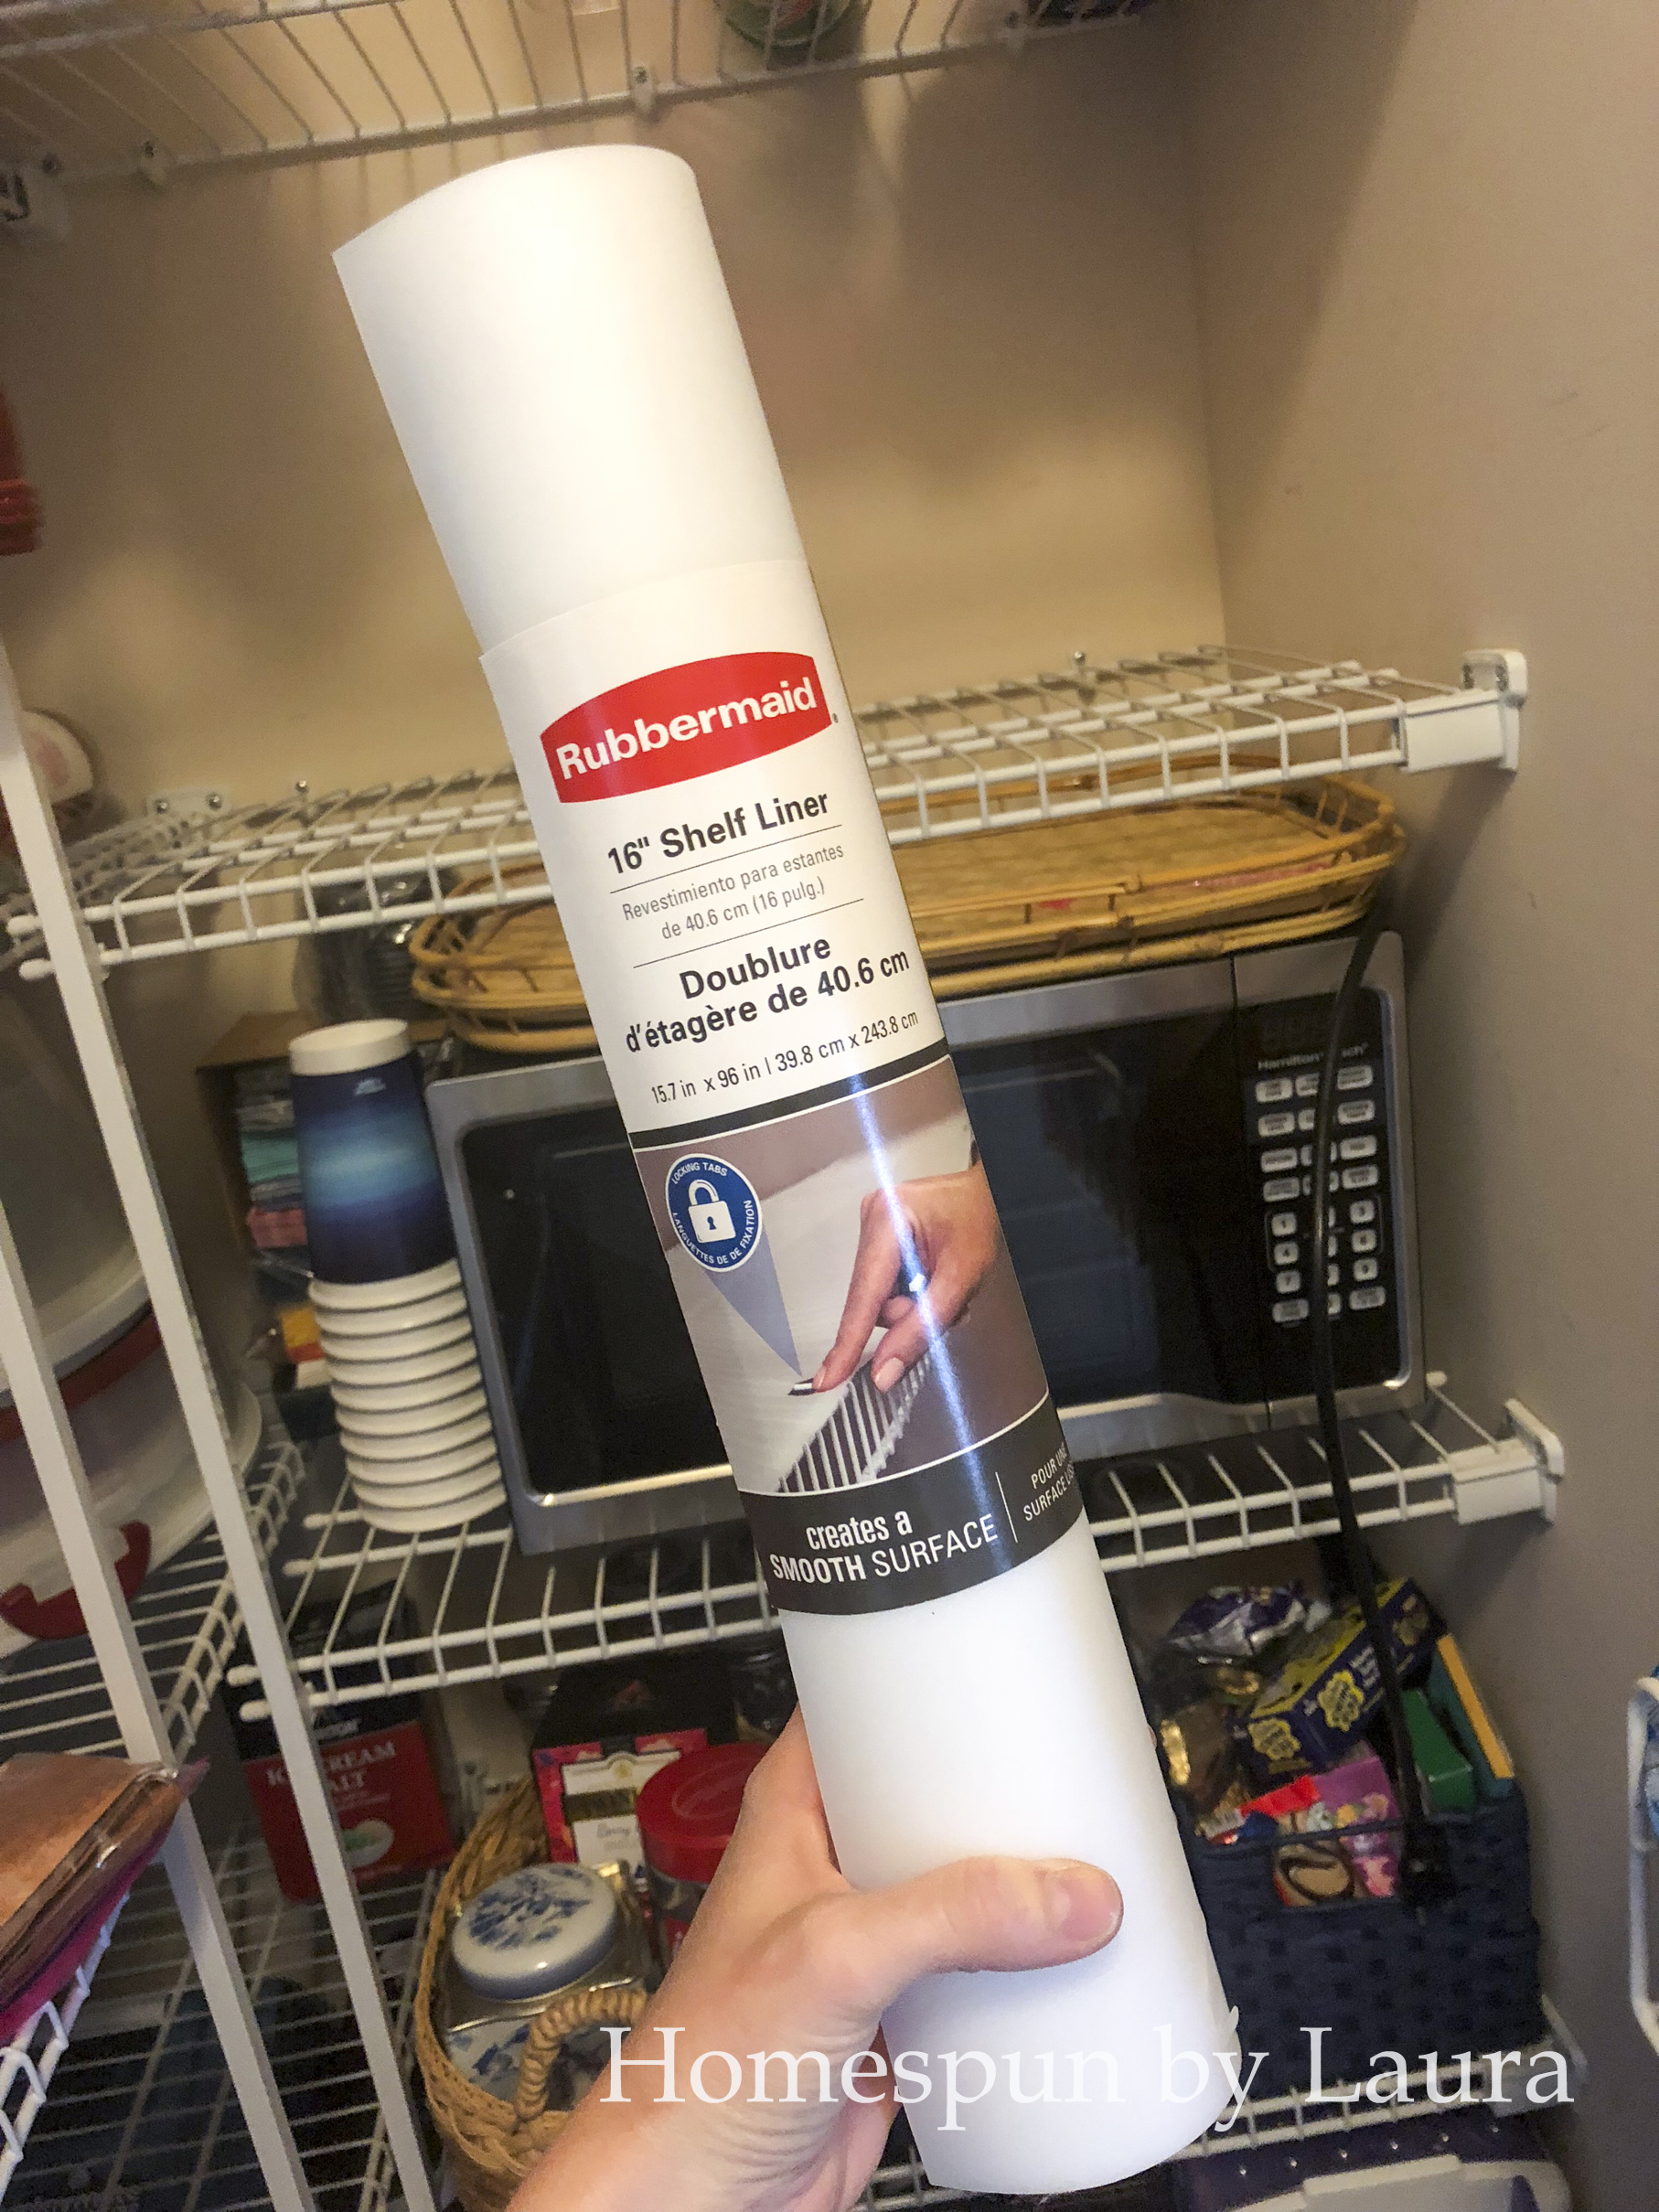
This pantry (like all of our other closets) has wire shelving, which I really don’t like. I’d love to put wood shelving in, but it’s both beyond my time and brain capacity at this point, so I used a roll of plastic meant for making wire shelving level as a band-aid in areas where it will be helpful (that’s an affiliate link, by the way).
It’s a step up from having a closet in the downstairs bathroom, like we had in our old house (but I did the best I could with it, which is all you can do!). I shared some tips for creating a system to organize your pantry during the One Room Challenge two years ago and will apply them in this house now .
Use the Vertical Space
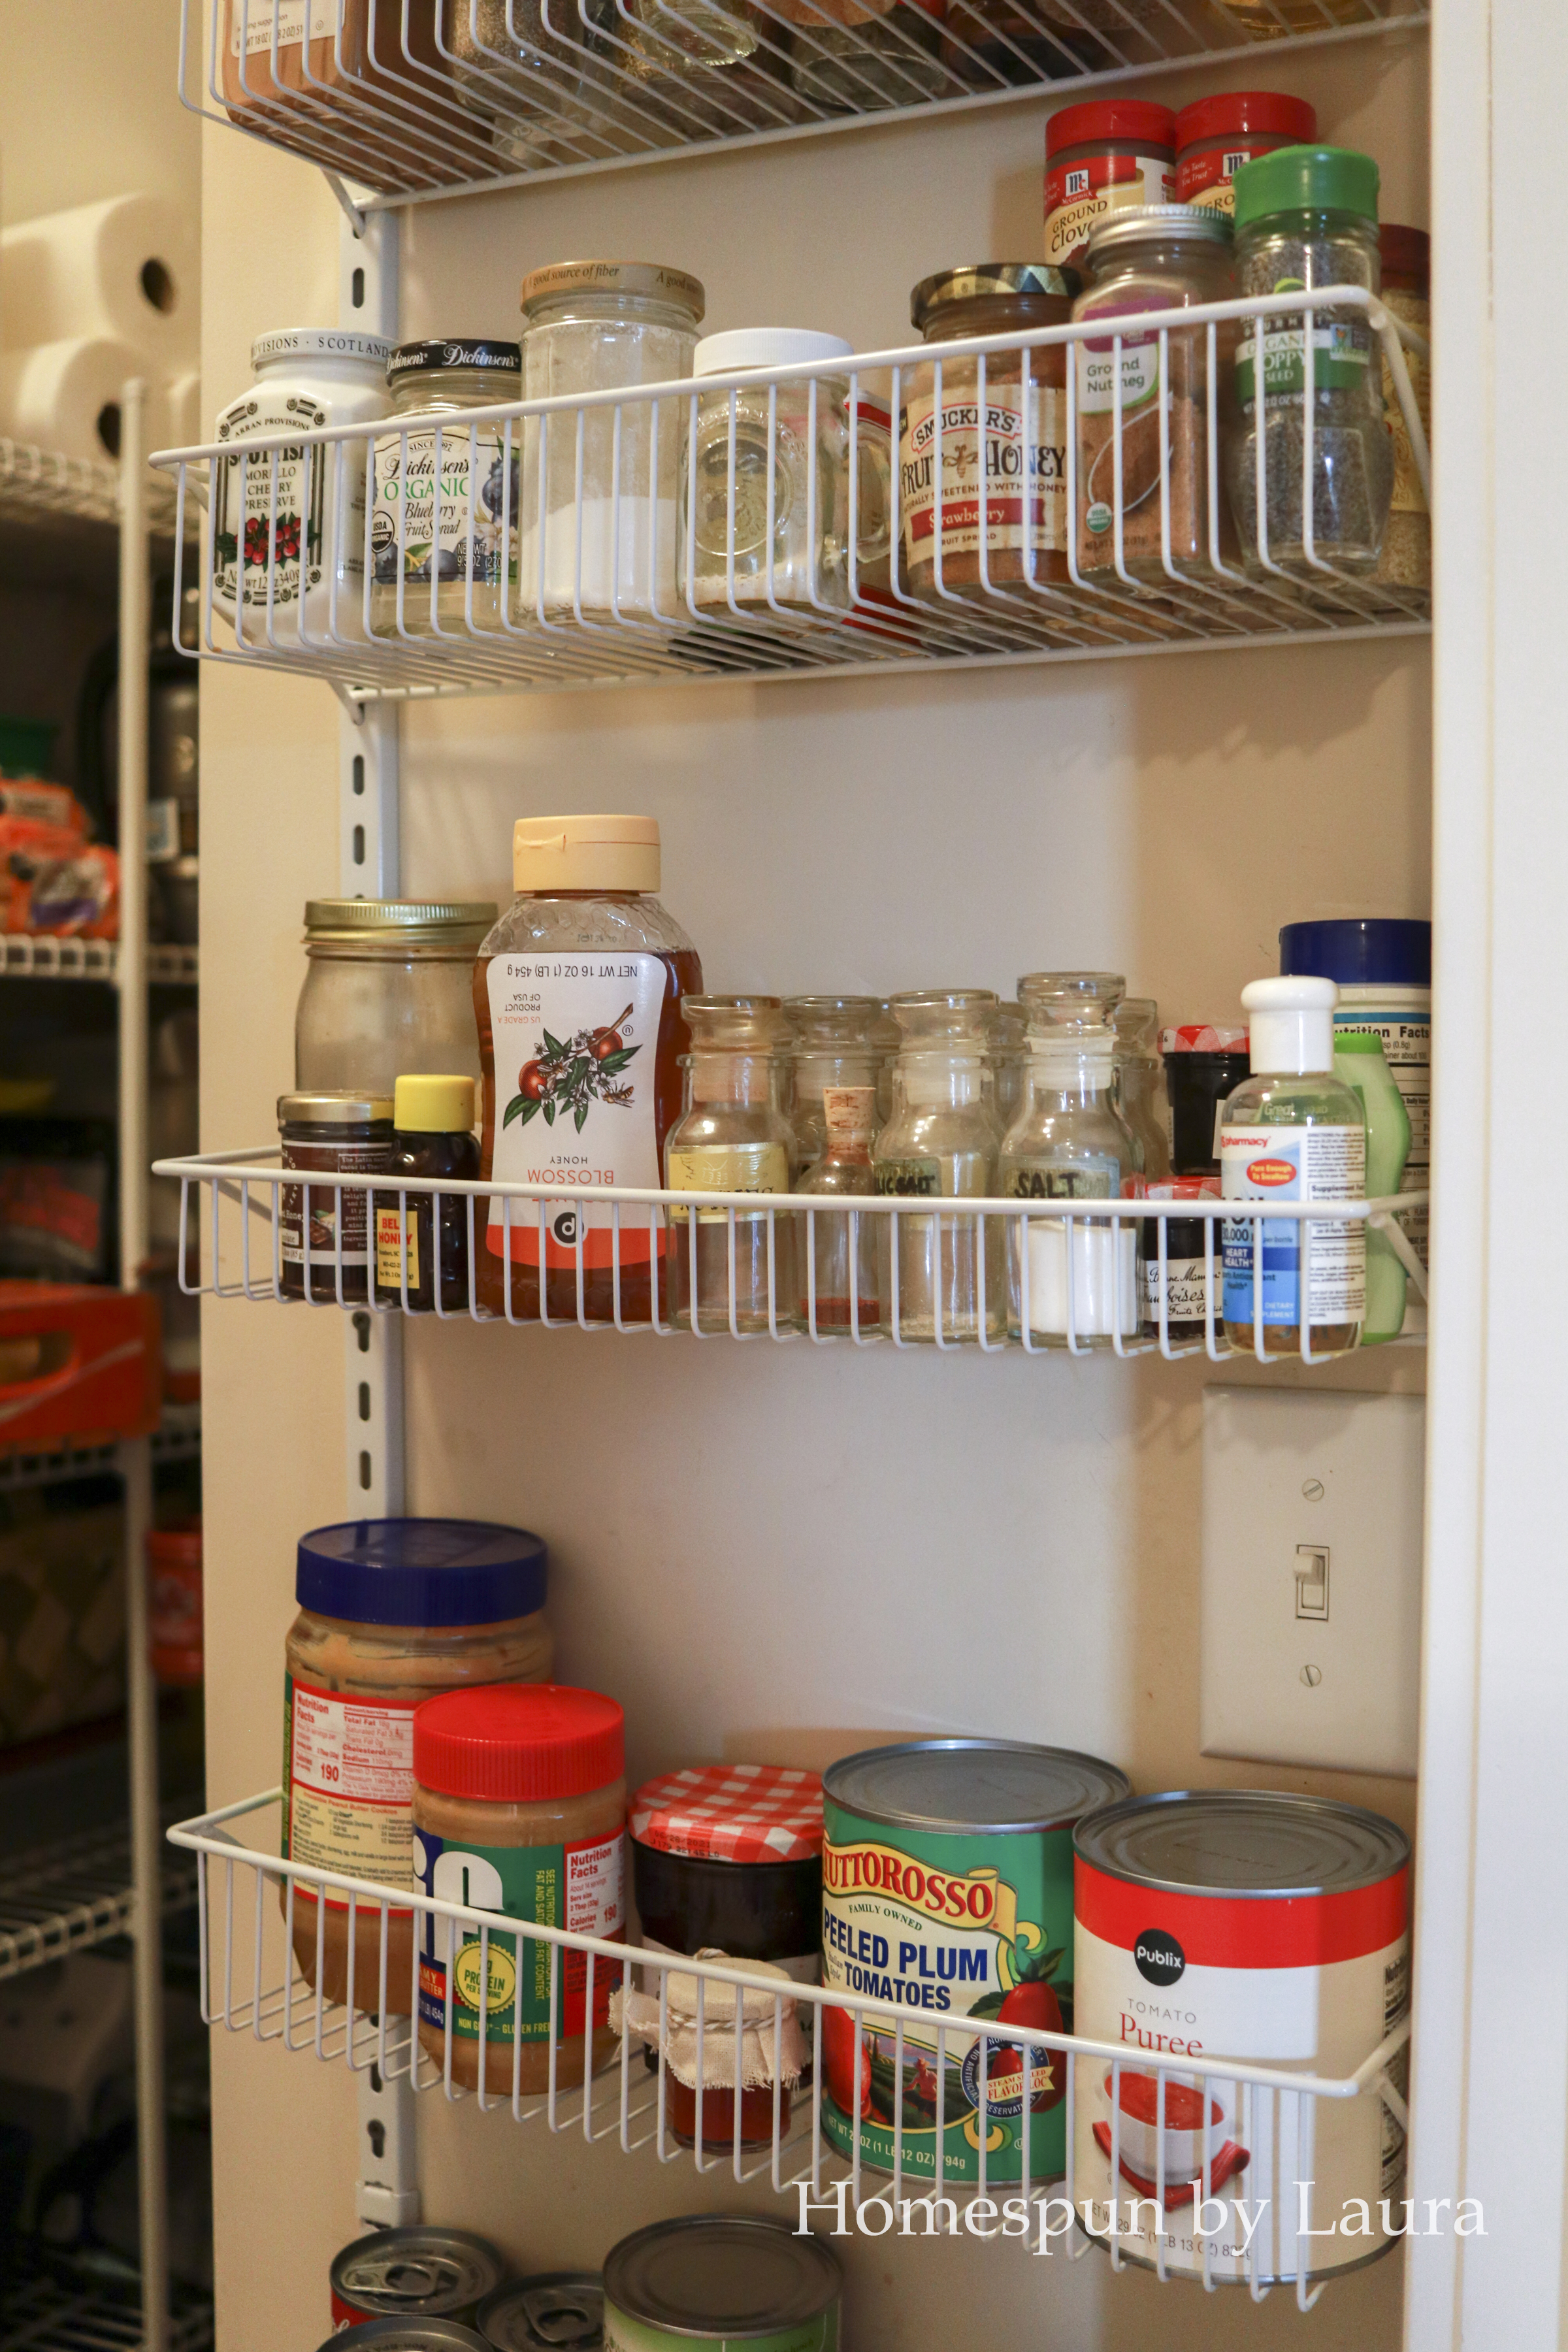
The vertical space was underutilized: there were three bare walls just waiting to be given a purpose. Soon after we moved in, we hung an over-the-door wire rack on one of them. Since the door on this pantry swings in (which makes zero sense as it makes using the back of the door much less convenient), we drilled the rack directly onto the wall, and it’s incredibly convenient for keeping lots of spices, canned goods, and other smaller containers that would otherwise get lost on the larger shelves.
…and it fit perfectly.
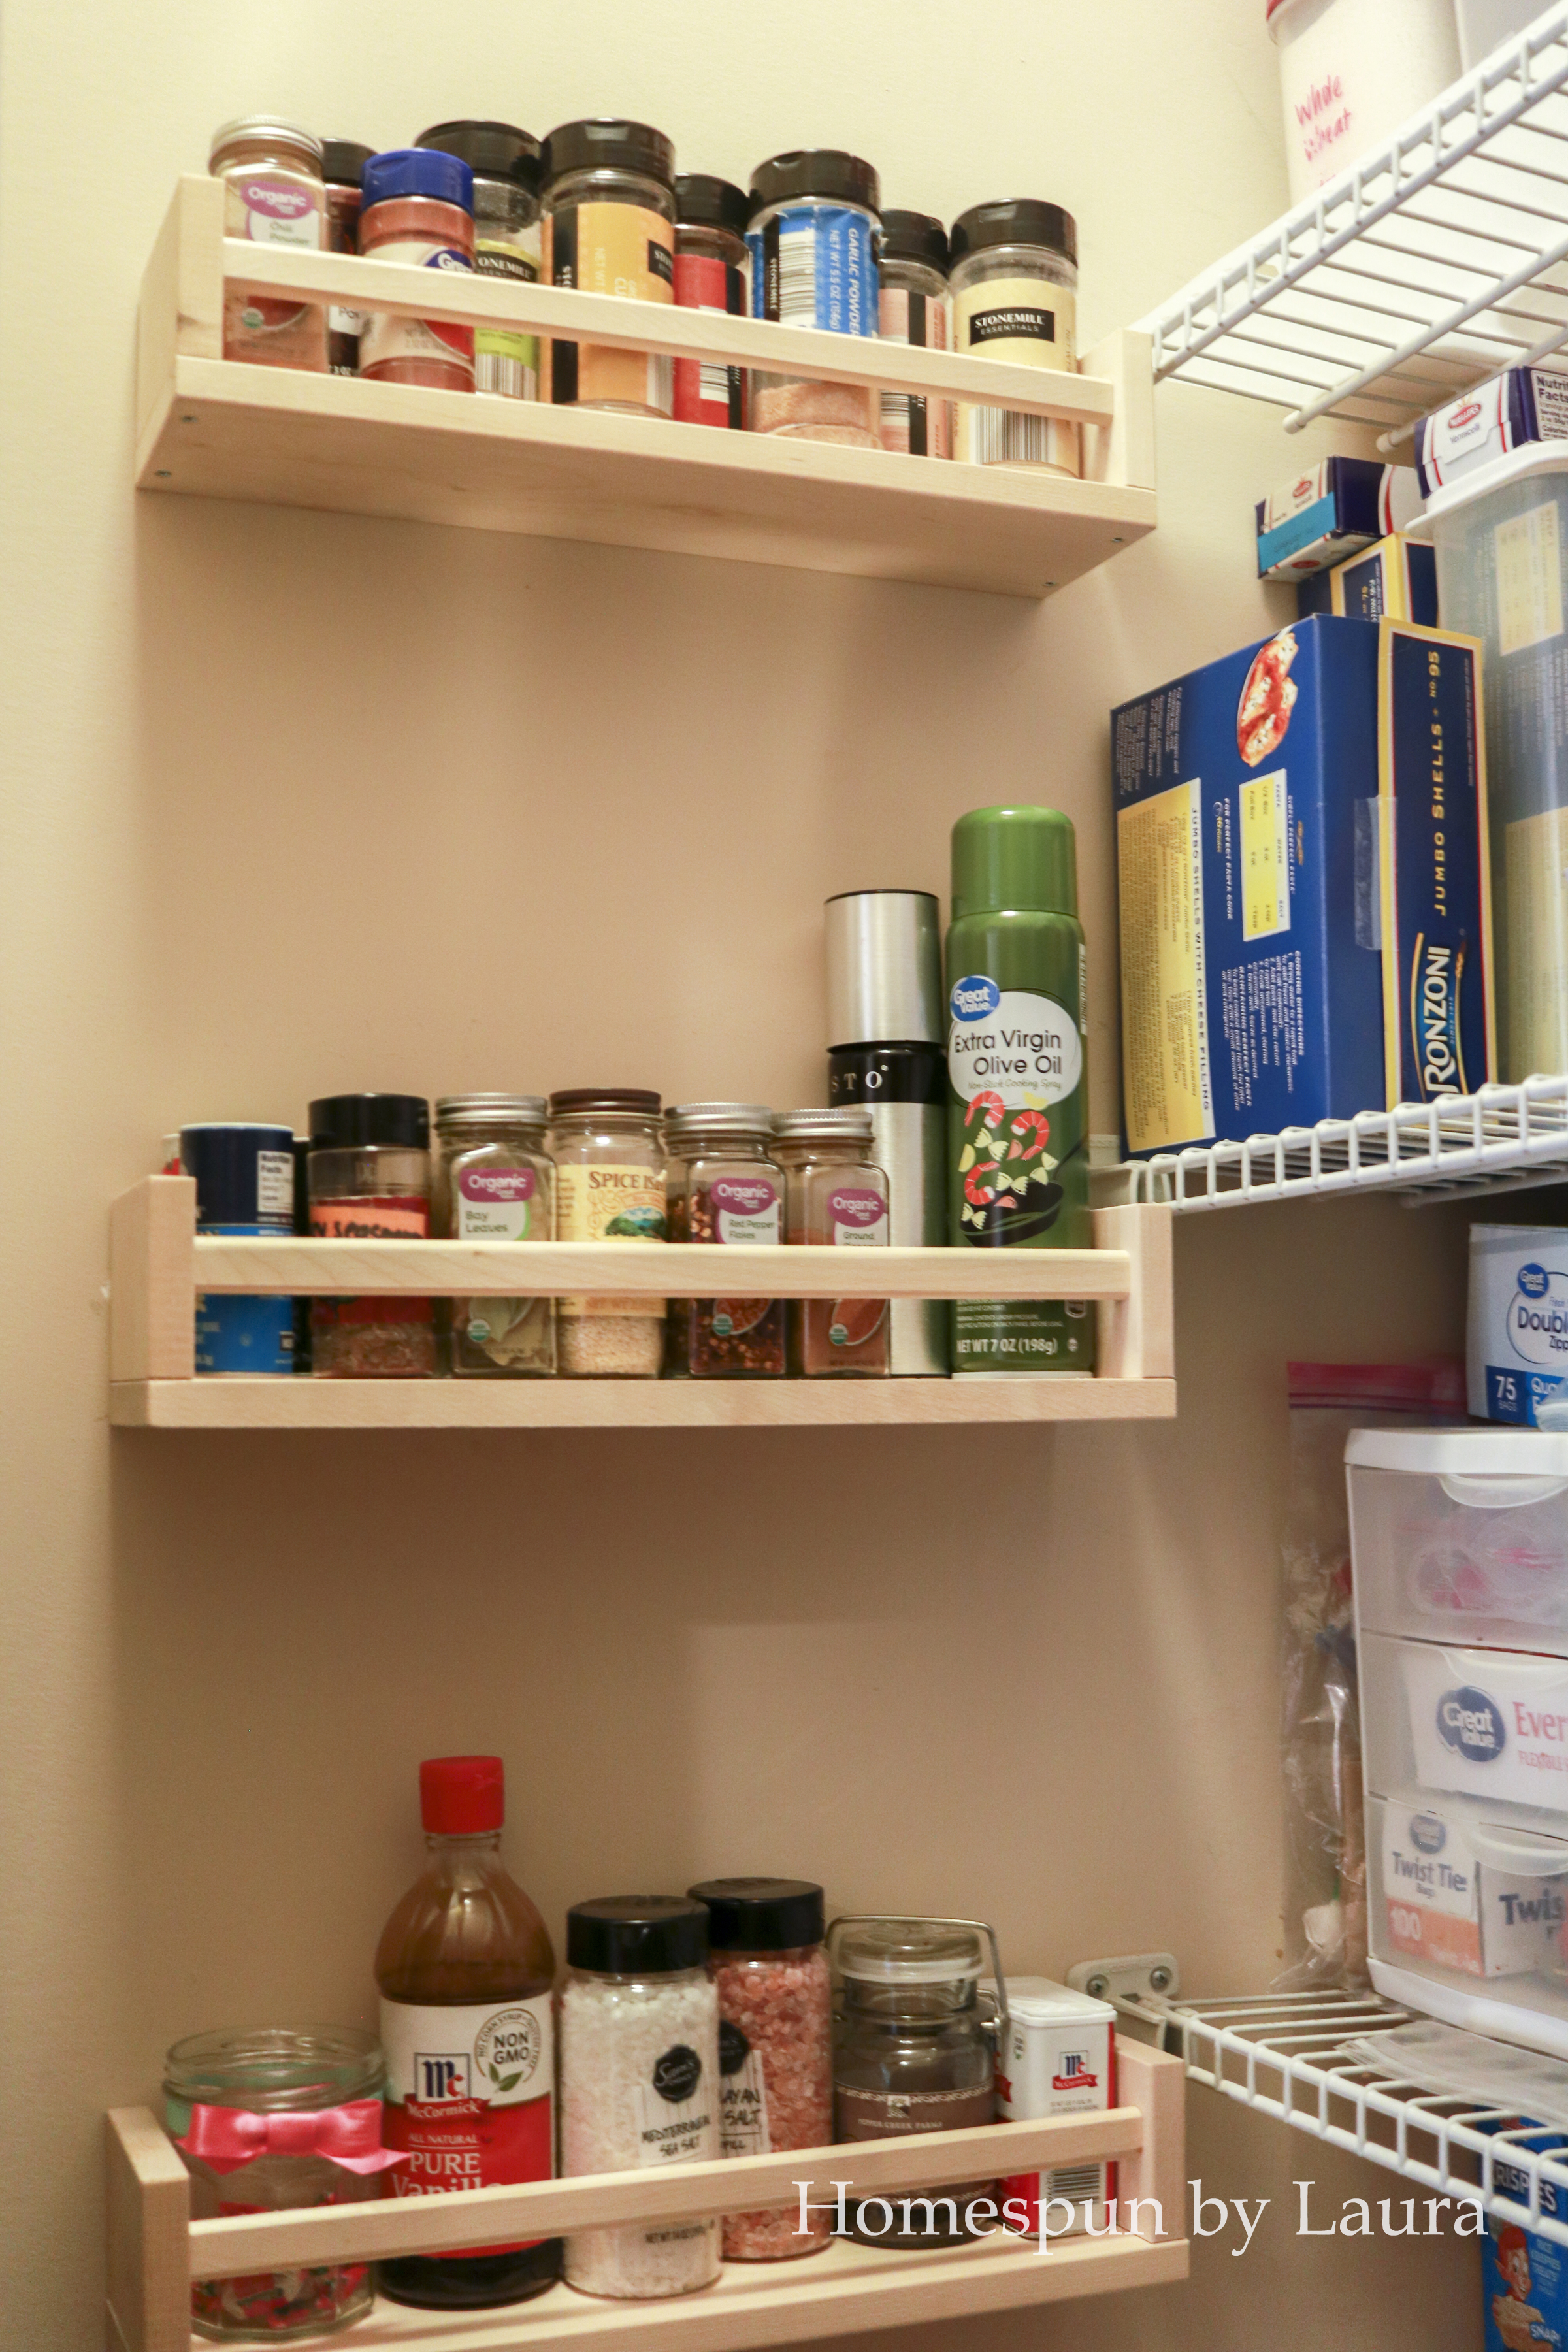
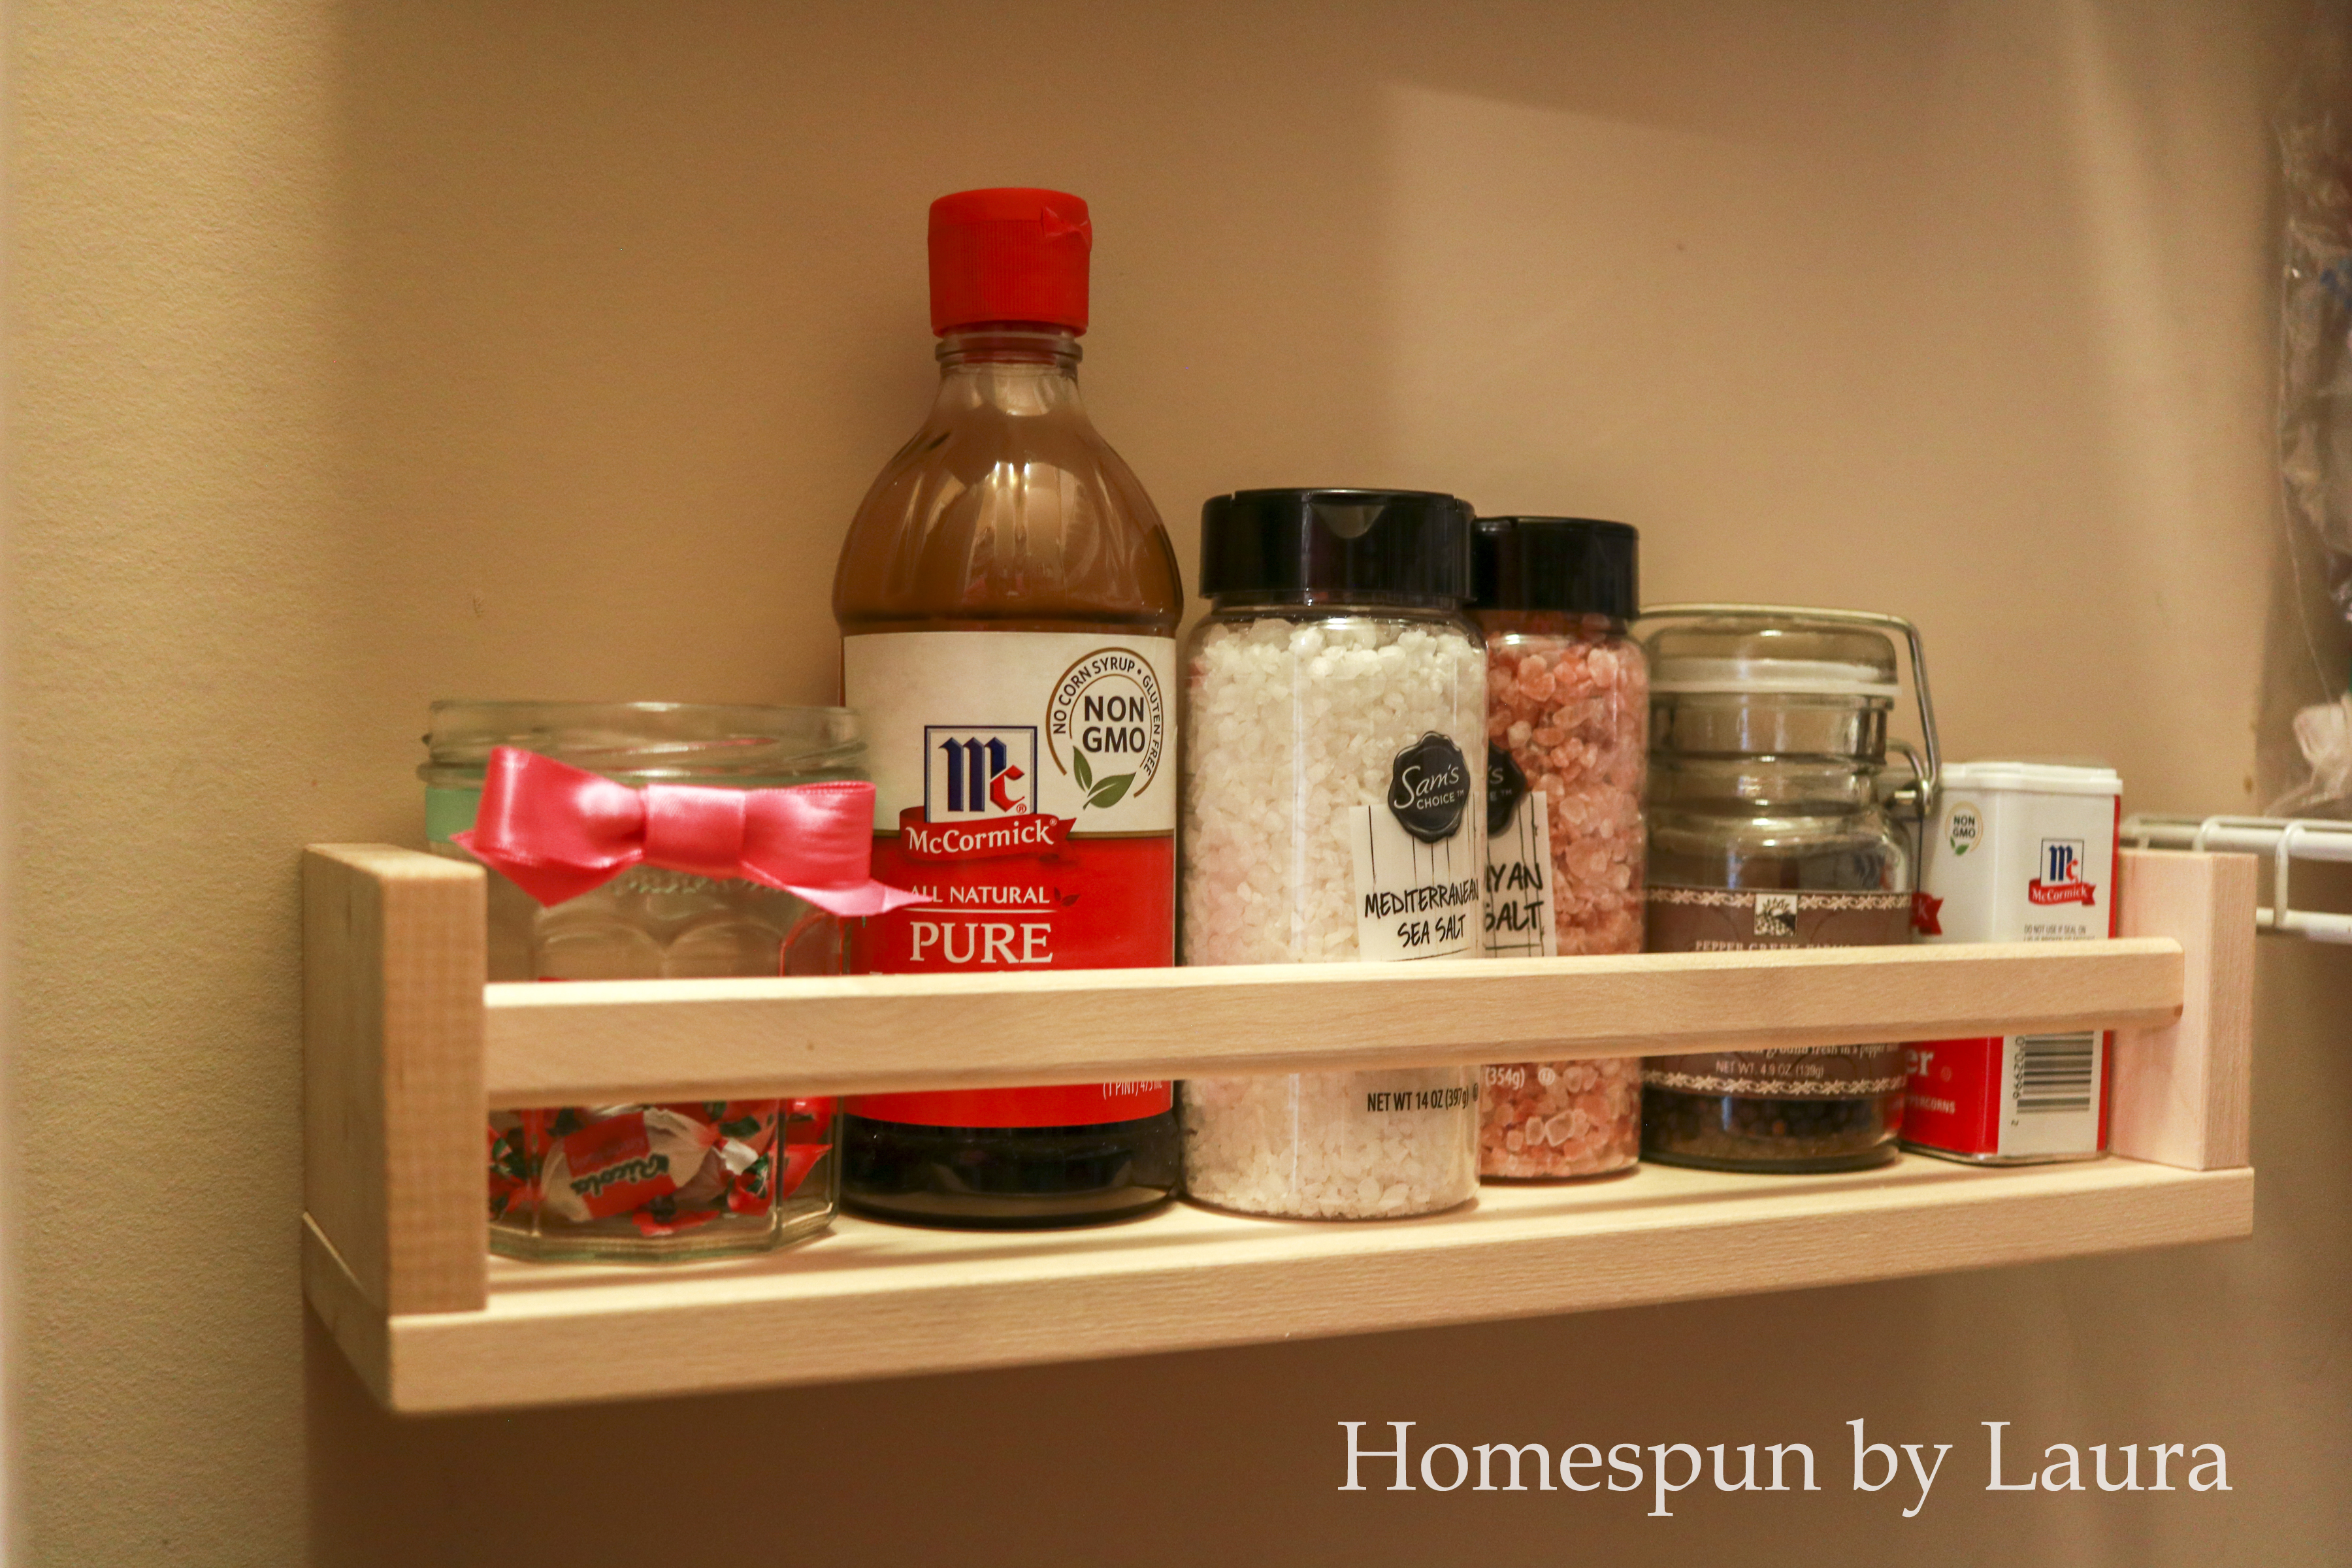
Adding these spice racks freed up so much space on the wire shelves, and now these little containers have a flat surface to sit on!
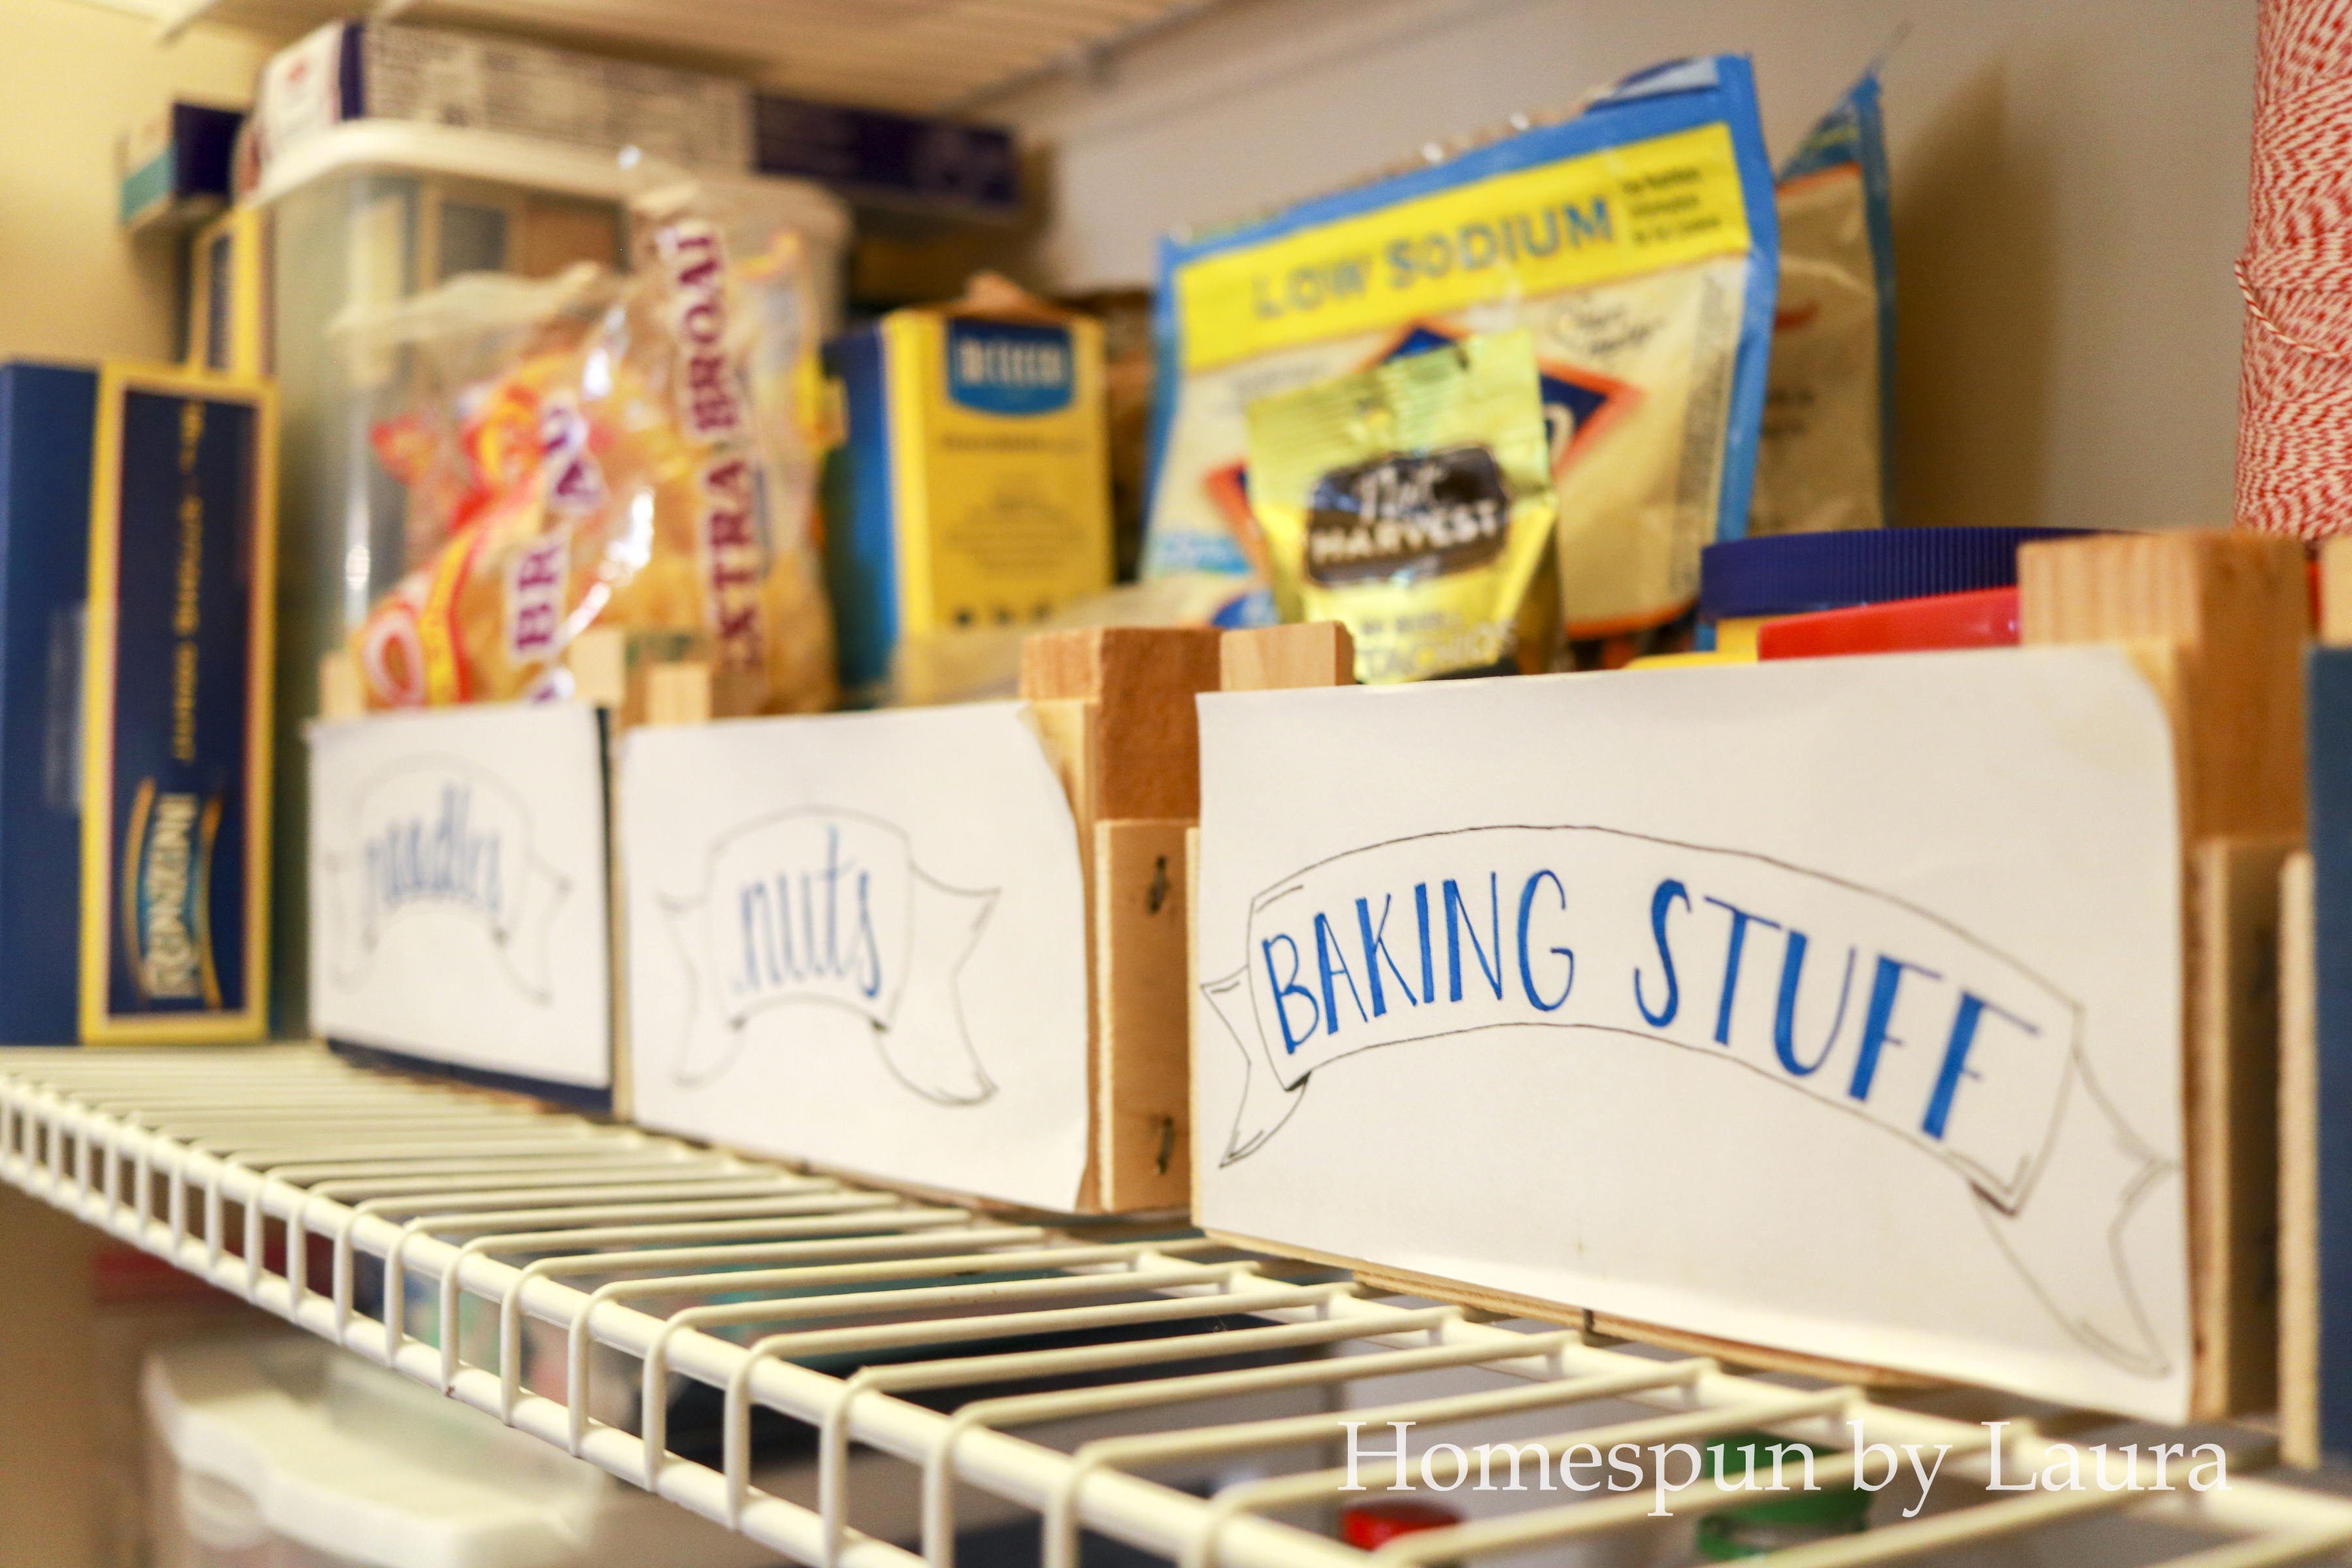
Earlier this week, I added several small additional shelves for spice jars and other baking ingredients (Confession: these Ikea spice racks had been sitting in their original packaging for over two years. They made two moves with us during that time).
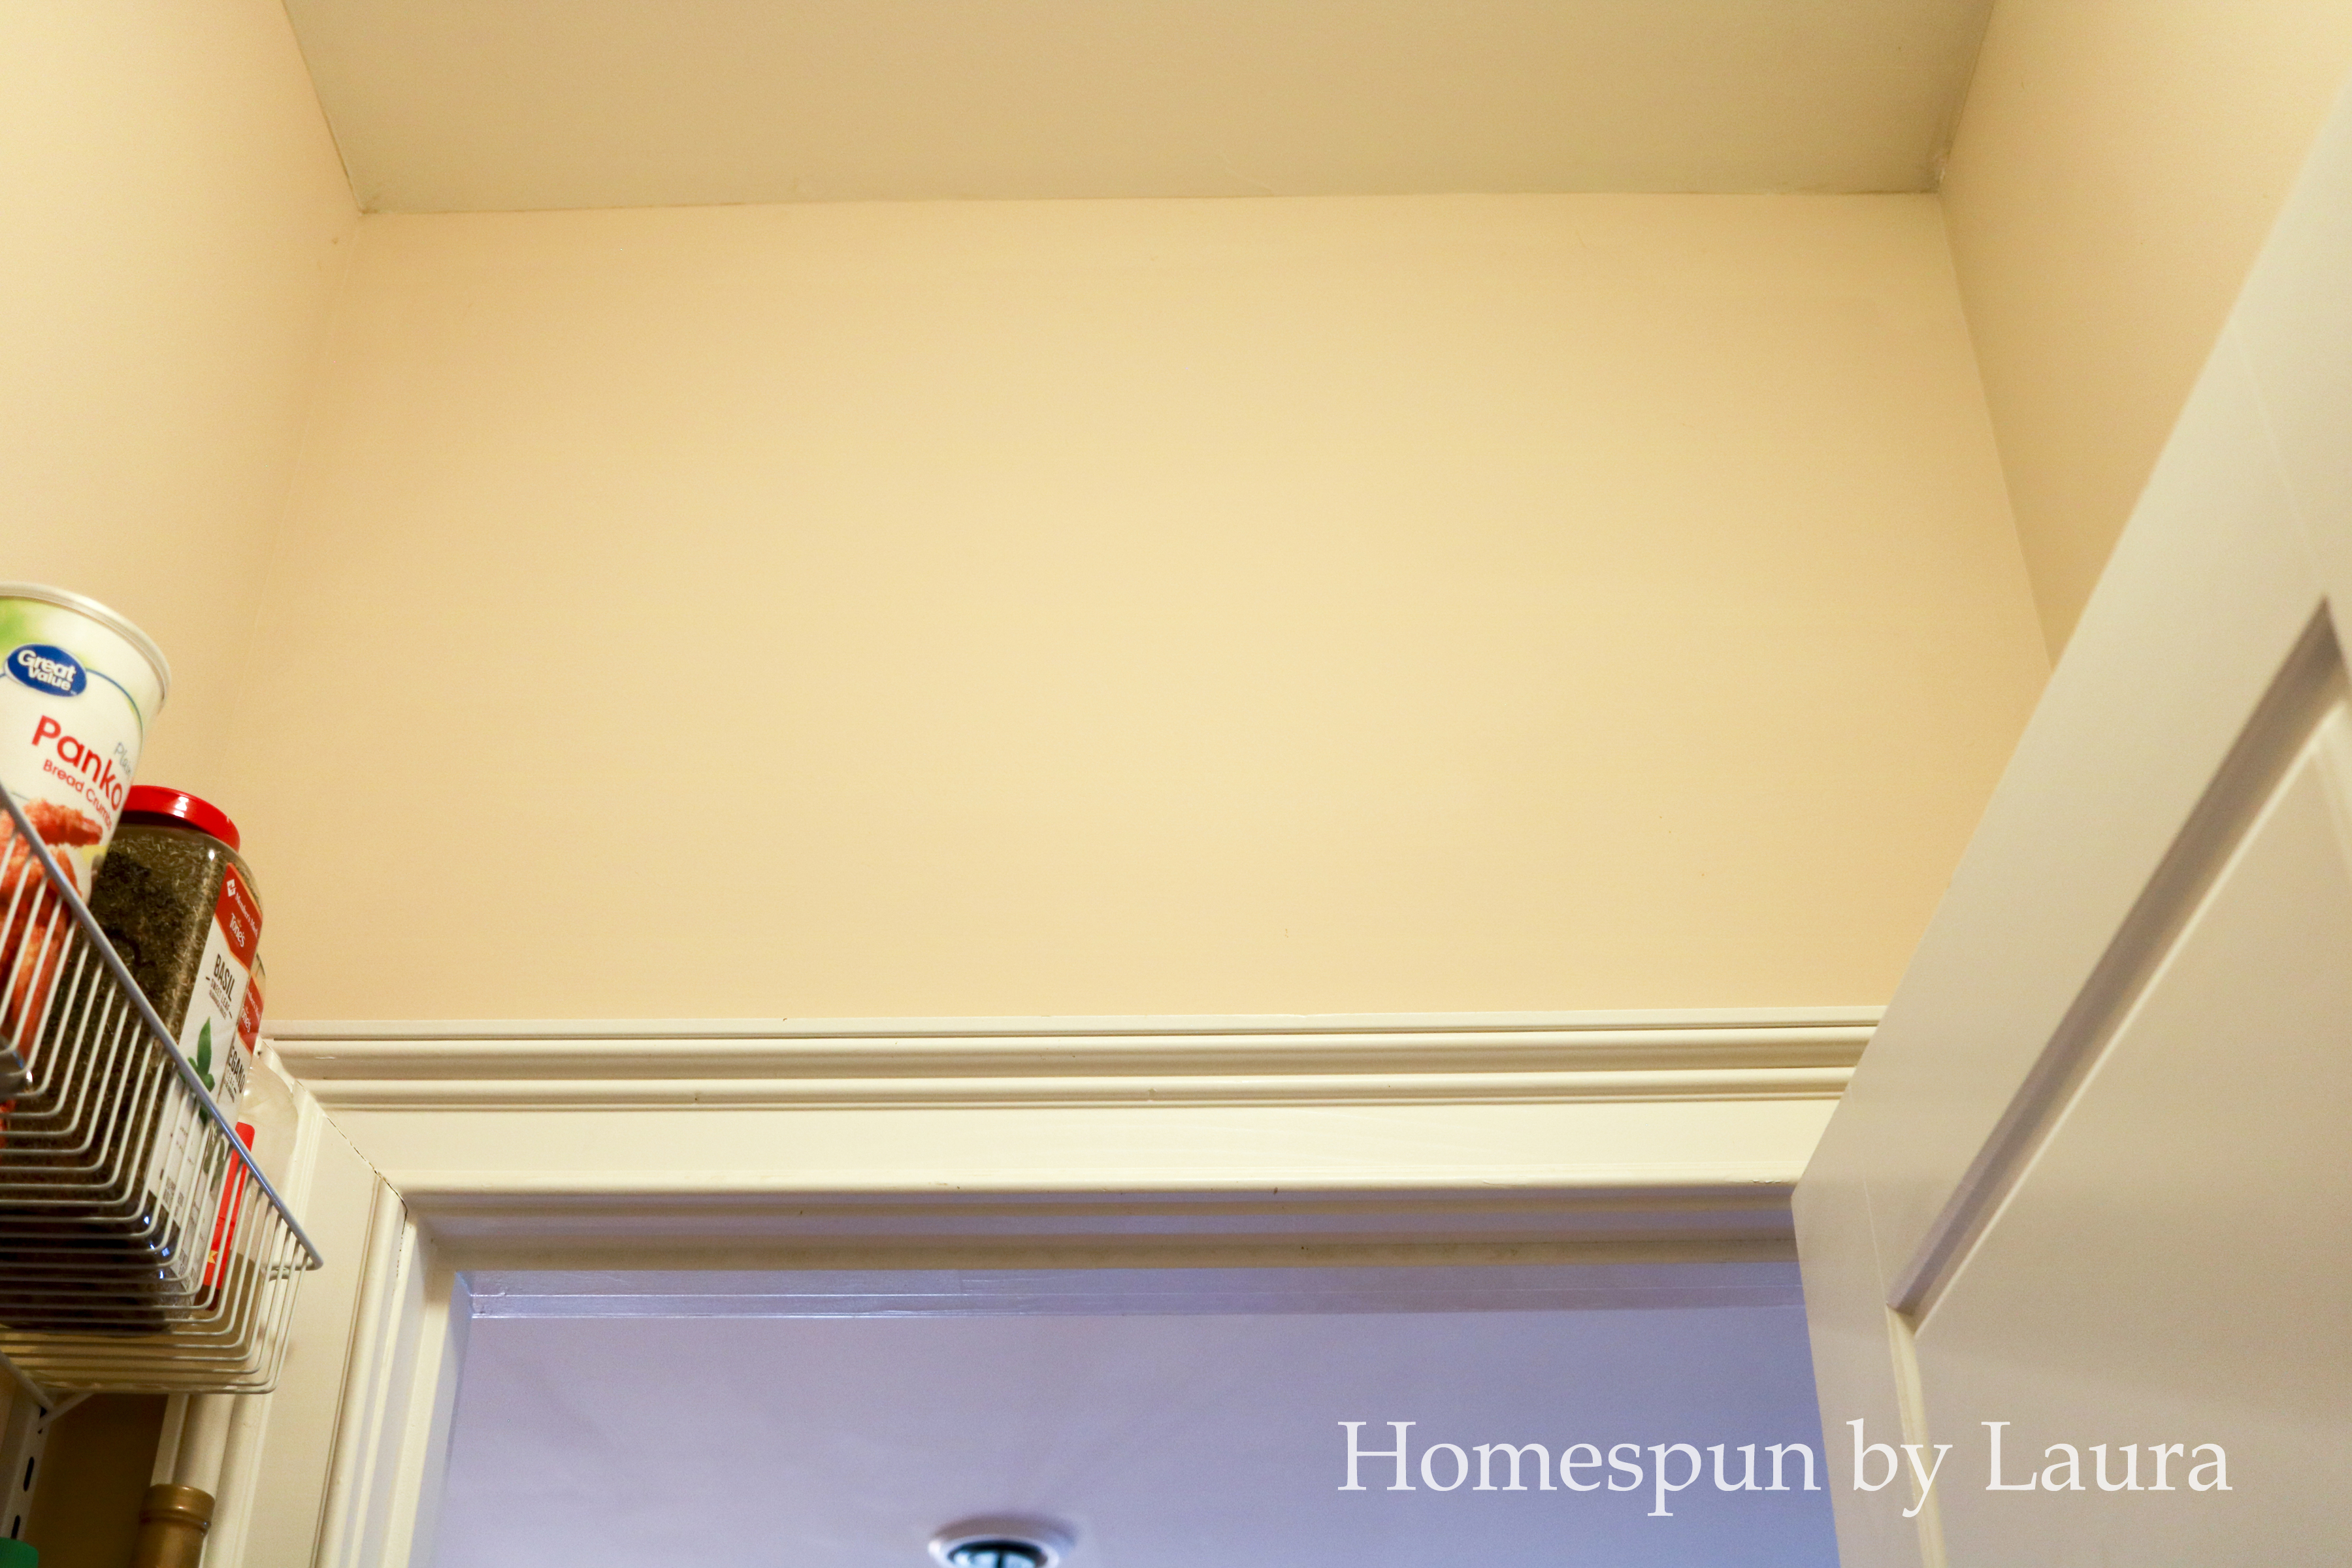
We’ll also take advantage of the high ceilings by adding one or two large shelves above the top shelf for rarely needed items like cupcake carriers. I think there’s enough scrap wood from the two benches we built recently to create these shelves, but we haven’t yet determined the best hanging/support method.
So much available real estate up there!!
Bins and Boxes
An easy way to organize larger items is wooden bins and boxes. It can also be a very inexpensive way! I used some I already had around the house. I also picked up a wine crate at the fancy wine store across town the last time I was in the area, and I hope to find a few more during the space of this challenge. Apparently, your run-of-the-mill beverage store doesn’t get them in very frequently, so I’ll have to be patient. Even better, you can often get them for free!
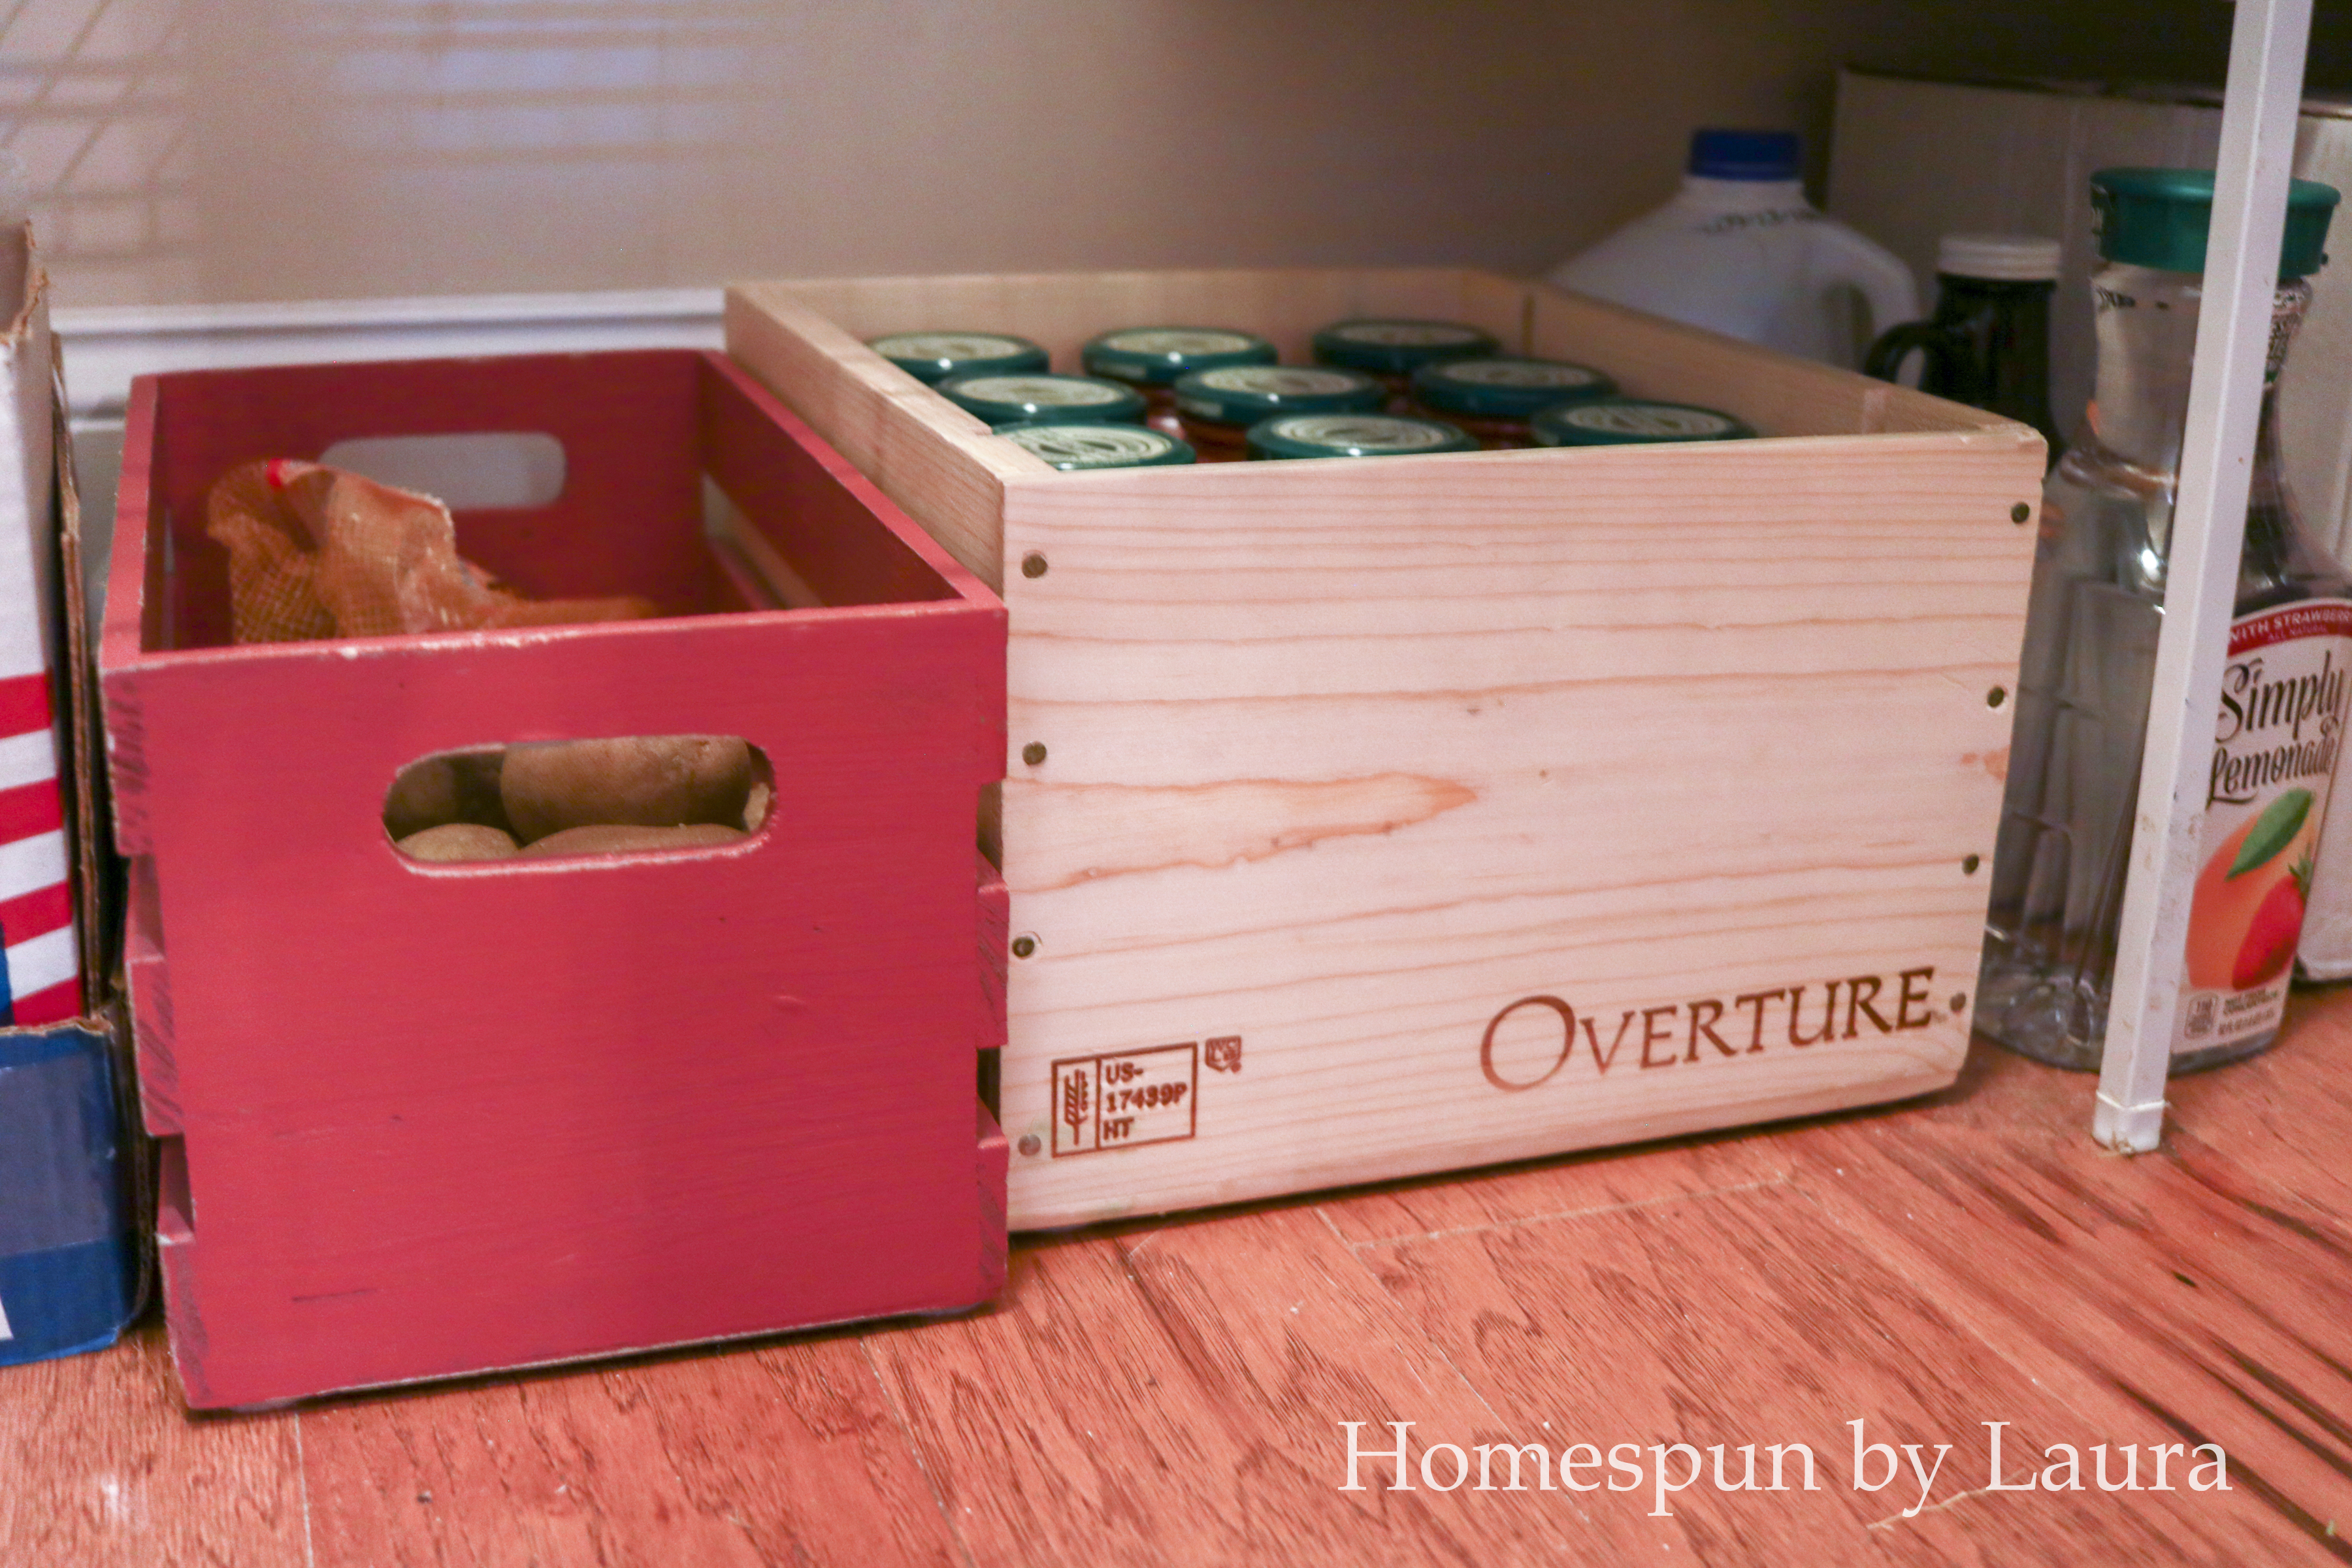
The red potato bin is one I bought years ago at TJ Maxx for fabric storage.
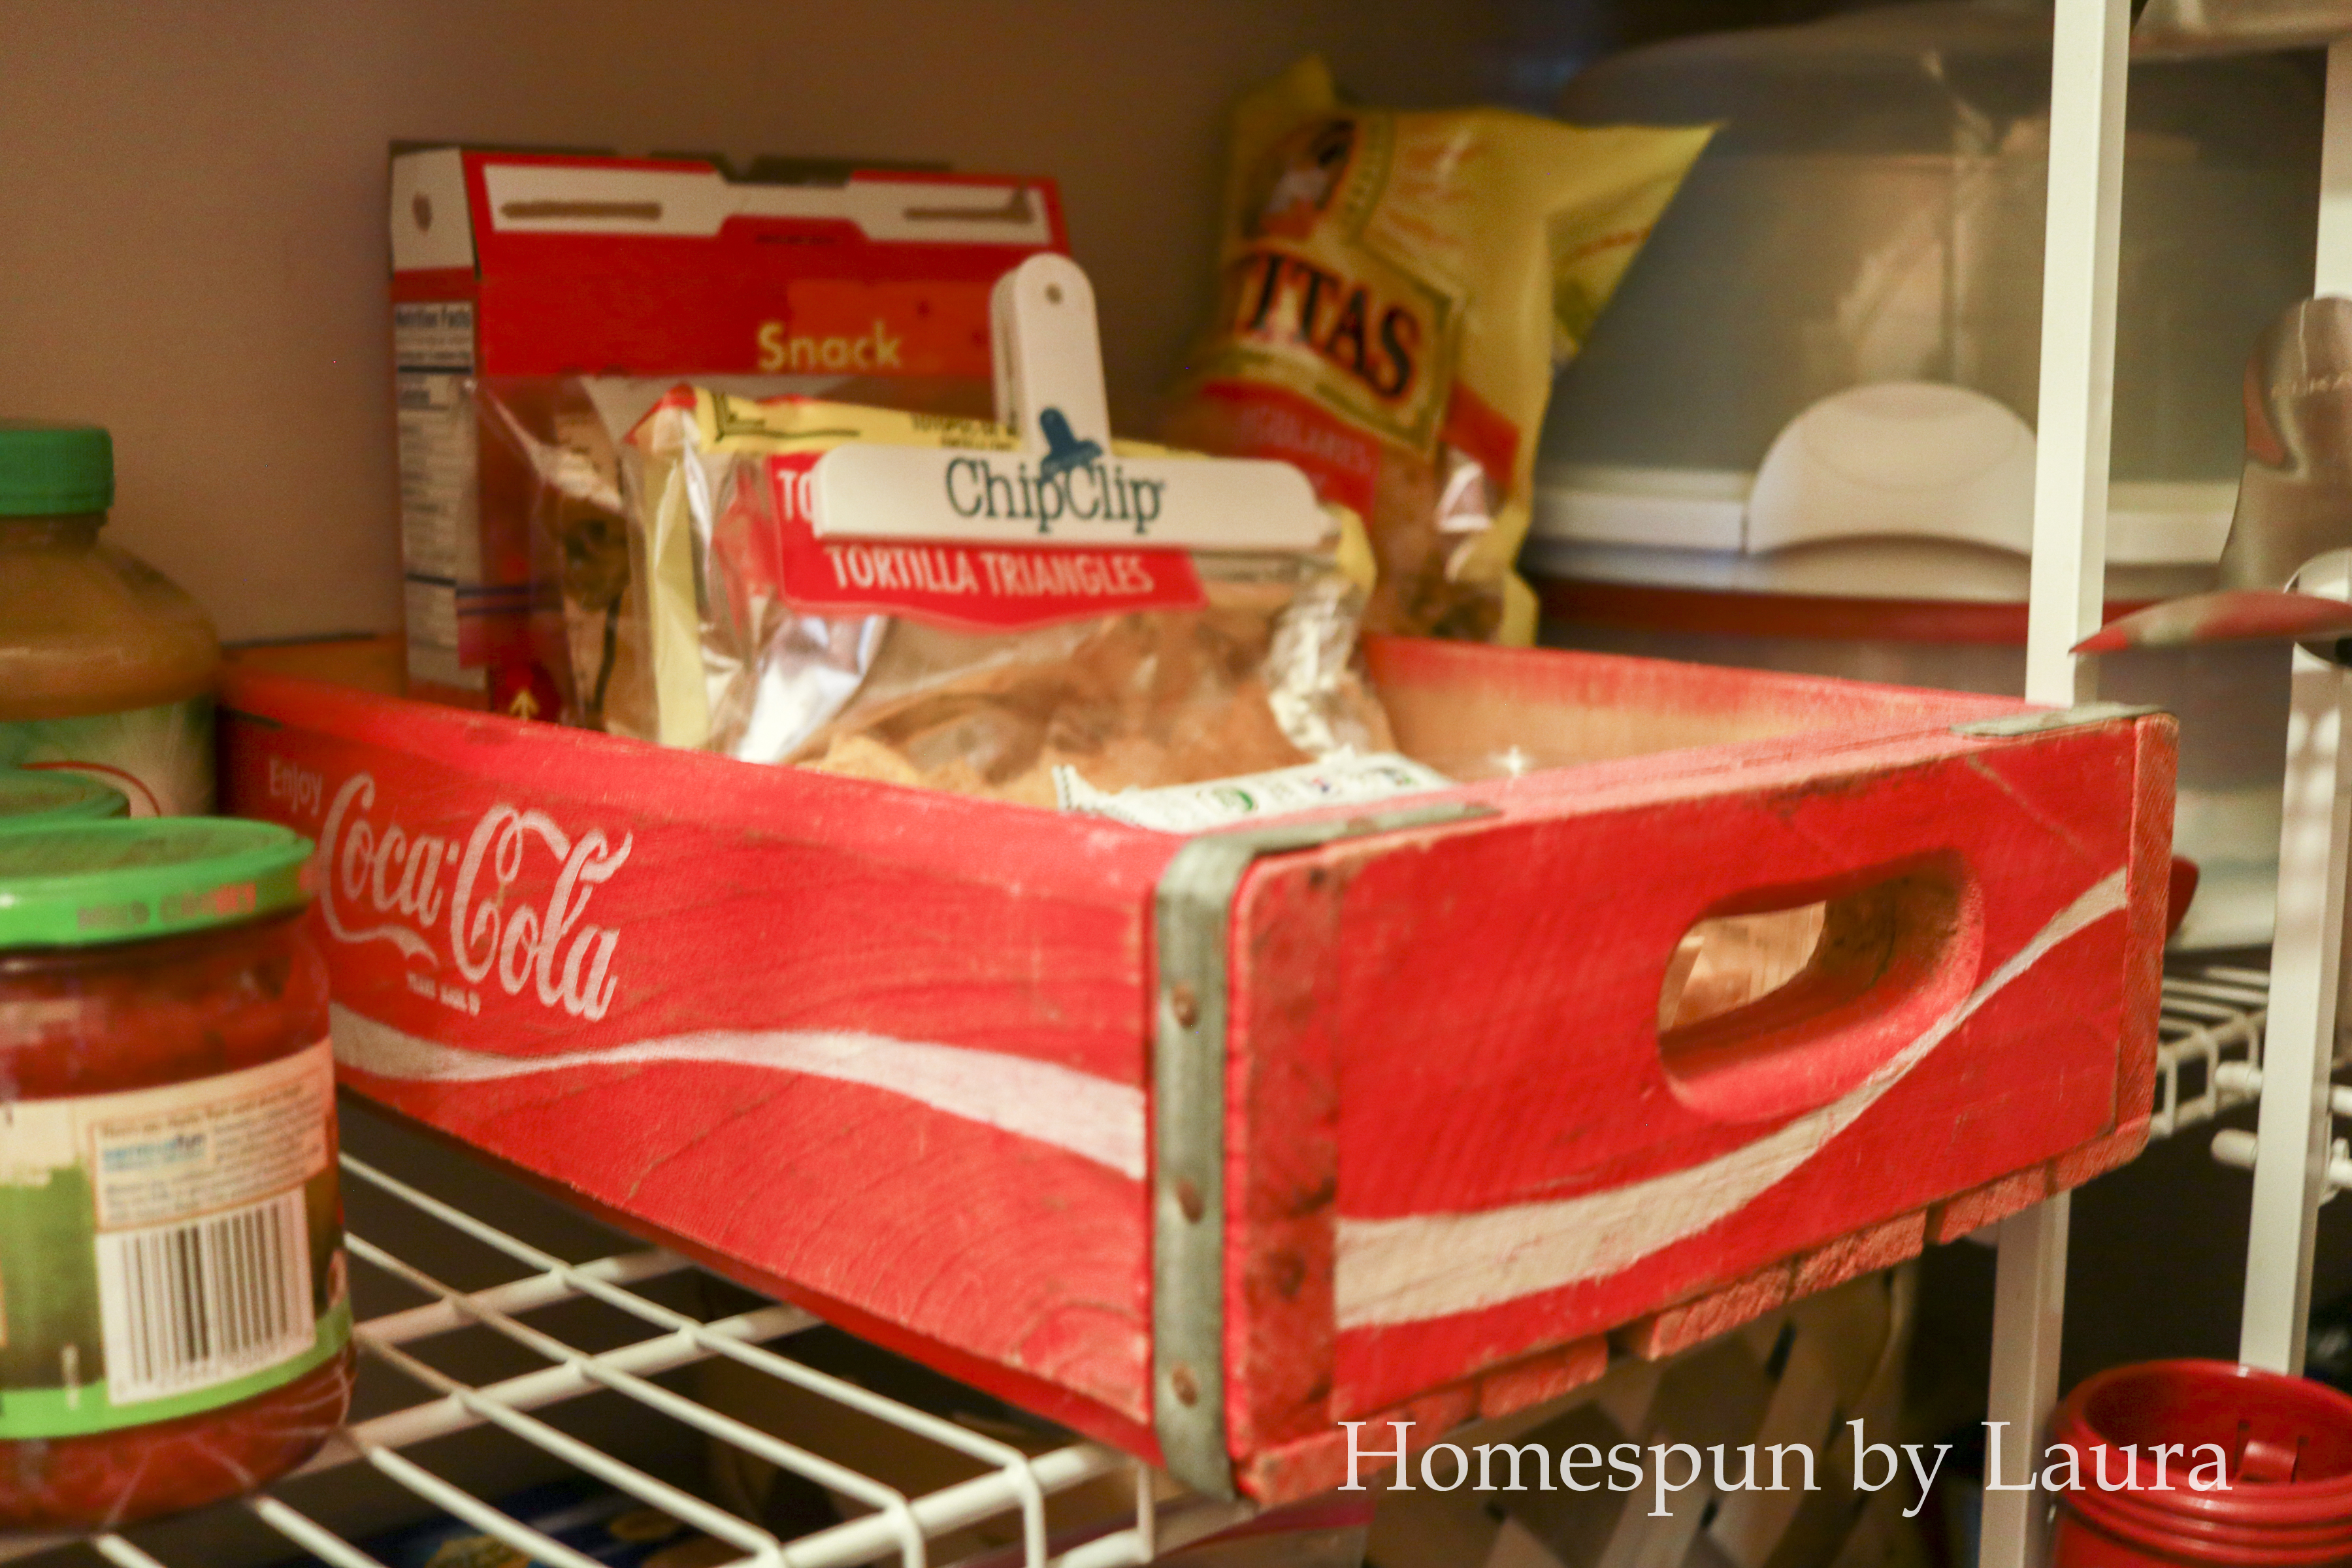
This coke bin is another one we’ve had for years; it now holds chips, crackers, and other snacks.
I made these labels several years ago to cover little wooden clementine boxes. Four completely free bins!
Regarding the use of cute containers for pantry goods: We’ve all seen the BEAUTIFUL Pinterest pantries, and we’d all love to have one off of our kitchen. I think it’s easy to get caught up in making the space pretty without considering whether filling those containers with cute labels every time you get home from the grocery store with a bag of flour/box of cereal/variety pack of snacks. Plus, those clear containers can get pretty expensive, especially if you’re buying a bunch of them at once.
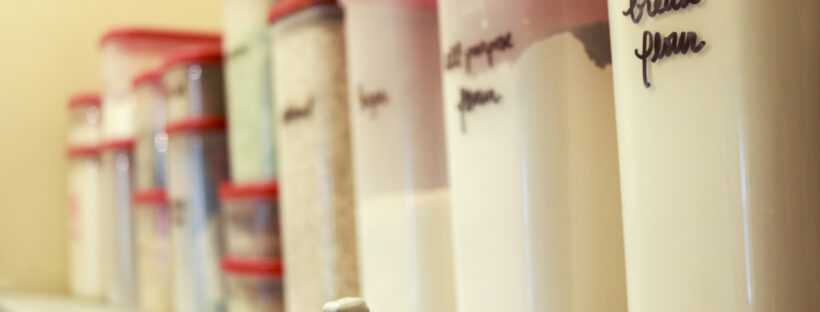
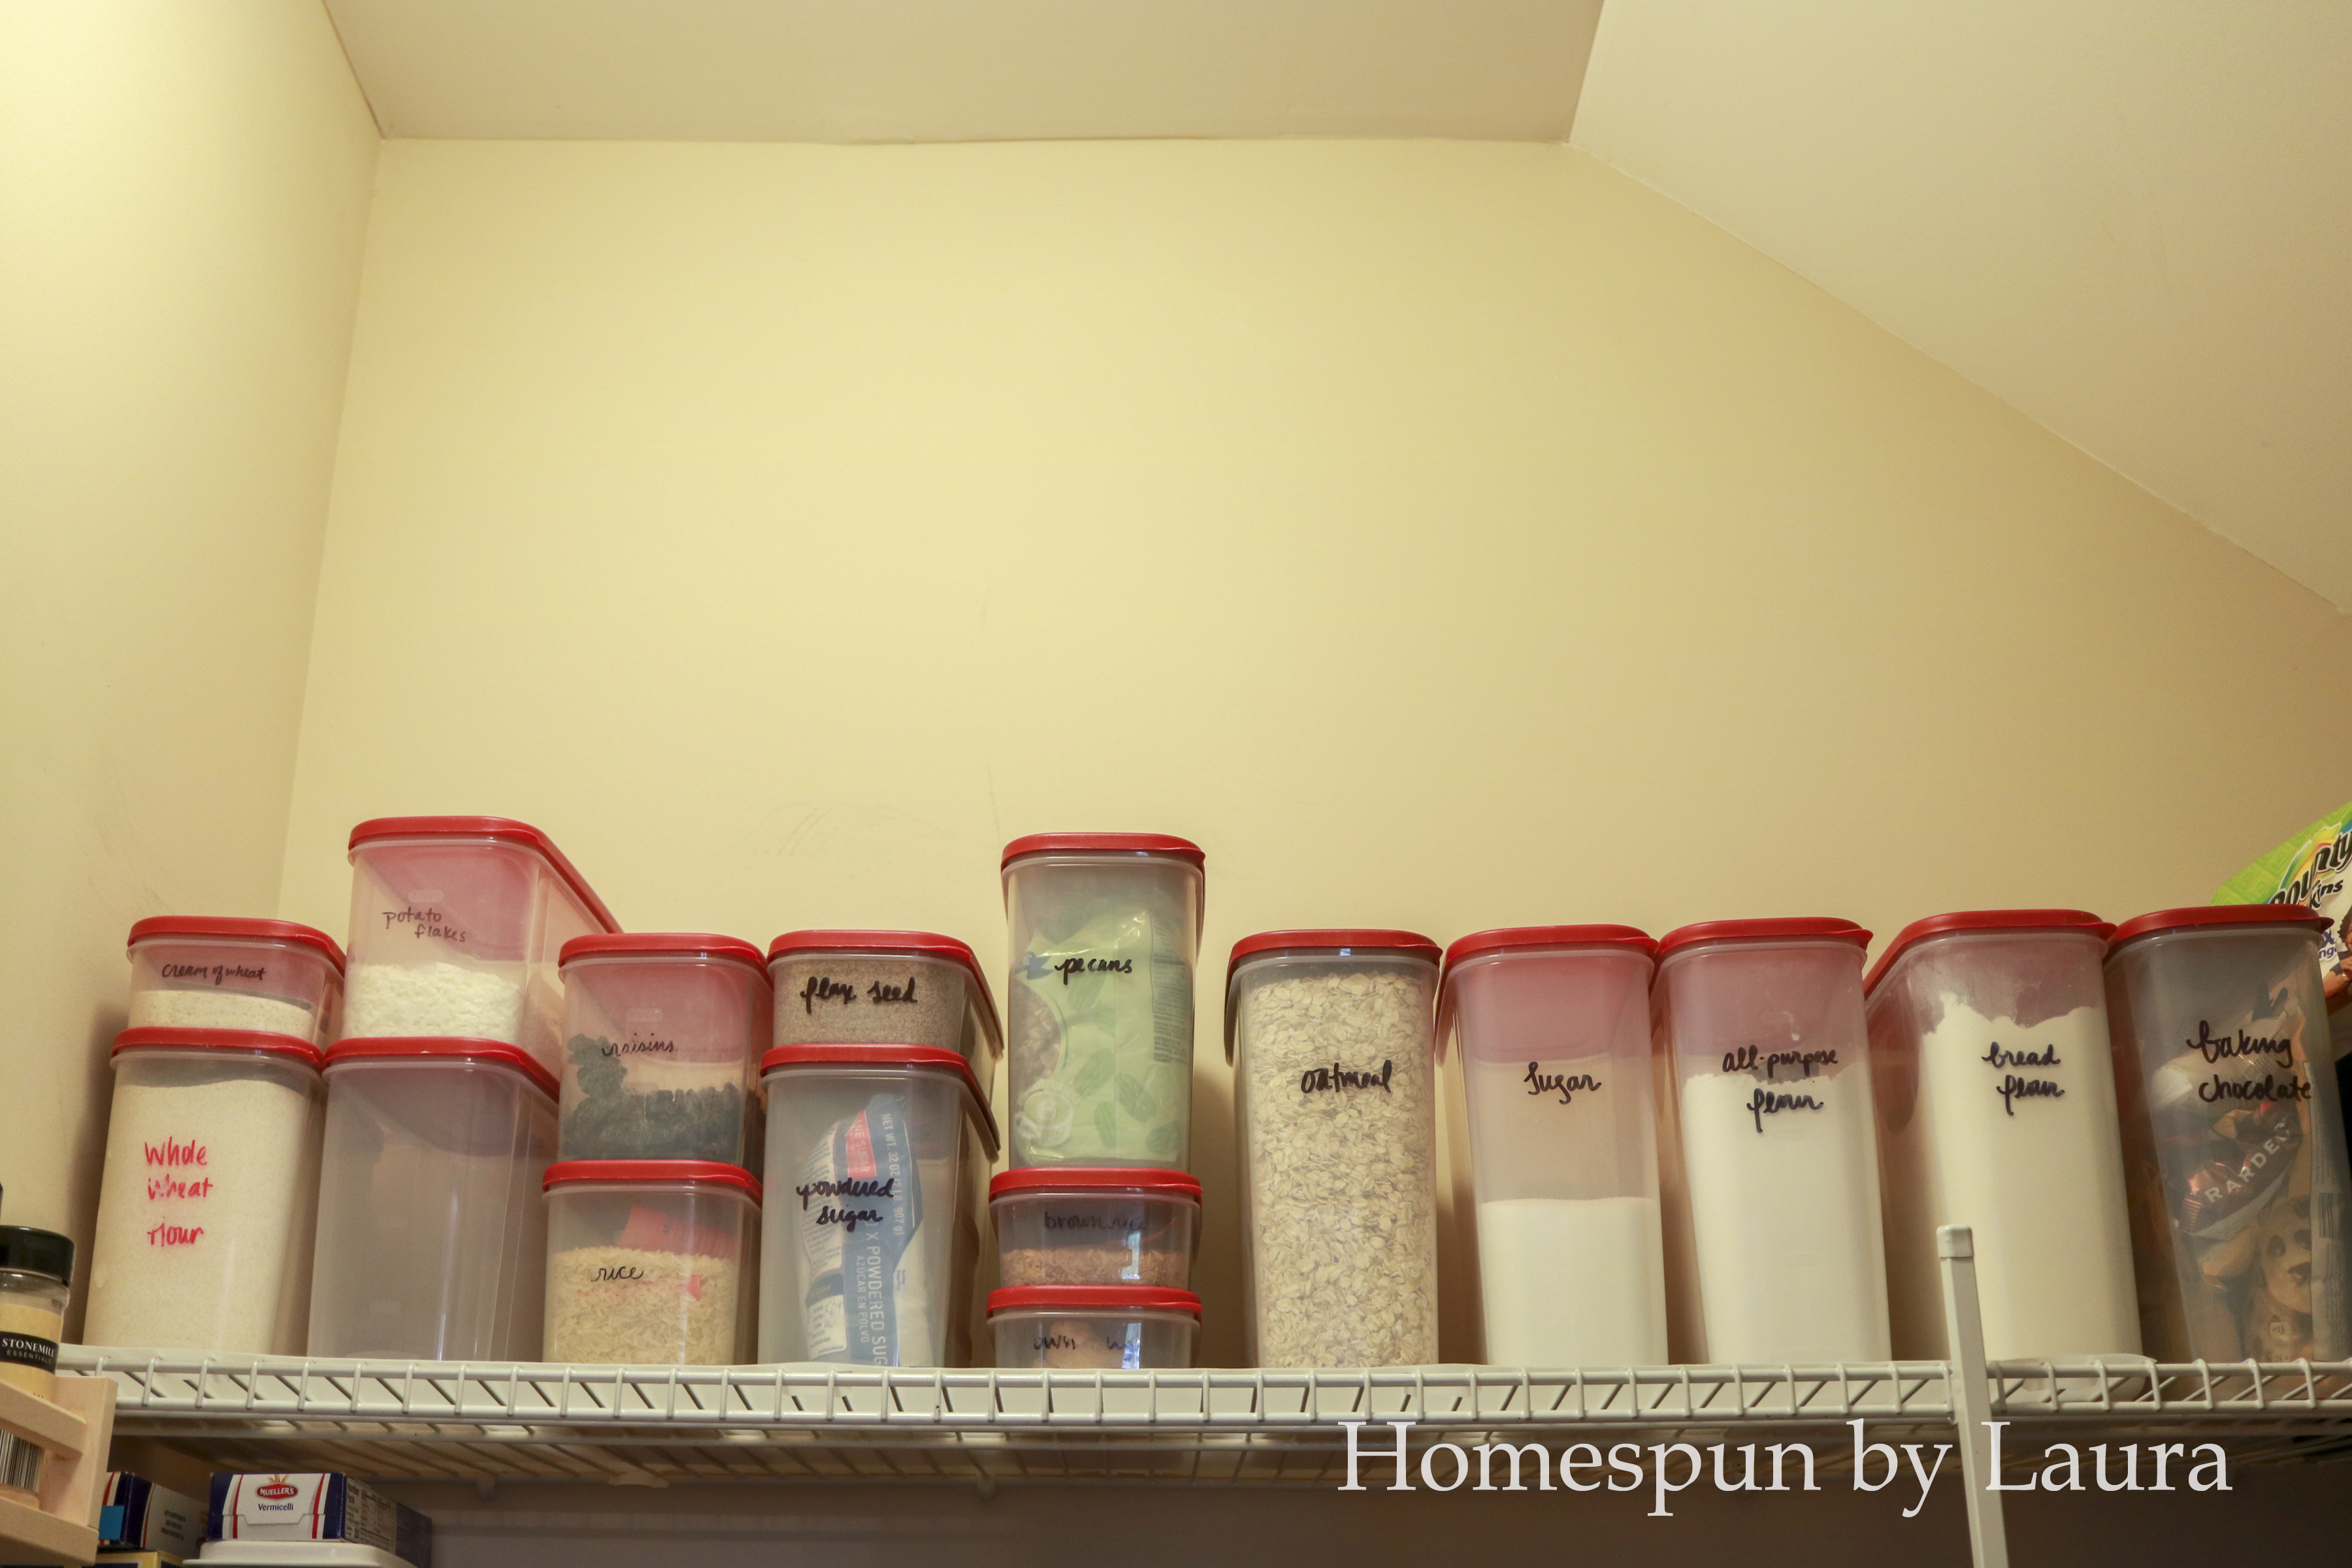
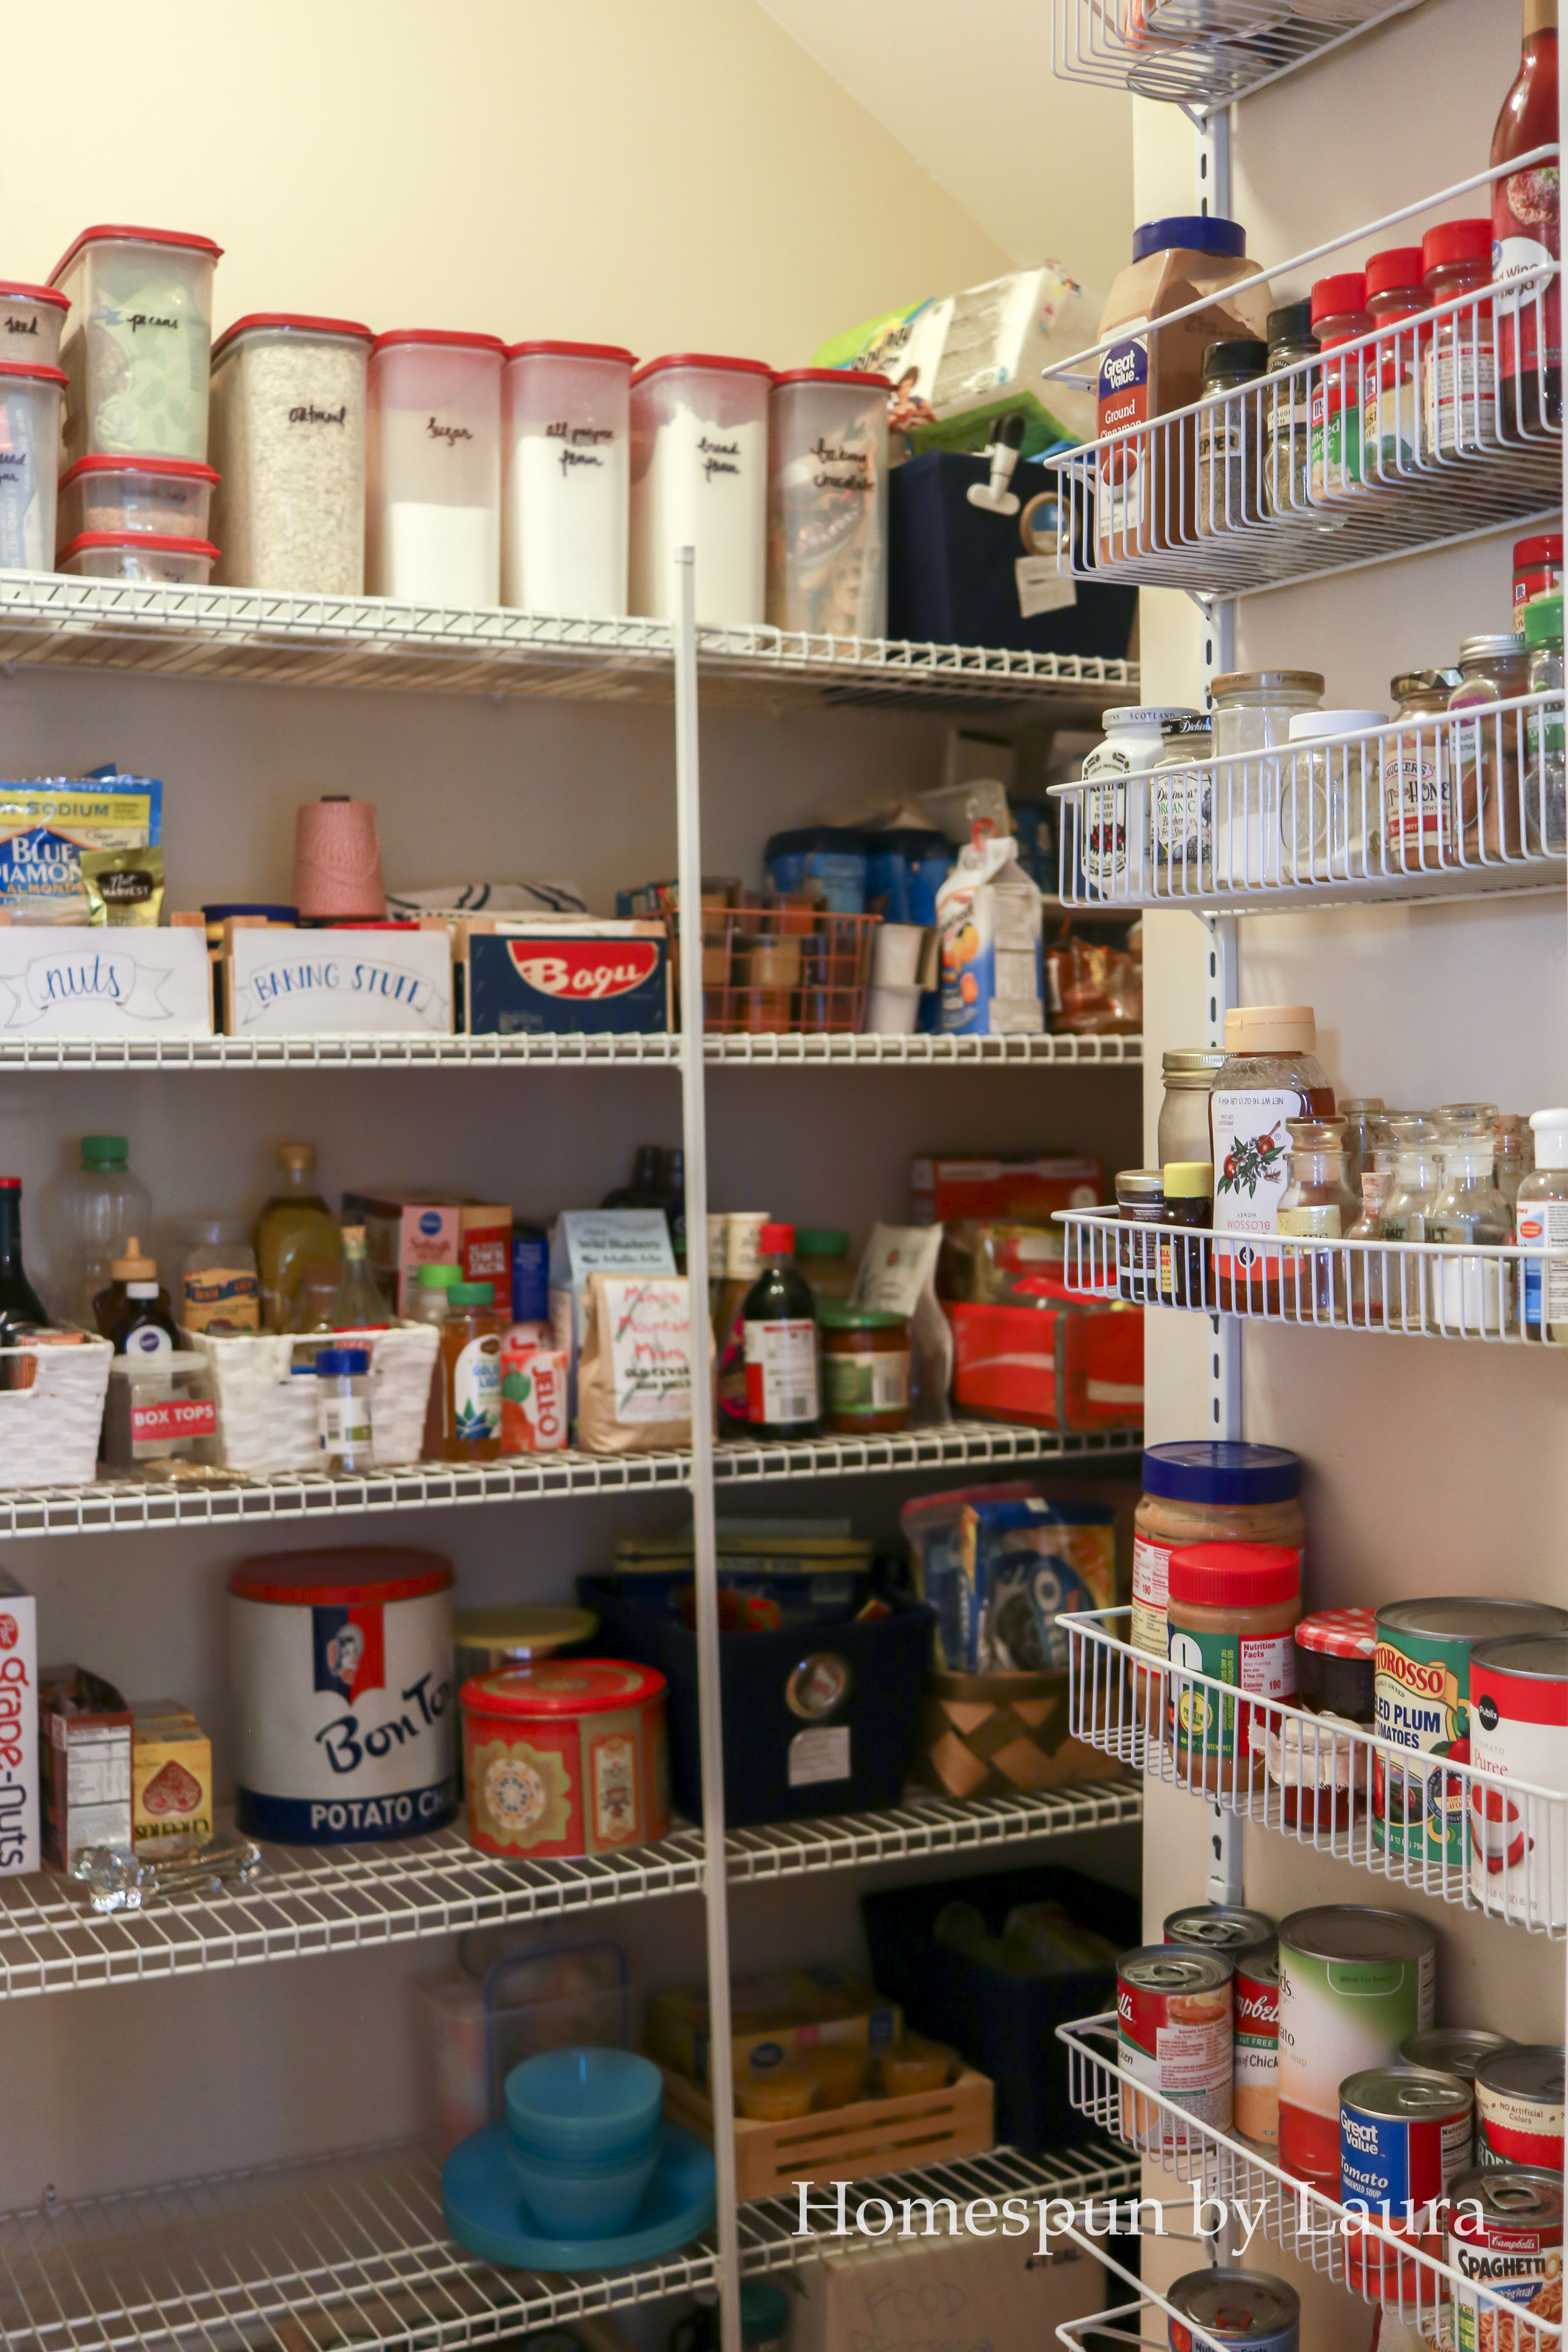
That said: I’ve discovered that for me, these Rubbermaid dry food containers are a great space-saver.
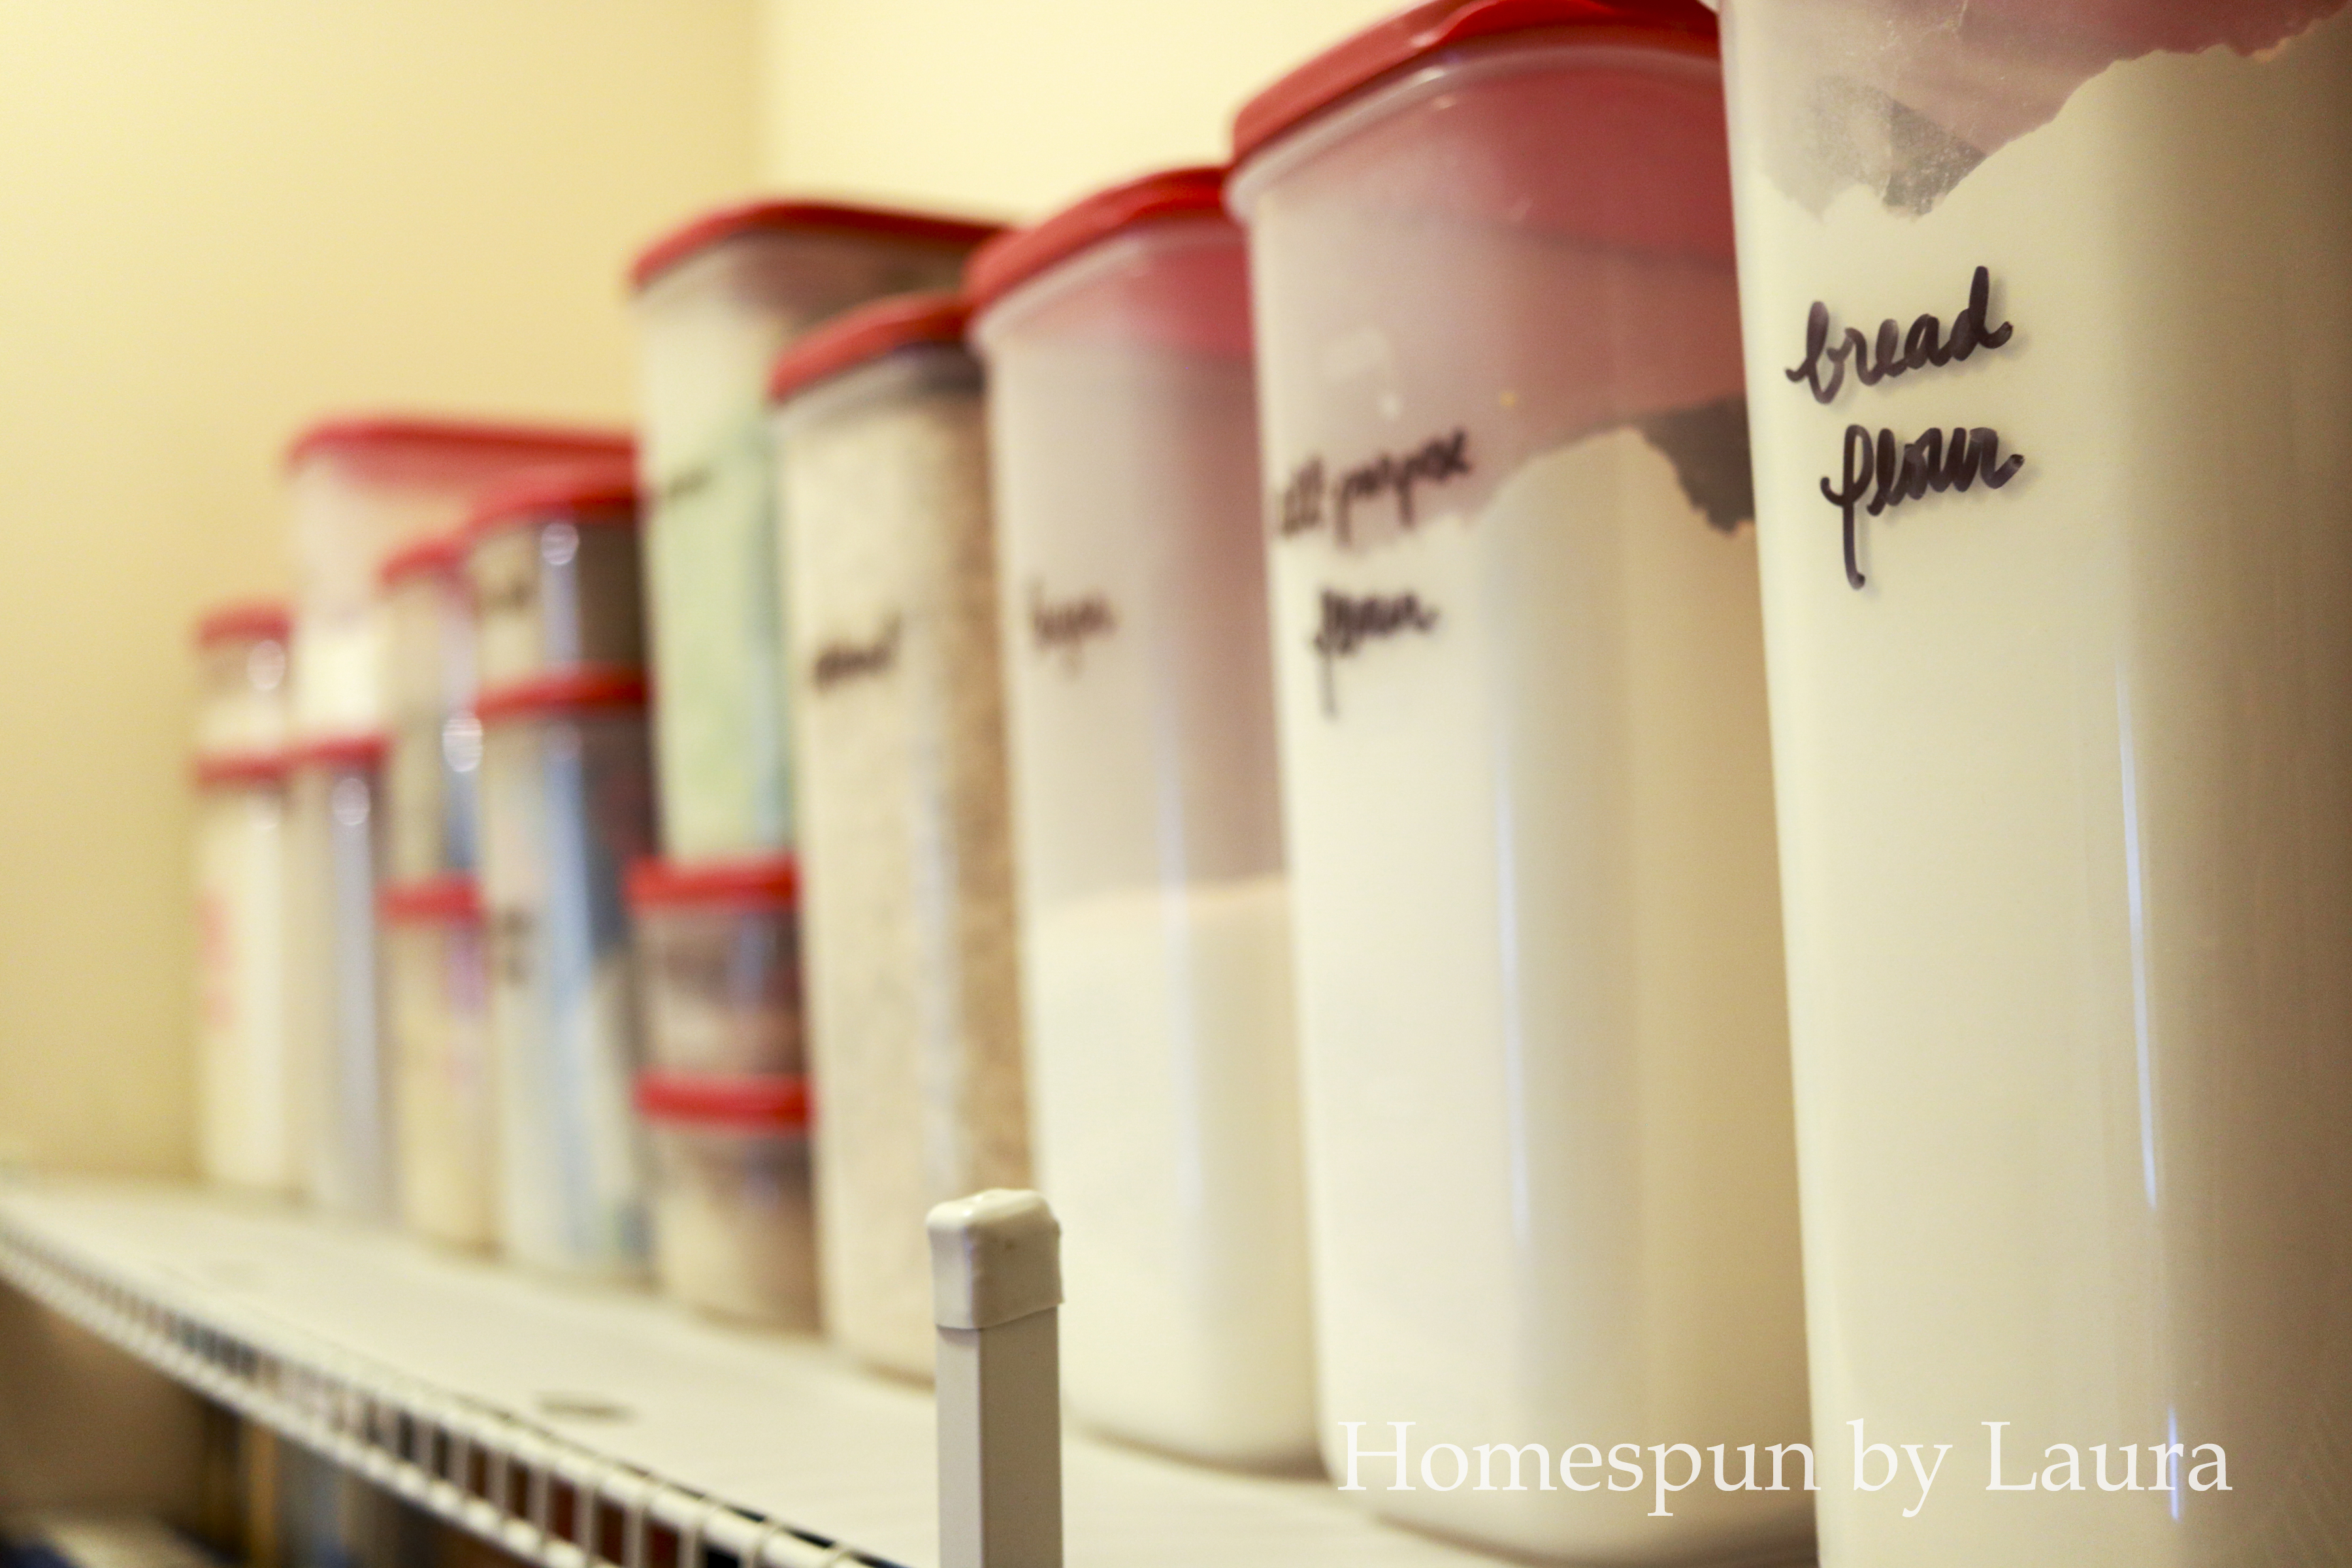
Even the largest of these containers costs less than $10. I purchased them over time as I determined my needs.
I can and do keep up with putting ingredients into them. They’re not beautiful, and I just used a permanent marker to label them – no cute die-cuts here – but they’re relatively inexpensive, come in a variety of sizes, and they work for me. So I love them! I initially found them at Walmart, but they’re no longer available there. More recently, I’ve found them on Amazon (that’s an affiliate link above, so if you buy these containers, a teeny percentage of your purchase helps maintain this blog, at zero cost to you. Thank you!).
A microwave in the pantry?
Since our built-in (only four year old!) microwave is incapable of popping popcorn (not sure how this happens), I wanted to make room for the little microwave we bought several years ago when the one in our old house temporarily died. It had been taking up room in the box in our coat closet, so now we have more free space in there.
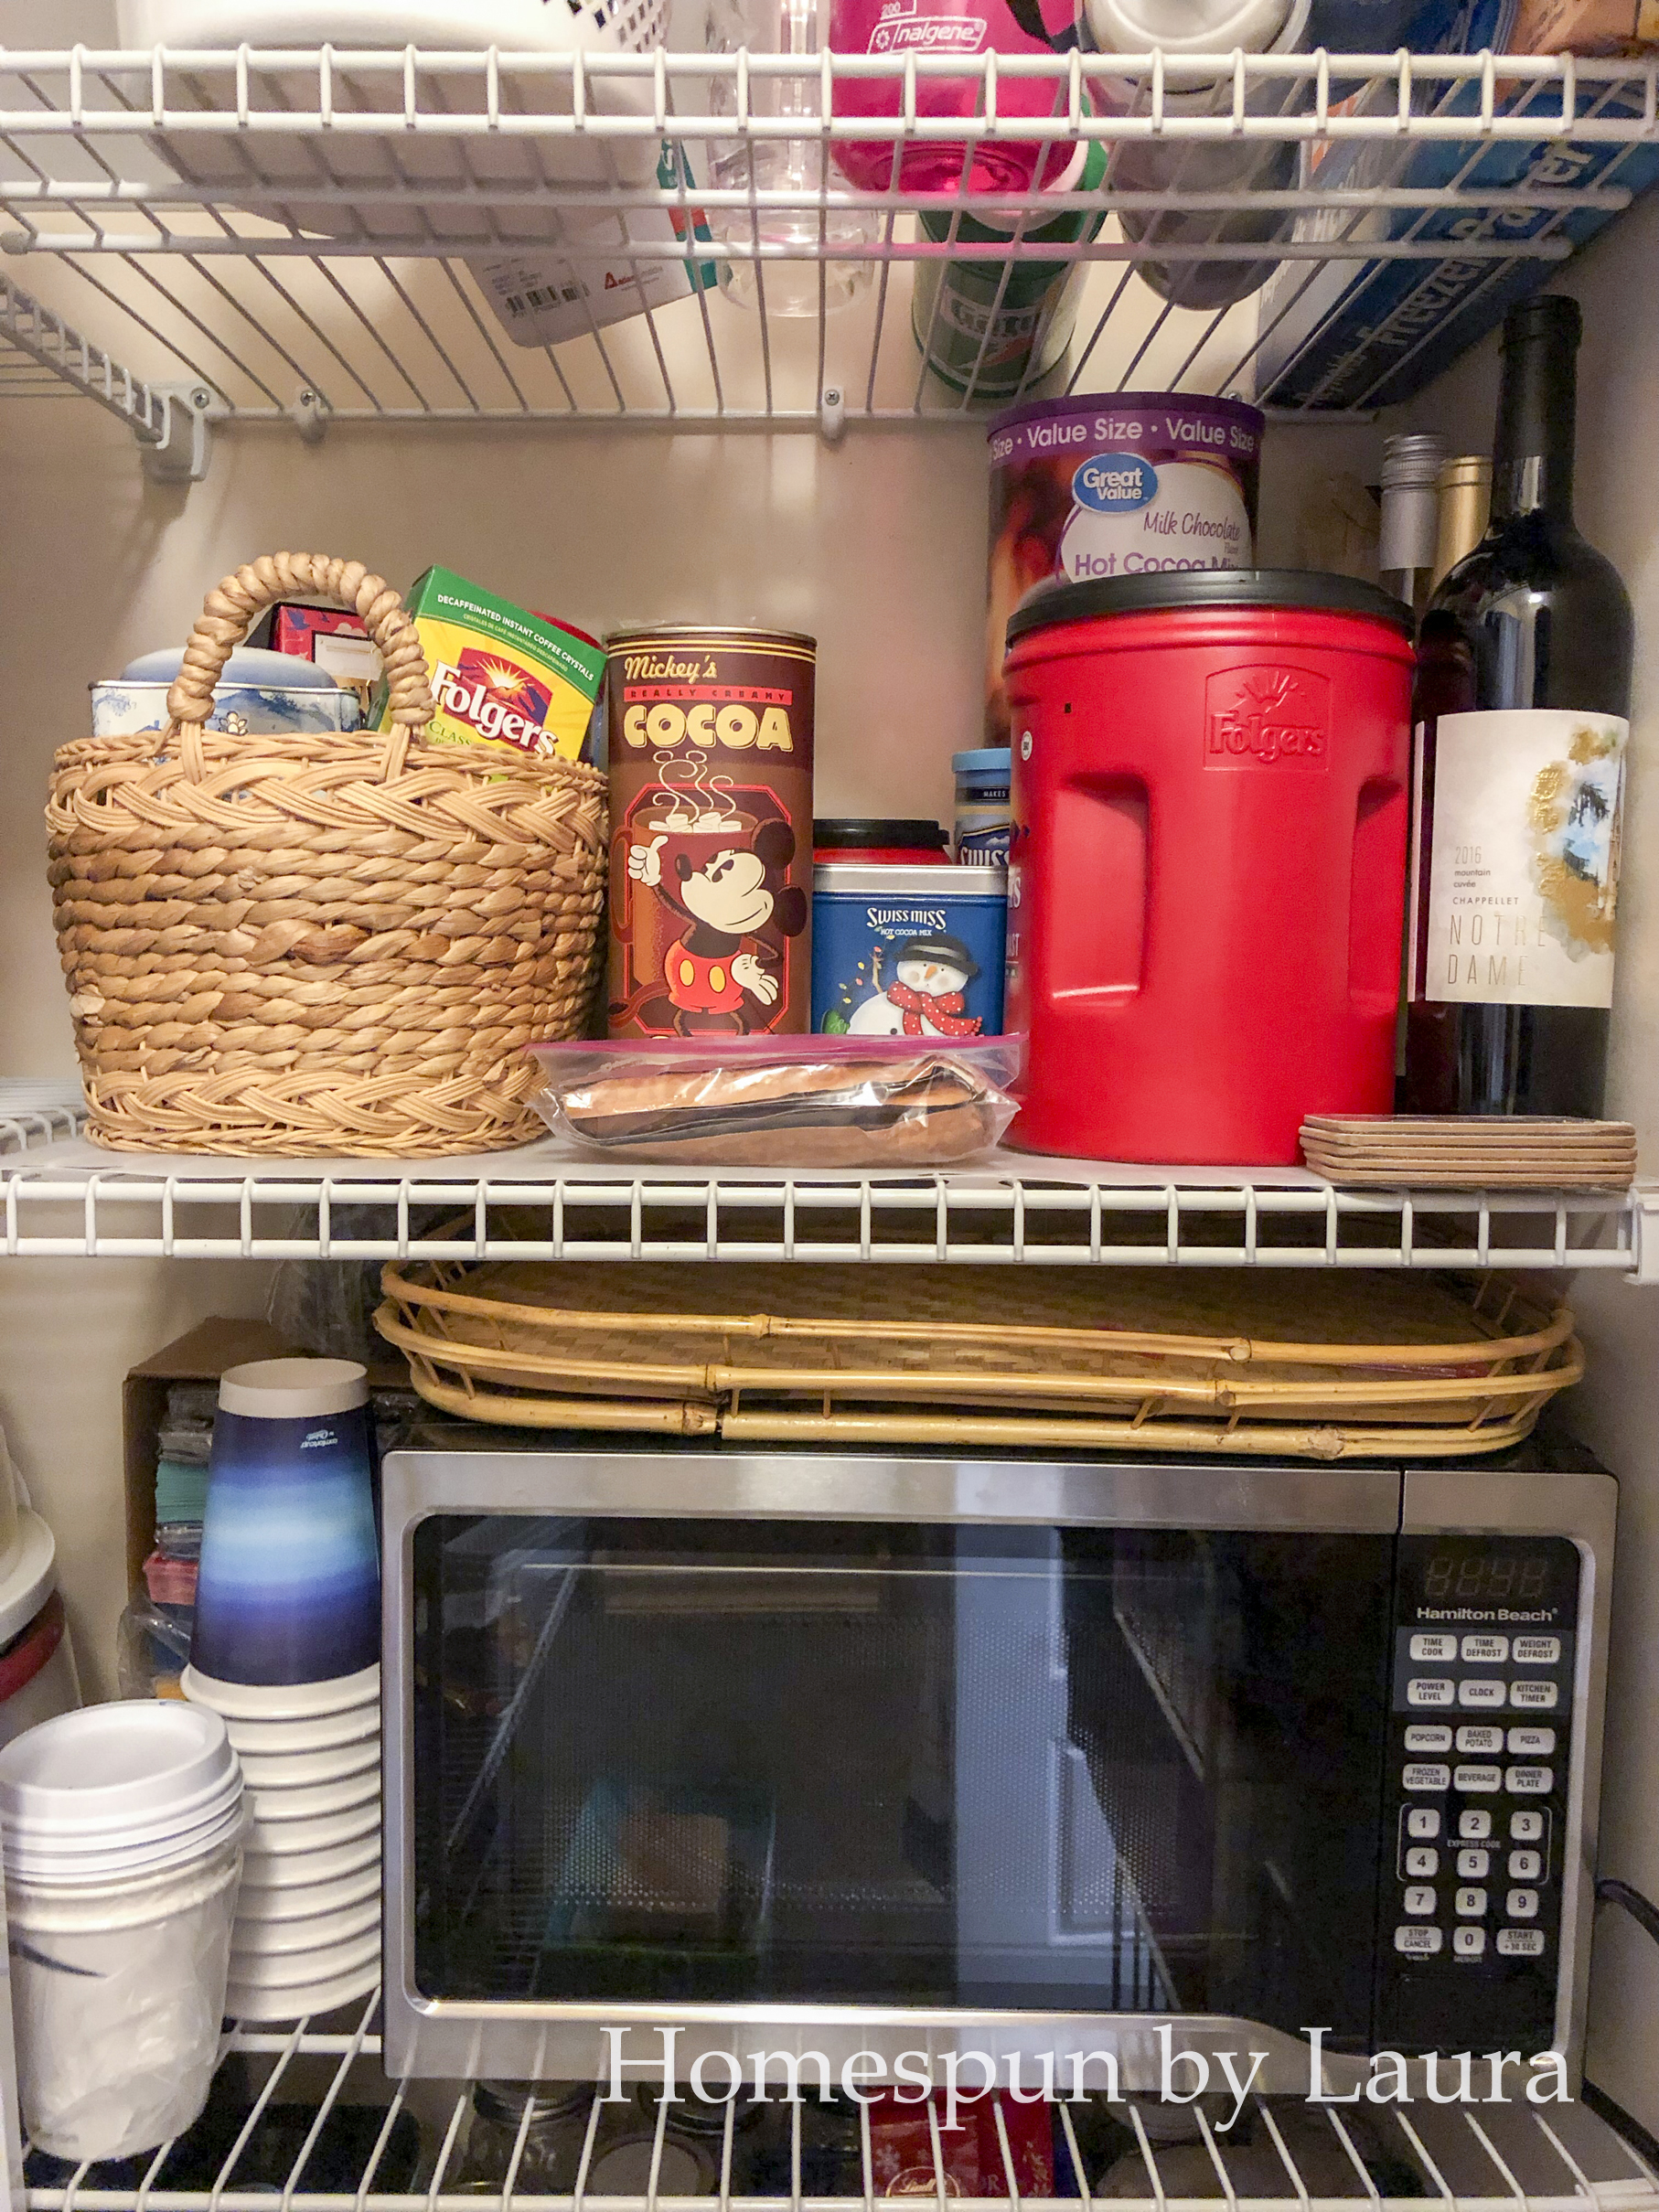
There’s no outlet in the pantry to keep the microwave plugged in, but keeping a dedicated extension cord will make it easy to use. I used to have plain popcorn and cheddar cheese as a snack almost daily, and I’ve missed it for the past 15 months! I’m so excited to reintroduce my favorite snack into my daily routine!!
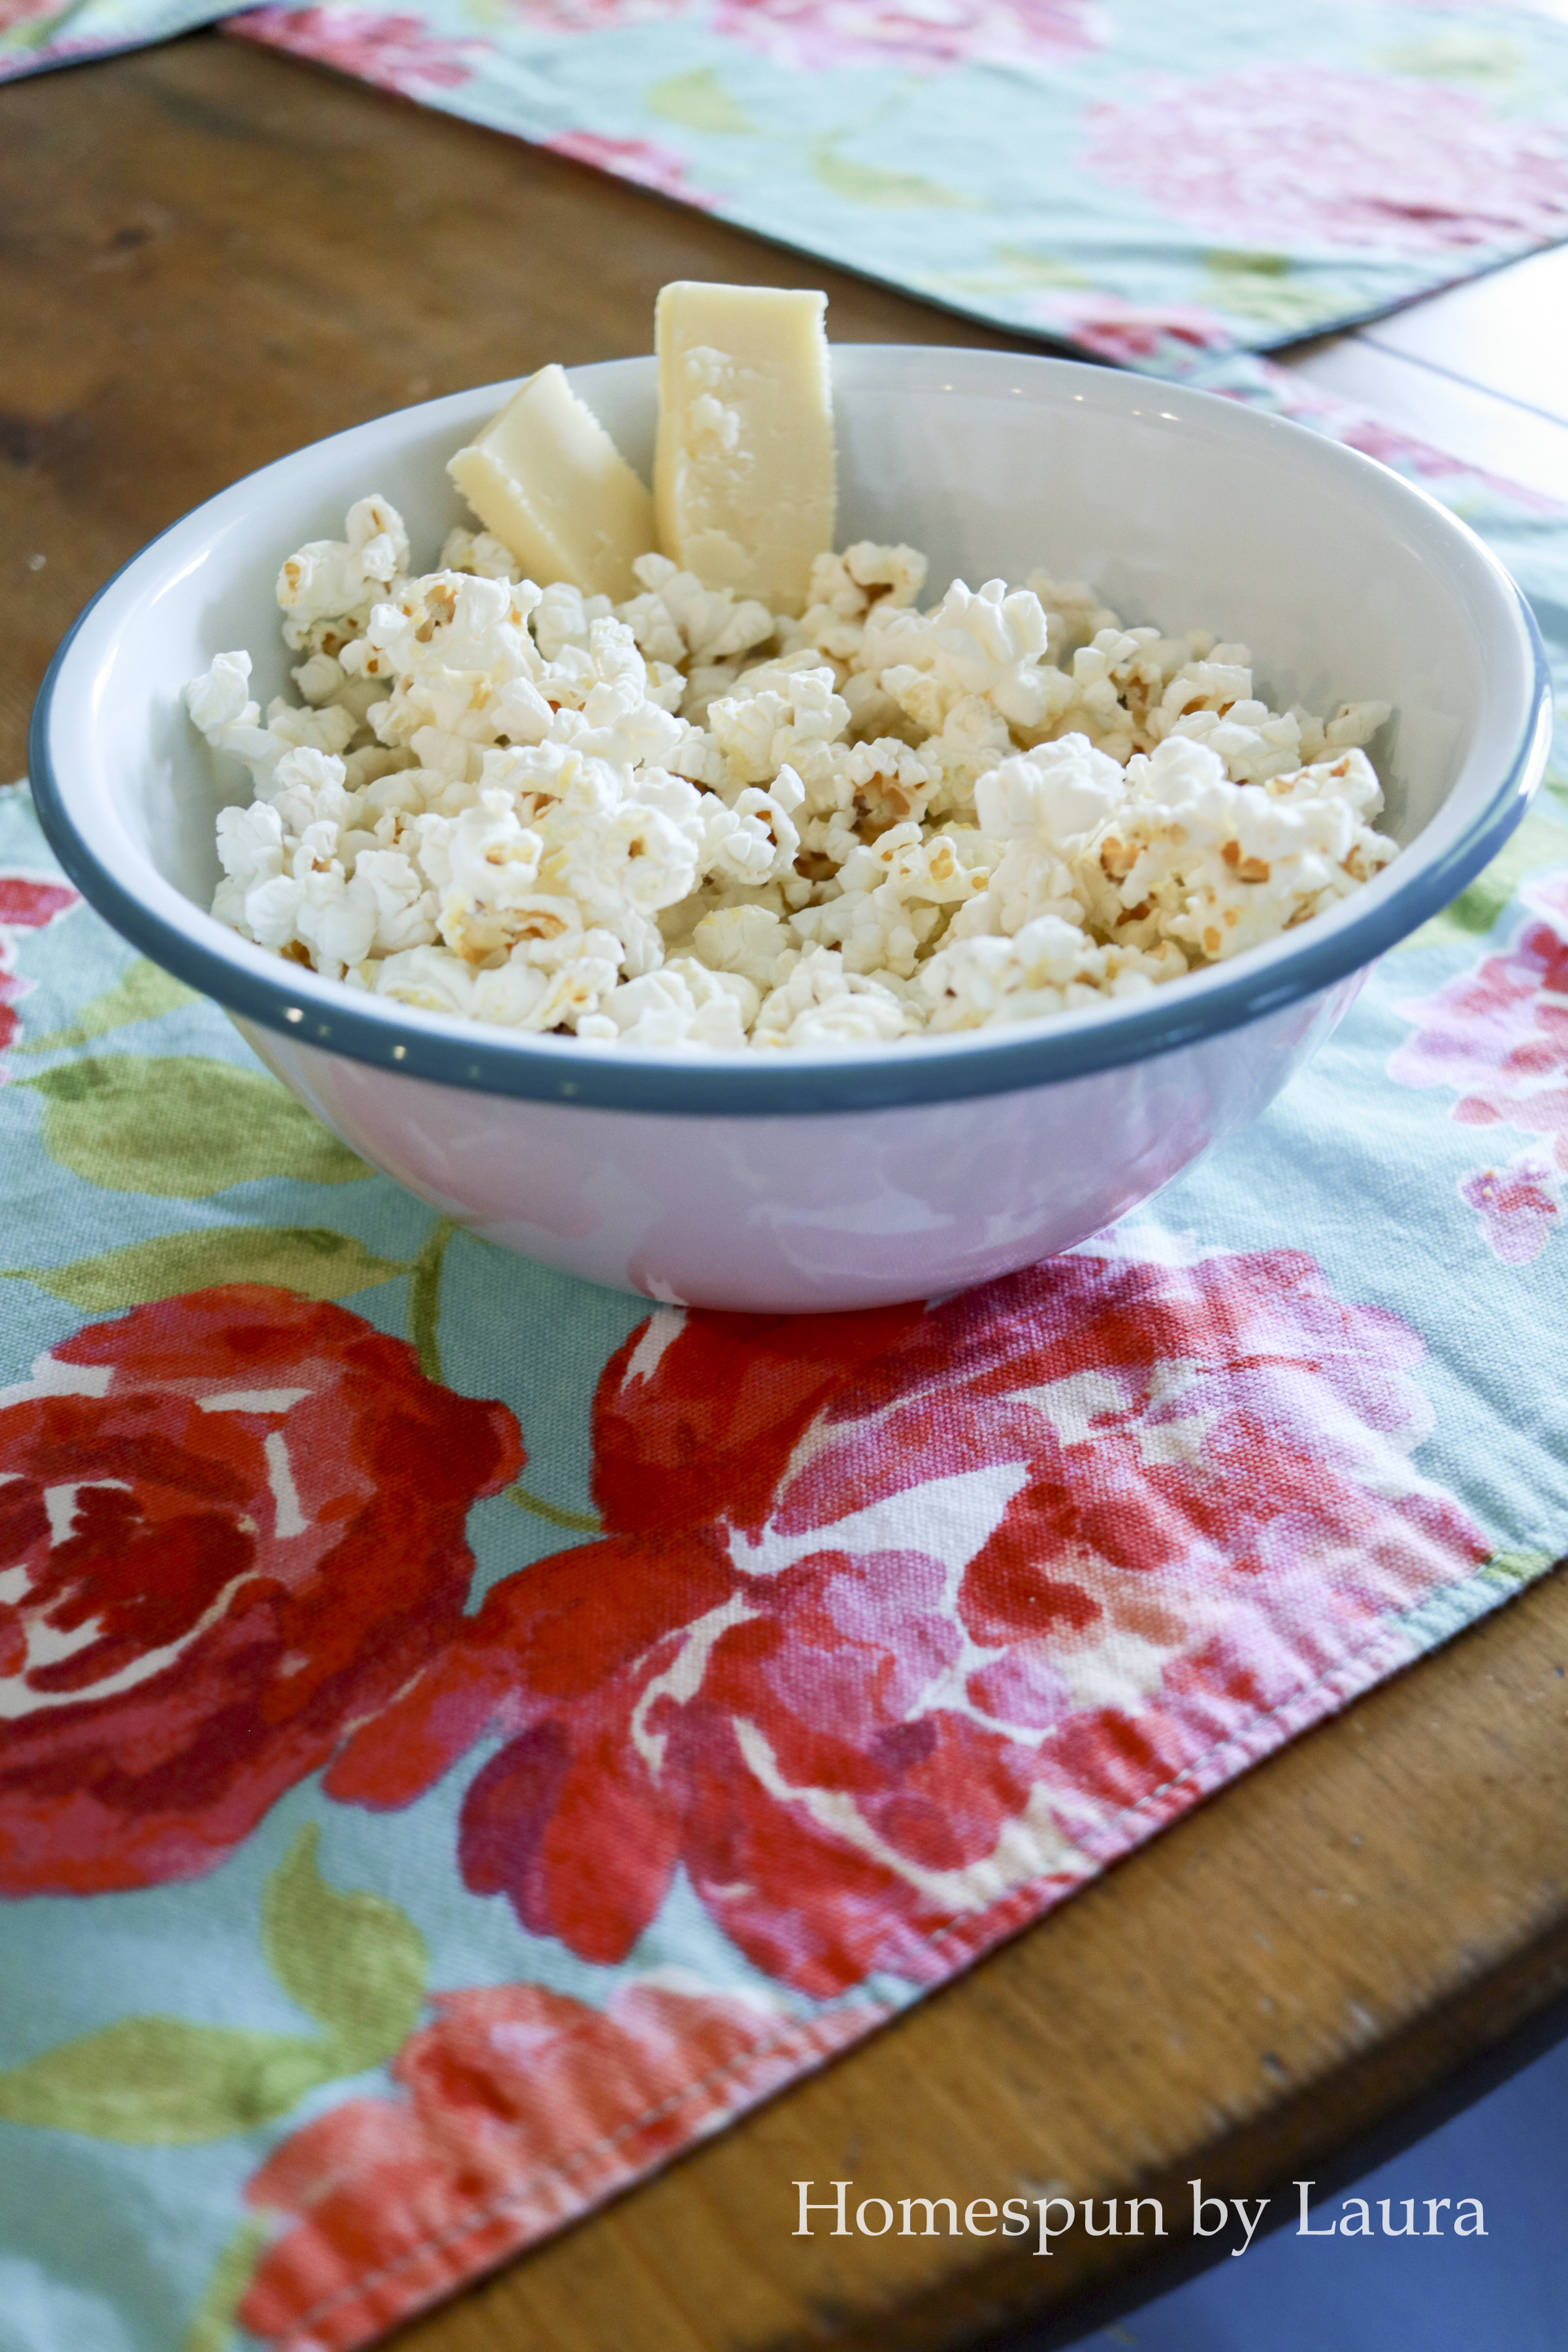
I’ve missed you, old friend!
Toddler proofing?
Is it possible to toddler proof a pantry? If it is, I’m need to do it. Or at least make it toddler friendly! Even though we typically keep the door closed (the only way to truly toddler-proof it!), I’m thinking twice about everything I put on the bottom two shelves. I might even make a special box full of kitchen items and food themed toys that she can play with while I cook. I had a special cabinet when I was a kid and loved it, but there’s not a whole cabinet I can spare for this purpose.
So – miles to go, but I feel good about the progress so far. I’m pleasantly surprised at how happy it makes me to look in and see a few feet of open shelving!
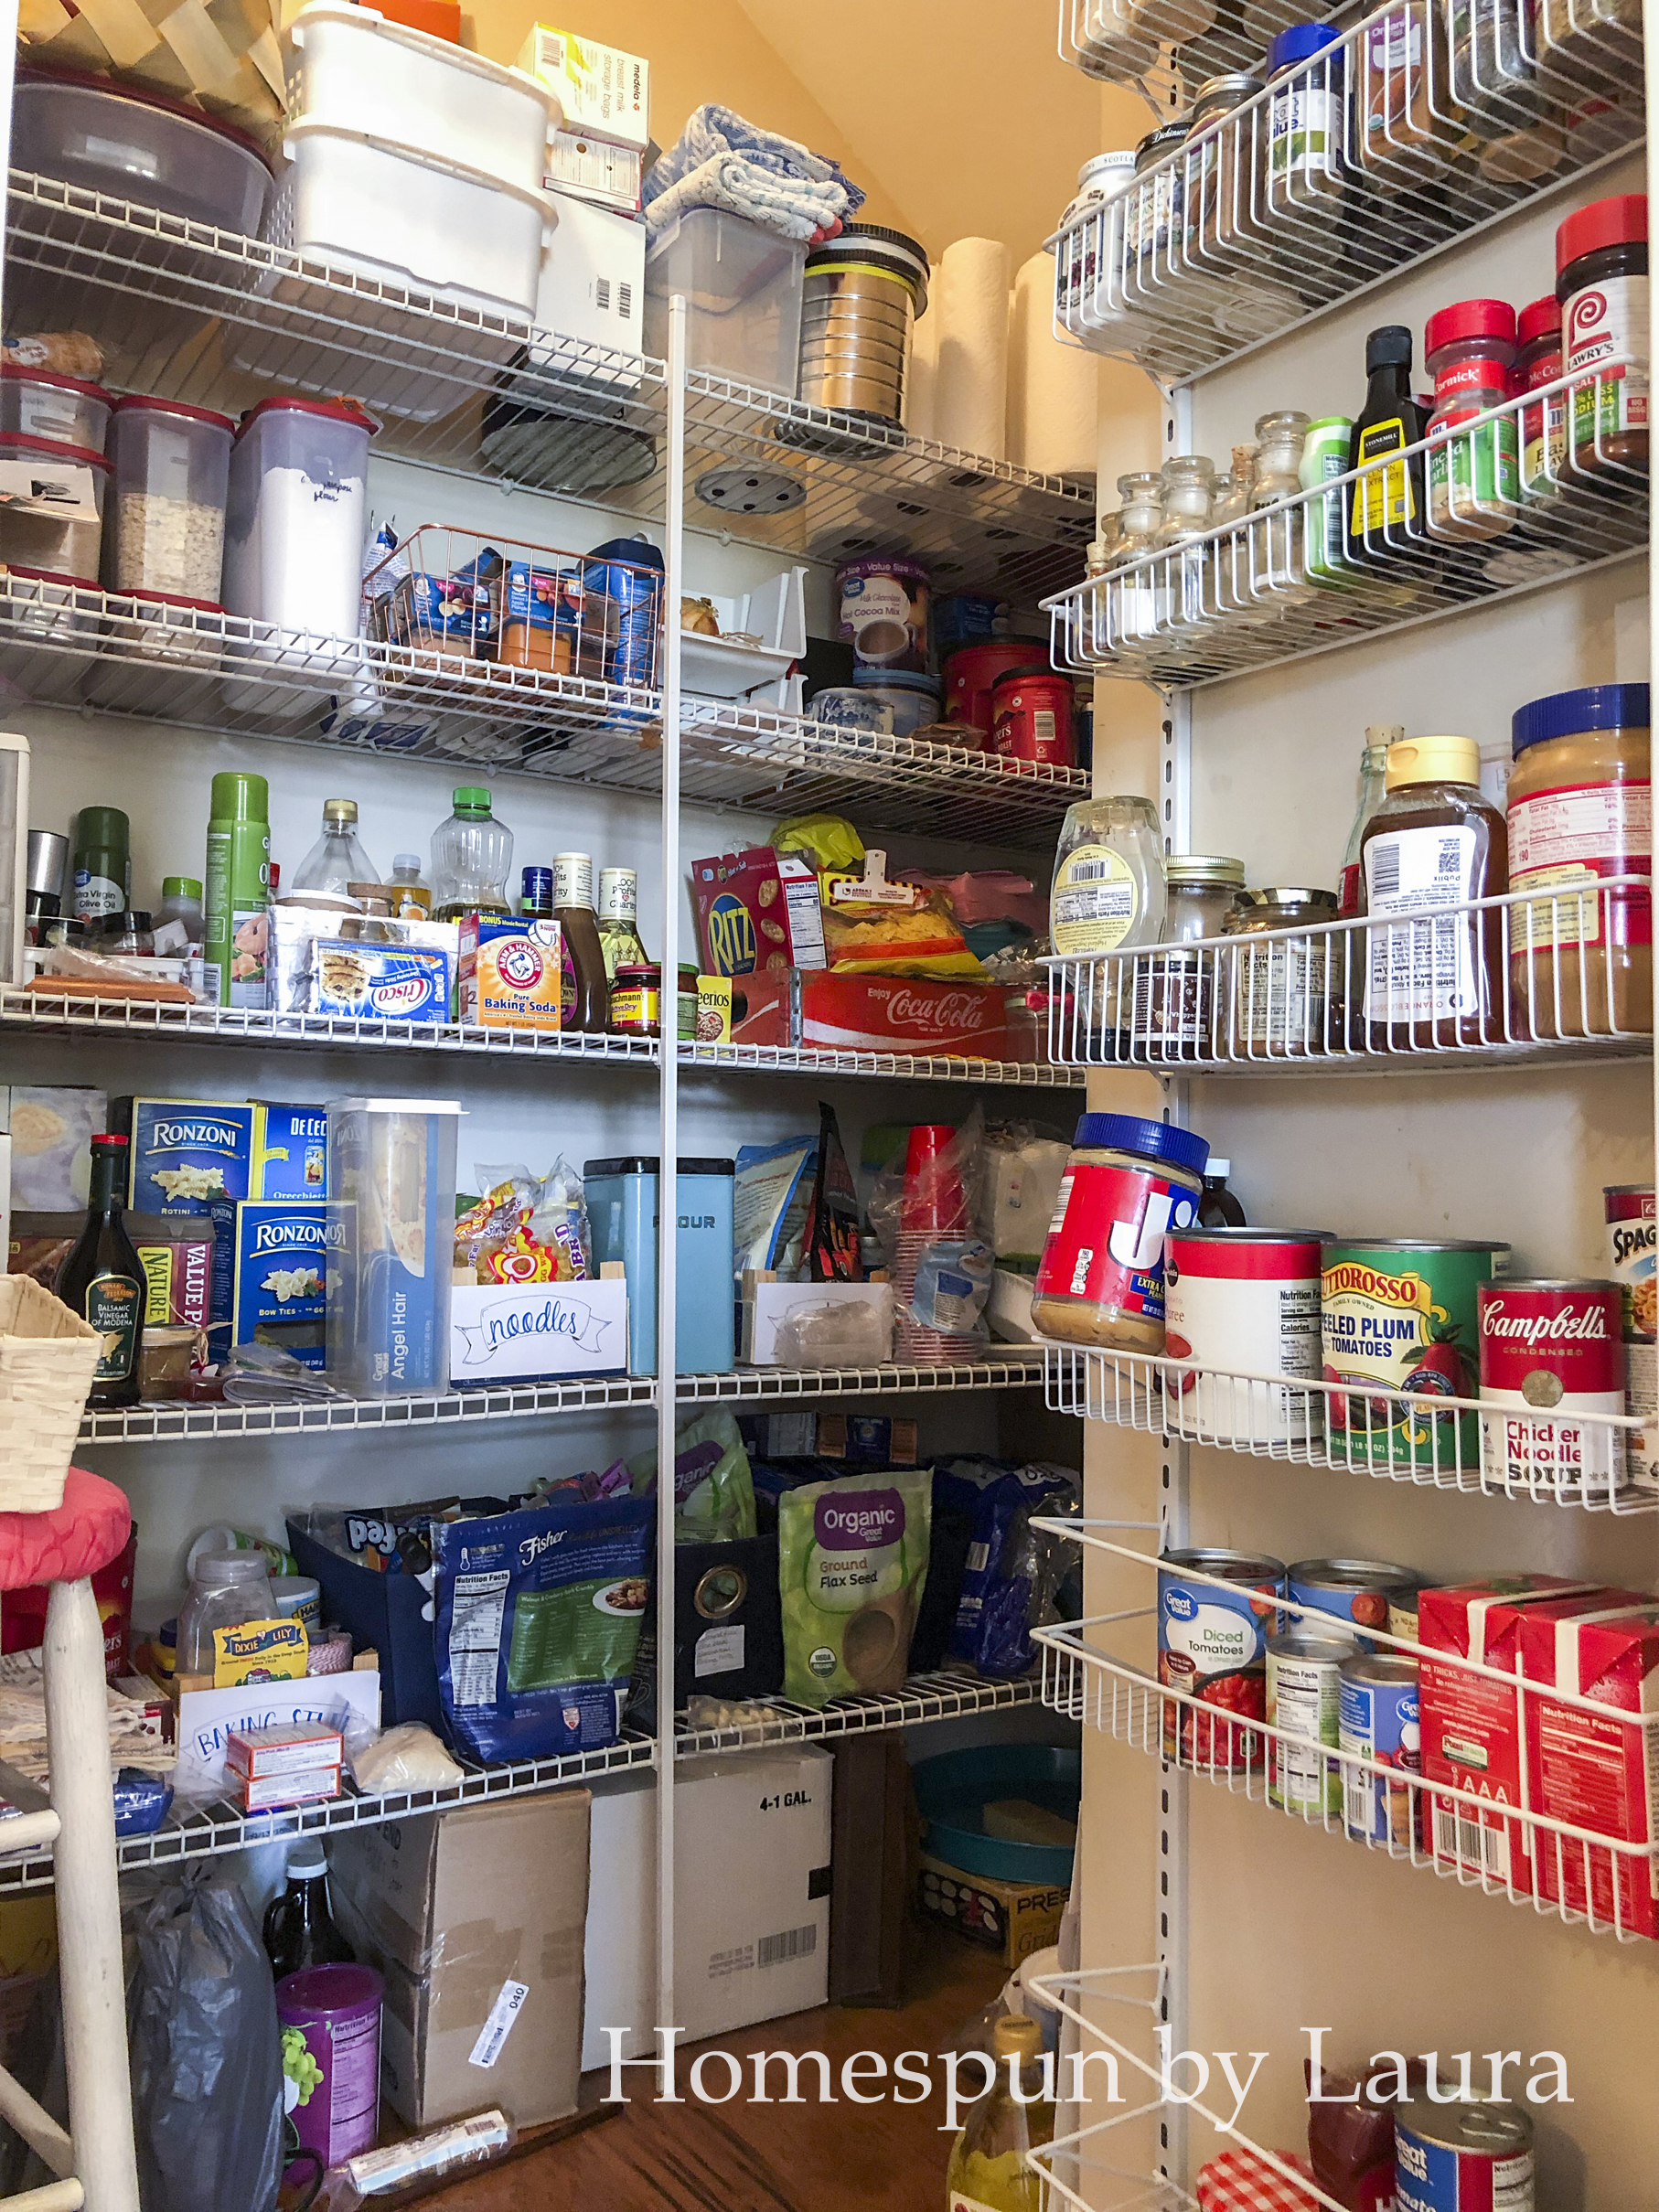
The Before (Believe it or not…it was actually worse than this at a few points in the past year!)
The Now
What’s left?
The remaining tasks in the pantry include:
- Installing shelves up high
- Using the newly empty shelves to intelligently arrange cookbooks and other items that we never unpacked after the move
- Collect additional wine crates (which will help with the above)
- KEEP IT TIDY!!
Coat + Storage Closets
I had originally planned to devote a full post to these closets, but then we got going on the bench in the mud room and my mind ran away with ideas to add paneling above it and paint everything, so there’s no time to waste on two boring closets!
Plus, no matter how hard I try…these closets aren’t pretty. But they don’t have to be! They’re closets! The point is for them to be organized in a way that we can maintain, and I think they finally are. Even with so much less stuff in them, they look a little cluttered in the photos.
Trust me when I say that they aren’t! They’re decluttered enough that we can actually walk into and stand (storage closet) and see the floor (coat closet)!! Plus, both have available space on their shelves as I continue to unpack boxes in other parts of our house.
Large Storage Closet
This closet is amazing. Every house should have one!! It’s large and located off the kitchen, right next to the garage. Everything is easily accessible and we’re able to store some things we had to keep in the garage in our old house.
Storage Closet Before (like the pantry….this closet has seen worse times!)
I began by taking out the various boxes of small decorative pieces that have found their way to me from my grandmother’s house, stacking all the reuseable shopping bags together in a single large bag, and moving out-of-season stuff to the top shelf – and then I found the floor!!
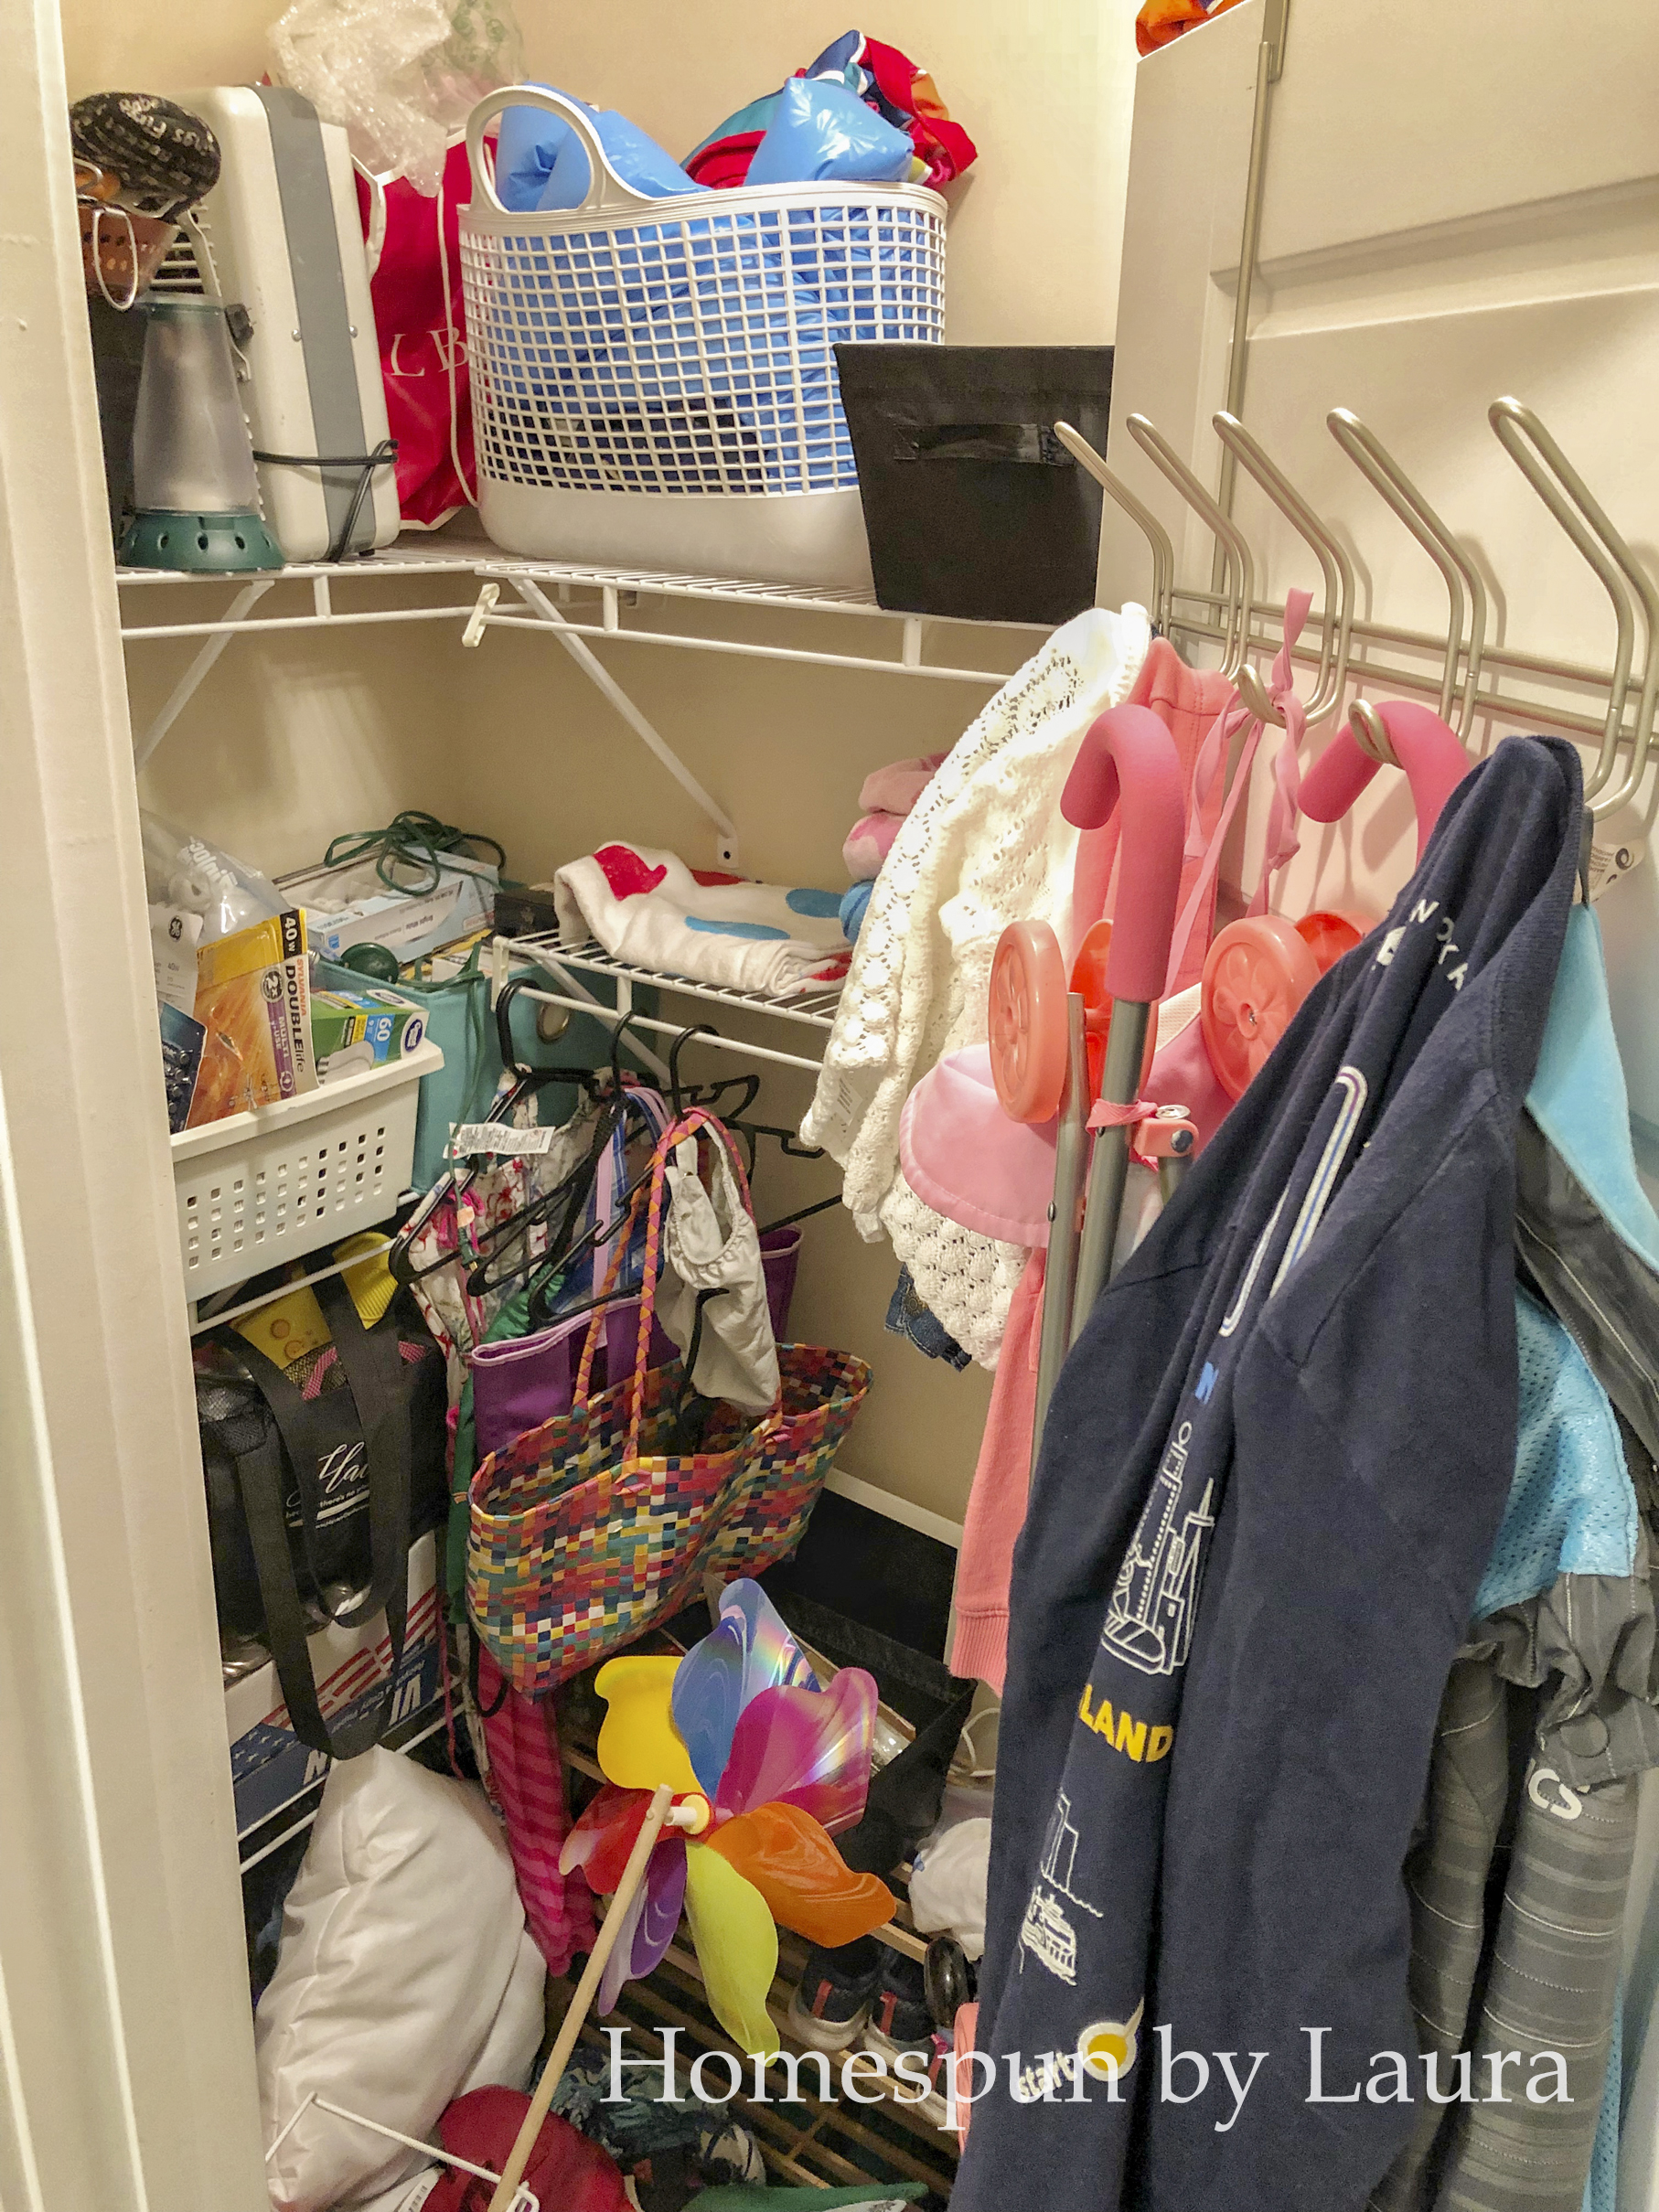
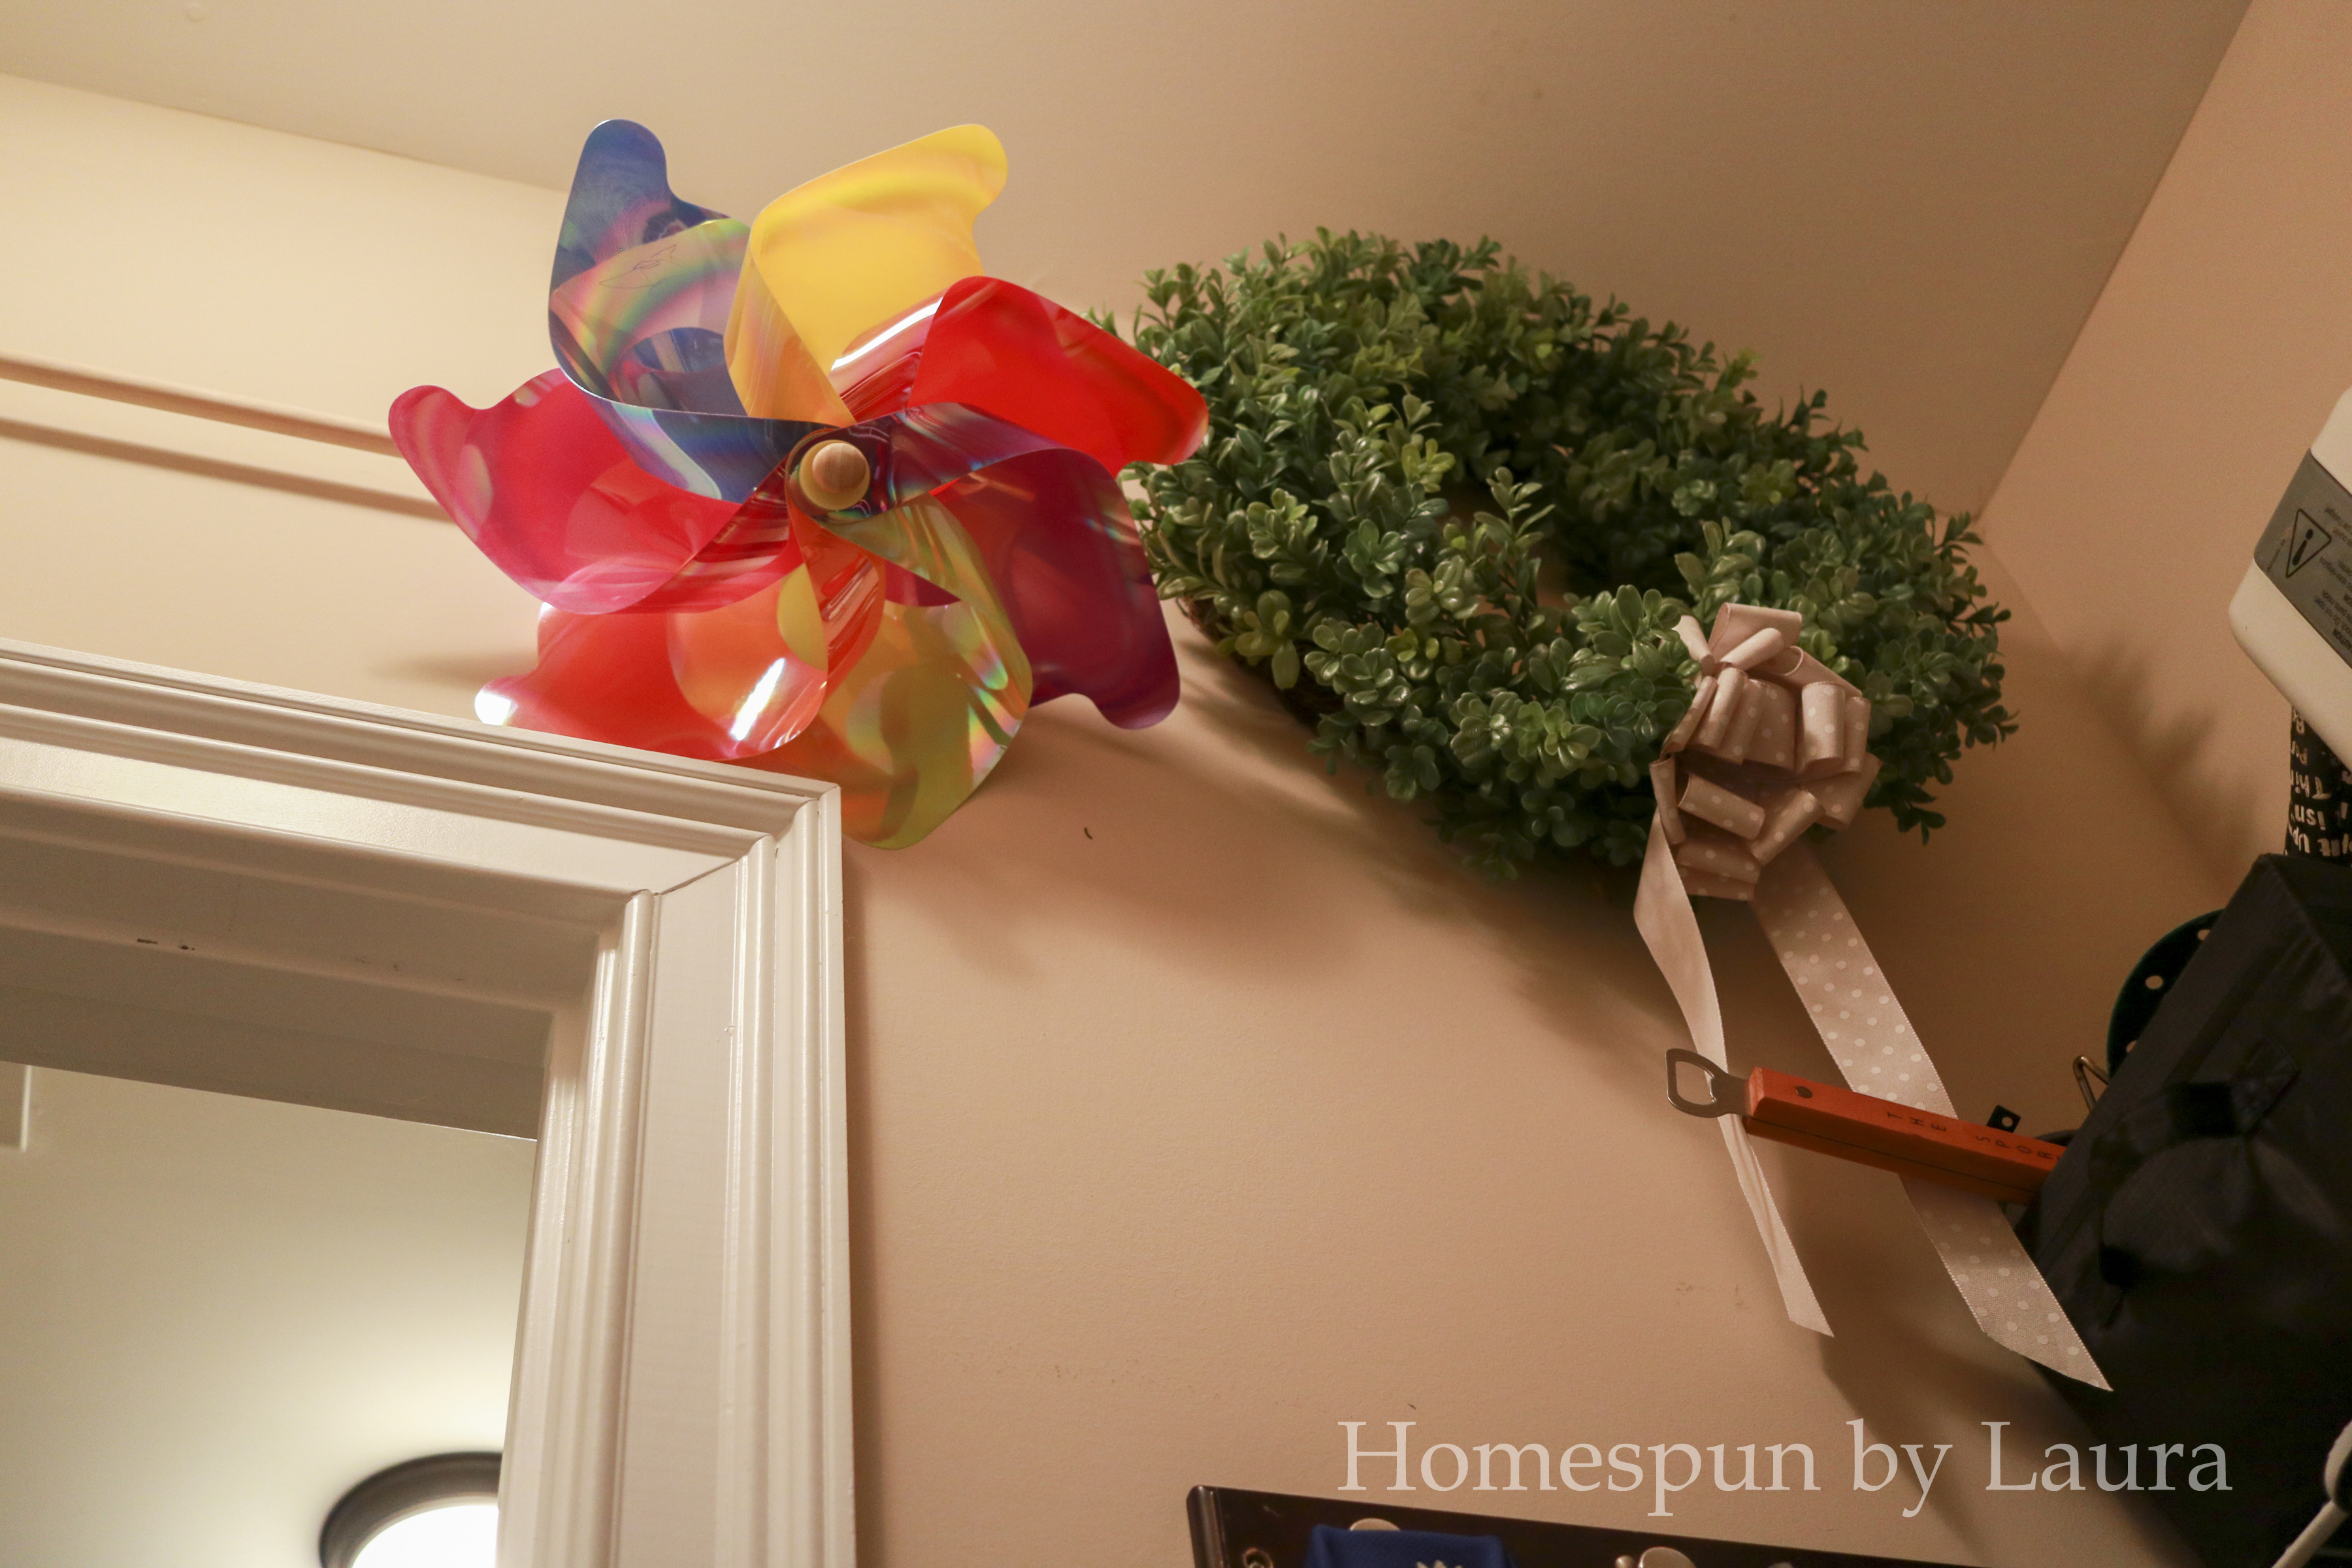
With the addition of a few hooks we had lying around, we’re making use of the vertical space (valuable real estate in a closet!).
The baby’s oversized pinwheel and our spring/summer front door wreath adorn the wall above the door. We’ll use the additional space above the top shelf to rig up a system to store out-of-season porch pillows.
I now have a dedicated place that’s simultaneously easy-to-reach and out-of-the-way for my boot camp bag, long-sleeved shirt, and jacket so I can quickly grab them as I run out the door at 4:55am, and my yoga mat sits directly beneath them.
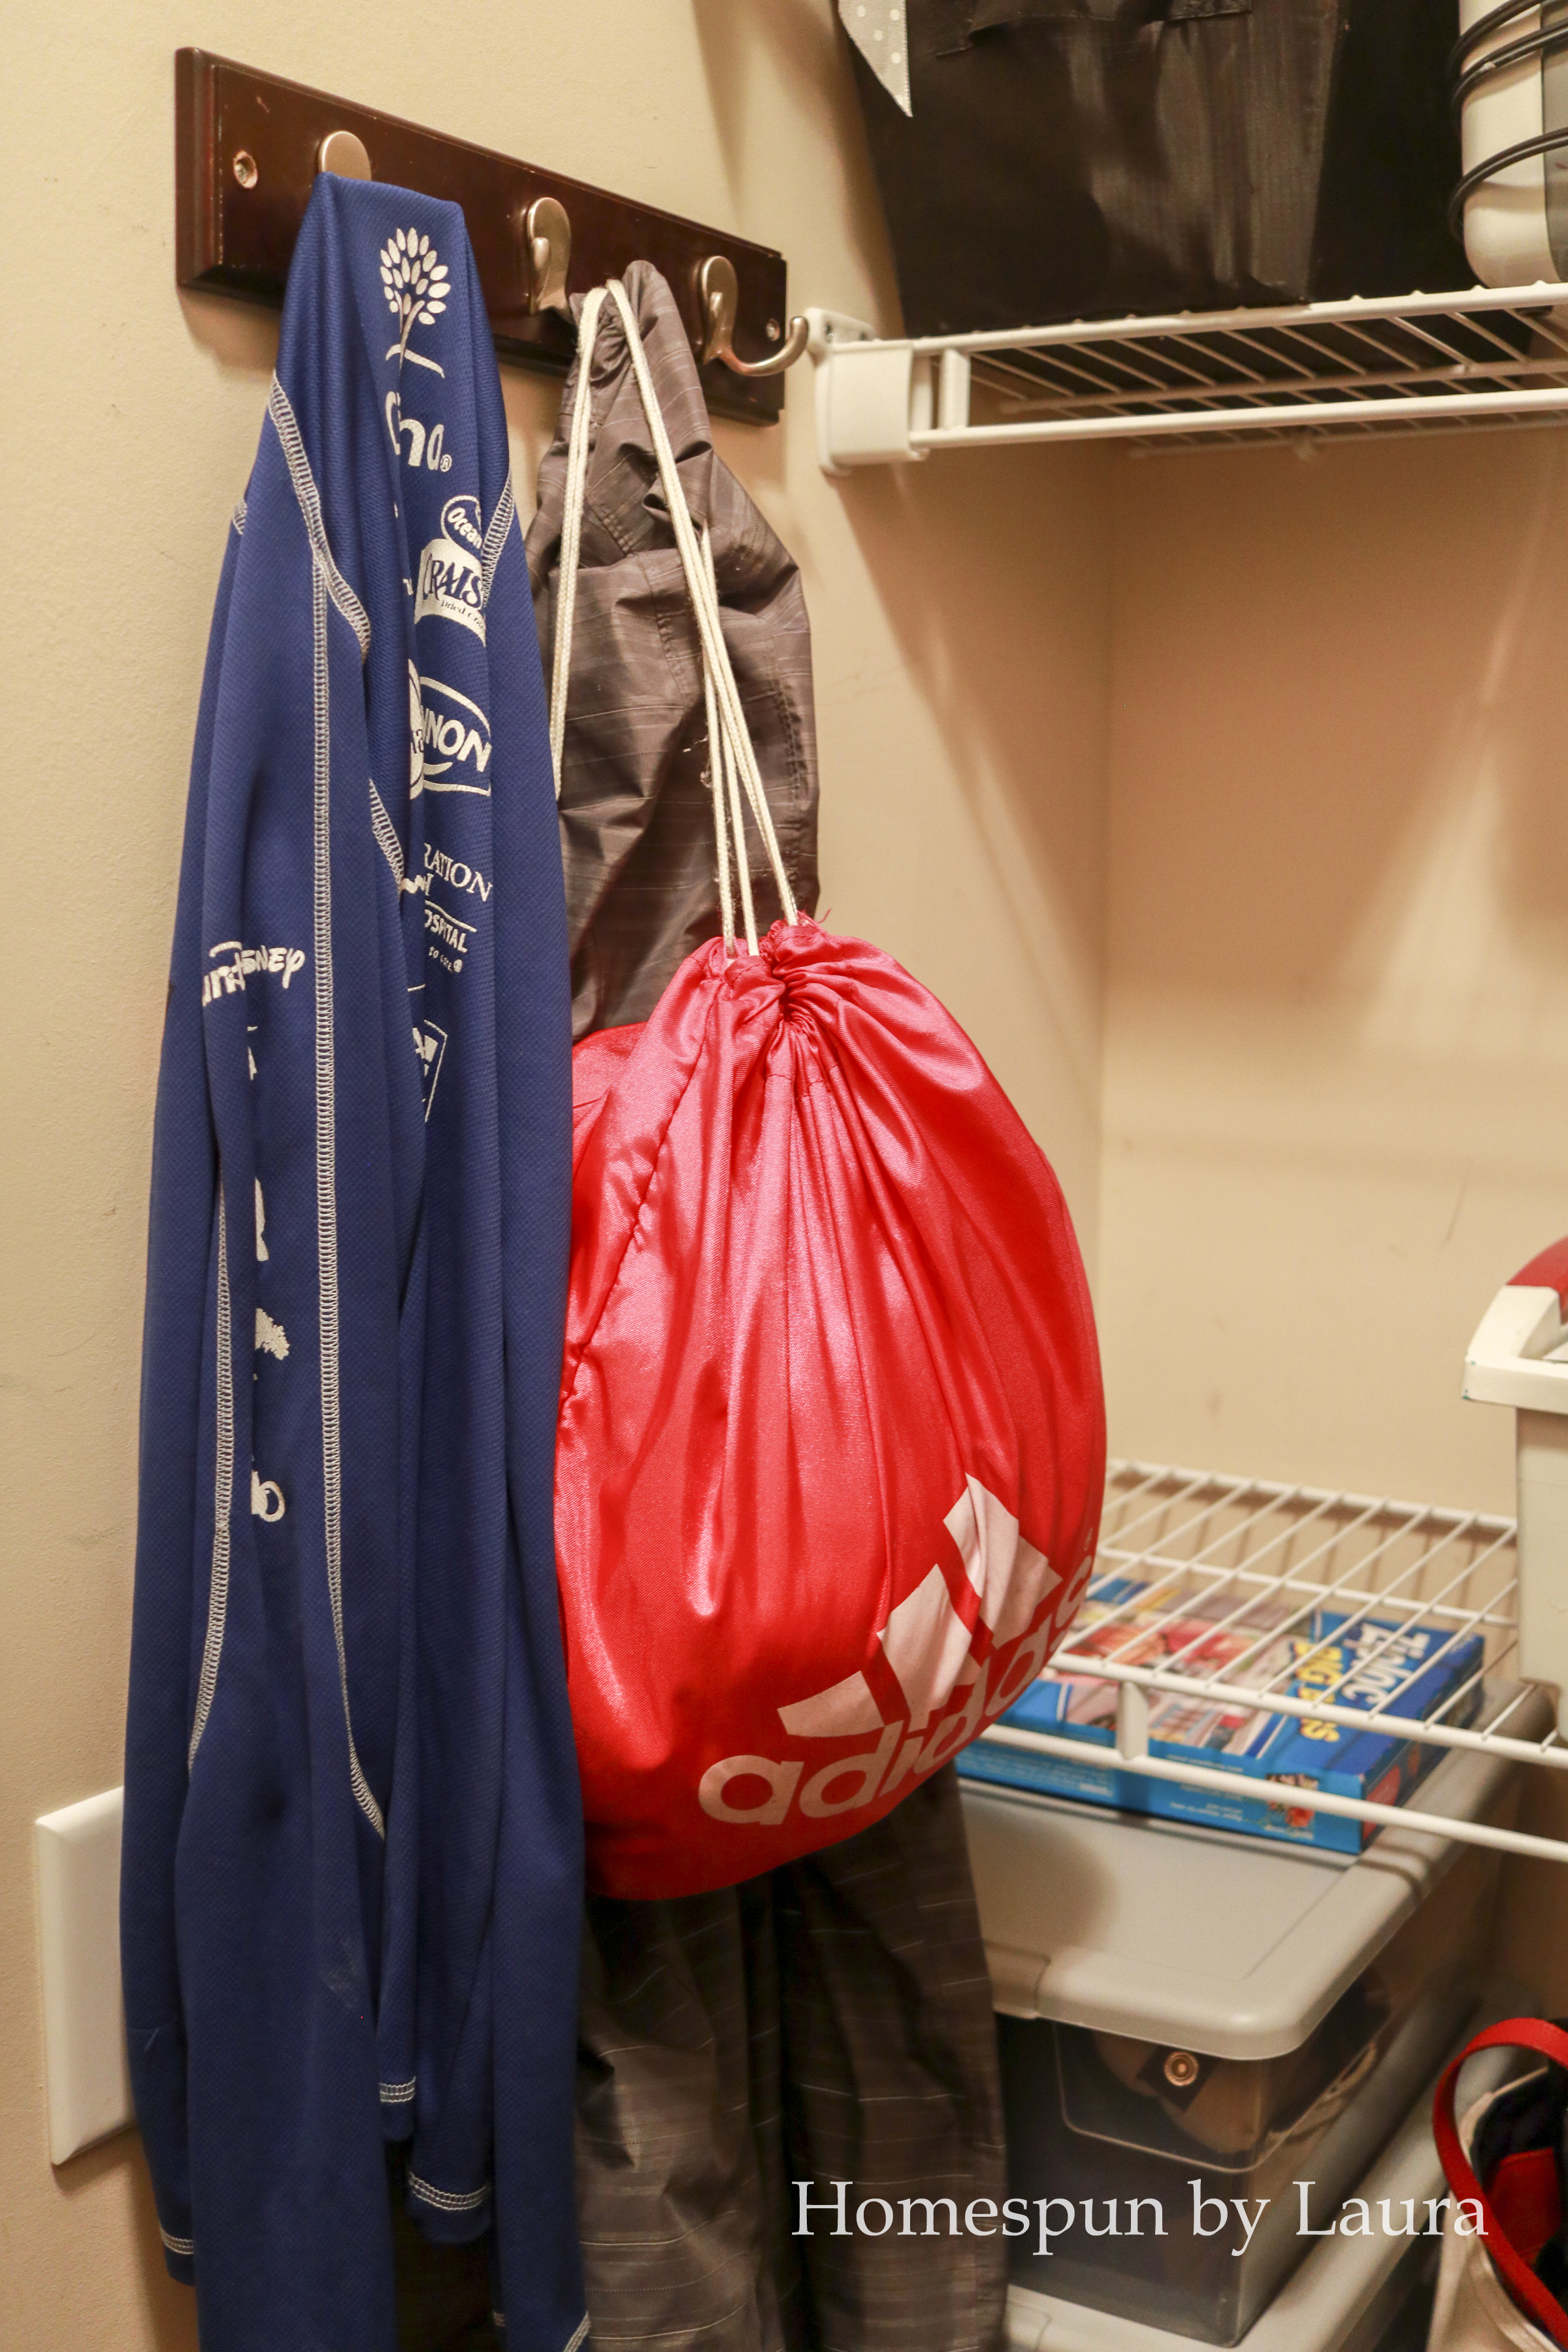
Easy to grab and go, thanks to these old hooks that hadn’t found a place in our new house.
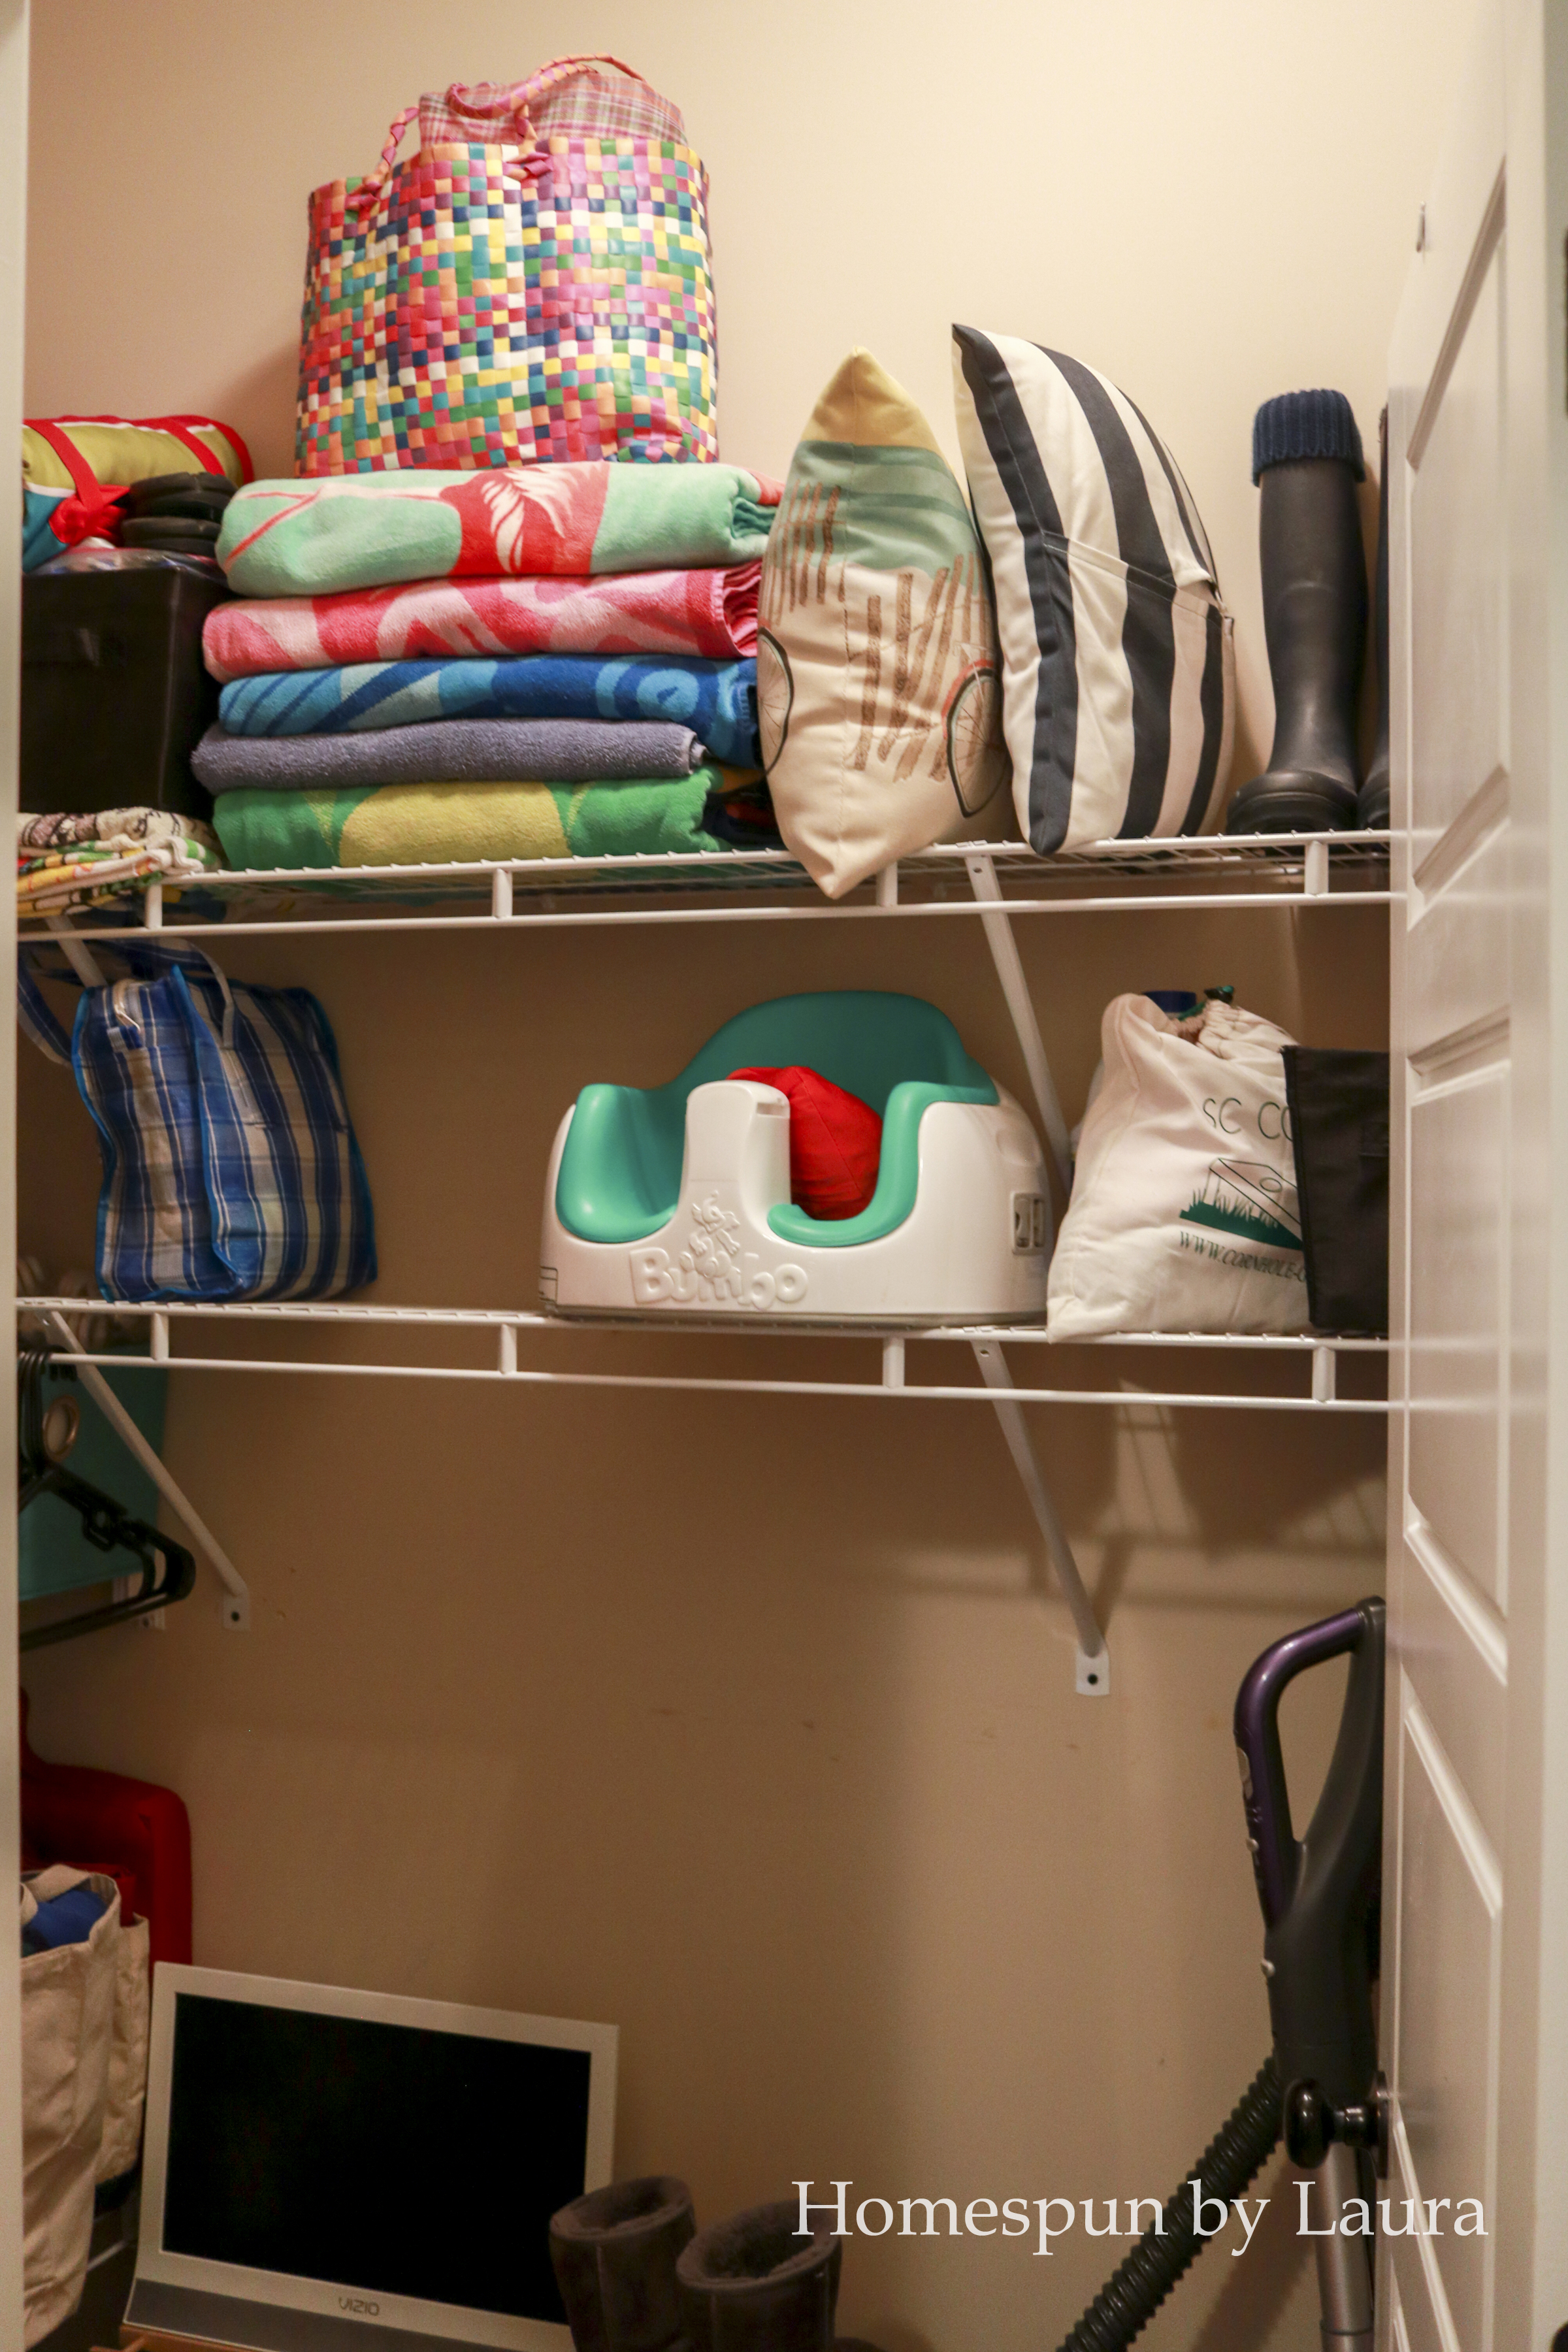
Storage Closet Now – Like the pantry, there’s open space on these shelves!
Coat Closet
I pulled out a few coats to donate and decided to move our high school letter jackets to the closet in our bedroom instead of taking up so much space in this smaller closet. The addition of a $10 over-the-door shoe organizer made space for several tiny jackets and shoes for the little lady, plus hats, sunglasses, etc. – things that previously tended to pile up on the counter.

Coat Closet Now – I seem to have lost the before picture!
What’s left in the closets
- Hang out of season porch pillows up high
- Determine a better system for storing ALL THE LIGHTBULBS
- KEEP IT TIDY!
In Other News…
In other (more exciting!) news, we now have a bench in the mud room!
I’m trying very hard to rein myself in and wait until the less fun stuff (organizing the pantry and closets) is checked off the list before I get going on finishing and painting the bench. That said, I picked up a few potential paint colors this week because I’m so excited about covering the brown and beige in this room!
I’m so excited to share about its construction in Week 4’s post next week!
**********************
Catch up on Week 1 and Week 2 here, or head over to the One Room Challenge blog to check out the status of all the other great projects happening across the world!