Our good friends’ little girl turned five this year. Instead of a having birthday party, they celebrated with a trip to the American Girl store. She thoroughly enjoyed her visit there, which included a tea party with her new doll.
Since there was no party this year – and therefore no cake to be baked by yours truly – I decided that I would make a gift related to her doll. I searched for ideas on Pinterest, and of course I found an overwhelming number of options that made me wish I was 8 again and in the prime of my doll enjoyment years. The idea that I liked best and thought would be quite useful for corralling all the doll’s shoes, brushes, and clothing was a portable clothes rack.
I figured it might also make it more fun for a five-year-old to keep her doll’s accessories organized and off the floor. But I don’t know much about kids these days, so I could be way off on that one!
There are some way cooler options out there, but I liked the fact that this one was cute AND functional and just the right size that a little girl can carry it from room to room all by herself. The original idea for this particular closet rack came from Lil’ Blue Boo.
Here’s how it came together:
I started on the doll aisle at Hobby Lobby, because in addition to the clothes rack and a few handmade clothing items, I wanted to include some cool shoes and put them in tiny gift boxes, just like real shoeboxes. I wound up not finding any boxes that worked, but I did find an adorable pair of red slippers, which look just like the ones the birthday girl will be wearing in a few days for Halloween when she dresses up like Dorothy.
While on the doll aisle, I also found some darling little clothes hangers that would be perfect to include with my clothes rack. I hadn’t quite worked out what I would use as hangers, so I was pretty pumped. Each package of four hangers cost $4. Turns out, Michael’s carries the same hangers and since they more frequently offers coupons for a percent off of regular price items, so that would be the place to go to buy enough to accommodate an entire wardrobe.
I headed over to the craft wood section next, where I found a small wooden box to serve as the base and storage area. I would have liked something a little larger (more the size of a photo storage box), but this was the largest wooden box they had.
Last, I tested a few different sizes of wooden dowels to get the largest, most substantial one on which the doll hangers could fit. The winner was the 3/8″ dowel, which cost a whopping $.59.
Back at home, I picked a couple of large paint sticks out of the stash and propped them up in the box to determine the right height. I dug out a few of my old AG doll clothes to put on the hangers and test how high the rod needed to be.


The dowel rod was next to be sawed down to the right length; then I gave everything a light sanding to make sure no splinters find their way into little hands.

I needed an extra set of hands to help hold the paint sticks in place while holes were drilled, so when the Mister got home that night, he helped me out. Paint sticks are pretty thin and aren’t really meant to have holes drilled into them, so we wound up splitting all but two. There might have been a bit of shouting involved during this step…
 |
| First stick |
 |
| Split sticks |
 |
| Last stick – and last chance for success, or else somebody would have been making a trip to Lowe’s! |


I clamped the first stick to the box once it was in place, then repeated the process for the second one, starting with gluing the dowel into the hole.


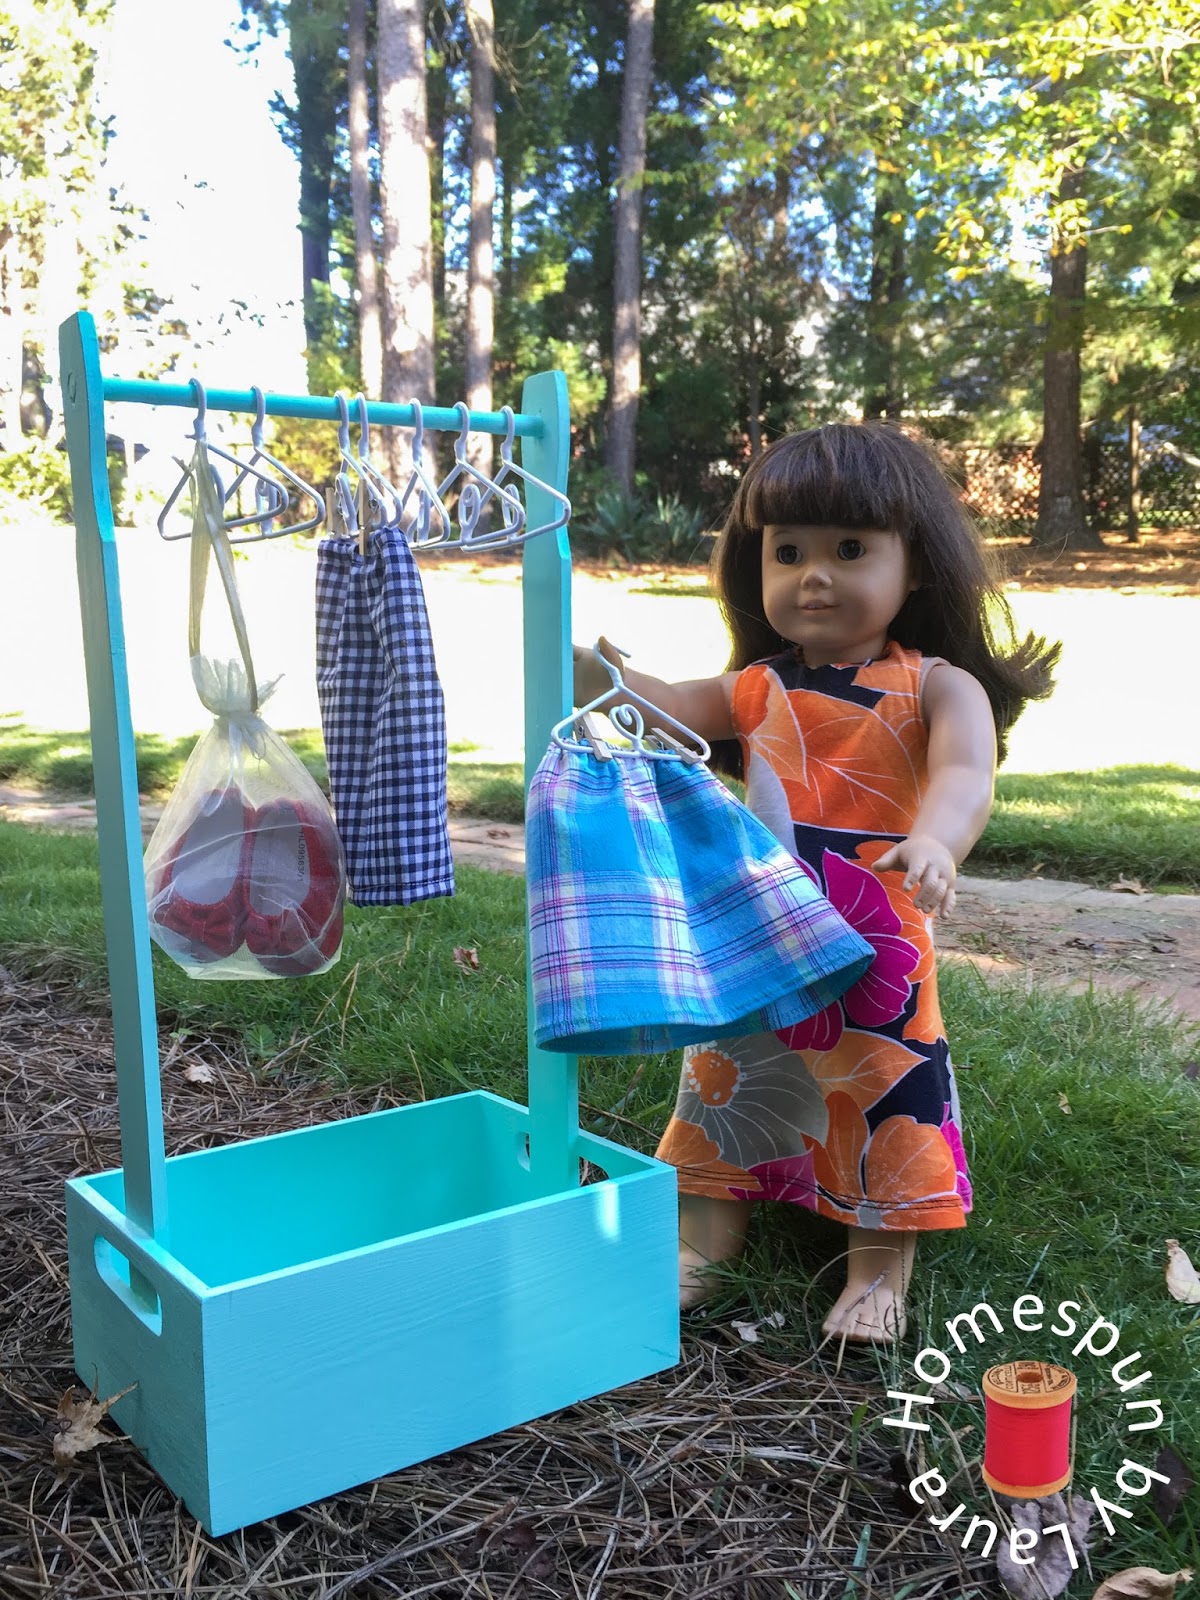
I left it to dry overnight, then painted it the next morning.

I thought it turned out to be quite cute!


Thanks for stopping by! Check back later this week for the fourth installment of the One Room Challenge and next week for my first-ever doll refashion!
Laura