Welcome to Week #2 of the One Room Challenge! This week, I’m sharing how to Save a few bucks by easily removing wallpaper with only water, a sponge, a putty knife, and a little elbow grease.
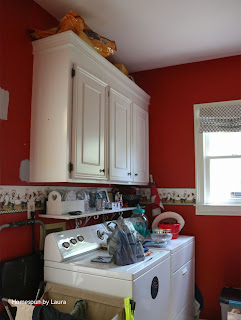
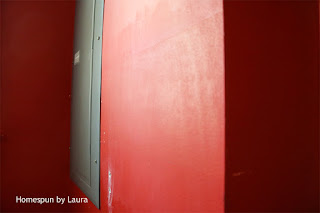
Last week, I introduced you to our bright red laundry room full of dancing chefs.
The chefs are now gone. The walls are now gray. And it looks 100x better!
Though I have painted every room in our house except the kitchen and bathrooms – and even the staircase – all by myself, the laundry room was one that I had no interest in tackling (which is why the paint sat in our garage for over a year before it wound up on the wall). For the first time ever, I hired a painter to handle this tiny room that contains 8 corners, 4 doors, 3 cabinets, a window, a washing machine, and a dryer. That adds up to way too many edges to cut in and two too-big items for me to move around on my own.
Which is why it stayed bright red for seven years.
But since painters aren’t cheap, I removed the chefs on my own to save some money. Before I started the project, I picked up about $25 worth of wallpaper removing supplies but fortunately was able to take them all back unused! A spray bottle full of water, a rough sponge, a putty knife, a rag, and some elbow grease did the trick! Even more savings.
I started by pulling at the edges to get as much of the chefs off as possible. Since I had added the chefs over the original border, I needed to then peel at the original floral layer, too.
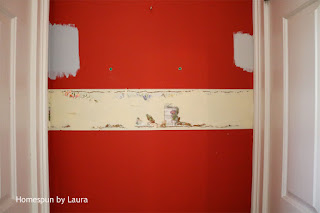
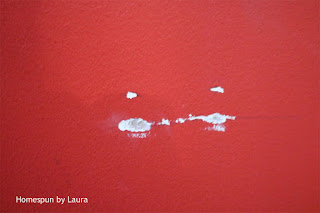
After I had pulled off as much of the wallpaper as possible without peeling off wall, too, I was left with this all around the room:
I then sprayed it with water to loosen the glue. The spray bottle I used was very small and contained 8 oz. or less, so no need to rush out for a big bottle! A finer mist covering a broader area helped to soak as much of the wallpaper as possible without running down the wall (don’t use the really intense, narrow spray as this will just drip down to the baseboard!).
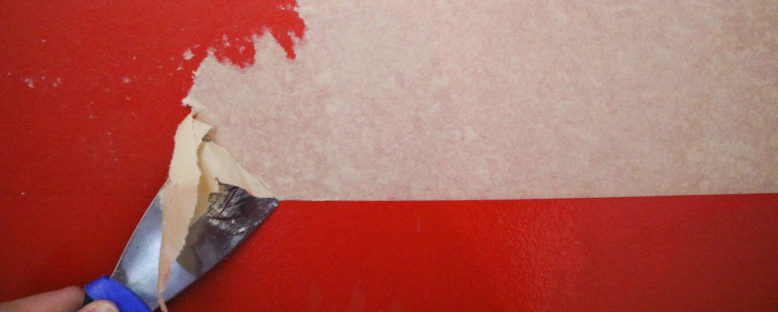
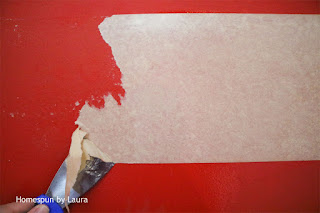
After letting it sit for a couple of minutes, I used the putty knife to start gently scraping.
When I had gotten as much of the paper off as possible, I used the rough (green) side of a Scotch-Brite sponge to brush the rest off, but any sponge with a little roughness should do the trick. I just wouldn’t recommend using it for your dishes ever again! This step removed all the tiny little scraps that didn’t come off with the putty knife (like in the top left corner of the above image). More importantly, it took most of the sticky glue residue with it.
The whole project only took a few hours, and afterward the room looked totally different.
I decided against filling in the insane number of holes that have accumulated in the walls myself – most of which were already here when we moved in. It would have taken me ages to fill them all, but the painters did it in under an hour. That’s why you bring in the professionals!
There were also some weird lumps in one wall, which the painters were able to mostly smooth out.
They also filled in a 3″ hole in the wall where I removed part of a doorbell that never worked.
Now that the painters have finished, it doesn’t even look like it belongs in the same house!!
I chose to have the doors and trim painted, too, and it was definitely a good decision. They difference is quite noticeable, especially in person; they previously had a slight yellow tint to them and now are straight white, which looks very nice with the blueish gray walls. My favorite white paint is just the basic unmixed base color semigloss white paint, which I’ve used on projects throughout the house. I like the contrast it creates everywhere, whether it’s a piece of furniture or doors and trim.
Next week, I’ll start to put the room back together and add some decoration to it.
Click here to to see what the other One Room Challenge guest bloggers are up to this week!

