I found this faux-suede-ish skirt at the Goodwill near my house a few weeks ago, not sure what I would do with it when I got it home. After I washed it, I discovered that it fit alright and debated just cutting off the extra length to make a knee-length pencil skirt and using the excess to make a bag but decided against it. I decided I would never wear it as a skirt because I really don’t actually like the fabric, and there wouldn’t be enough fabric left to make a very big bag. I thought that the ugly skirt fabric looked great with this bright floral fabric so I scrapped the pencil skirt idea and turned it into a cute tote bag instead.
I began by gathering:
- skirt ($1 at Goodwill)
- ~ 1/2 yard floral fabric (~$1.50)
- scraps of interfacing from previous projects (free!)
- bag handles (~$3 on sale at the fabric store)
1. The first step was to close up the slit in the back of the skirt, continuing along underneath the original seam.
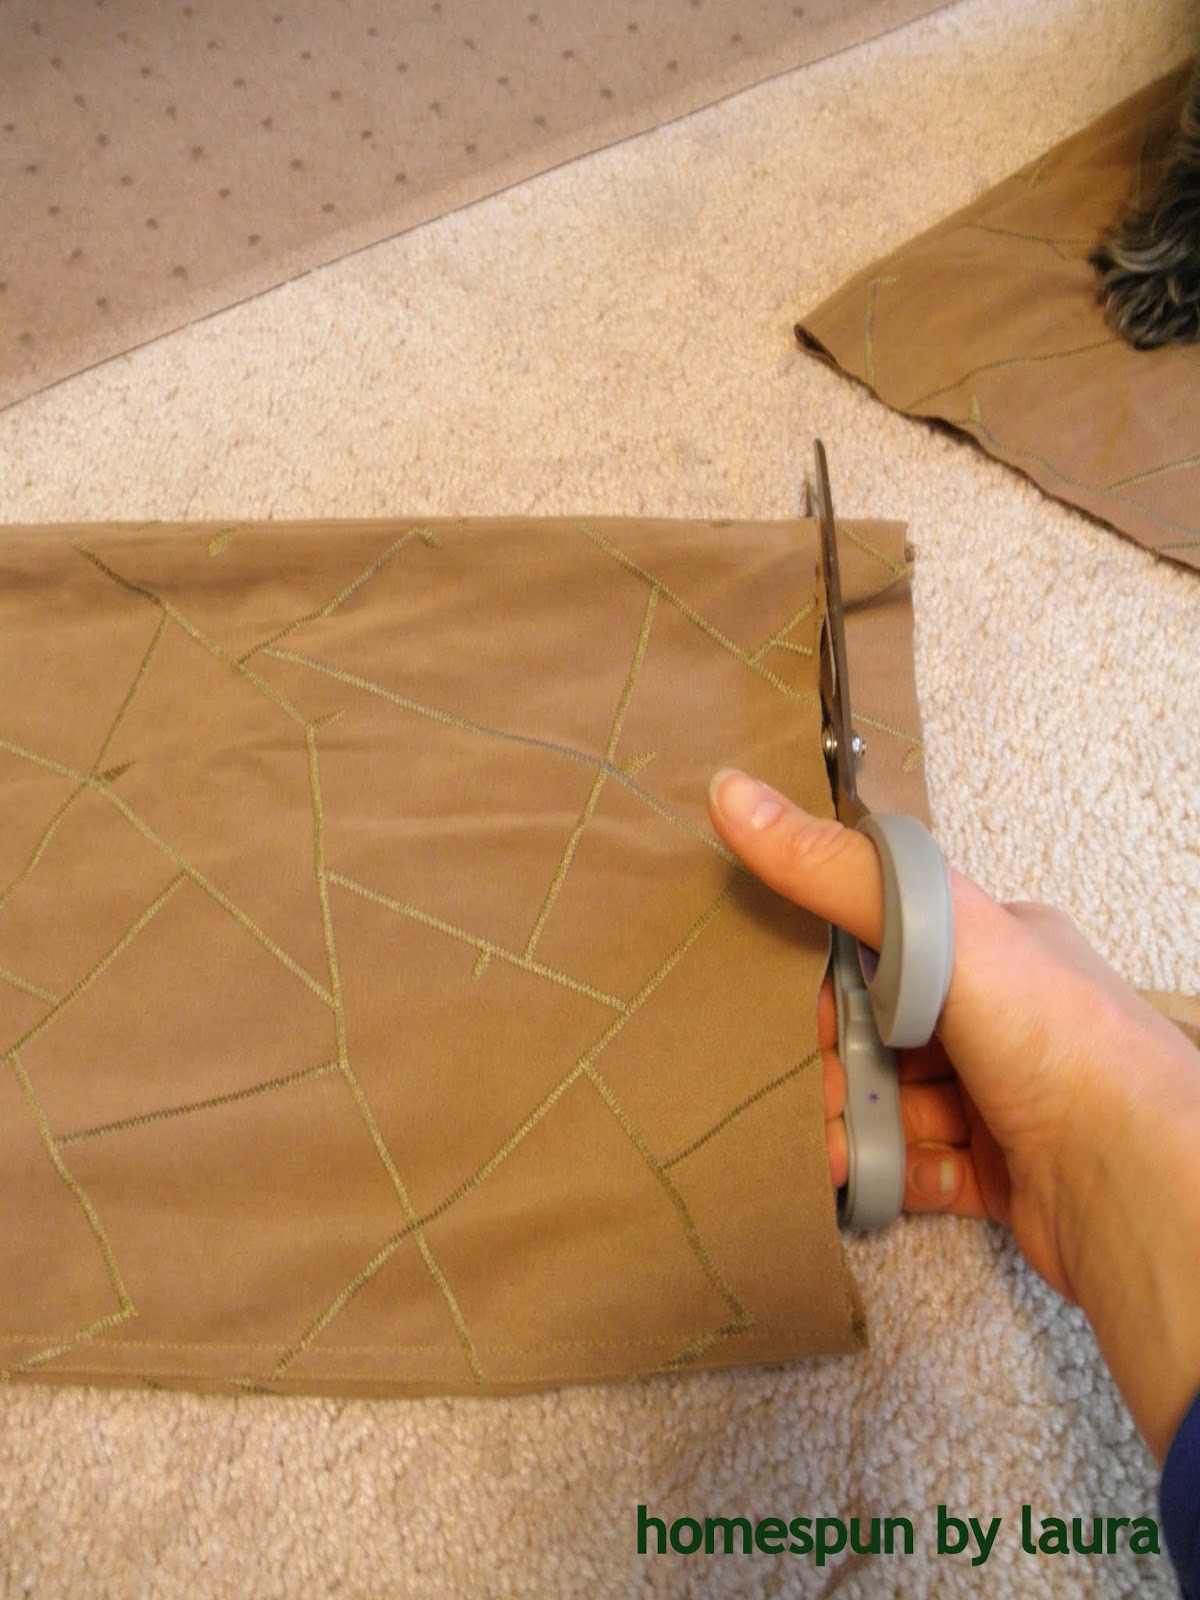
2. I then cut off the bottom 1.5 or 2 feet of the skirt, taking into account that the finished bag would wind up shorter after boxing the bottom edges and hemming the top.
 |
| Making sure it’s all even |
3. As I ironed out the floral fabric, my little helper decided he’d relax on the skirt fabric.
 |
| My constant companion, always finding his way onto my fabric! |
After I displaced his little highness, I laid out the skirt fabric and used it as a template to cut a piece of the floral fabric to create the lining.
 |
| Measuring up |
4. After the floral piece was cut, I turned the skirt inside out so the right sides faced each other, pinned the bottom of the skirt shut, and stitched it up.
 |
| Stitch, stitch |
5. Next, I boxed the edges so the bag would wind up with a flat bottom.
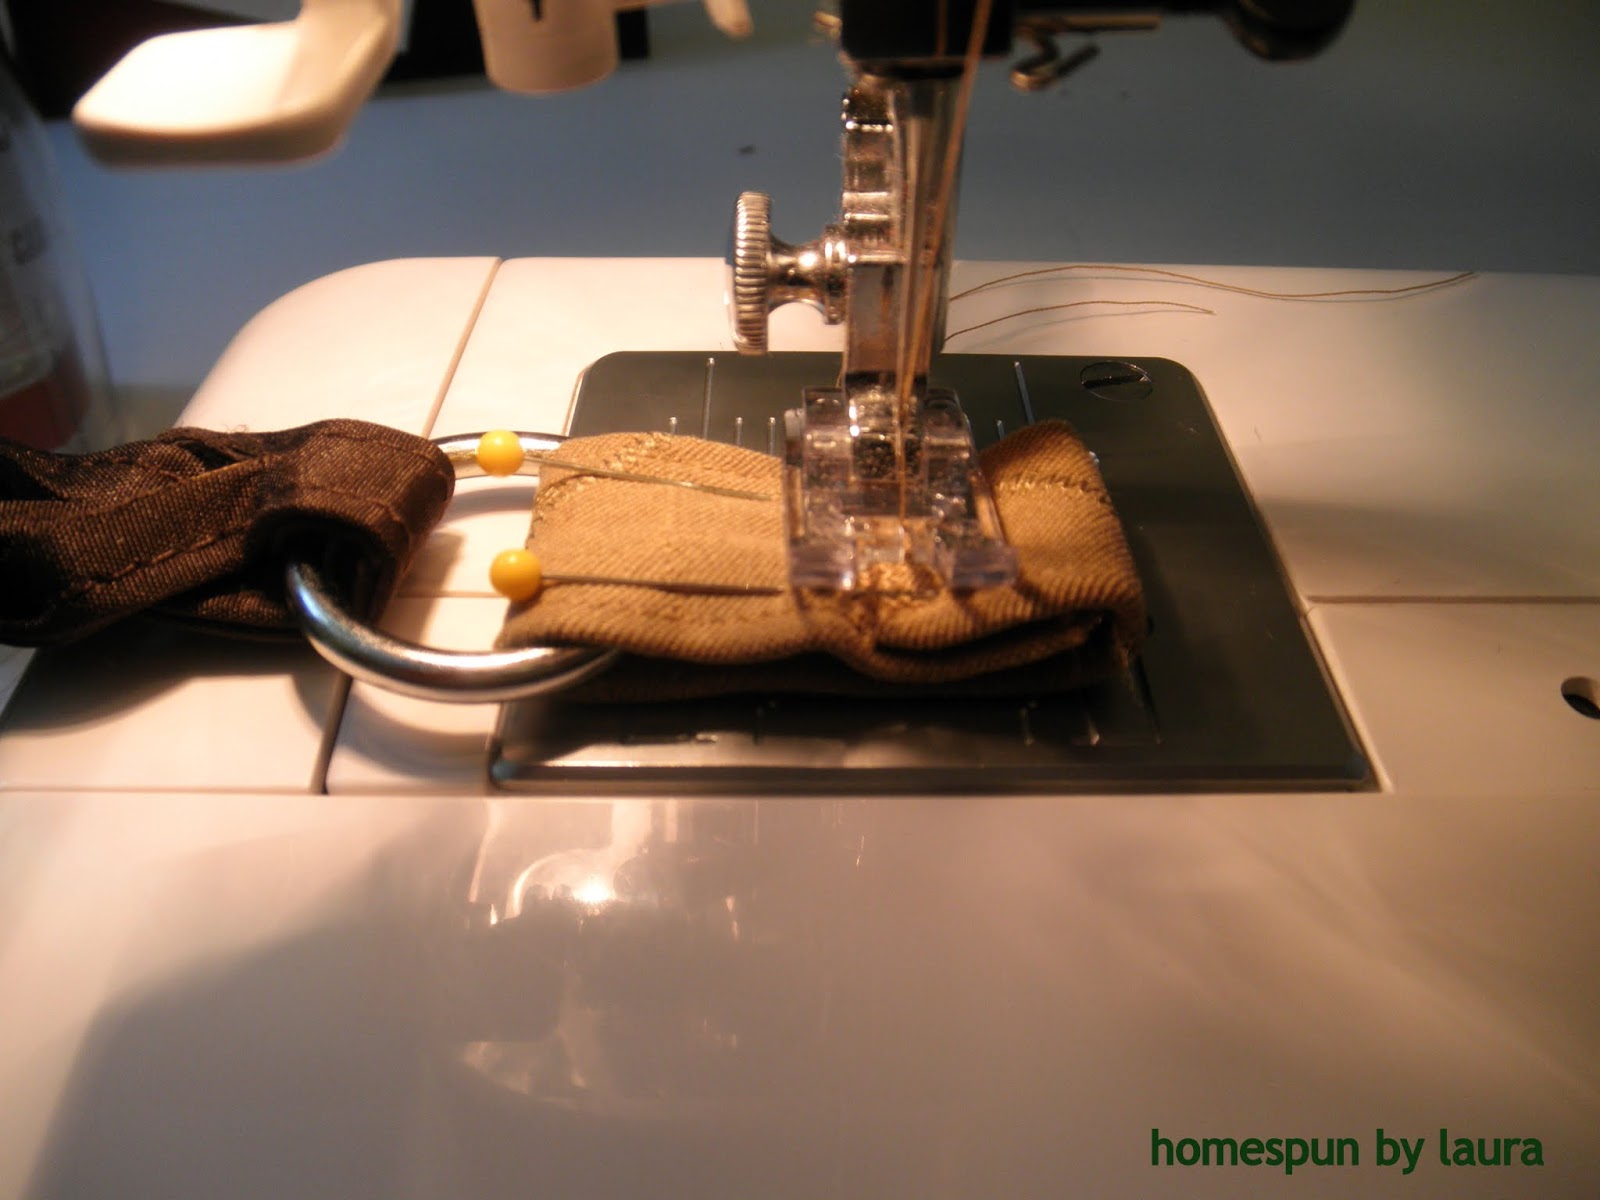
6. After the bottoms had been boxed, I moved on to the attachment loops for the handles…but I didn’t feel like making the straps themselves. I remembered I had a set left over from when I bought the materials for this project so pulled them out and kept on going. To make the loops, I cut four small squares from the skirt and four ~1″ wide strips of interfacing to give them some strength and bulk.
 |
| Two of the fabric strips |
 |
|
I used the rings on the straps as a guide to make sure the loops were the right width
|
 |
|
Stitching up the sides
|
 |
| Securing the ring into the loop |
7. Before I stitched the loops and handles to the bag, I ironed interfacing on to the skirt fabric to reinforce it since it’s pretty thin. After I attached the handles to the bag, I was ready to move on to the lining.
 |
| Lined and ready to add the handles |
| |
 |
| Attaching the loops to the bag |
|
8. I then folded the big strip of floral fabric in half with right sides together and stitched up the sides and bottom to create the bag lining, leaving about 4 inches in the middle of the bottom of the bag open (in order to flip the bag right-side out later on). I boxed these corners, too, so it would fit well within the outer layer of the bag.
 |
| It’s even pretty on the wrong side! |
9. Once the outer part of the bag and the floral lining were finished, I moved on to the inside pocket. I began by cutting a long strip of the floral fabric and used it as a template to cut a piece of medium-weight interfacing to fit behind it.
 |
| The beginning of the pocket flap |
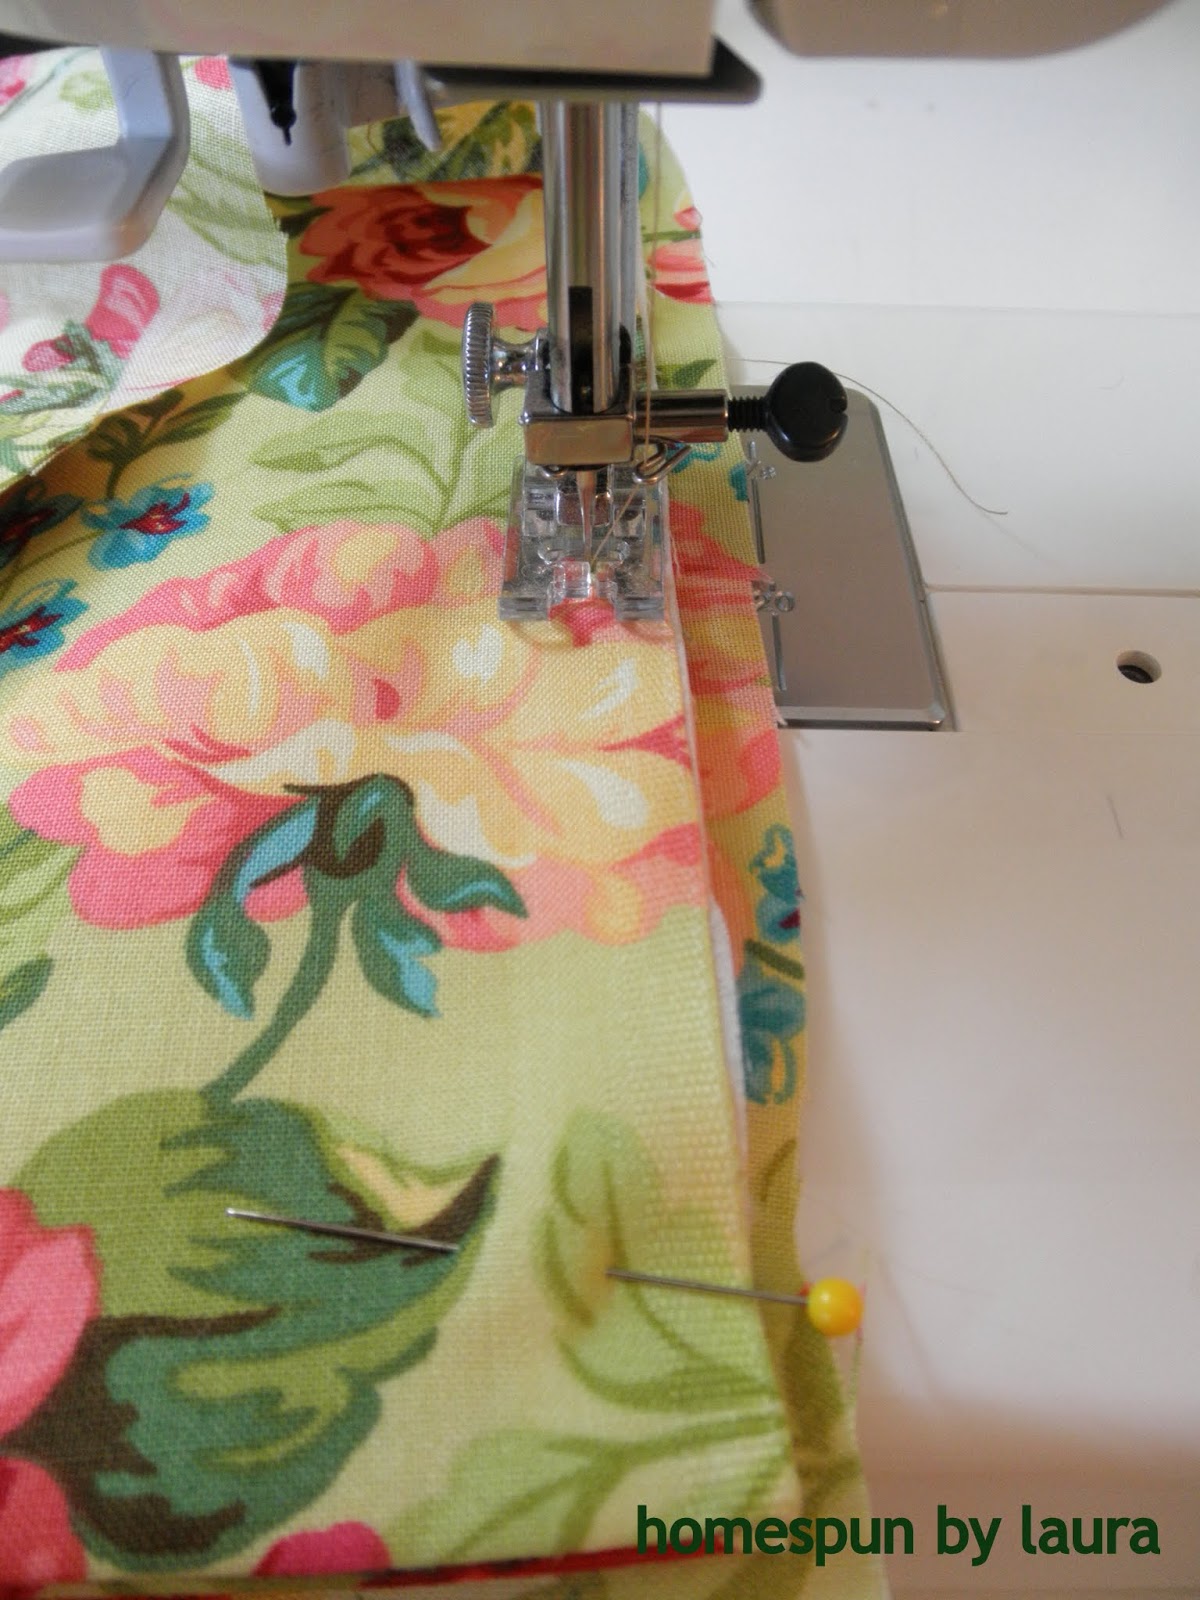
After I ironed the interfacing onto the wrong side of the fabric strip, I folded it in half, ironed the crease, and top-stitched just below the crease. I then made a fold a few inches below the crease (see below), pinned along the sides, and stitched up the sides to create a small pocket in the front of the flap.
 |
| The beginning of the inner pocket |
10. Next, I repeated the step above to create another, larger pocket directly behind the small one.
 |
| Working on pocket #2 |
The finished version of the pocket flap includes 2 pockets with plenty of excess at the top for stitching it into the bag.
 |
| Pretty, floral pocket |
10. All that was left to do at this point was to put all 3 pieces together, so I basted them together to make sure everything was situated properly before making it final. So, with right sides together and inside pocket sandwiched between the two layers, I stitched the 3 pieces together.
 |
| First, I basted the pocket flap to the inside of the floral lining to keep it in place |
 |
| I then slipped the floral lining into the skirt fabric, right sides together, and pinned |
 |
|
I basted with orange thread in case things didn’t line up right and I had to rip it out to start over
|
 |
| Finished basting |
|
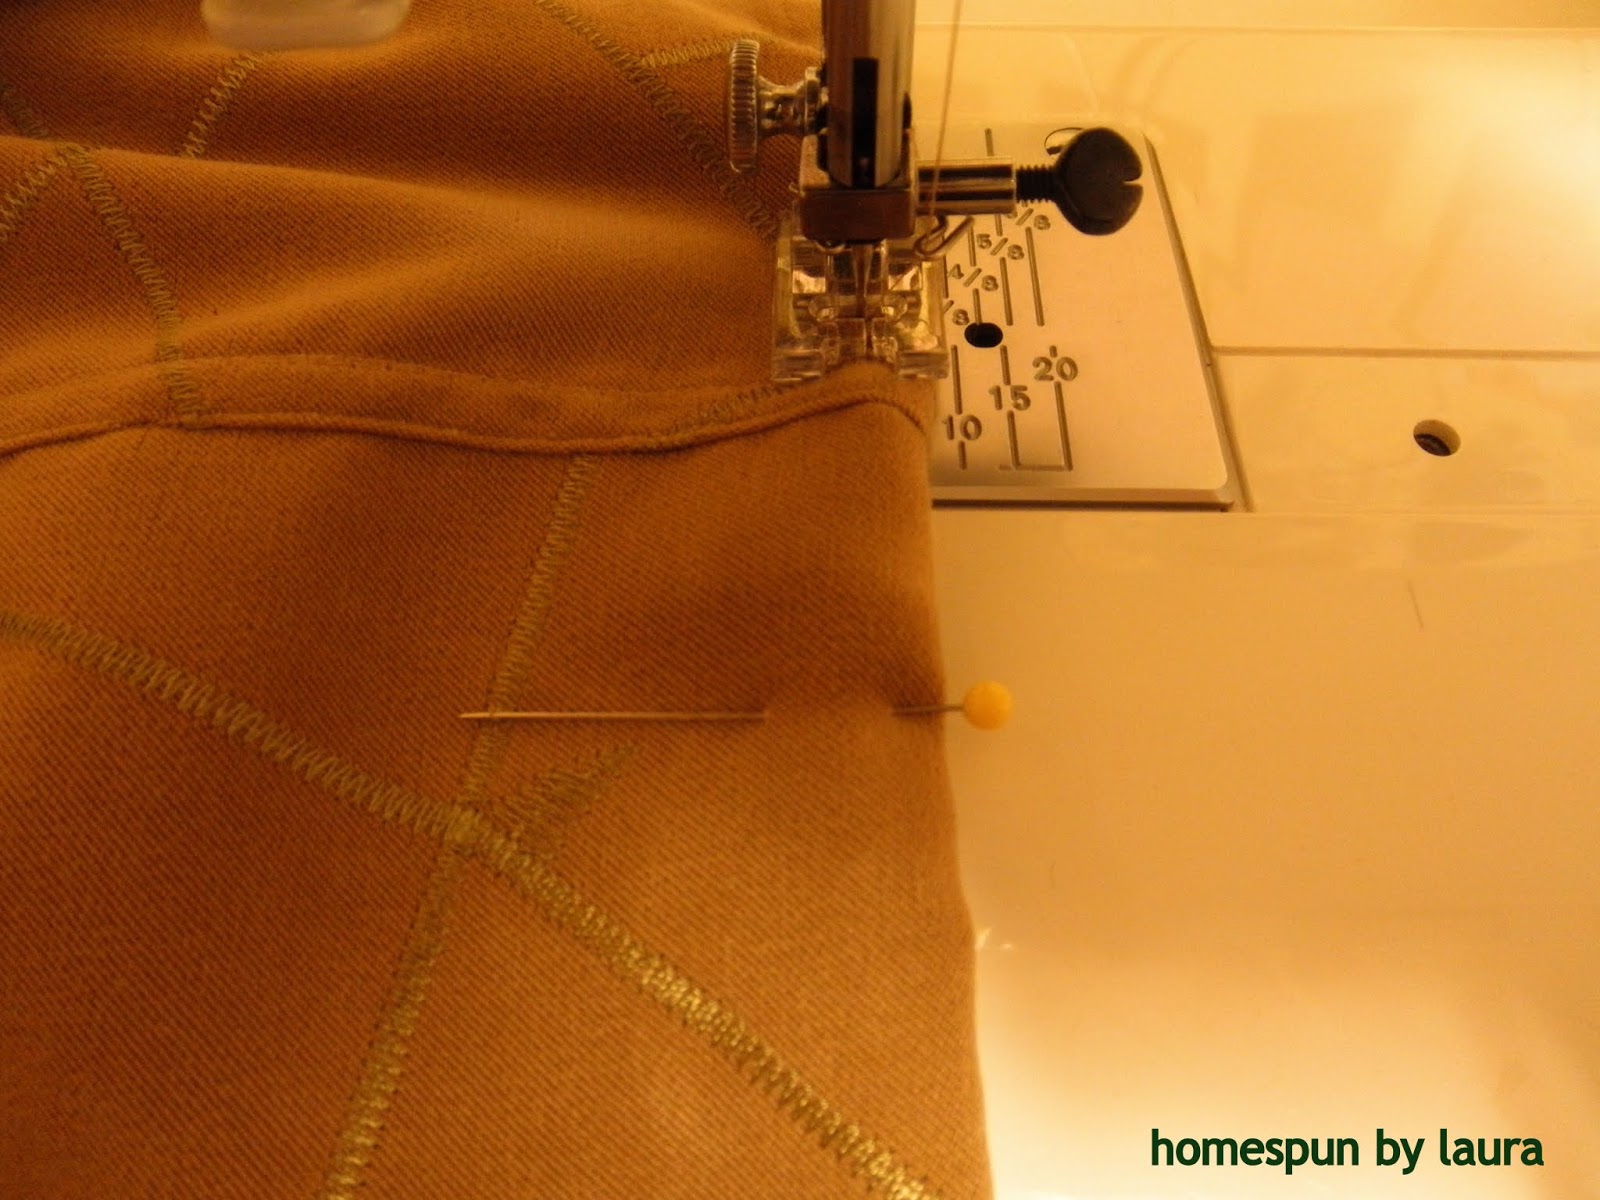
11. After the bag was basted together, I turned it right side out by pulling the entire bag through the few inches of unstitched (open) fabric at the bottom seam of the inside lining. I found that the lining and pocket flap fit perfectly inside of the outer skirt layer. So, I pinned up the top edge to go back around and top-stitch around the bag opening, giving it more of a finished look.
 |
| Top-stitching to keep everything in place |
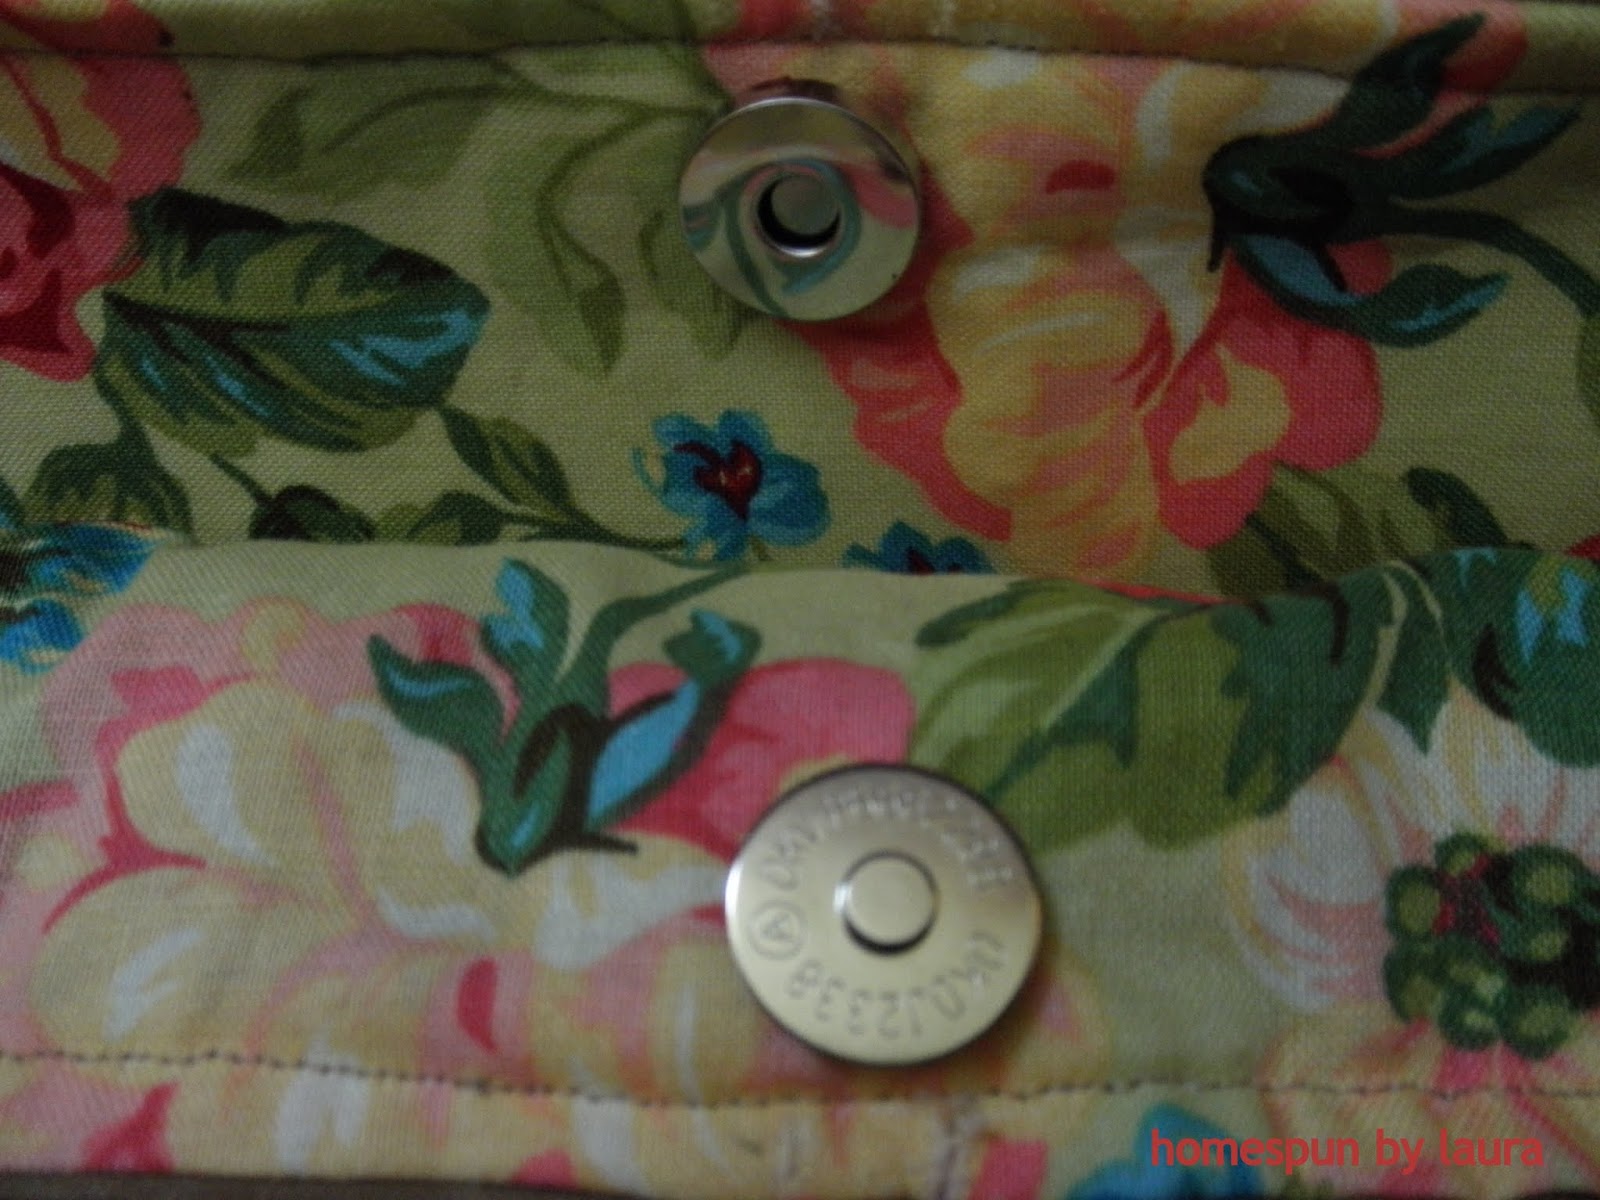
12. Before I stitched up the hole in the bottom of the floral lining, I added a magnetic snap closure.
All finished! I think this just might be my favorite of all the projects I’ve completed for this blog so far. Almost two weeks have passed since I made the bag, and I love it even more now. I’m so glad I cut up the ugly skirt instead of trying to force myself to like it! It’s much better looking as a bag than it ever could have been as a skirt. I love the look of the floral fabric against the neutral faux suede.
 |
| The inside of the bag |
 |
| Full shot of the inside |
 |
| Close-up of the pockets |
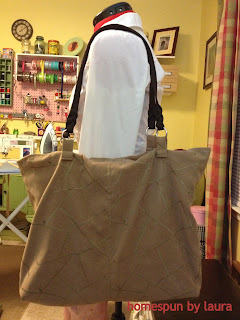 |
| Full shot of the outside of the bag |
Time: 3 hours
Cost: ~$6
Thanks for reading about this transformation!
Laura