My aunt recently cleaned out her closet and sewing stash and gave me the equivalent of a few suitcases worth of beautiful clothes and fabrics. Vintage clothing made of linen, wool, and silk, and yards upon yards of wool, velvet, and a few decorator fabrics. This beautiful blue wool sweater dress demanded to be the first to receive a makeover.
I searched for ideas on Pinterest and came across a few sweater dresses with cute little bows on them here and here and decided to create my own version.
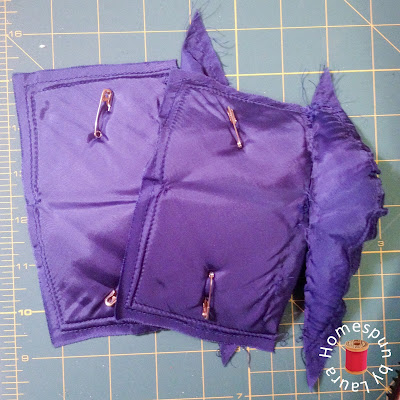
The dress was a bit loose, but I decided I didn’t want to bother with deconstructing it in order to take it in properly (and I didn’t want to risk losing the pockets), so I skipped that process and instead started out by removing the shoulder pads.
 |
| Bye, bye, bye! |
I then put the dress on and marked where I wanted the hem to fall when finished (just above the knee) and marked it.
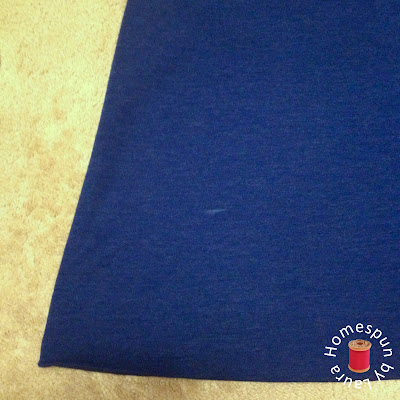 |
| Marking the new length |
Next, I added two inches (for the seam allowance), then moved all the way around the bottom of the dress with my seam guide and marked with chalk to ensure an even cut.
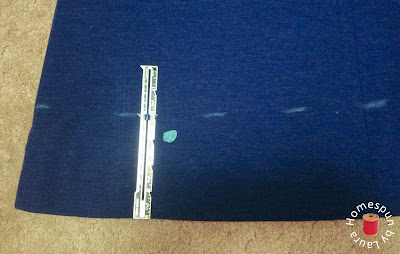 |
| Marking the cut line |
I prefer saving the actual stitching of the hem for final step in case the length of a dress is altered in any other way during the process to prevent doing a bunch of work and winding up with a too-short skirt (I learned that this is more likely if the item is being taken in during this refashion)!
So I moved up to the neck and removed the little reverse scarf (I’m sure there’s a proper name for it, but if there is, I don’t know it, so ‘reverse scarf’ it is!) from the back side of the dress, between the shoulder seams and the zipper, very carefully with a seam ripper (poetry at its finest, that is).
Removing the neck scarf also separated the lining from the top hem, so I turned the dress inside out, with right sides together, and stitched the lining back to the dress with an overcast stitch. The last step before moving on to the front of the neckline was to turn the dress right side out and topstitch close to the seam.
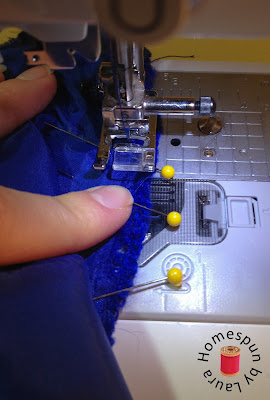 |
| Sewing it up with right sides together |
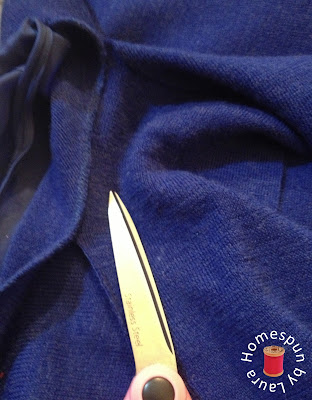 |
| Removing the reverse scarf |
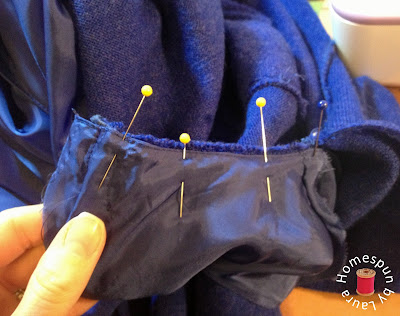 |
| Topstitching the back of the neckline |
 |
| Another view |
The front of the neckline was a bit easier. I cut the rest of the neck scarf off, staying as close to the seam as I could, which kept the neckline of the dress intact.
But it left an ugly remnant, so I folded it under and topstitched, making sure not to stretch the fabric.
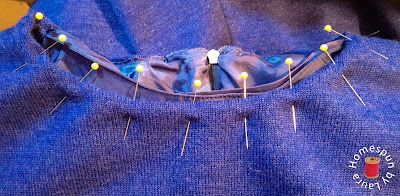 |
| Topstitching the front of the neckline |
I would have preferred to make it into a bit of a scoopneck, but I was concerned that the neckline wouldn’t turn out smoothly if I started messing with it, so I just left the original neckline intact.
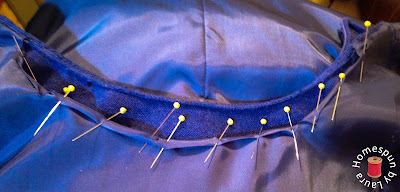
I then moved to the lining, first trimming it down so it would be hidden behind the outer layer, then cutting little notches in it so it would fall flat. I finished it off by folding it in, pinning it down, and stitching.
It was here that, for the first time ever, I caught my finger under the needle. I’ve heard of this happening, but had never done it myself and couldn’t quite figure out how one would do it. So what happened was: I heard one of the dogs run up the stairs and into the room behind me. I thought I knew which one it was, but I looked over my shoulder to check anyway – and kept sewing. The sIight movement was enough to move my finger over and catch it under the needle. I was afraid to look at it for a moment, afraid it might look terrible (because it hurt less than I expected) but it turns out I was lucky – it didn’t go through the finger, just caught it from side to side, like a paper cut.
 |
| Ouch. |
Moral of the story: Never take your eyes off the needle when it’s in motion!
I was lucky that no blood got on the dress, but to prevent any stains during the rest of the refashion, I cleaned up my finger and put a band-aid on it before proceeding.
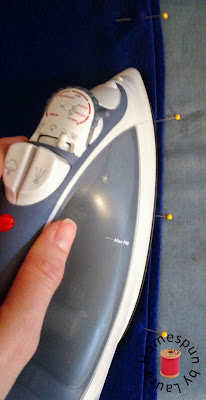 |
| Pressing |
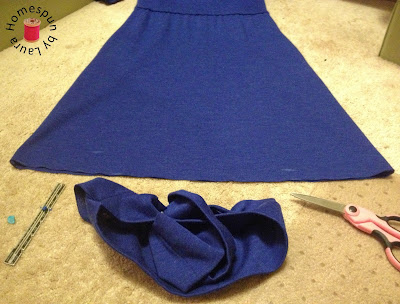
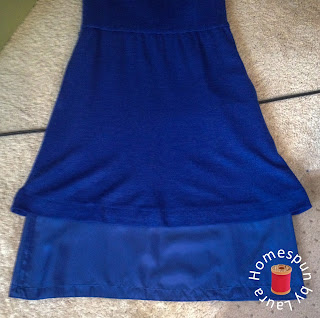
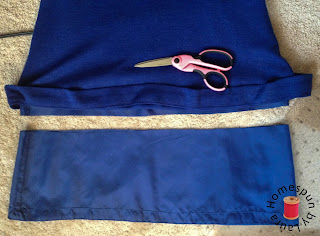
I always seem to have a few sections where I drop several of the stitches when using the blind hem stitch, so I went around two full times instead of just once to make sure the hem was secure. Next was the lining, which I cut off a couple of inches above the skirt hem so it would never peek out from under the dress, then folded, pressed, and stitched.
 |
| I’m so glad I don’t have to deal with that mess anymore! |
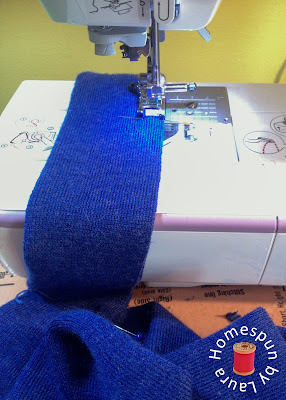
…pinned it, and stitched it into a little tube.
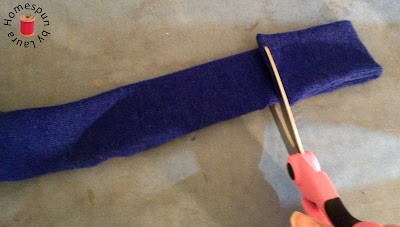
I turned the tube right side out, then cut off a small section, about 6”, for the bow.
I turned the little piece inside out and stitched down all of one of the short sides and about half of the other, leaving just enough of an opening to turn the bow right-side out. I hand-stitched the remaining bit of that short edge closed.
For the dangly part of the little bow, I repeated the same process, but with a longer section, maybe 10” long, and angled the ends. To secure the pieces together, I took a tiny piece of the tube, and wrapped it around the bow piece and the dangly piece like it was a scrunchie going around a ponytail.
All that was left to be done was to secure a pin to the back of the bow and add a big safety pin to the back of it, creating a removable bow pin (though I’ve never removed it).
I tried the dress on at this point, thinking I was finished, but decided I didn’t want to leave the shoulders as they were. They were pleated and definitely dated the dress, so I decided to change them from pleated to gathered. I didn’t need to pull the whole sleeve off, so I started by marking the section of the seam around the pleats that needed to be removed.
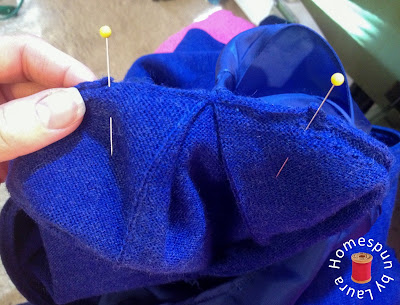 |
| Marking the area to be redone |
Then I grabbed the seam ripper and removed the thread…
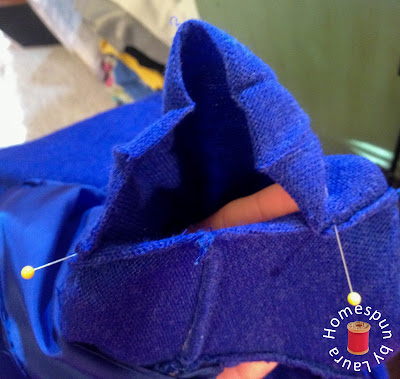 |
| Unstitched and ready to be fixed! |
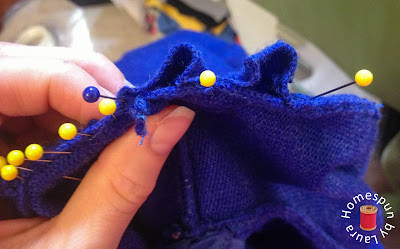
To create a more gathered seam, I left the original two pins at each end, then estimated the center of each section (sleeve and bodice), then pinned them together with a blue pin.
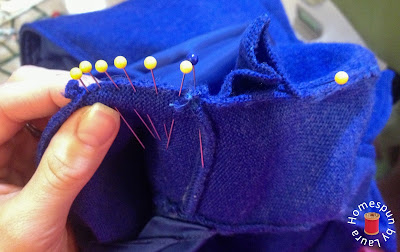 |
| Gathering it up. |
I then kept repeating that process, pinning section by section until the entire thing was pinned.
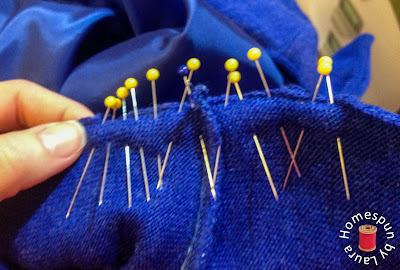 |
| There was nothing I could do about the existing seam that runs down the length of the sleeves. |
I stitched each sleeve back together, going beyond the pinned area and overlapping the original seams to make sure the sleeves were securely fastened to the bodice.
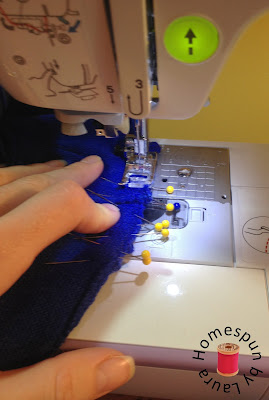 |
| Reattaching the sleeves |
To solve the problem of the odd almost full-length sleeves, I just tuck the long fitted section up under the baggier section every time I wear it to create 3/4ish length sleeves, no cutting or sewing required!
Somehow, the only ‘After’ photo I have of this dress is the one you see on this post in various sizes. It was the first time I wore it, and I used the belt that came with it. We went to a Norman Rockwell exhibit at the Columbia Museum of Art, so I had to wear a little museum sticker on my dress while I was there.
Since then, I’ve worn it multiple times and have worn a wider black belt instead. I was certain that I had a few other (better) ‘After’ photos to choose from, but they seem to be lost. Or else they don’t exist. So when the weather finally decides that it’s time for winter to come to South Carolina, I’ll wear it again and get a better photo to share!
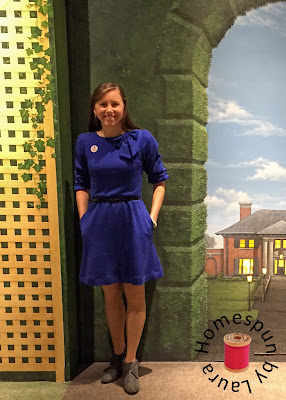 |
| I’m a big fan of the pockets! |
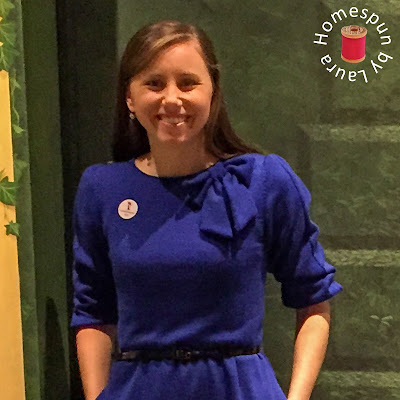 |
| And I absolutely love the bow! |
I found out last weekend that this dress was originally my grandmother’s, so now three generations of women in my family have enjoyed it. That’s pretty awesome, I think!
Thanks for reading!
Laura


