Week 2 of the one Room Challenge saw a little laundry room progress and a little out-of-state travel. Read on to see what got done and what didn’t.
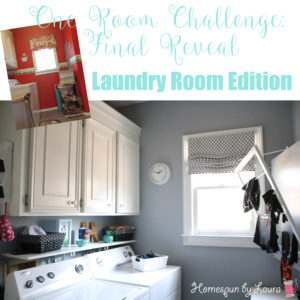
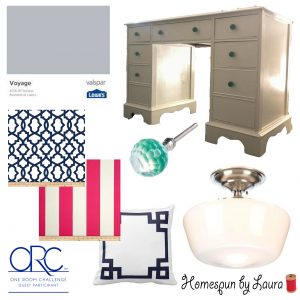
In the spring One Room Challenge, I’m focusing on our sad, beige laundry room with the goal of transforming it into a fun, colorful space inspired by two famous TV kitchens.
The One Room Challenge is a 6-week long project hosted by Calling it Home during which participants focus on updating one room in their house with the goal of creating a beautiful ‘after’ to enjoy, sharing their progress along the way.

This means that if I can stay on track, I’ll have a fun, colorful laundry room by mid-May!
If you’re new here – thanks for stopping by! I’m Laura and I’m rolling up my sleeves to make our beige builder-grade laundry room a little more fun and colorful – on a $100 budget. You can read more about the plan for the colorful laundry room here, but if you’re short on time, here’s the basic idea: Add some color and personality, pulling inspiration from Monica’s kitchen in Friends and the tent kitchen on the Great British Bake-Off (see link above for inspiration photos!).
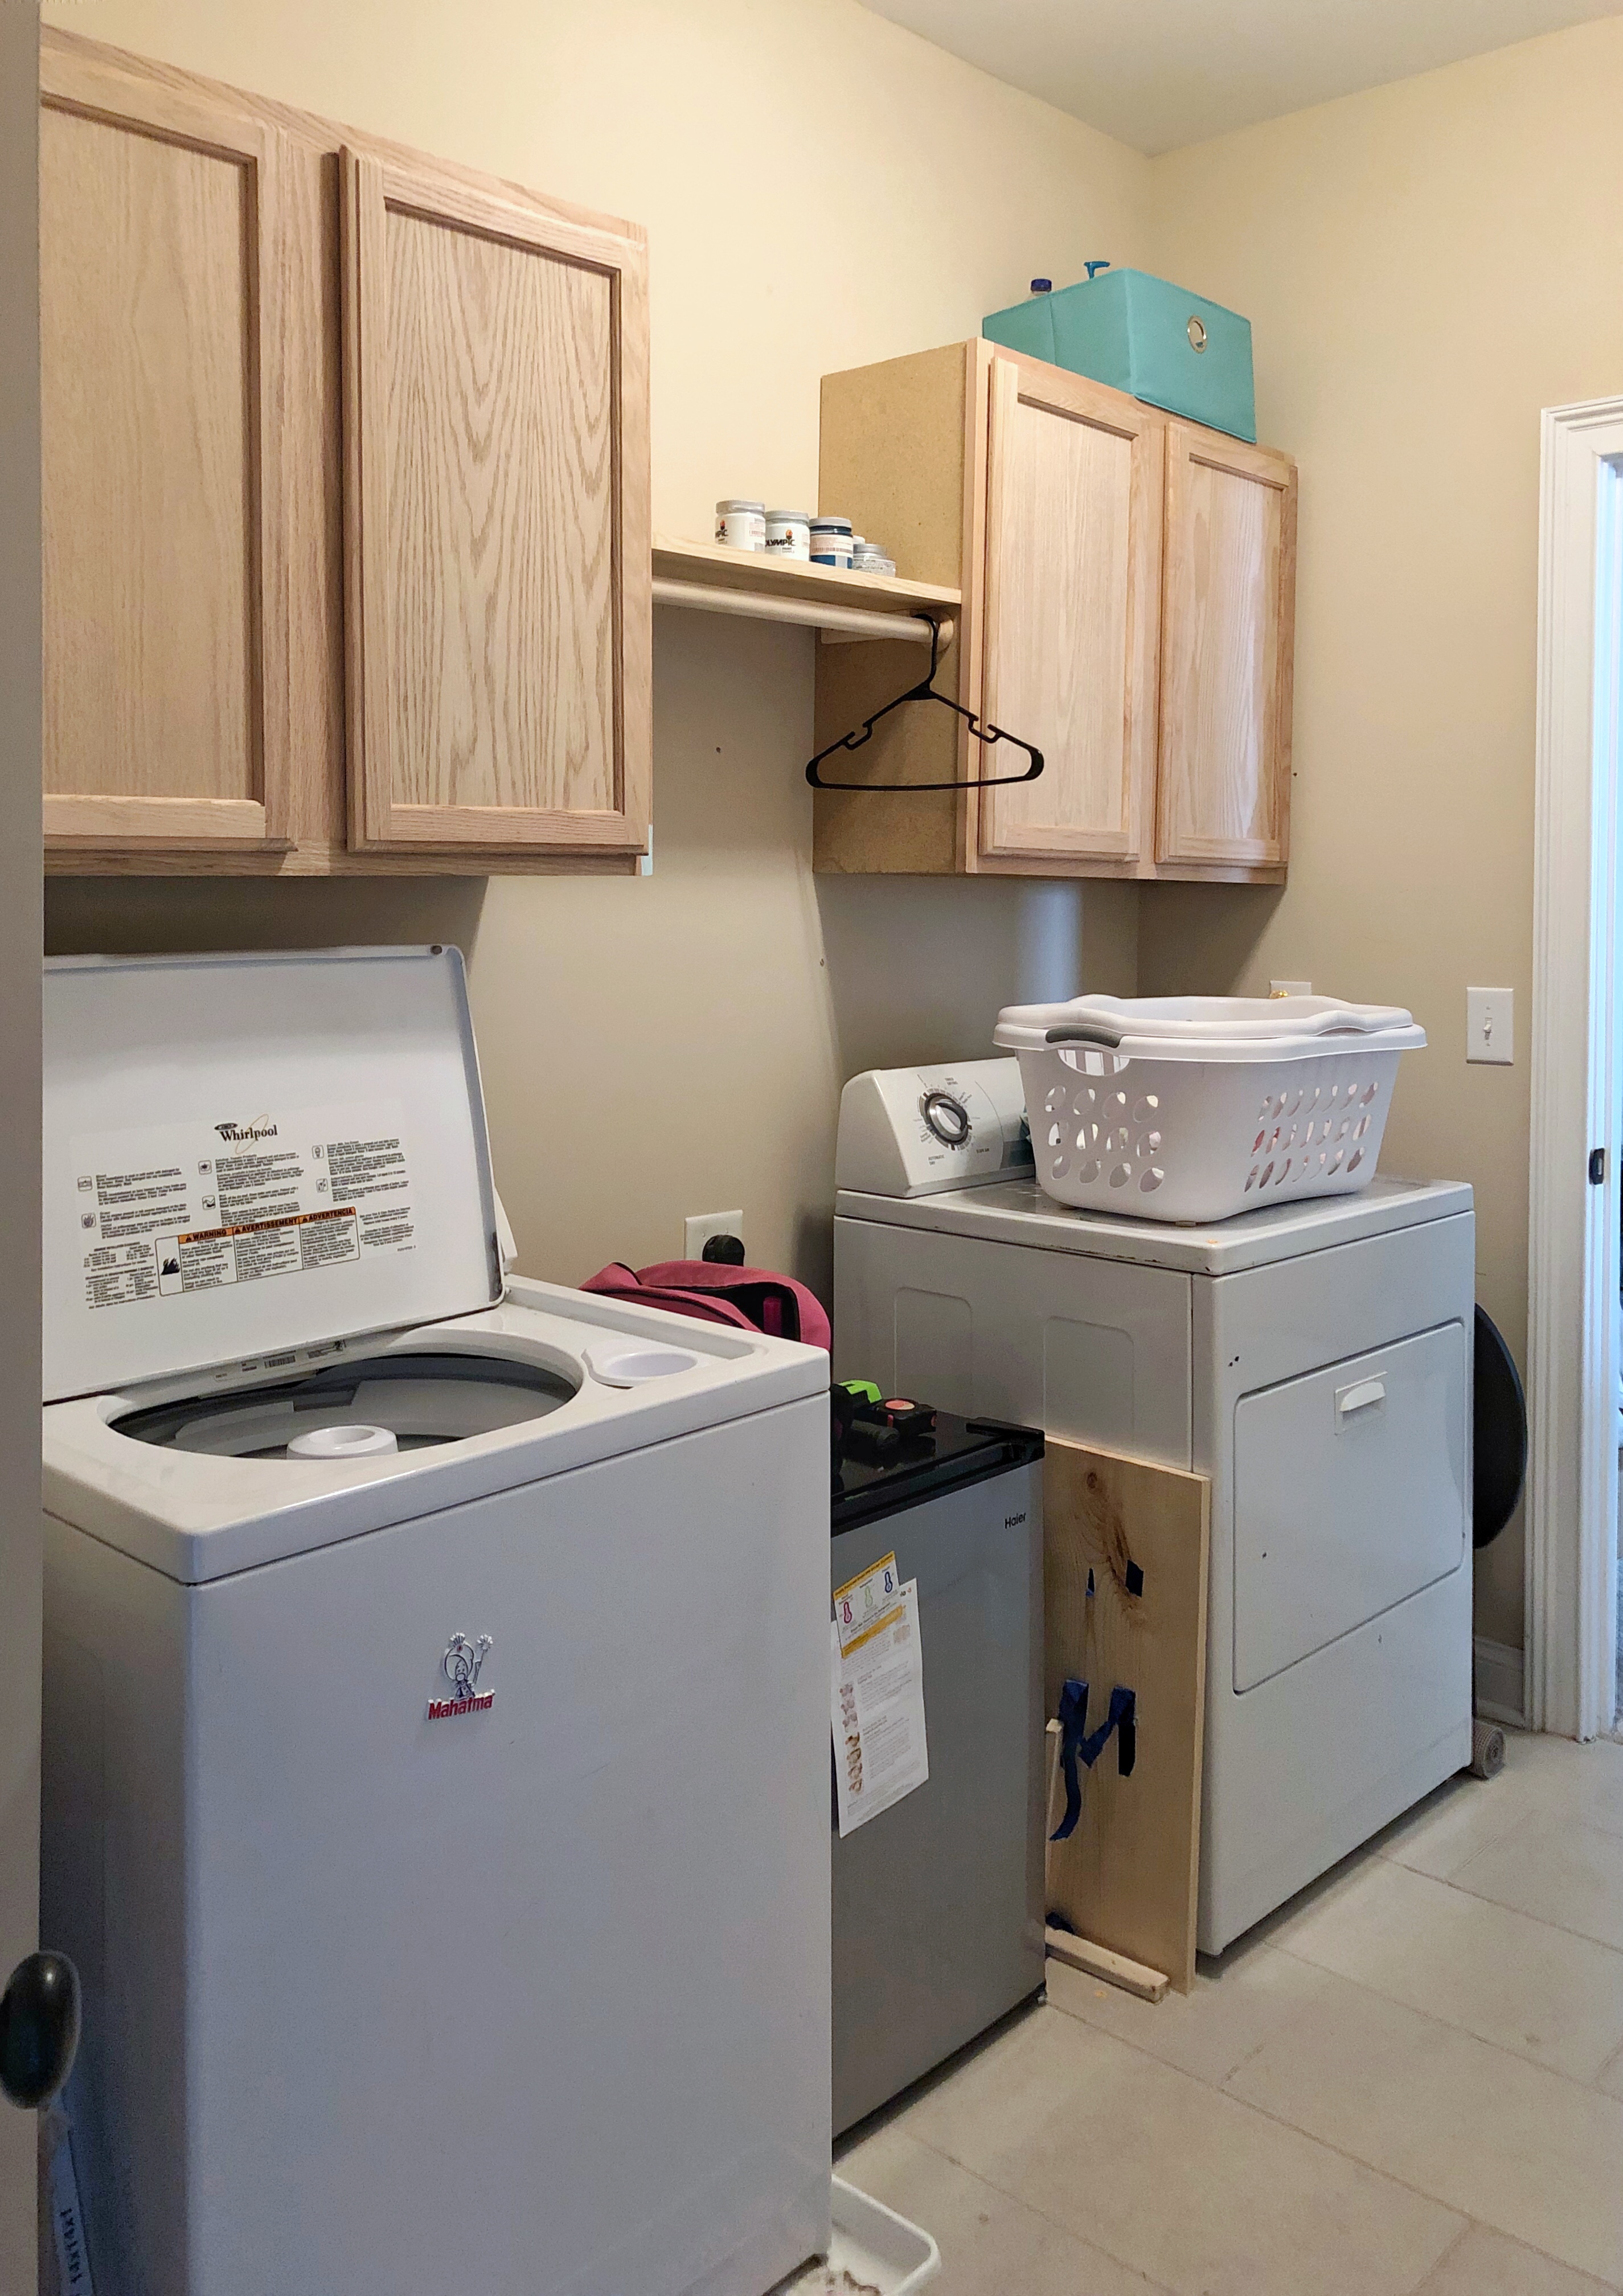
the before
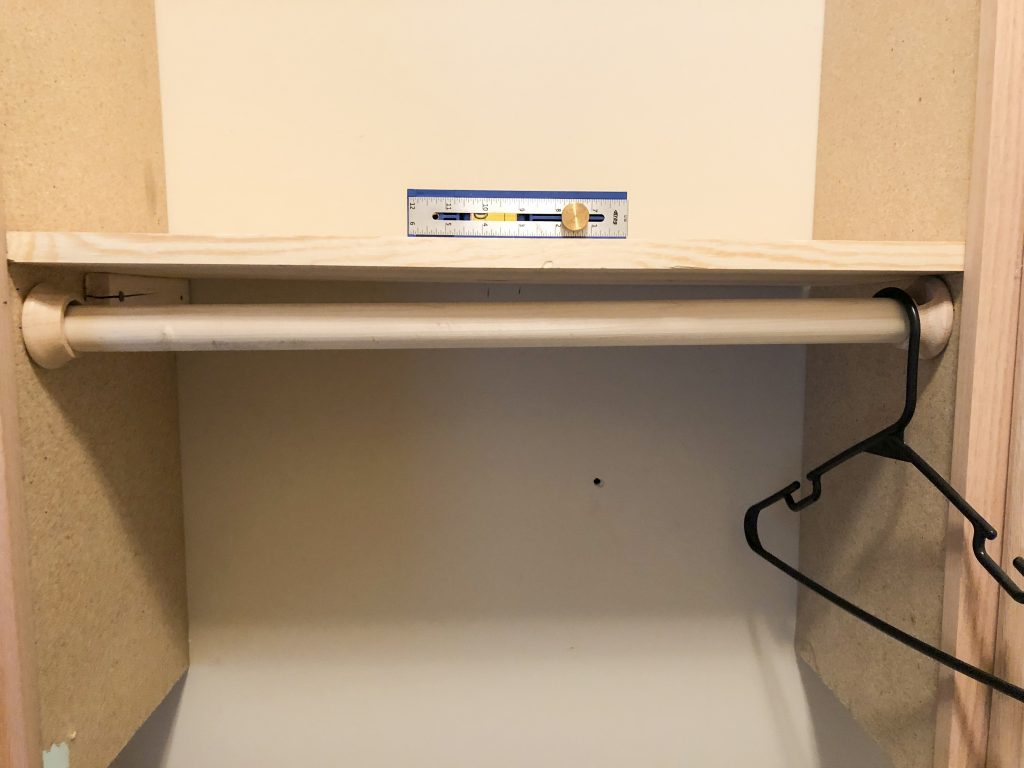
When we moved in, our laundry room was functional but lacked storage or personality.
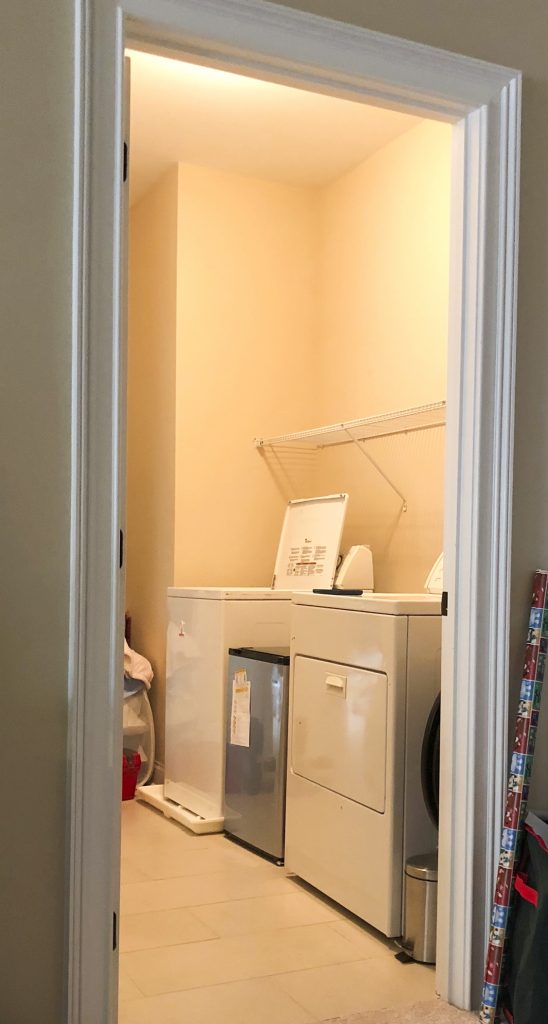
The laundry room…Before!
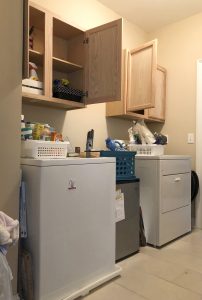
We got a jump-start on the room last year by adding stock cabinets from Lowe’s, which improved our storage situation but made the room even more beige. The wire shelf got a second life in a much more appropriate location; it now lives in the garage, where it stores some Christmas decorations.
In progress
Last week, I decided to participate in the spring One Room Challenge to hopefully motivate myself to finish the project within 6 months of starting it!
Colorful Laundry Room: week 2 update
It’s rare that I post a One Room Challenge post on time, but we were traveling from Saturday to Wednesday and I knew I wouldn’t be able to do any more work in the room. So I cut my losses and decided to call it a week on Monday instead of waiting until the last minute on Sunday afternoon to start this post.
But in the little bit of time I had at home in Week 2, I was able to accomplish a little…
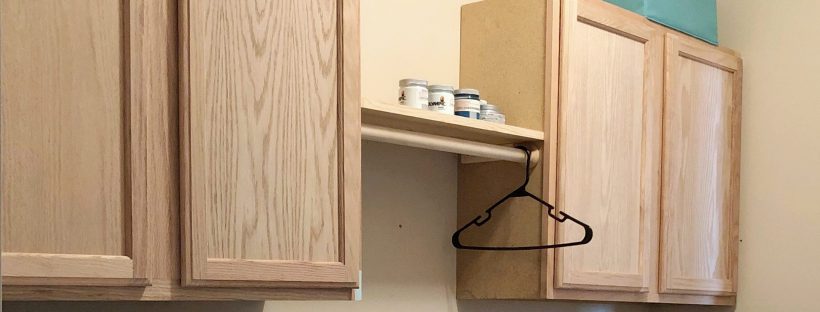
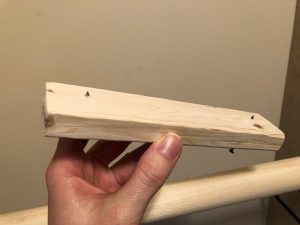
install rod between cabinets for hanging clothes to dry
I typically prefer to actually lay clothes flat to dry, but this rod is better than nothing! It’s also the best way I could think of to hide the fact that we hung the cabinets crooked and not quite at the same height. So far, it seems to be doing its job!
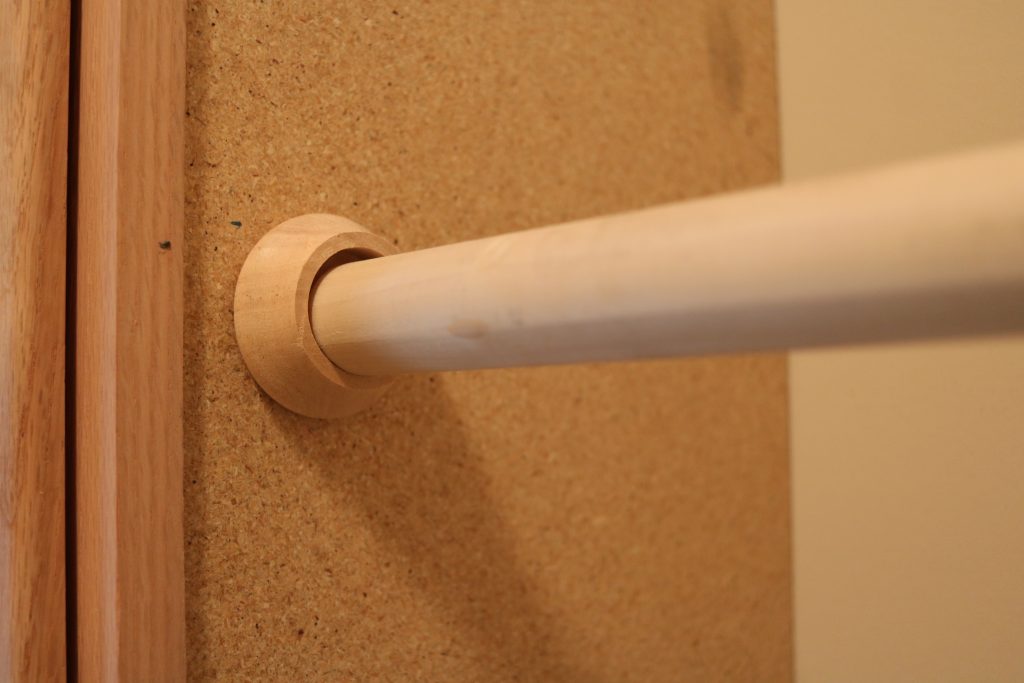
It’s nothing fancy; just a 1-1/4″ wooden dowel and a rod bracket.
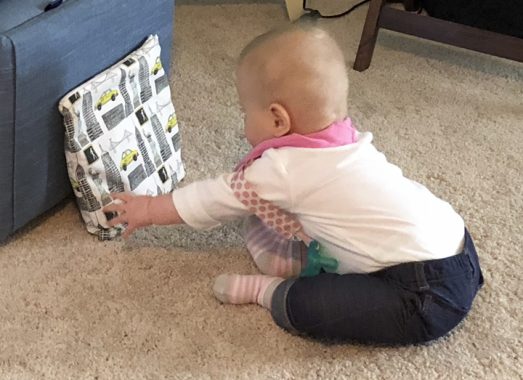
I was in the middle of installing the hardware when nap time abruptly ended, so I had a little helper for a few minutes. Fortunately I was able to distract her with something interesting she’d never seen before long enough to finish the job!
The rod isn’t quite level, but after two attempts to straighten it I decided to just go with it. It’s very difficult to tell so far, but it’s quite possible that after painting it will be more obvious. If that’s the case, I’ll straighten it out then.
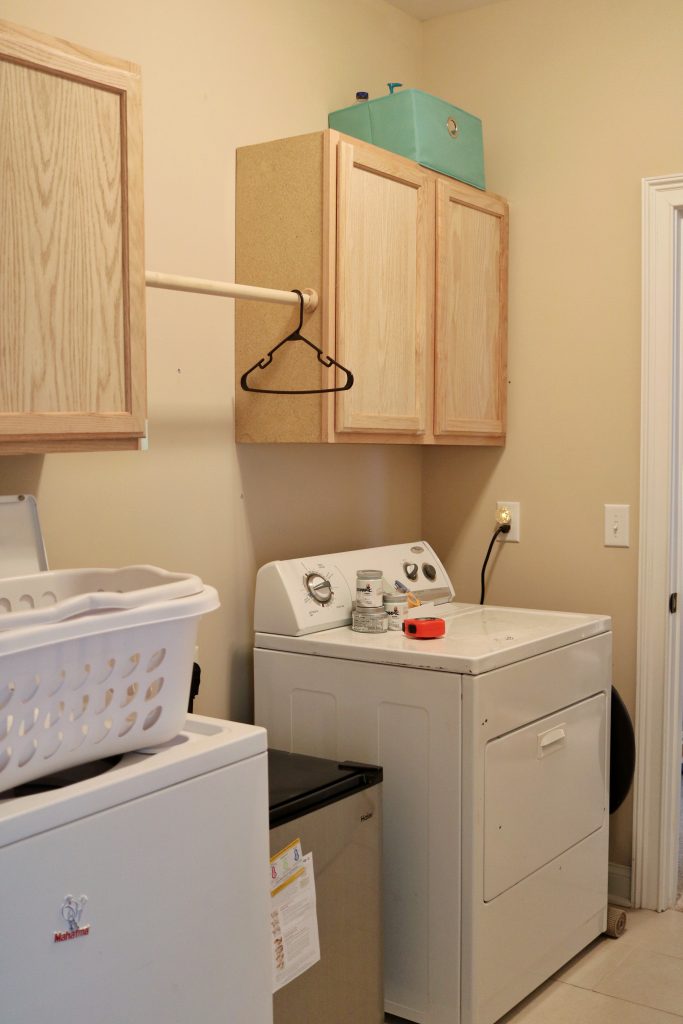
install shelves above rod
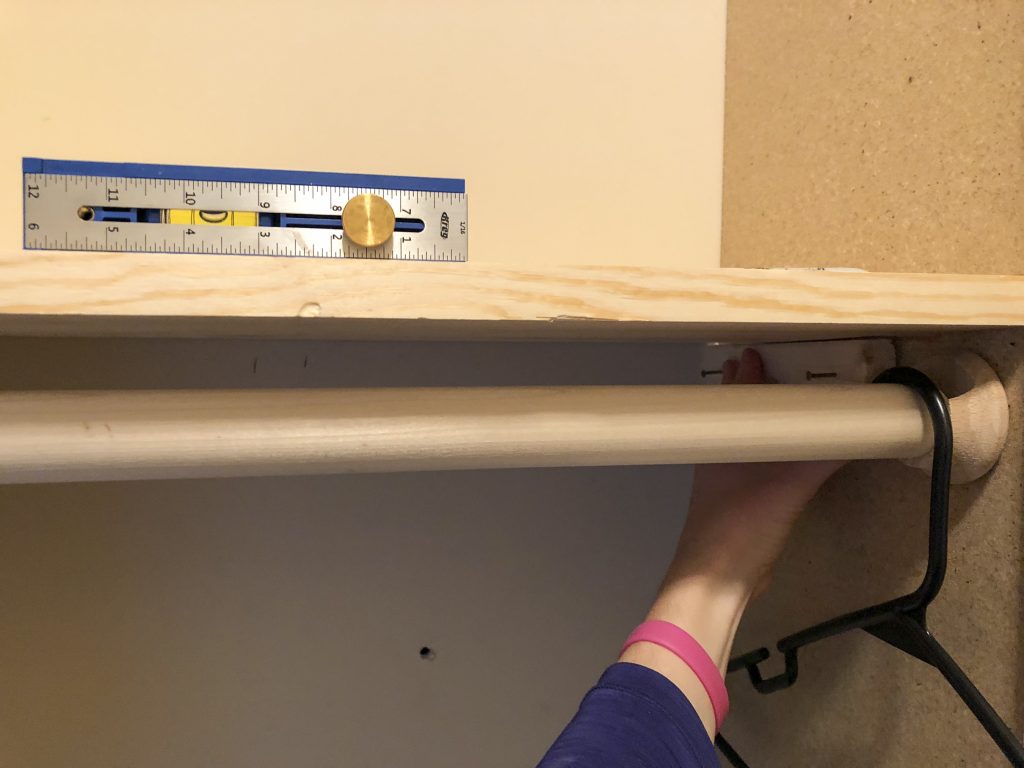
In addition to the rod, I envision having two shelves to connect the two cabinet units and create a space to display a few photos/decor or laundry necessities.
So far, one shelf is up! It’s even level!
Ok…the fact that the rod is crooked is already apparent…
Usually I leave this sort of work for the Mister because I don’t have the patience to find a stud or check to ensure that whatever I’m hanging is level. But work has been busy for him lately and I didn’t want to wait – plus, having a little one has improved my patience level slightly. So I hung it during nap time the other day and didn’t wake her up!
I pulled out my level and his stud finder, which I wound up not needing. I’m not going to have much heavy stuff on these shelves, and they’re not very wide. A support on each cabinet should support the weight just fine.
Since I’m going to paint the wooden shelf supports, I saved a couple bucks by using a furring strip instead of a pine board. And since I’m attaching the supports to the side of the cabinets, I could get away with nails instead of screws.
I made the process a little easier on myself by starting it on the floor.
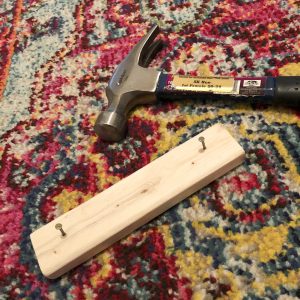
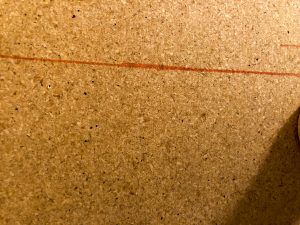
I then held the shelf up and marked the line (which shouldn’t show through after I finish painting) with a pink “it’s a girl!” permanent marker because it’s all I could reach.
And then I hammered it in.
I repeated the process for the second side, ensuring that the shelf was level before I started hammering.
Currently, I’m storing a few small paint sample containers on the shelf. Mainly because I moved them off of the dryer and forgot they were there.
Colorful Laundry Room: week 3 goals
While I hope to accomplish several items on the to-do list, my main goals are to:
install the top shelf
I will hopefully be able to install the top shelf later this week. I had to send it to the workshop (AKA my father-in-law, who has all the cool tools!) to get shaved down a hair; when I got it cut on the giant saw at Lowe’s it came out just slightly too big. Since the cabinets aren’t square, it was difficult to measure correctly, and I overestimated.
determine paint color + paint cabinets
In Week 3, I hope to mix/test some paint colors and possibly even paint the cabinets.
I’ve found several colors I like but to keep from spending any of the $100 budget I set for myself on paint, I’m going to attempt to mix a custom color. If I can’t get it right, I’ll drop the cash for a sample size of Sherwin Williams paint. Unless something has changed since the last time I got an SW sample, their sample containers are large and should contain enough paint to cover these cabinets.
(Funny story- I dreamed last night that SW had made its sample sizes significantly smaller. The One Room Challenge has made its way into my dreams…or nightmares! And it’s not even that stressful yet.)
I’m so excited about this step, especially since my missing paint turned up last week in my in-laws’ garage! We… distributed… many of our belongings to a variety of places, including our parent’s garages and attics last year when we had to temporarily rent a small townhouse in between selling our old house and buying a new one. Every now and then, something will pop up in a place we didn’t remember storing anything.
I downloaded the Sherwin Williams ColorSnap app to get a visual of what the cabinets will look like painted…but I’d say the image in my head looks much better!
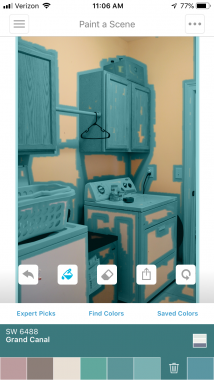
Maybe the app is telling me I should paint the washer and dryer, too.
It looks like something I made on Paint on our Gateway computer in the late 90s! My guess is that it’s so beige in the room, the app can’t differentiate the various surfaces very well.
I haven’t determined yet whether I want to paint or stain the shelves and rod between the cabinets. I’ll probably wait and decide after I’ve got a color on the cabinets themselves.
remaining to-do items
Install rod between cabinets for hanging clothes to dryInstall shelves above rod to connect cabinets and display things2a. Install top shelf!
- Paint cabinets
- Paint/stain shelves and rod
- Add cabinet knobs – perhaps this is where the copper comes in!
- Add a decorative backsplash of some kind, perhaps a faux white brick wallpaper, which I’ve seen at Target
- Sand down/straighten poorly hung doors so that pretty rug fits under them
- Hang iron/ironing board holder on wall behind door
- Shop the still-boxed collection of frames, photos and art from our recent move for something to hang on the large, bare wall opposite the washer/dryer/cabinets
- Shift washer, dryer, and mini fridge locations to maximize the space
- Construct a shelf across the length of the wall above the washer, dryer, and fridge
If I’m able to accomplish all that and have time left over (doubtful!), my dream list would also include:
- Paint the walls; however, much of our paint collection is unaccounted for after our recent move, and this will depend on locating said paint!
- Construct some sort of counter surface above mini fridge for storing laundry basket/folding clothes
- Build a laundry drying rack similar to the one I made the last time I updated a laundry room for the One Room Challenge that we left behind in our old house.
Come back next Thursday (ish…) to see my progress. In the meantime, take a look at the projects everyone else is working on and check my stories on Instagram to see what’s happening!
Thanks for stopping by.
Take a look at my previous One Room Challenge projects here:
The Vintage Toy Nursery (still in progress…)
The Office / Sewing & Craft Room (the time I started it)
The Office / Sewing & Craft Room (the time I finished it!)

The Laundry Room (old house)