Have you ever found a comfortable or cute chair at a thrift store but hated the fabric? Upholstery is a fun, tedious, and rewarding process that can produce a beautiful result for significantly less than the price of a new chair. Read on for tips on how to reupholster a chair of your own and save several hundred dollars in the process!
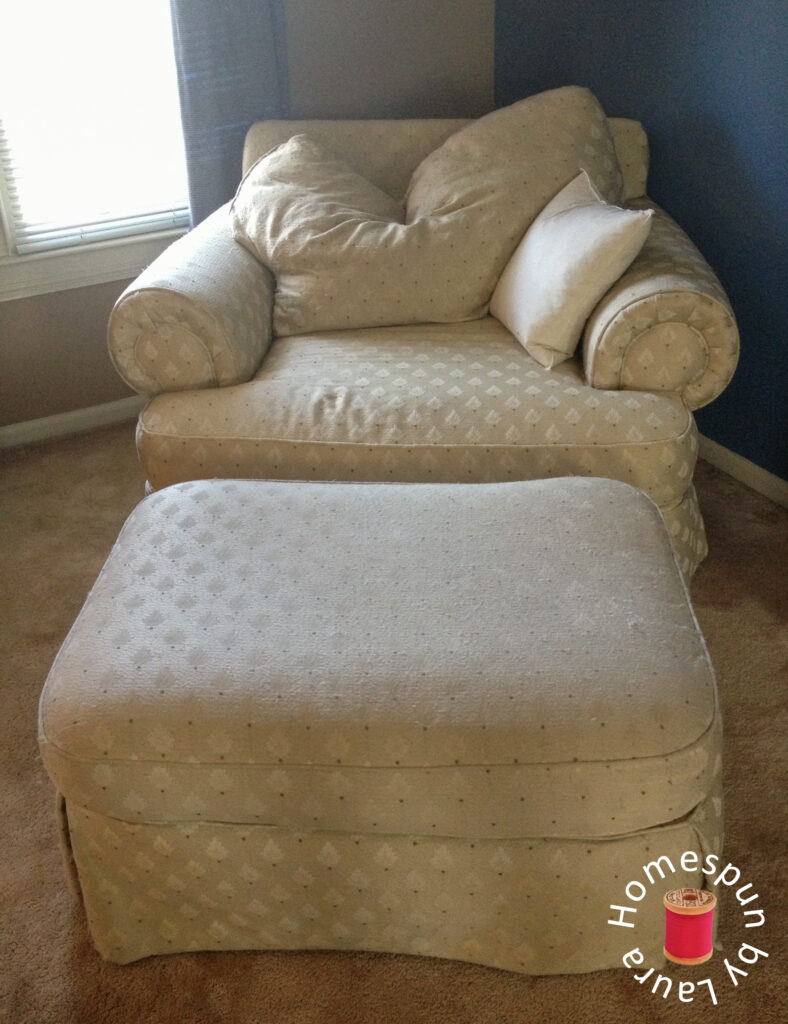
We bought this chair and its matching ottoman at a furniture consignment store about five years ago, and they’ve been in need of attention ever since. They weren’t in horrible condition – and it’s always been super comfortable place to lounge– but they looked a little sad and needed some help.
This post contains affiliate links. If you make a purchase through a link, I make a small commission at no extra cost to you. Thank you for your support!
How to Upholster a Chair: Choose your Fabric
Make sure you look for thick upholstery fabric as it’s thicker, stronger, and will hold up to use better than lighter fabrics. It’s also a lot easier to manipulate than a thinner fabric, making your job easier.
To estimate yardage, there’s a handy chart, which most fabric stores will be able to provide for you. But if you’re looking online, here it is:
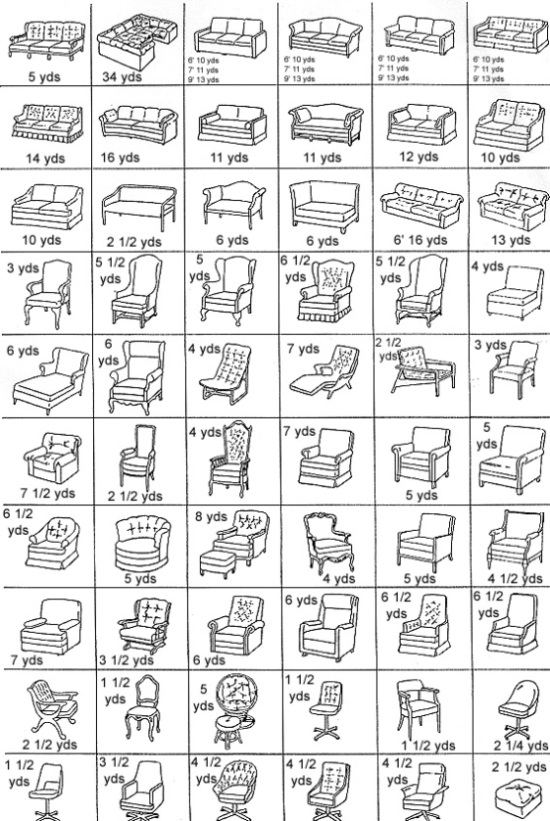
Use this handy chart to estimate how much fabric you need to upholster your chair! Image Source: Calling it Home blog
The chair I upholstered during this particular project is huuuuuge, so I ordered 9.5 yards. I wound up needing a few more yards so had to place a second order. Like I said, the chair is enormous!
I lucked out when I found this great upholstery fabric on fabric.com for only $12.98/yard (8/2016 Update: Unfortunately, it has since been discontinued. I can’t find it anywhere online now!).
 |
Richloom Pennline Upholstery Jacquard Midnight |
I kept on looking for a while, though, because I wasn’t certain about it – I was afraid that on such a large piece of furniture, the smaller pattern might look too busy. But I kept coming back to it since it appeared to be the perfect color to bridge the gap between our blue wall and the new gray couch, and it was the best price I was going to find on true upholstery fabric. I needed something heavy and durable since the back of the chair is the dogs’ favorite spot to lounge, especially when the afternoon sun hits it. And they’re diggers – they dig on carpet, bed sheets, and furniture, so the fabric needed to be able to withstand their little claws scratching it over time. I ordered a swatch of it and as soon as I saw it in person (and it got the Mister’s seal of approval, too), I knew it was the right choice.
Essential Upholstery Tools
Having reupholstered one chair about 3 years ago, I went into this project with more confidence than I otherwise would have, but it was a massive chair and was both newer and better put together than the first one, so it was still a challenge. I invested in a few tools that made the whole process much easier:
- The Dritz Home Heavy Duty Staple Remover(which I got for only $4 by using a 60% off coupon at JoAnn’s; it would have been worth paying the full price, though!). Using only a chisel on the first chair was a rookie mistake and left my hands all cut up because it slipped often and I wound up with quite a few broken fingernails and cuts all over my hands. Gloves would have helped then, and I did wear them this time throughout the staple-removing process.
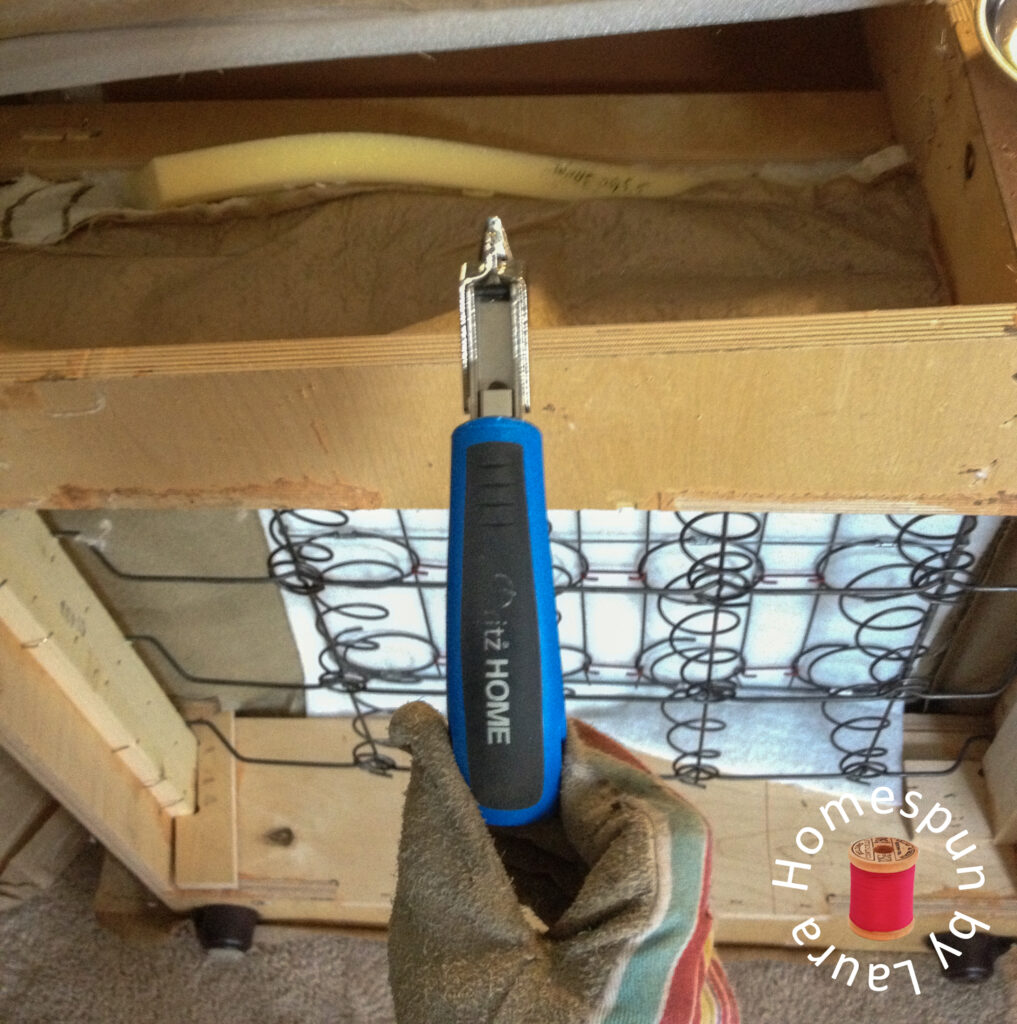
Fun fact: Dritz Home is based about 90 miles up the road in Spartanburg, SC!
- An electric staple gun (for around $30). I did the entire first chair with a regular staple gun, which was heavy-duty but made for a man’s hand, so it was big enough that I really had to use both hands to steady it so it wouldn’t kick back and leave the staples sticking out halfway. I wound up having to go back and hammer most of them in the rest of the way, adding time to the already lengthy process. Also, using the regular staple gun aggravated my little old lady wrist/thumb joint problem, and with this chair being ginormous, plus the ottoman, I knew I had to upgrade to a new tool.
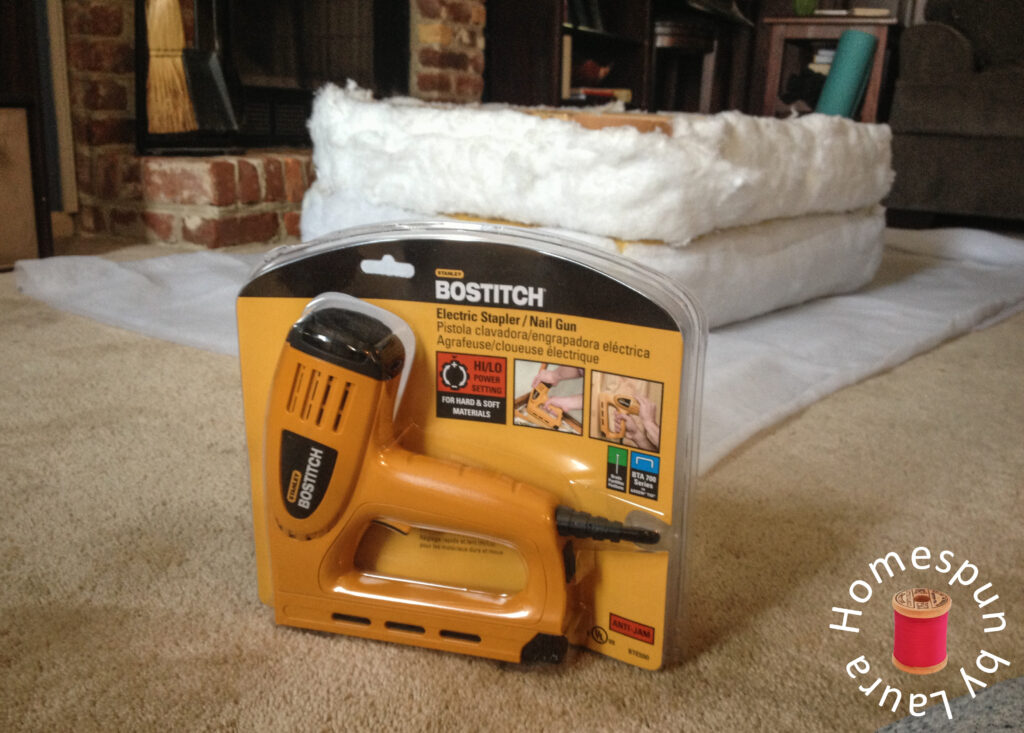
Bostitch Electric Stapler/Nail Gun
- A magnetic parts holder (which was free with a coupon at Harbor Freight when I bought some sandpaper or a dropcloth or something last fall). I had been using it as a second magnetic pin holder in the sewing room, but it was the perfect place to hold all the staples I removed from the chair so they didn’t wind up all over the floor (THERE ARE SO MANY STAPLES!). I didn’t need one of the little doggies swallowing one, and not a single one got lost on the carpet with this thing by my side (It also stuck to the springs in the underside of the chair, so that was pretty cool).
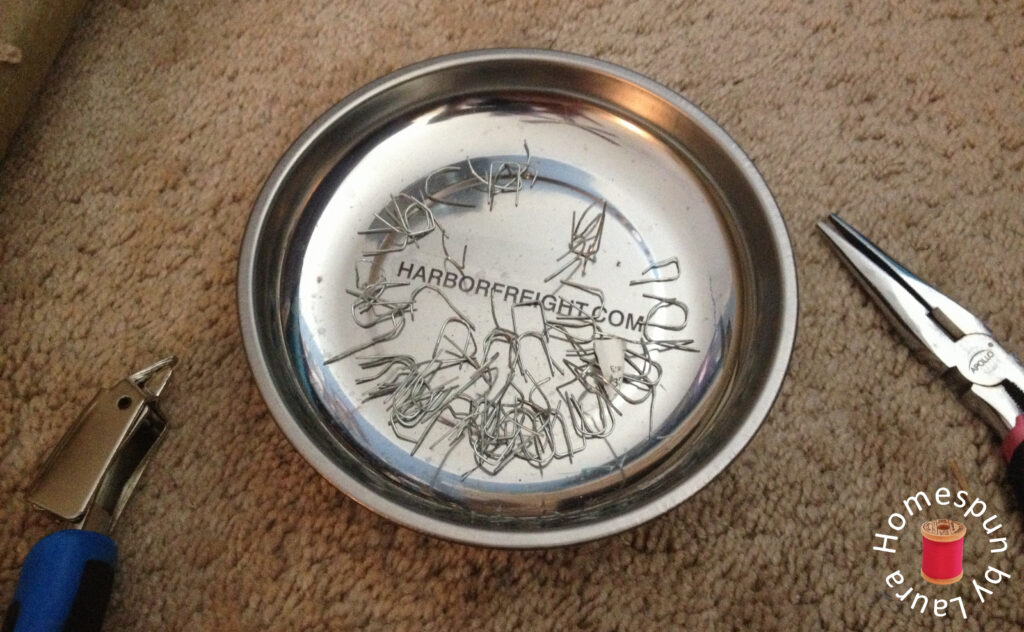
Magnetic parts holder
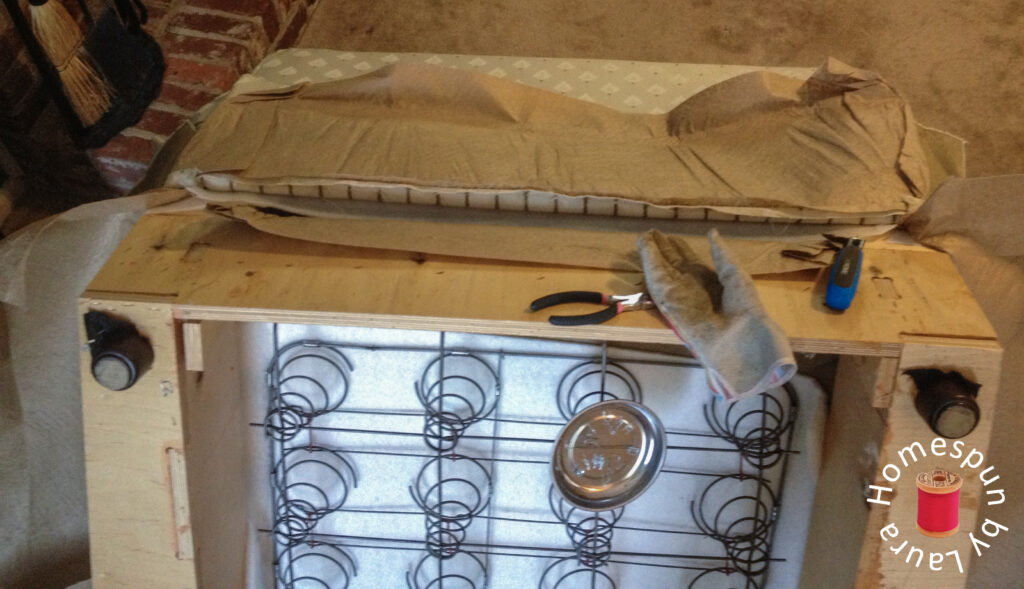
The fact that it stuck to the springs was helpful when the chair was turned at weird angles, since it otherwise would have slid off of the wood onto the floor.
So for a total of about $35, I made things WAY easier on myself, protected the dogs (and our feet!) from staples hiding in the carpet, and shaved off at least a full work day (maybe even two). And I would highly recommend all three of these tools to anyone considering a project like this one.
Warning: This is a very long post with lots of words and lots of pictures. You might want to grab some coffee or a snack and settle in somewhere comfortable before proceeding. Go on, I’ll still be here when you get back!
How to Upholster an Ottoman
I started with the ottoman since it would be a quicker process than the chair and would give me a little bit more motivation to keep going on the chair. Plus, when I finished the chair, I wanted to be FINISHED instead of still having the ottoman to work on.
First step was to unscrew the legs. I wanted to save these so I could pull the casters off and reuse them somewhere else, but they seem to be bolted together permanently, so I think it might be a lost cause.
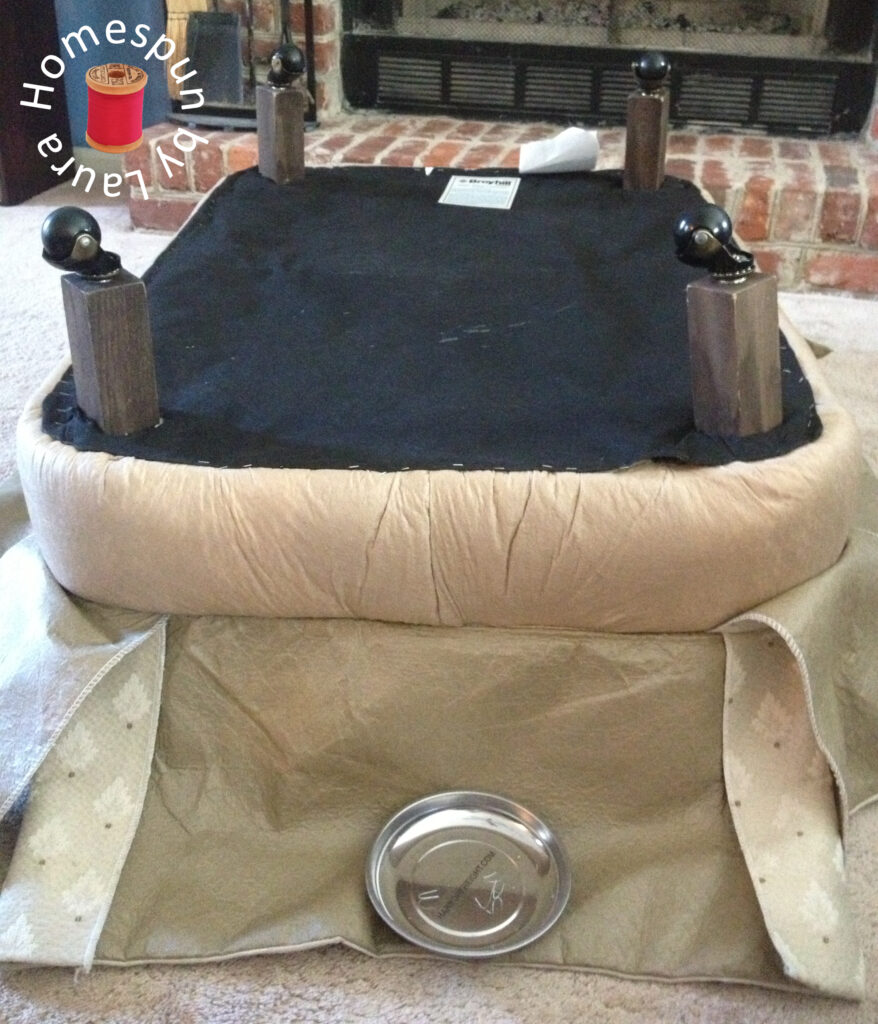
This is what the underside of an ottoman looks like.
Next, I carefully started removing staples and took off the dust cover, because I wanted to reuse it when it came time to reassemble the thing.
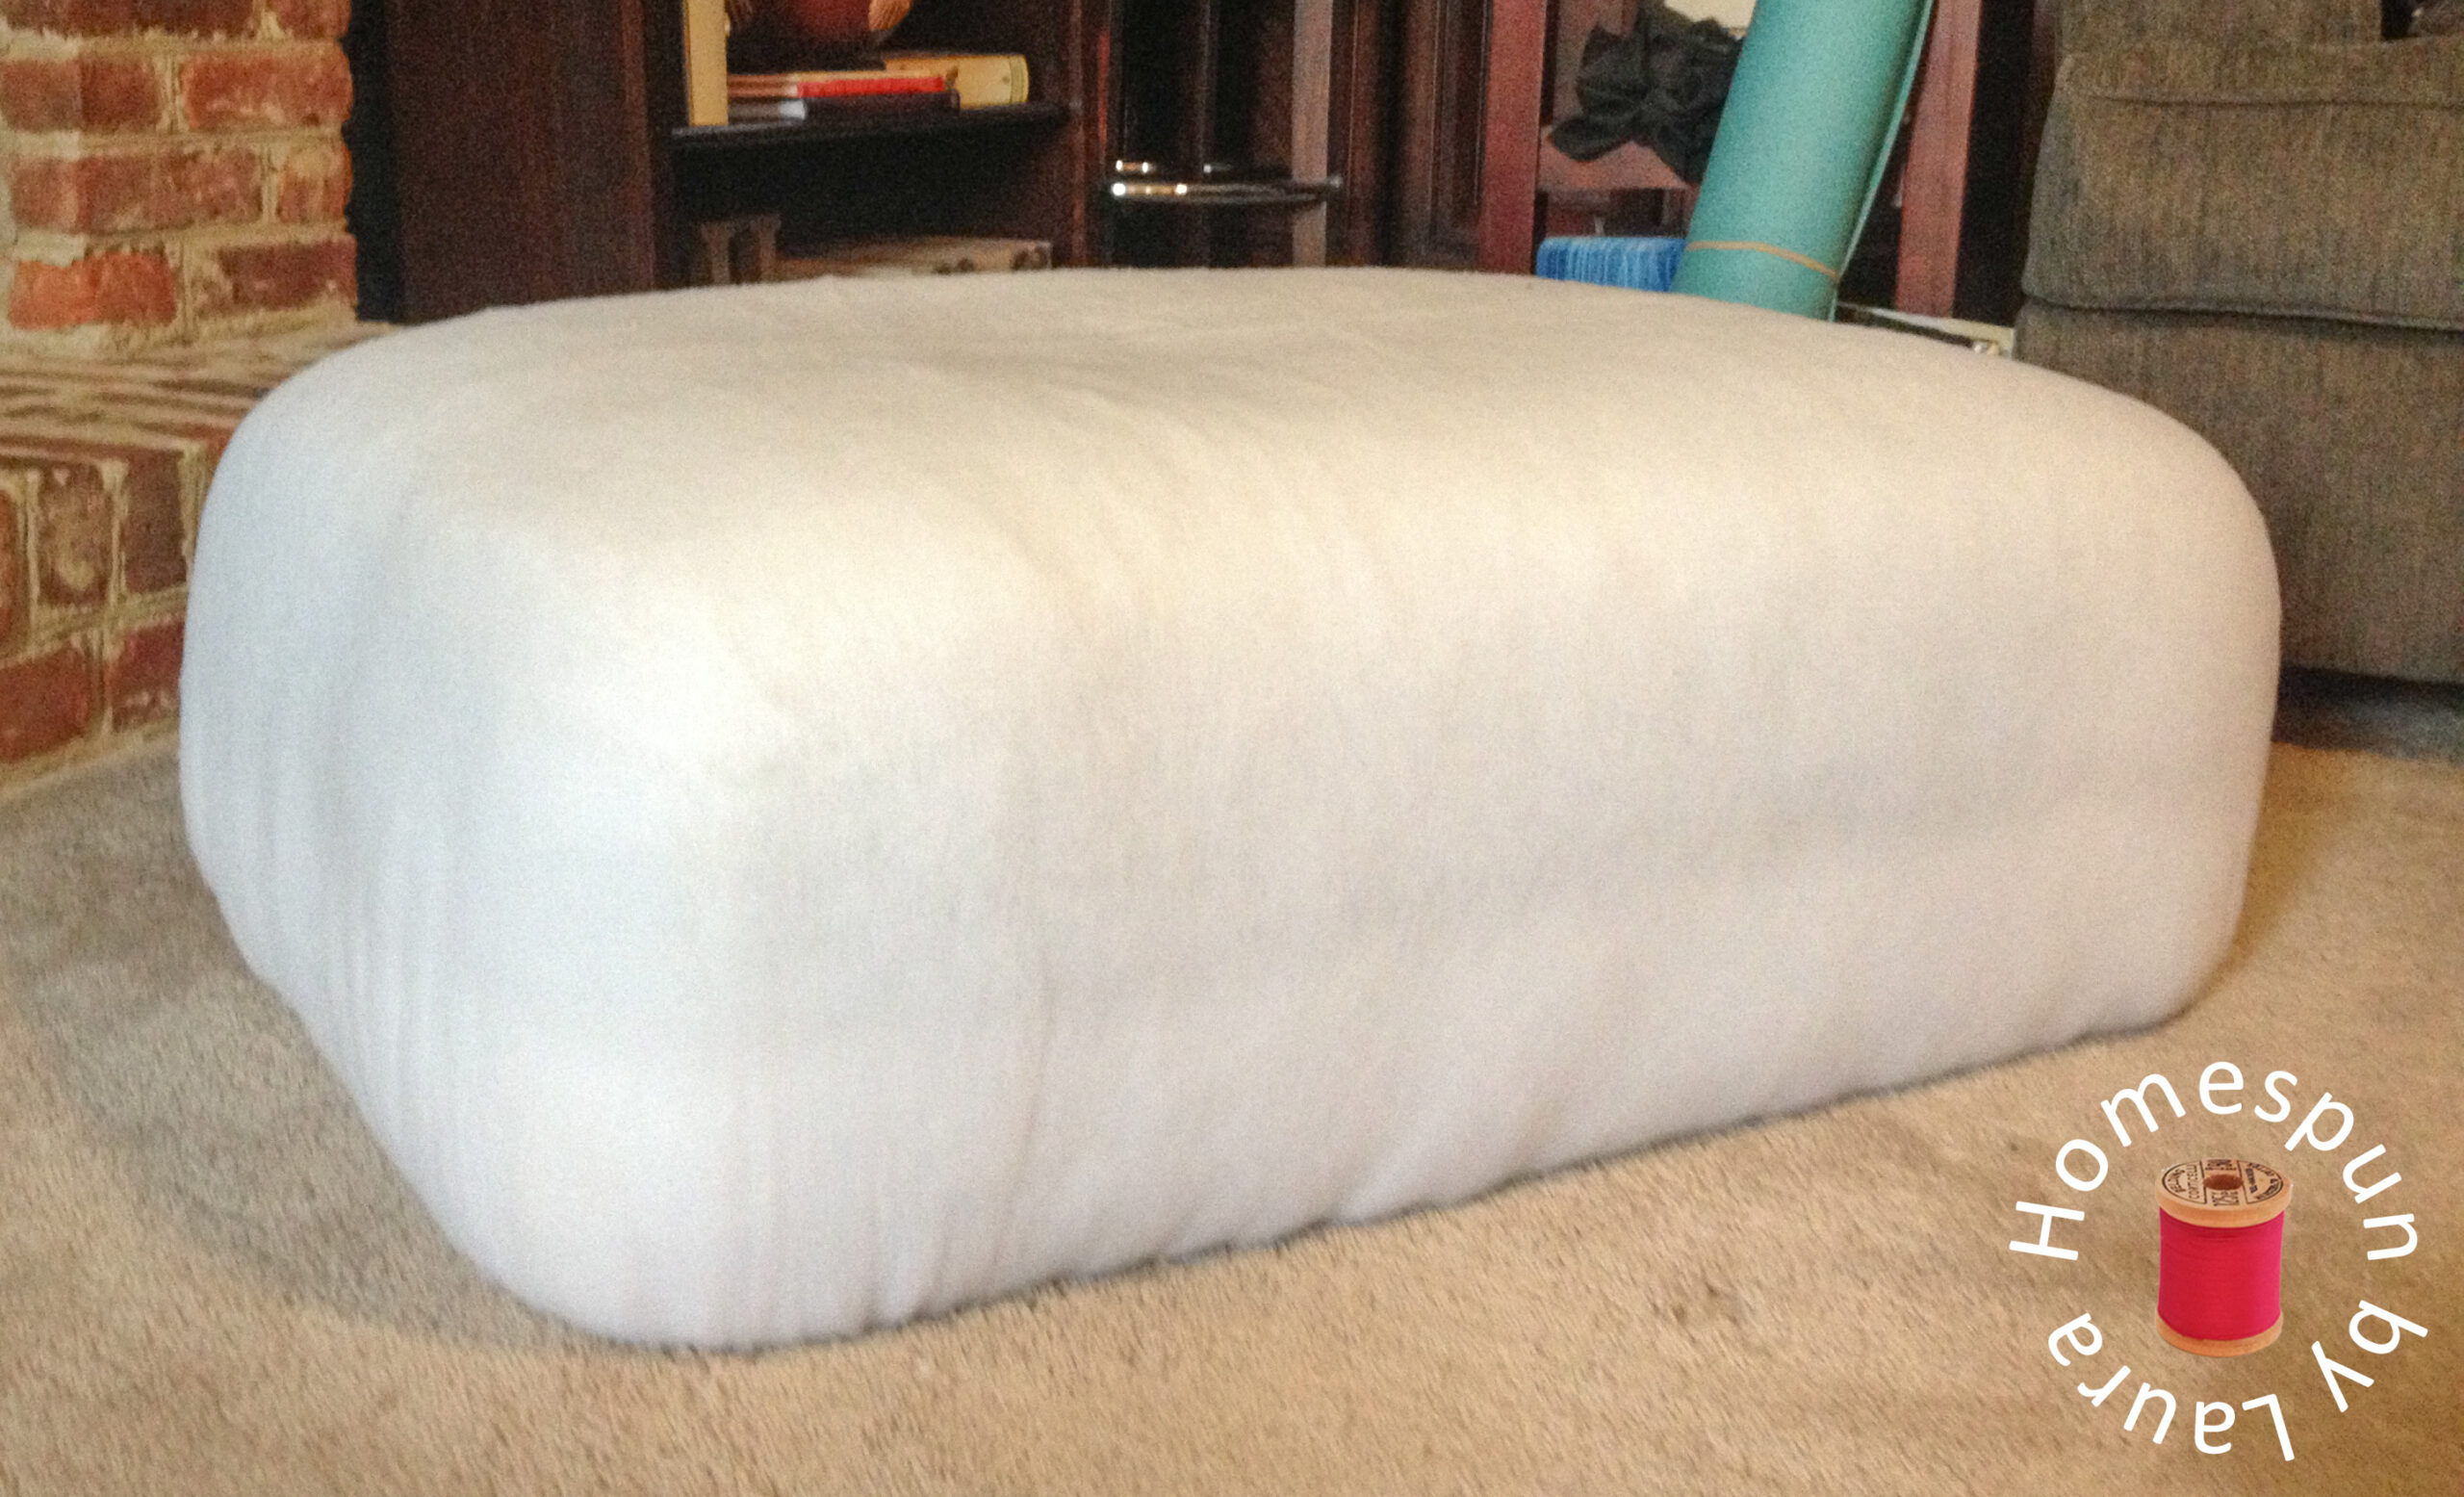
Once the dust cover was off, I removed the staples securing the pillow top to the bottom frame piece. There’s a zipper on the bottom of the pillow piece, but pulling the pillow out of its cover is harder than you would think – it’s made to fit super snugly in its cover, so getting it out was a bit of a challenge.
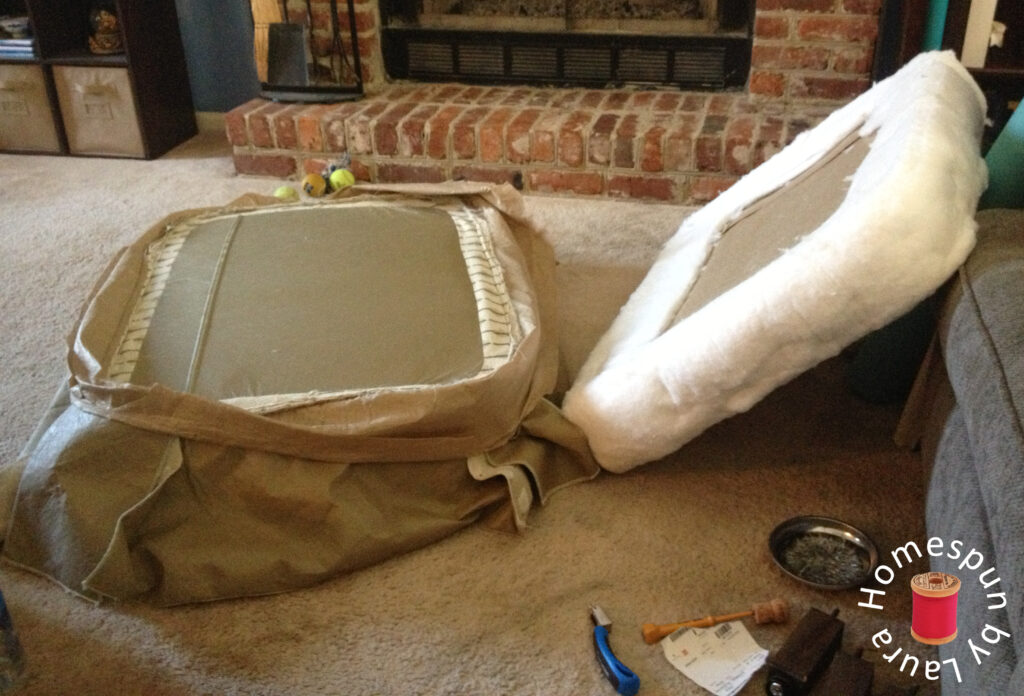
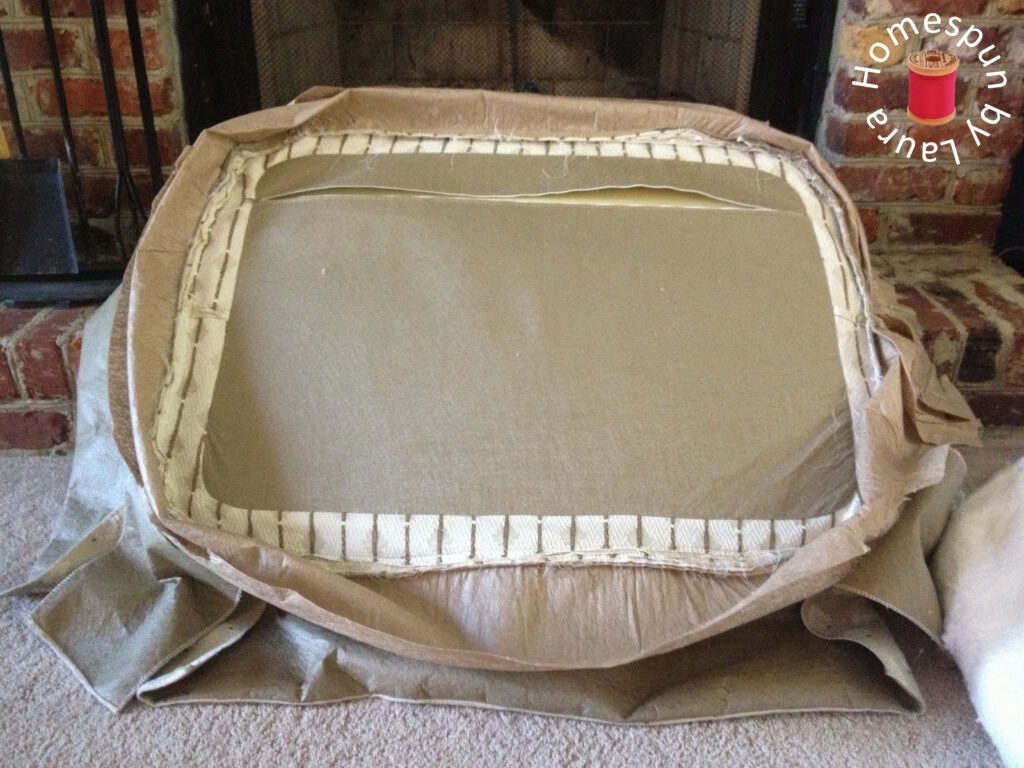
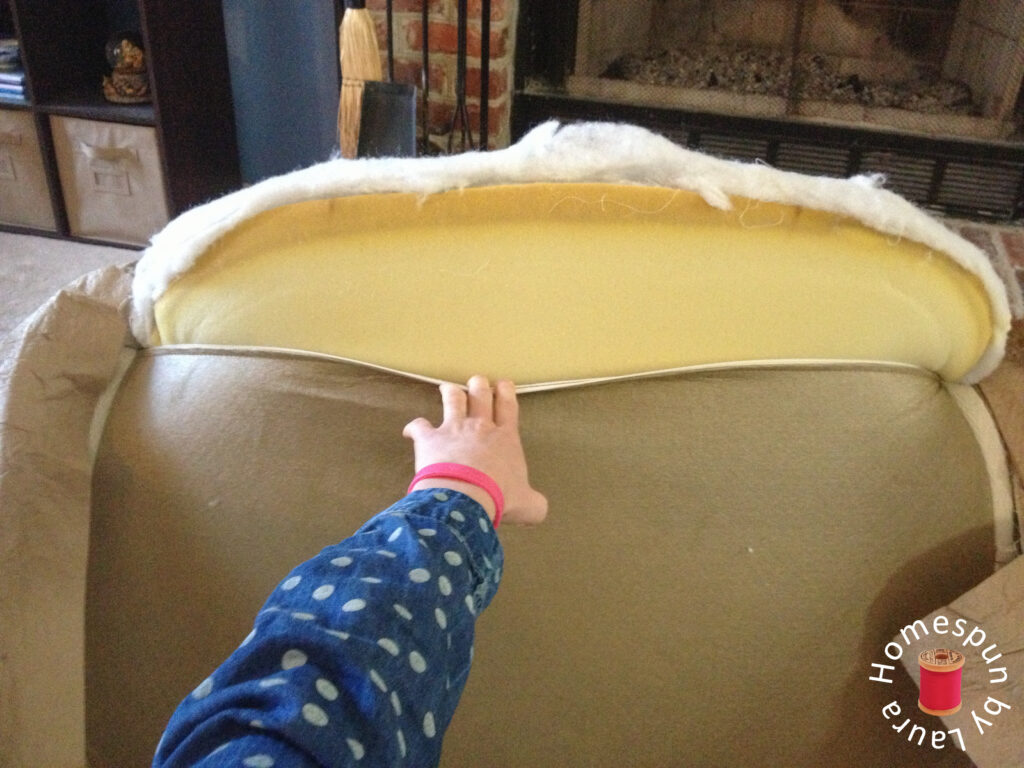
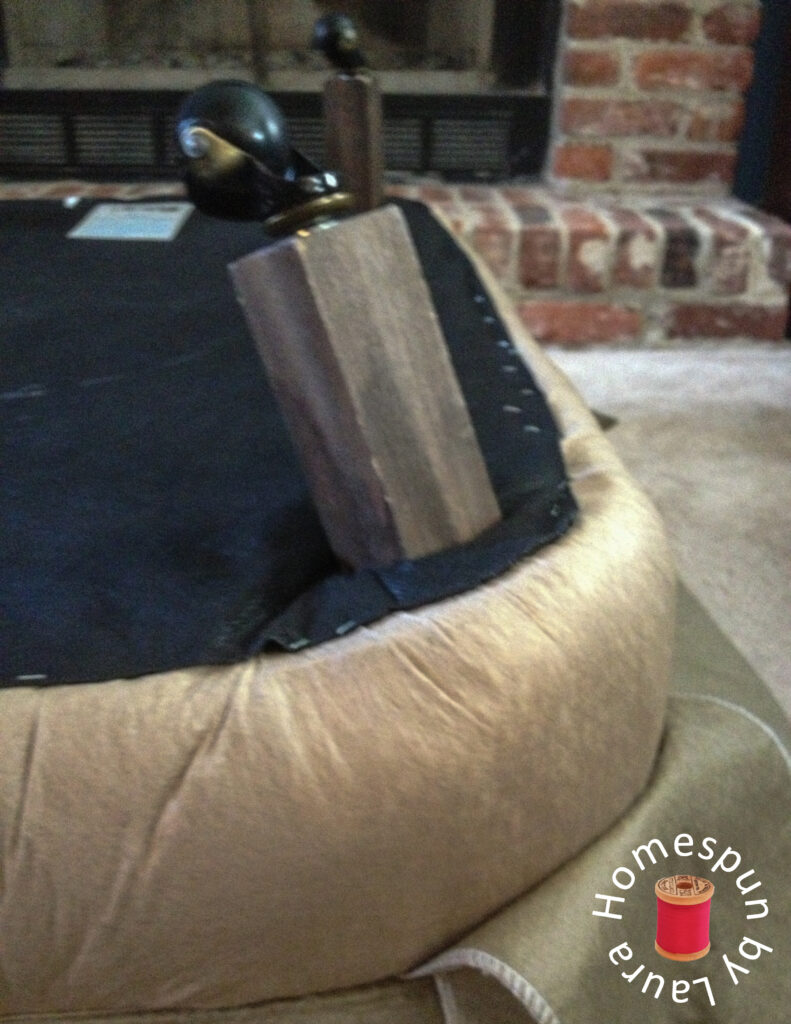
It was funny when the dogs would jump on and the would all of a sudden cave in, sending them on a little ride back to the floor.
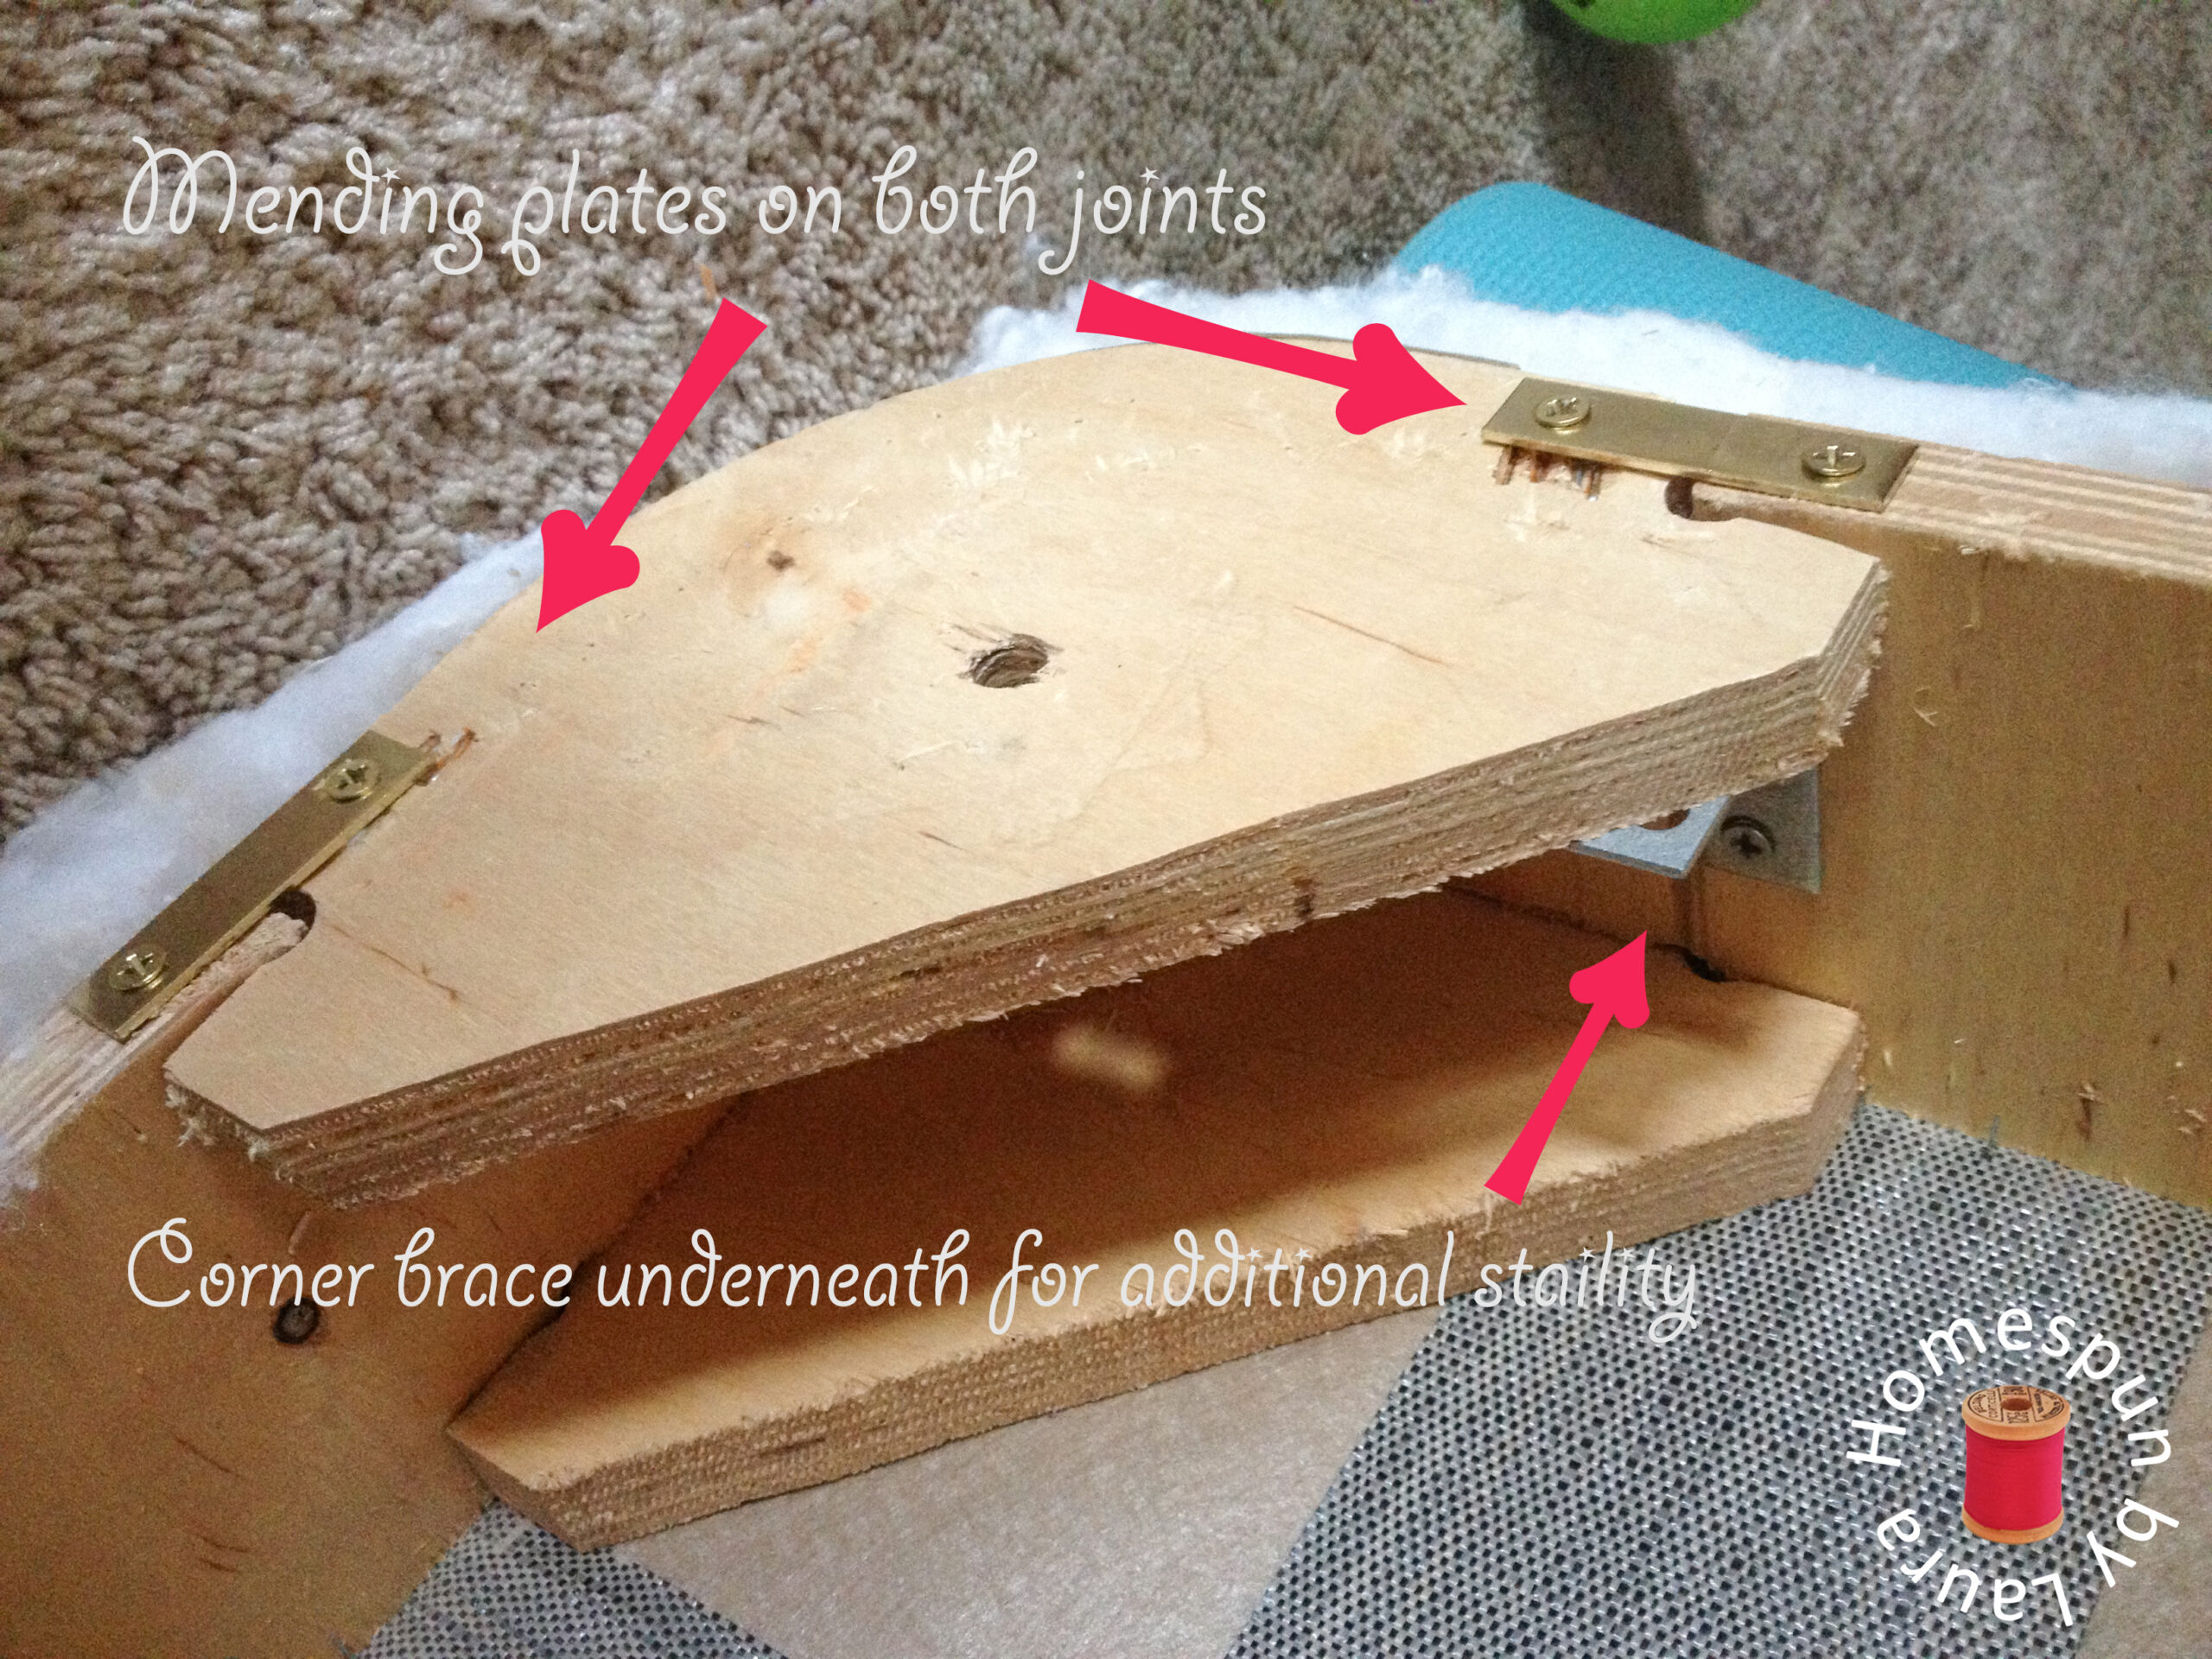
There will be no more collapsing for this ottoman!
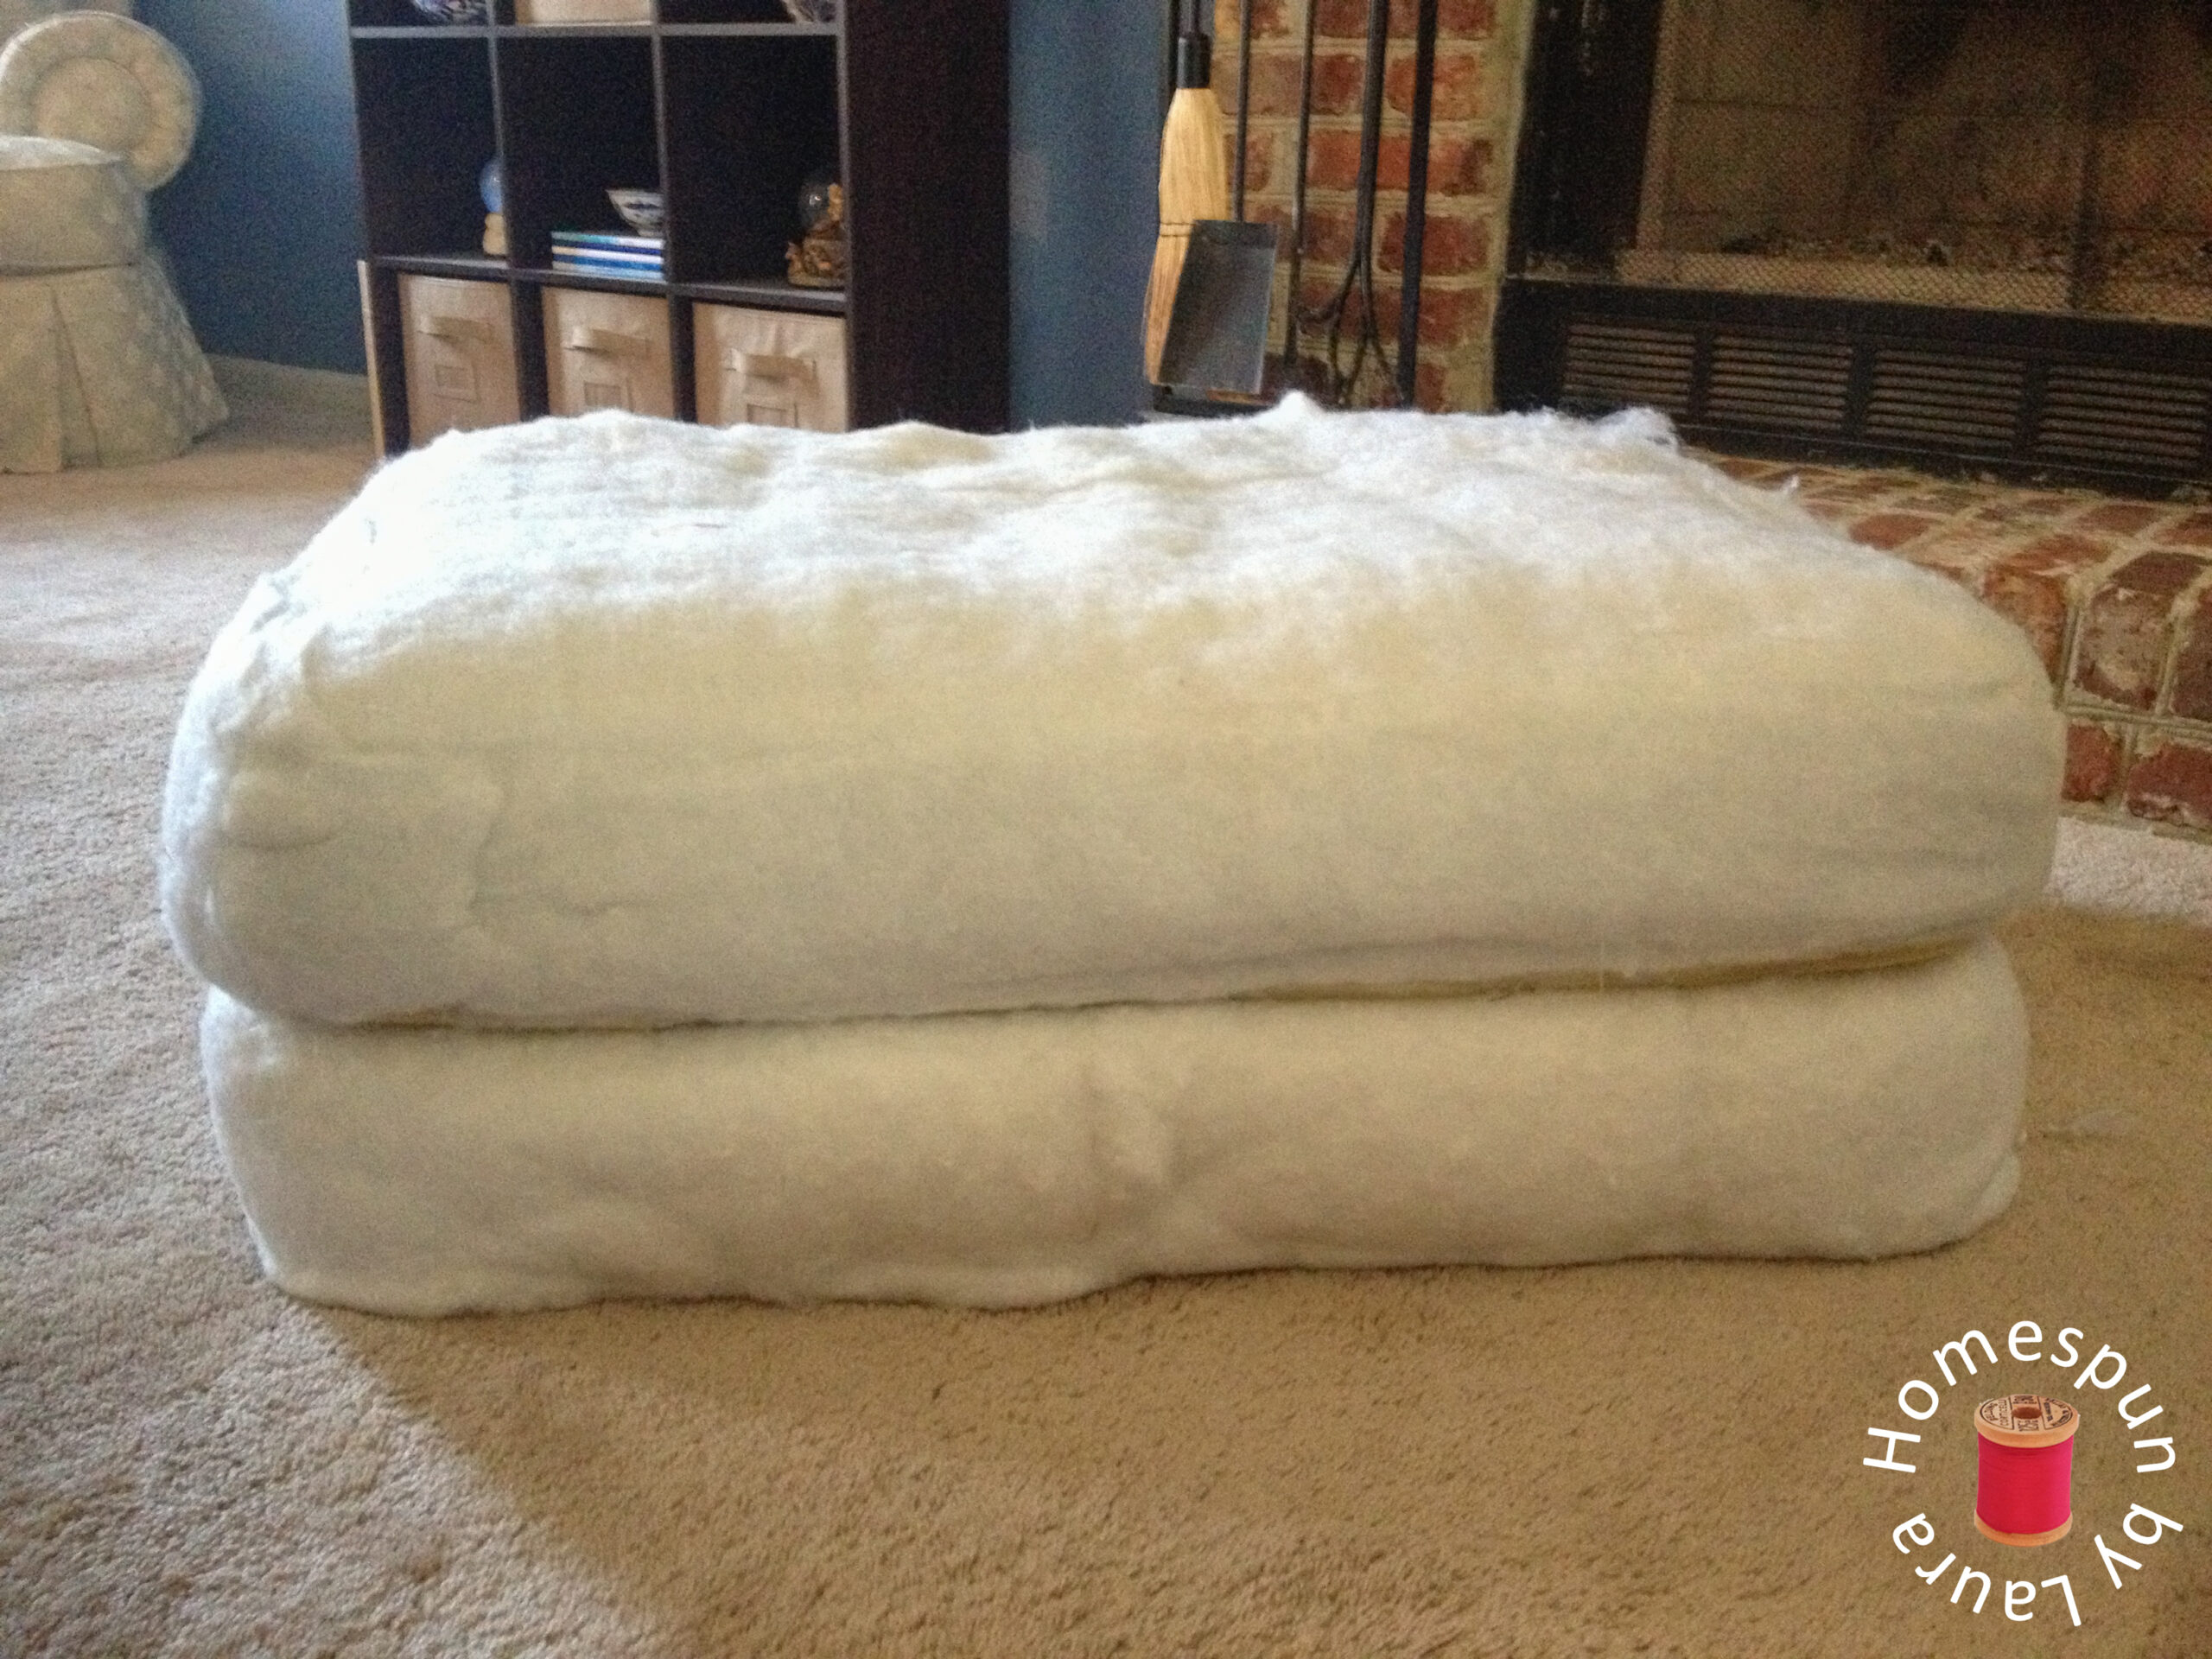
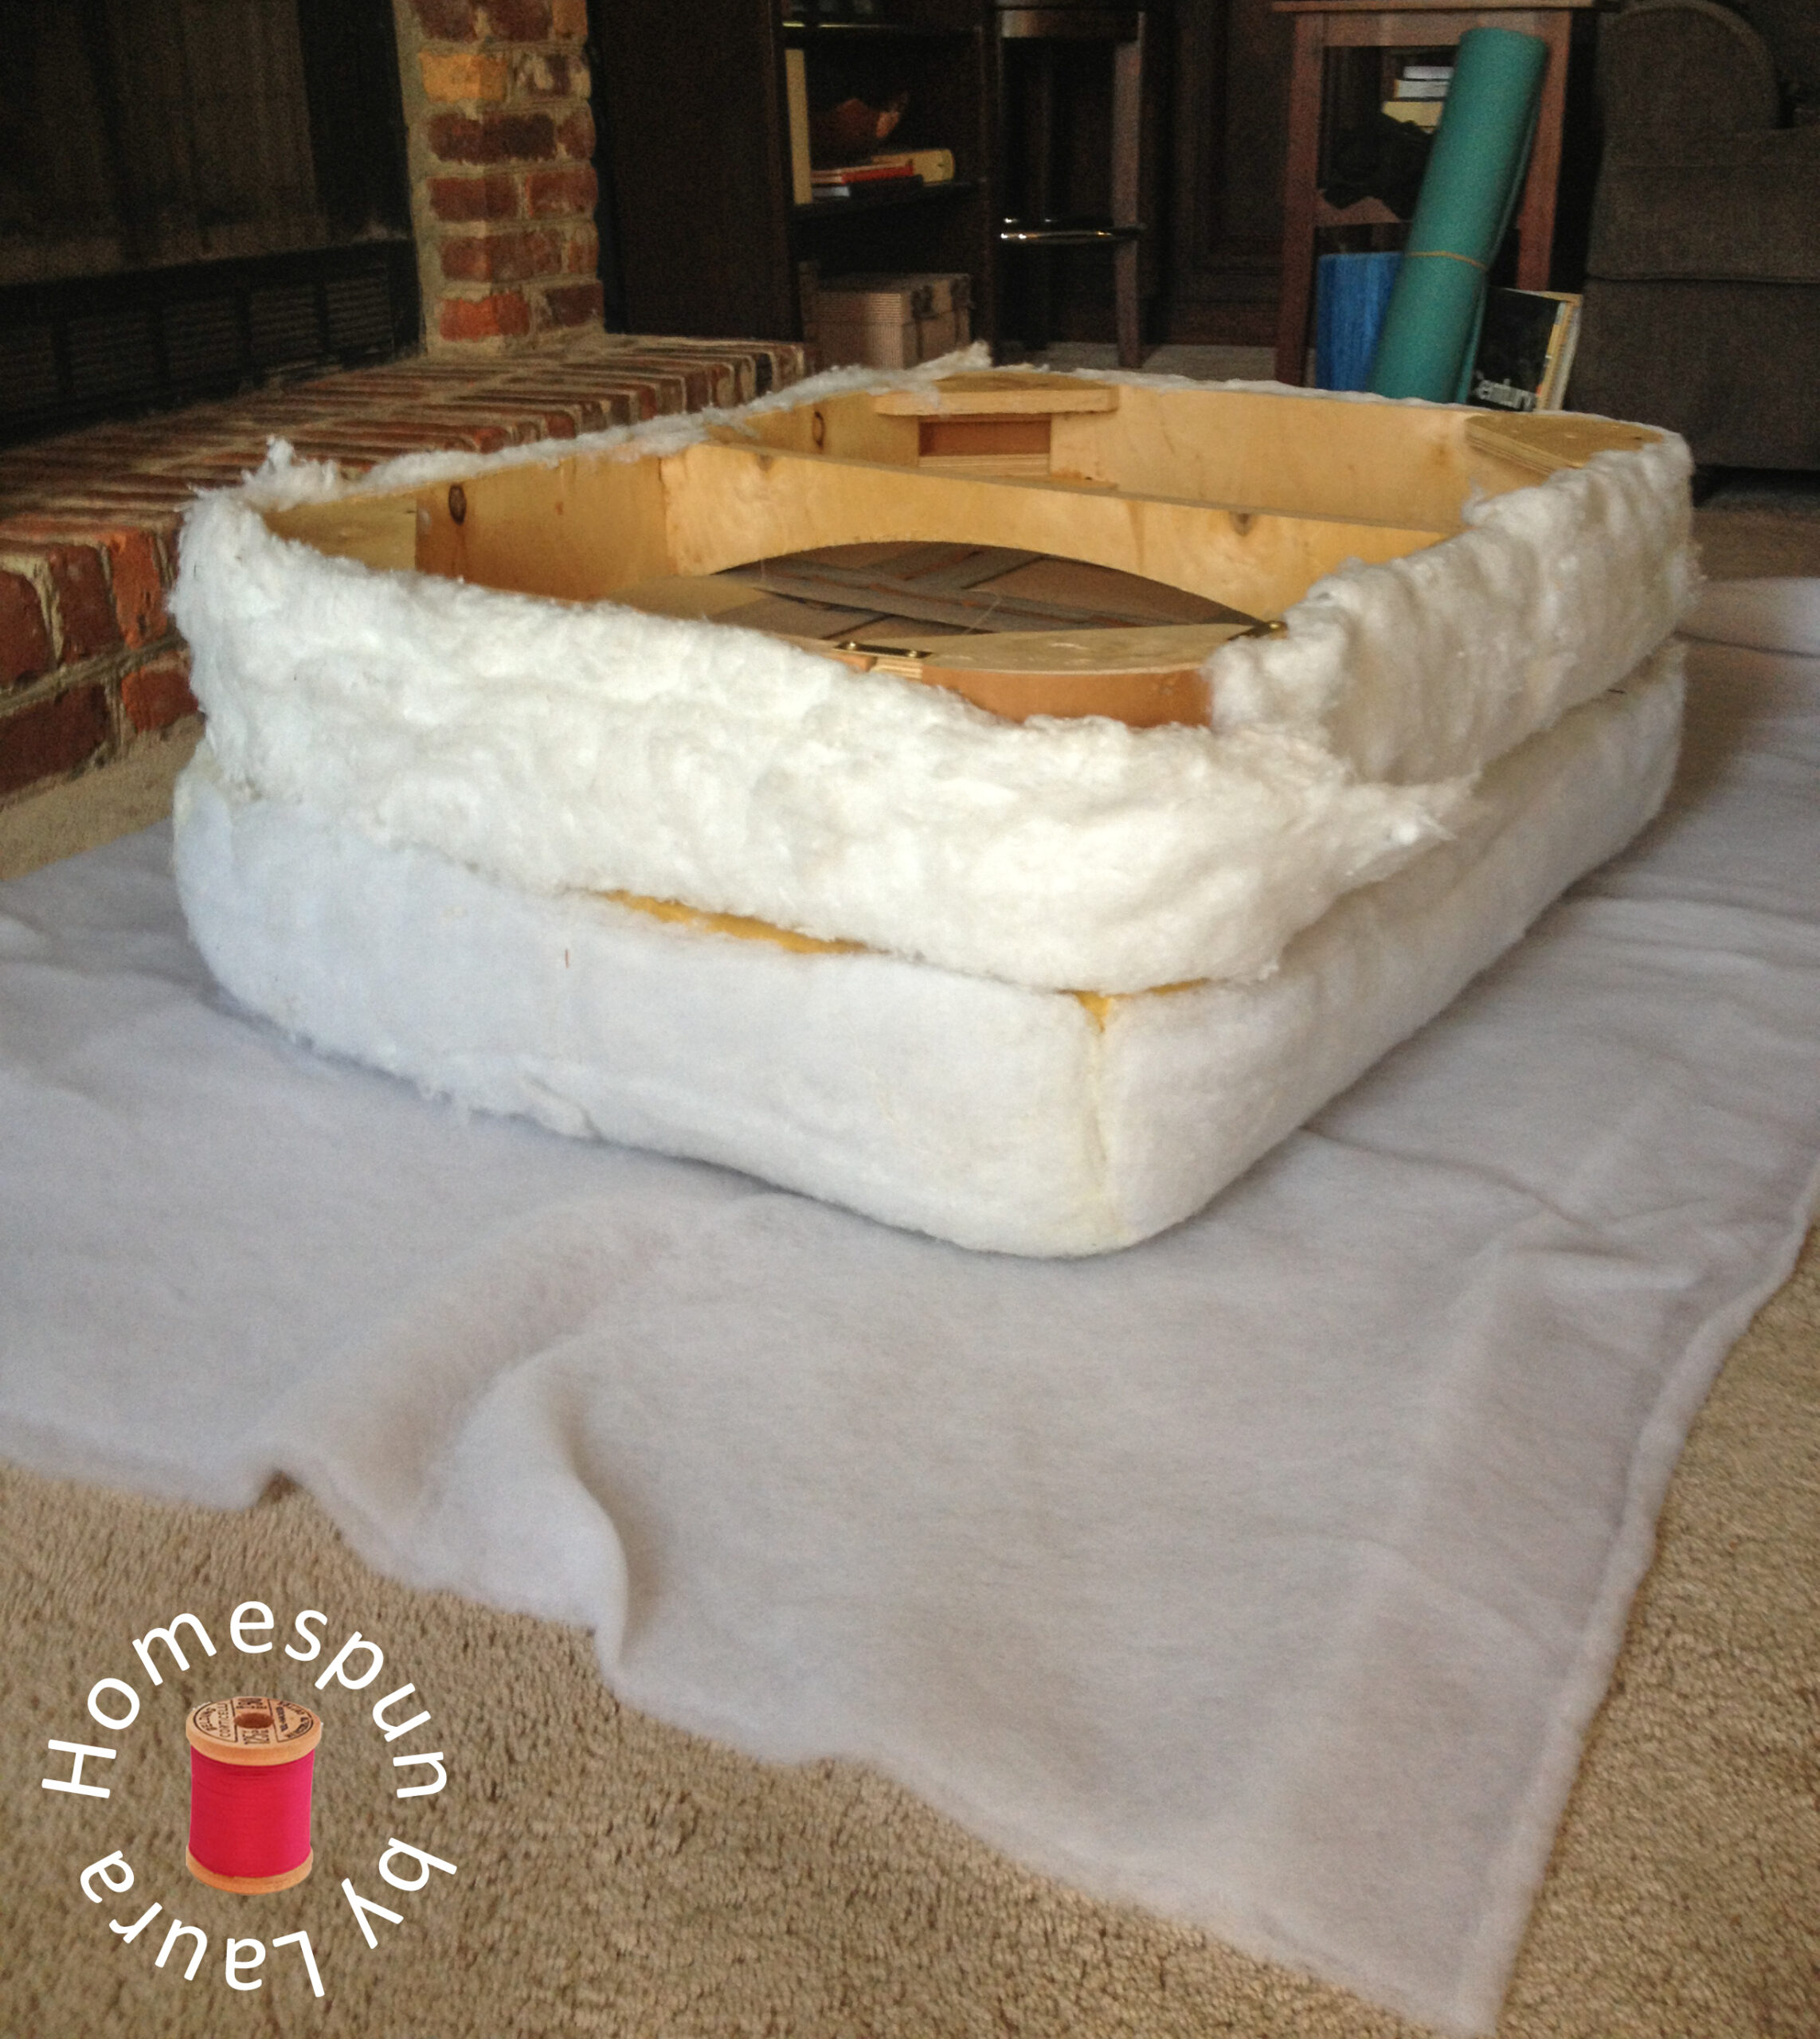
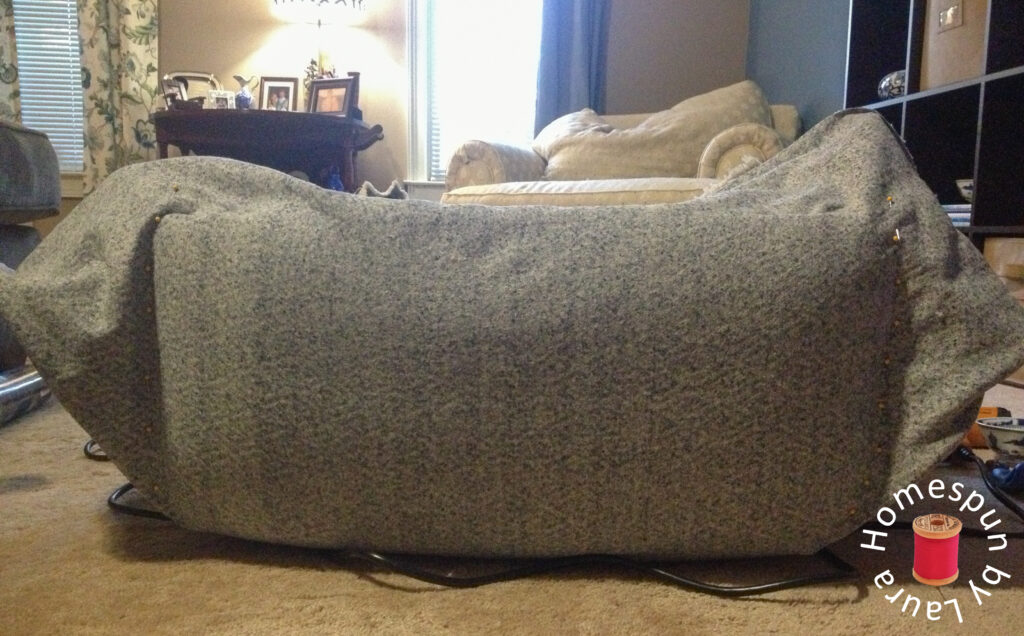
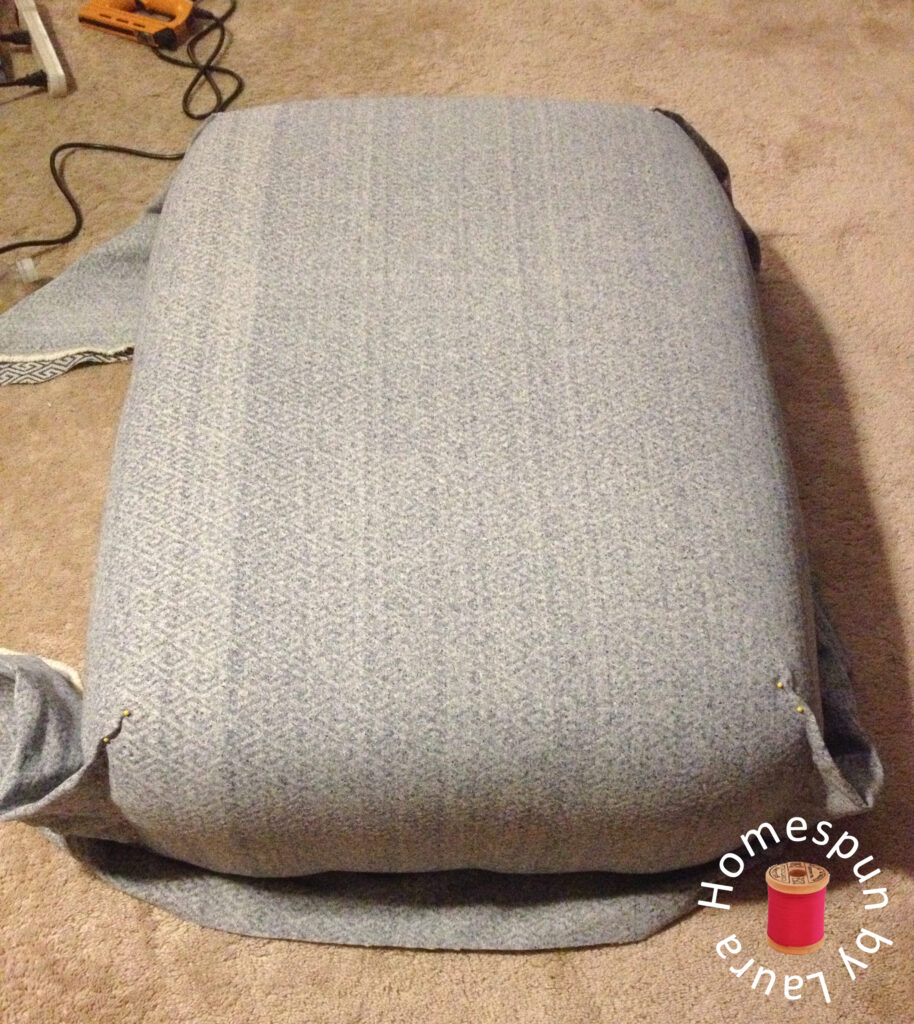
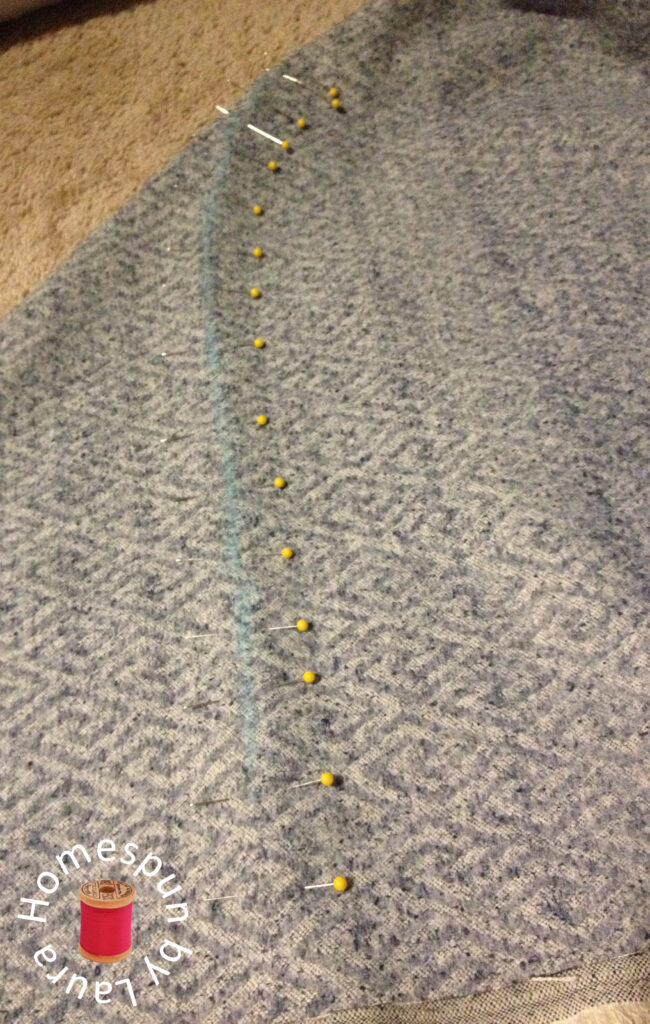
This only half-worked. On the front two corners, it fit perfectly, but on the back two, it left little bulges at the top of the corners no matter how tightly I pulled the fabric. I wound up picking out the seams on these two corners as a result and just folded them into something resembling hospital corners instead, then pulling the fabric as tight as possible and stapling it down all the way around the perimeter of the frame.
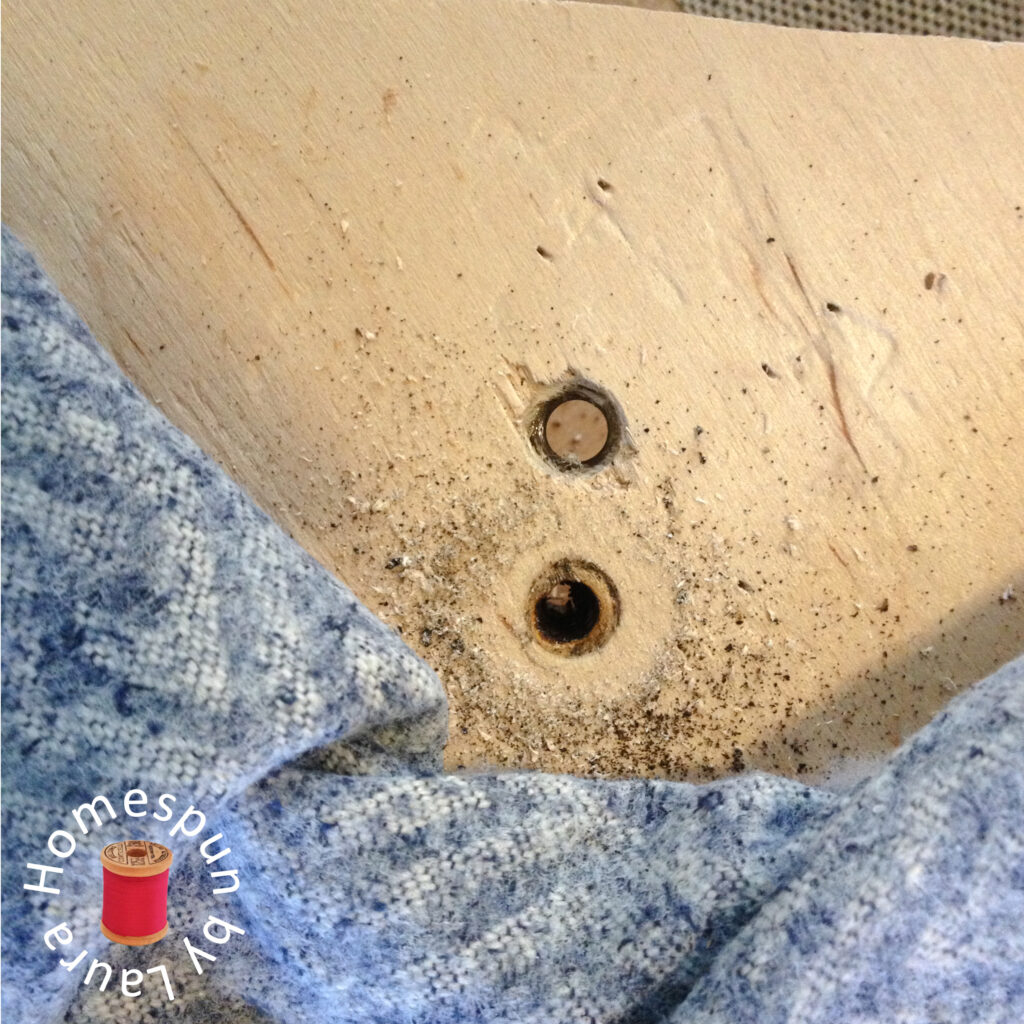
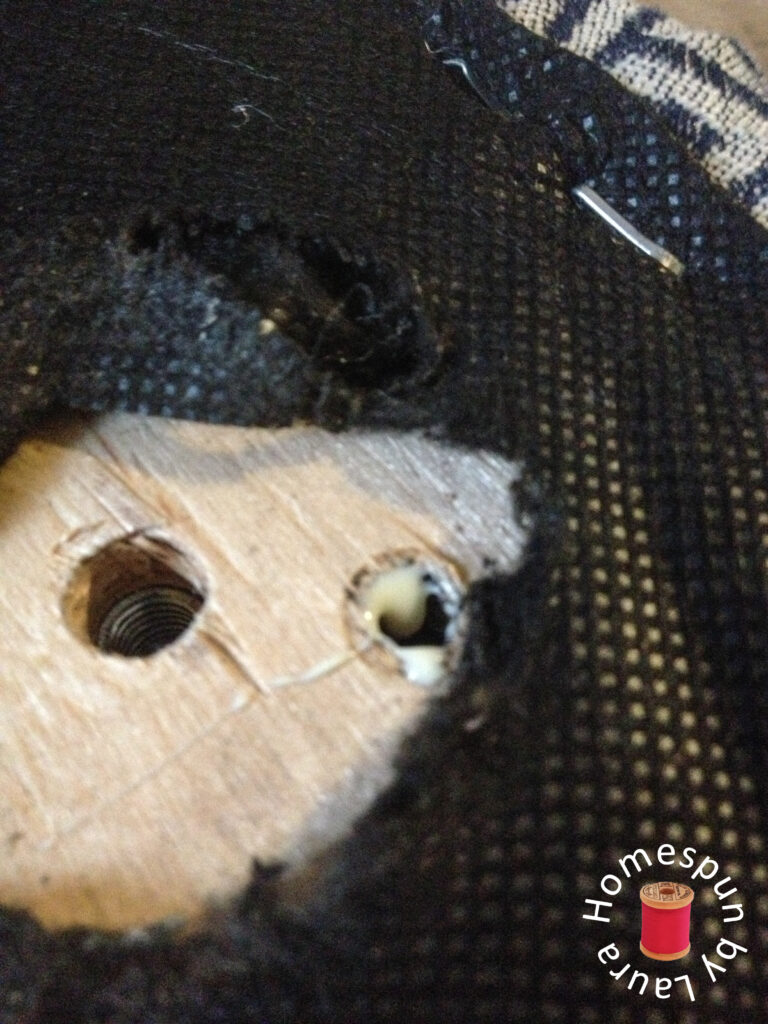
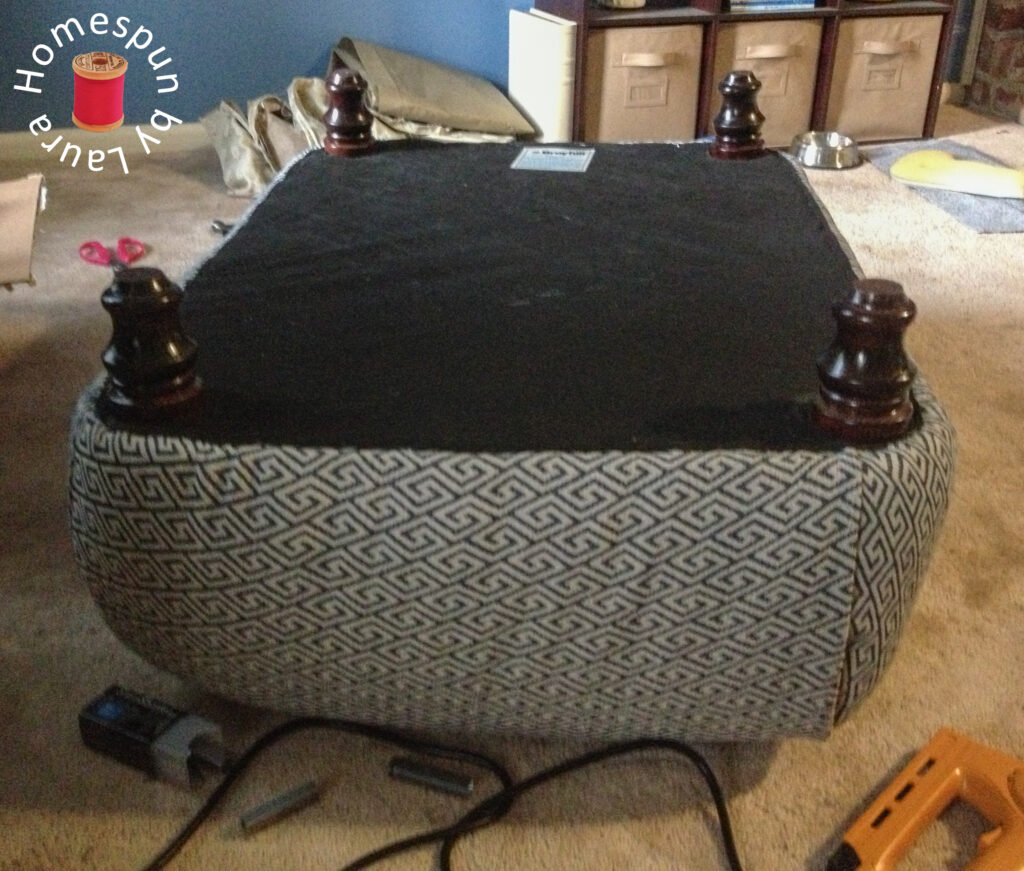
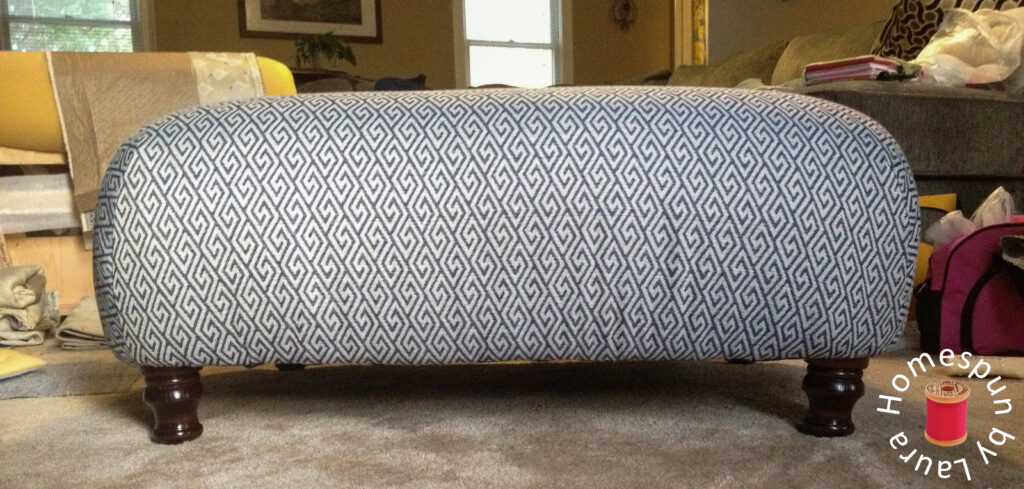
There was much more work to be done at this point, as you can see by the abundance of tools and stacks of fabric in the background.
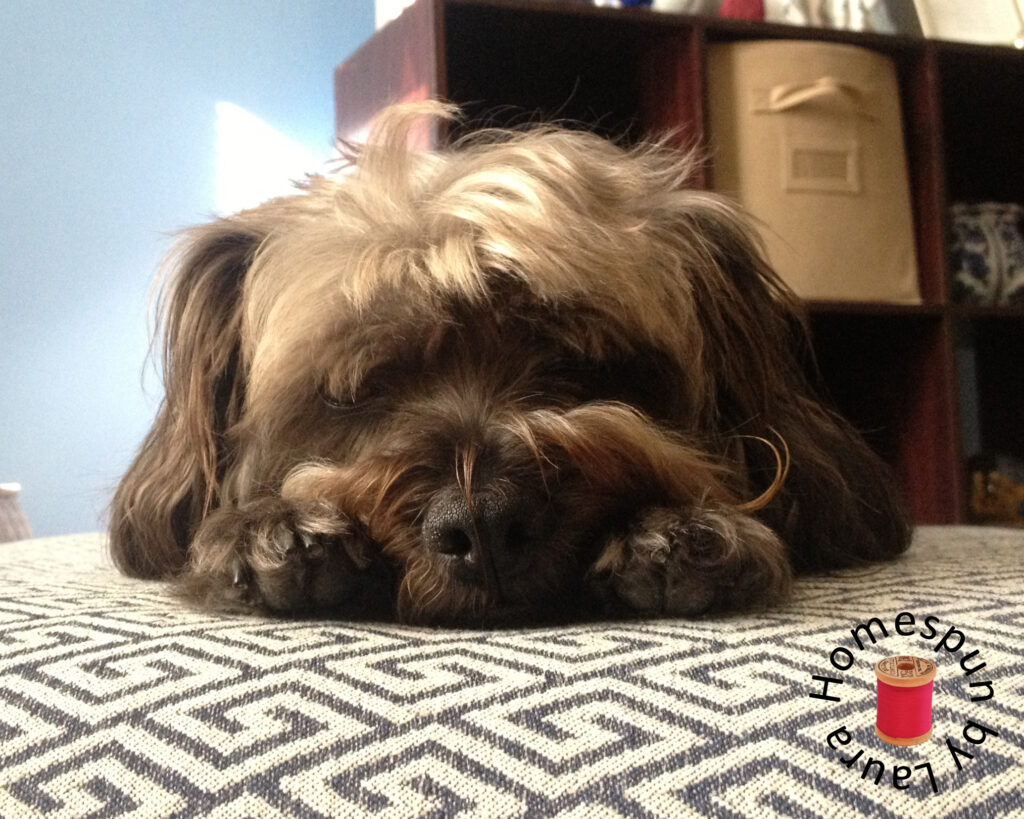
The ottoman gets the Little Black Dog Seal of Approval!
How to Upholster a Chair: Disassemble It
I would relate the upholstery process to a choose your own adventure book, except the chair dictates where you go next. Or maybe it’s like cooking without a recipe. Or taking home a baby without an instruction book. You just figure it out as you go, even though you have no idea what you’re doing when you start.
It all starts by taking the chair apart. You’ll use what you learn by taking your chair apart to put it back together again.
Before we get into it, let me remind you how ugly my chair was one more time:
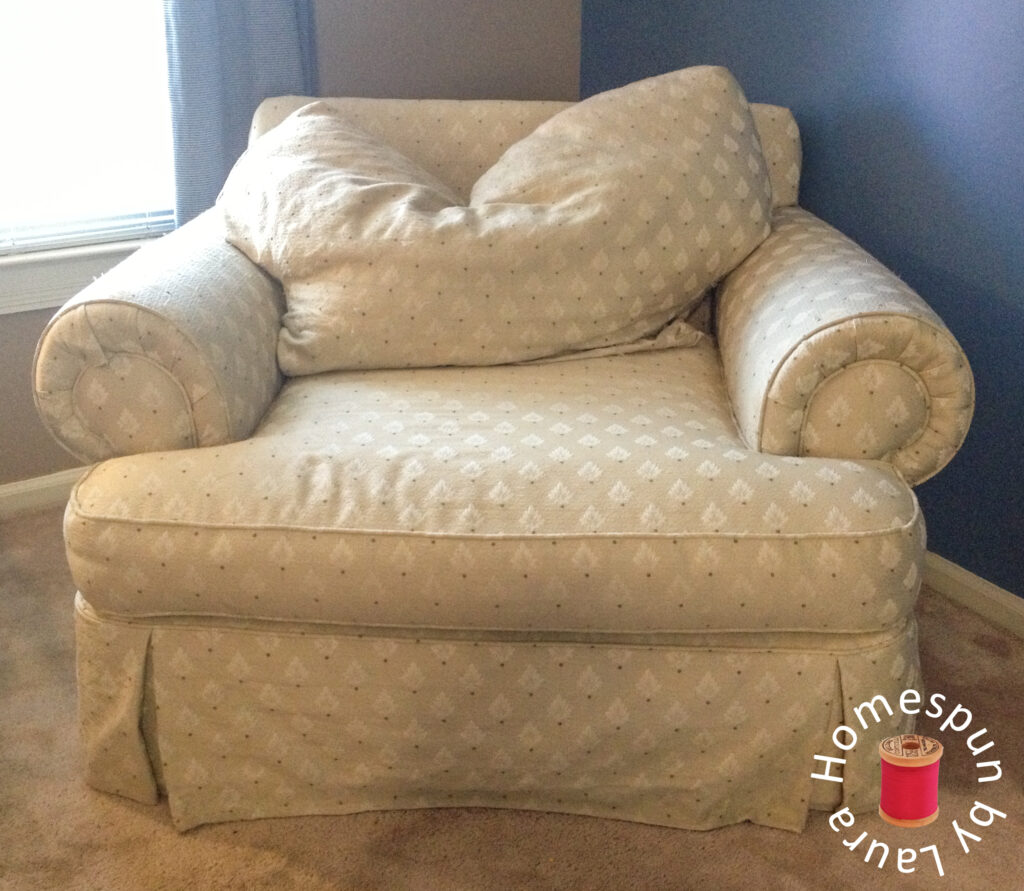
“Help me!” says the chair.
1. Label Pieces and Take Detailed Notes
Do yourself a favor and go grab a notebook and a pen. You’ll also want some painter’s tape or masking tape and a permanent marker. Use the notebook to make detailed notes of each step you take. Use the tape and marker to carefully label each piece you remove.
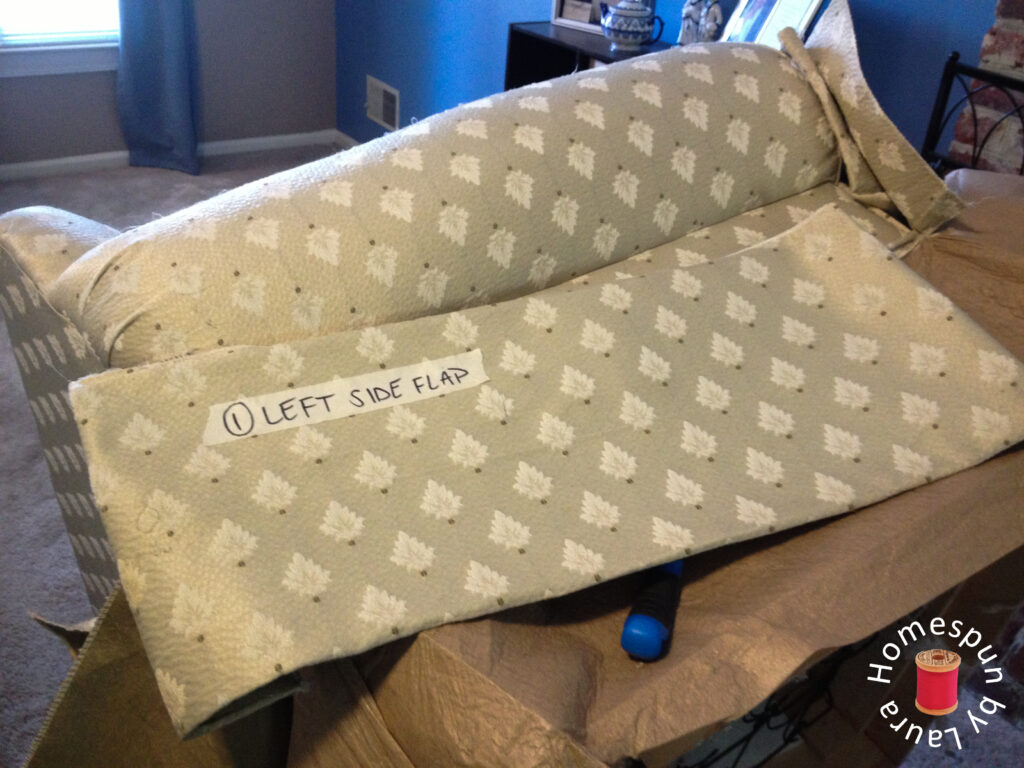
Like so!
You’ll use the pieces you remove from your chair as a pattern for the new pieces, so find a place where you can keep them well organized as they come off. Write as much detail as you could possibly want to know about each piece on the tape and attach it to the corresponding piece. Or you could label the piece with a number and make a description in your notebook so you don’t have to write so much on the tape, whatever works for you. Either way, I’d suggest numbering the pieces because when you reassemble, you’ll basically do everything in reverse order (this should make more sense later).
Taking the time to make these notes as you disassemble your furniture will save you time and frustration down the road…trust me. Taking photos of each step can be helpful, too (more tips below at the end of this post).
You can thank me later!
2. Start at the bottom
To get into the chair, you’ll need to begin at the bottom. From there, you’ll determine your next step based on what you find.
I started the de-upholstery process (I have no idea what the proper term is. Disrobing? Dismantling? Disassembling? That will do.) by trying to remove the feet off the chair. But they wouldn’t budge at all. So after attempting to unscrew them (using one of those gripper things you use to get the lid off the jelly), smash them sideways with a mallet hammer, and wedging a chisel underneath them to pry them off, I gave up and just cut the dust cover off, keeping it so I could use it as a template for the new dust cover during reupholstery.

I found out later how the feet were attached, at which time I understood why my earlier efforts were futile.

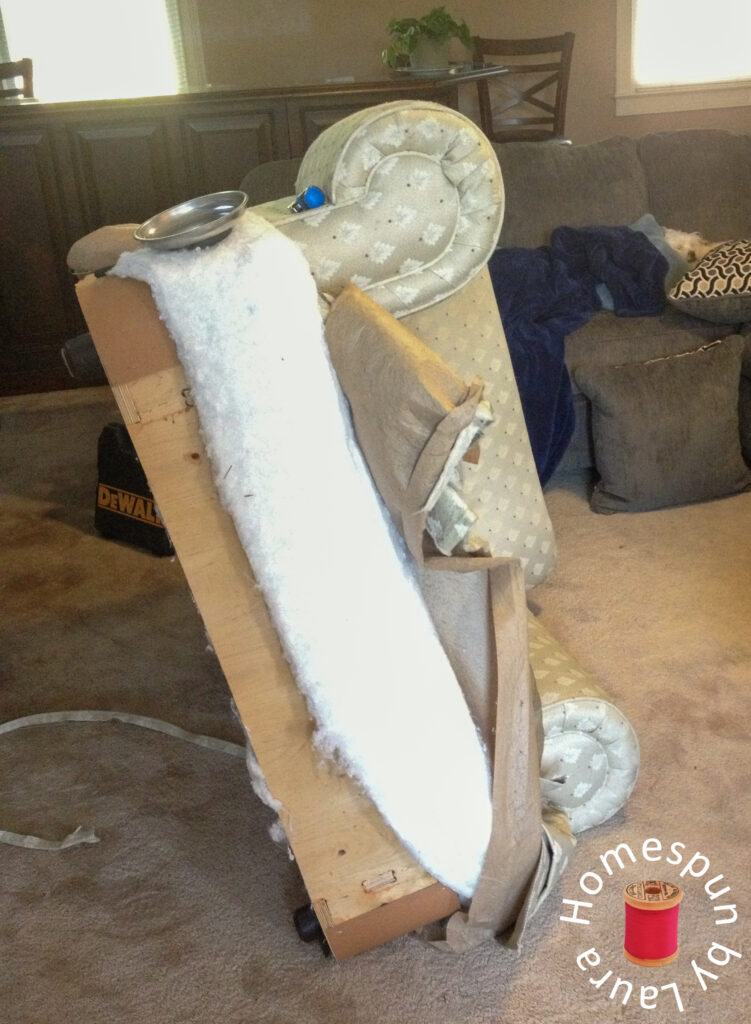
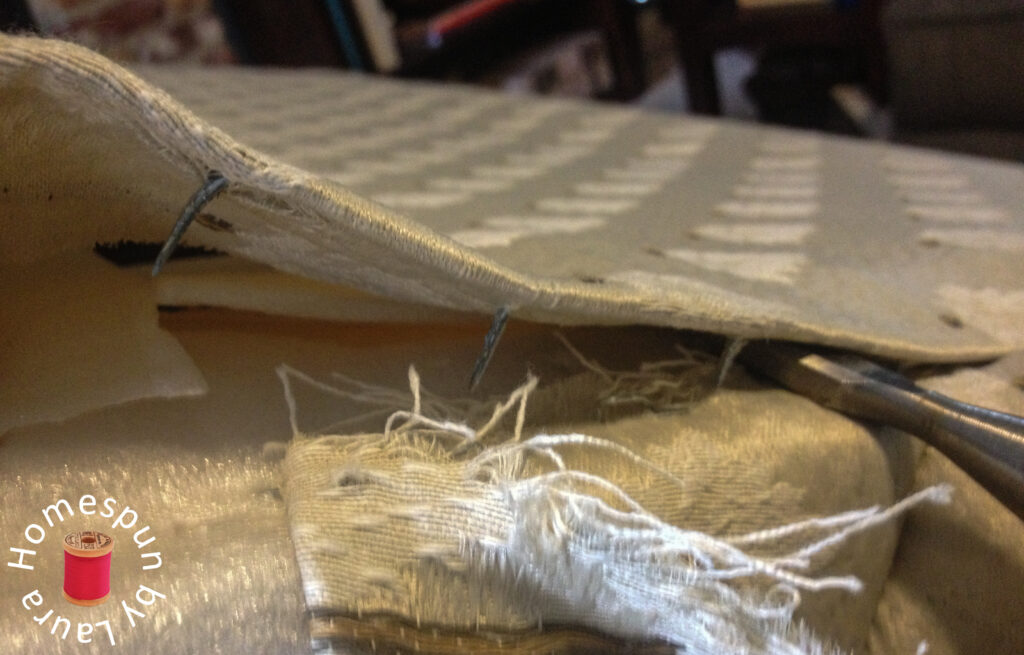
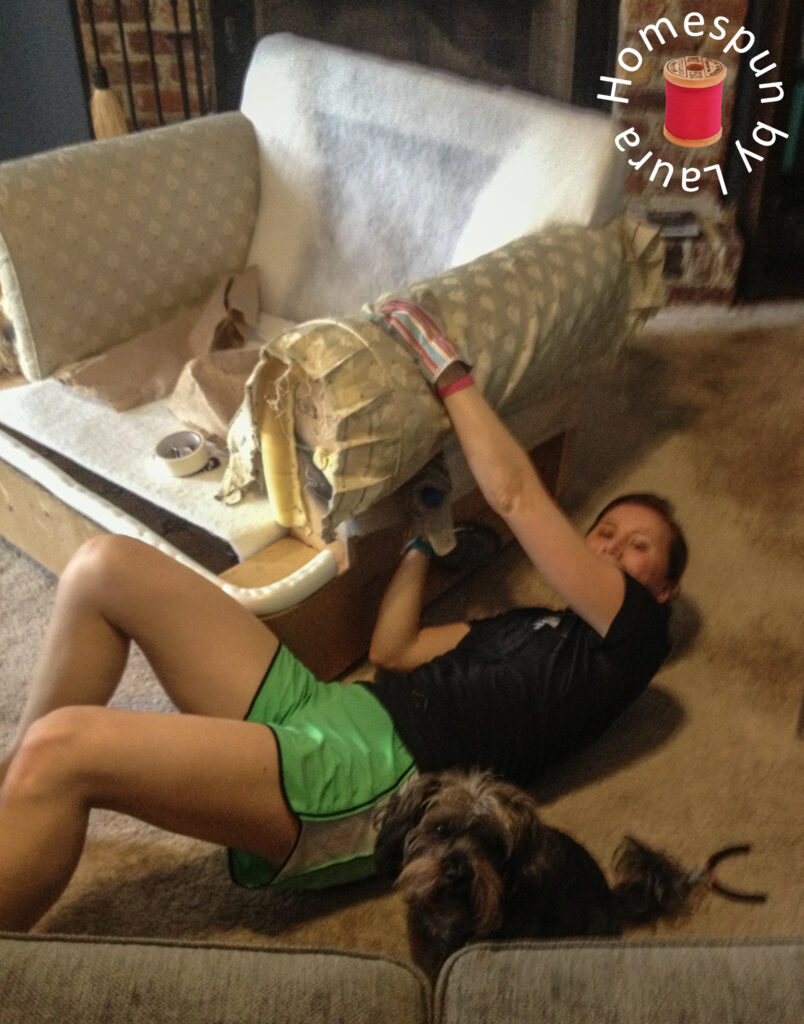
I wedged a chisel underneath the tack strips on each side of the back fabric panel to pull them up.
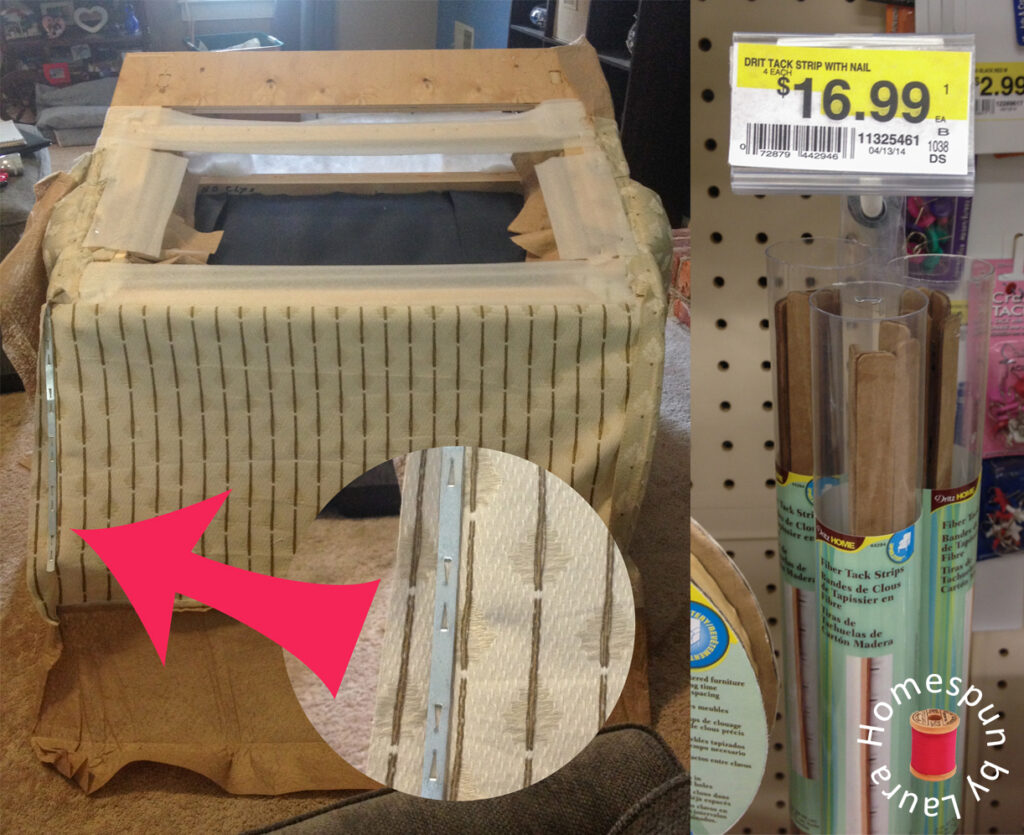
Since the tack strips on the chair were made of metal and wound up getting all kinds of bent up, I picked up some replacements at Joann’s. With a coupon, of course!
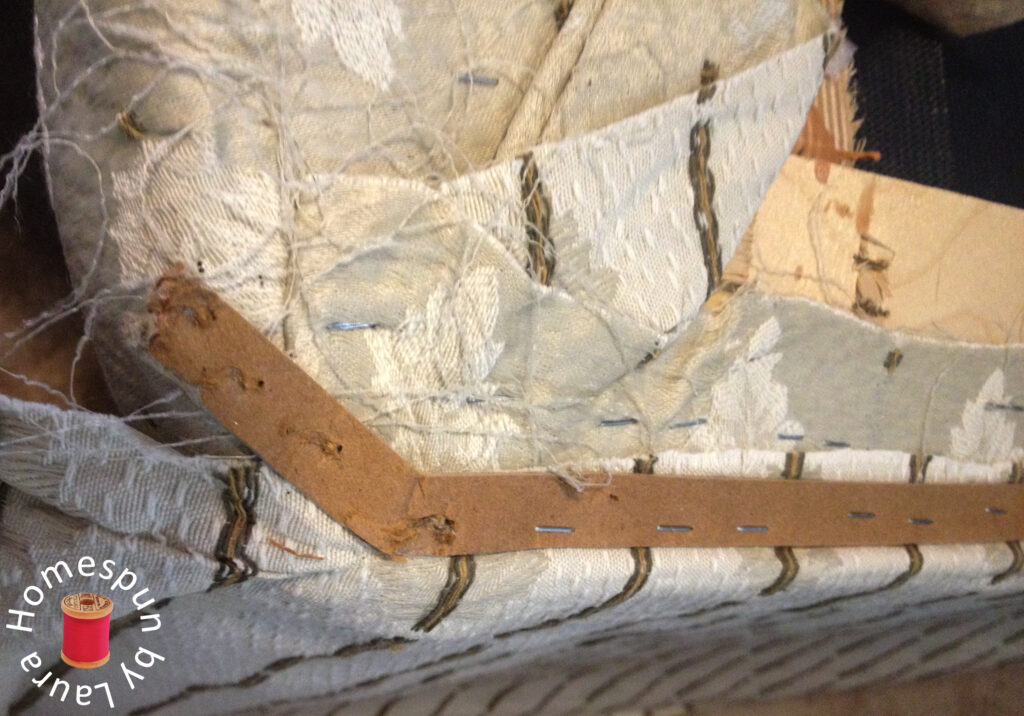
I did not replace the cardboard strips at the top back of the chair. They were easy enough to reuse, despite being slightly torn.
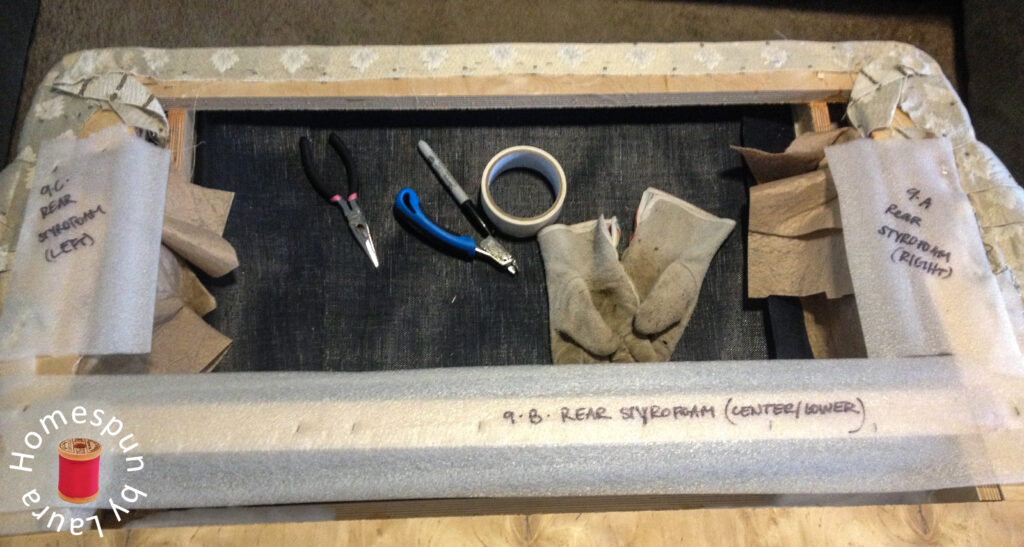
This is what the inside of the back of a chair looks like
then the panel under the armrest,
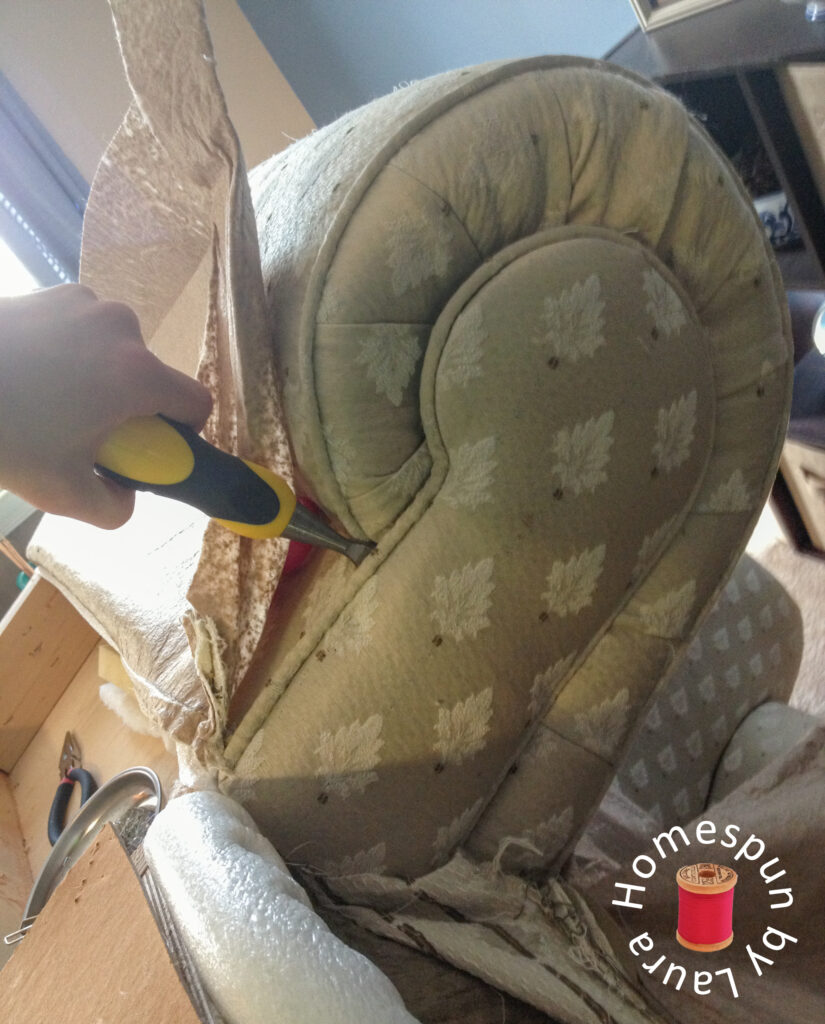
The chisel strikes again (but this time it was successful)!
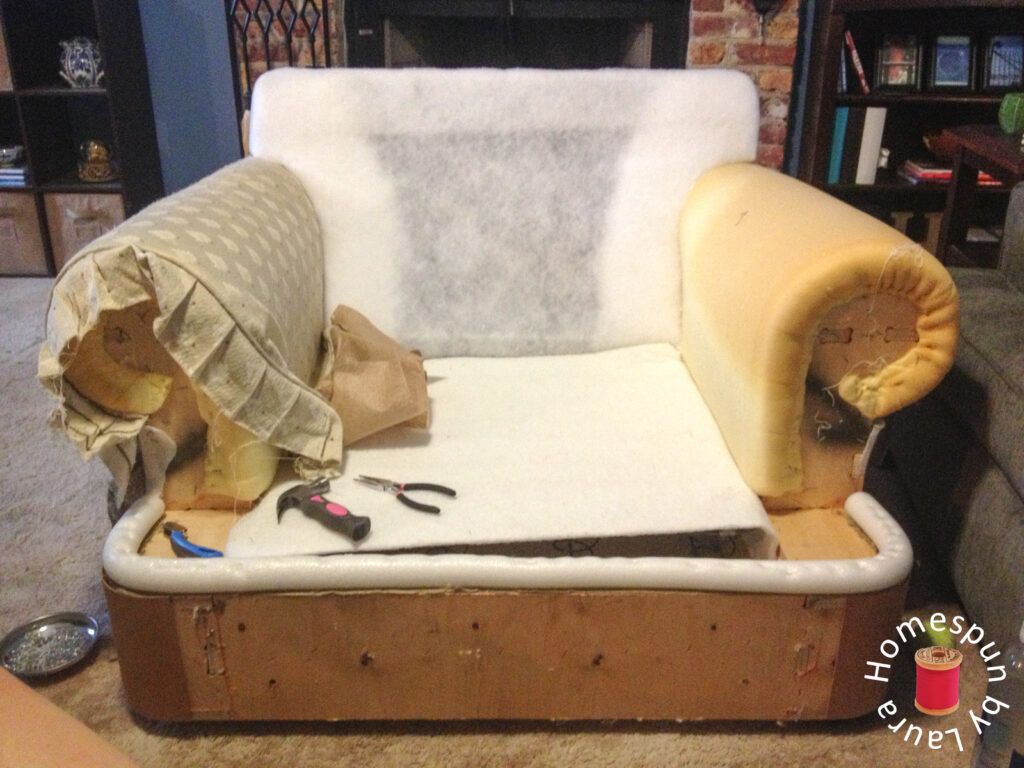
and last, the armrest covers themselves.


How to Upholster a Chair: Reassemble It
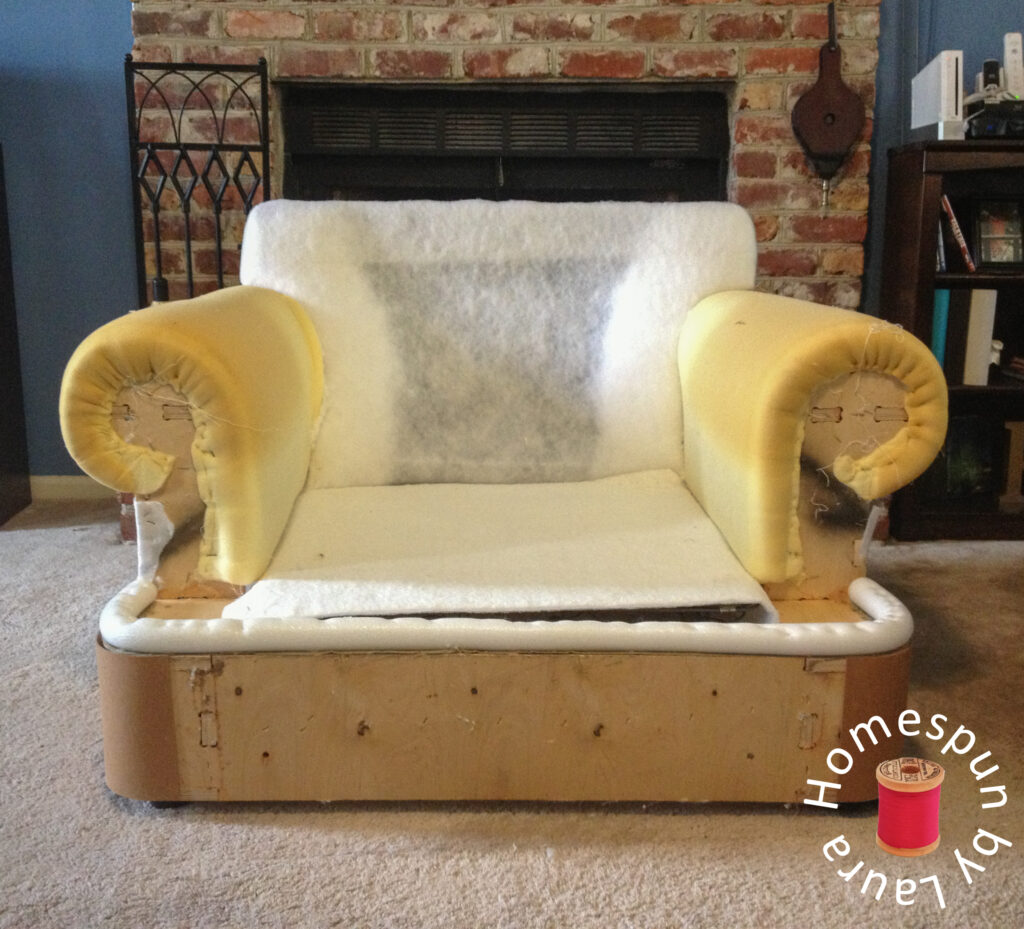
1. Replace Foam + Batting (or Don’t)
2. Prepare your Fabric
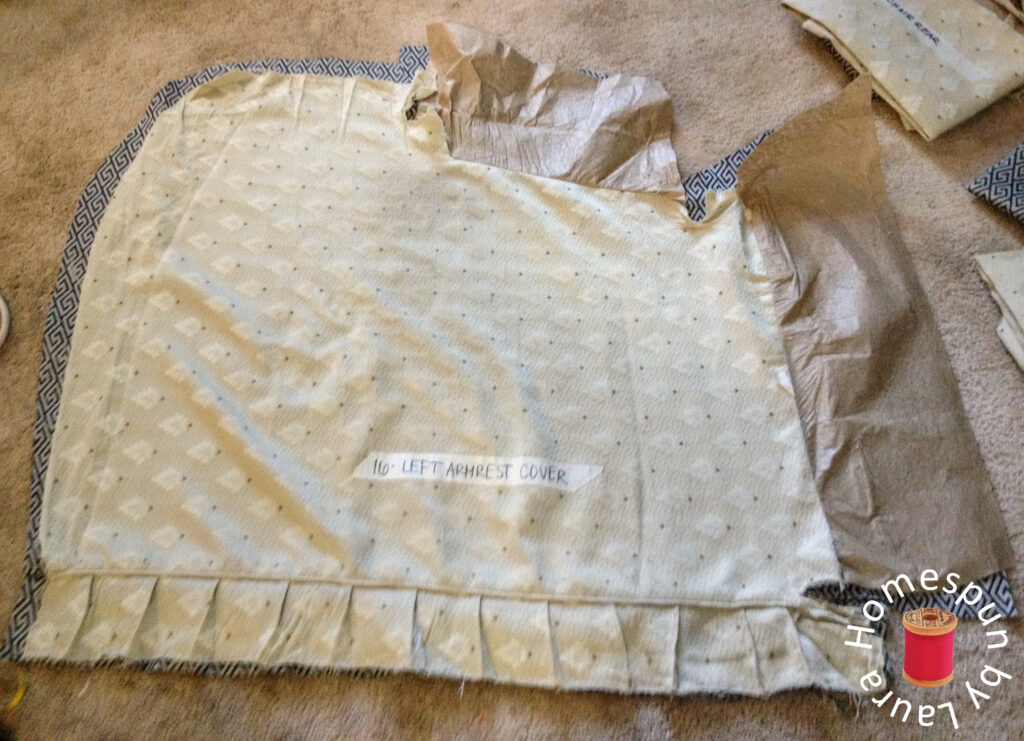
The first step of re-assembling the chair was to use the old pieces as a pattern to cut out pieces of the new fabric, which took about a full work day (a ‘work day’ for me is anywhere from 4-10 hours long depending on what else is going on; this day was one of the shorter ones).
I lined each piece up so the pattern would be straight and face in the proper direction, double checking everything before cutting anything. I cut the new pieces slightly larger than the originals to make sure I had enough fabric to work with. Each new piece got a masking tape label with the same name and number as the label that was on the old piece to make reassembly a little quicker.
3. Make Piping (Optional)
You certainly don’t have to use piping, but it can make your ‘new’ chair look more finished and fancier. I really dislike making piping, but I didn’t have to make much since I decided to change the look of the chair. So I made several yards of it in one sitting so I wouldn’t have to do it again later.
I decided against including the piping on the outer edge of the front of the armrests, opting to add it only on the front panel and down the side to hide the joining of the two pieces of fabric. I also omitted the skirt around the bottom of the chair (just like I did for the ottoman, which now is also piping-free). The skirts seemed to date both pieces of furniture to me, so I wanted to give them a more modern silhouette with a tightly wrapped front panel (and show the ottoman’s pretty new legs).
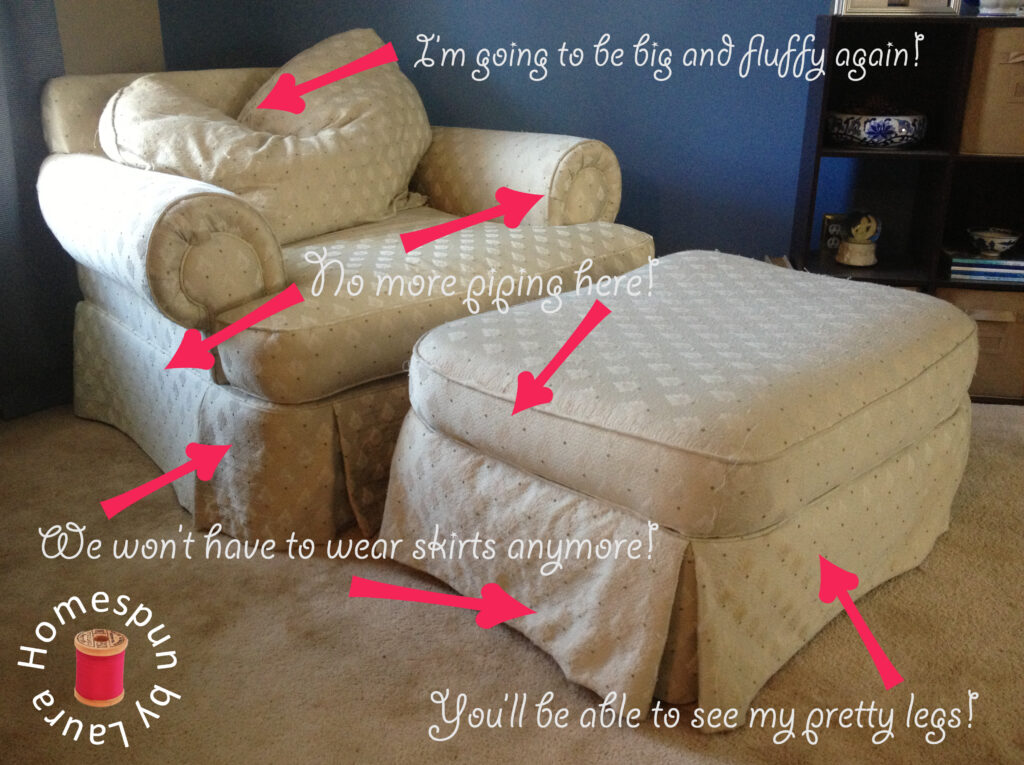
I originally wanted to put pretty new legs on the chair, too, but had to change my plans when the old ones wouldn’t budge.
4. Make it Harder on Yourself (Not Recommended)
1 – I had no guidebook for reassembling it without the skirt, so I had to figure that out as I went along, and it made the reassembly process a bit more time-consuming, and
2 – Though I had been considering not using a skirt on the new chair all along, I only decided for sure AFTER I had cut out all the new pieces, including those for the new skirt. That is part of the reason that I had to order more fabric, which set me back a few days (the pieces for the skirt weren’t quite tall enough to become the new front panel of the chair).
5. Using Your Notes as a Guide, Reassemble your Chair!
I was able to completely remake the chair in the meantime, since the pieces were all cut, but I had to wait until the extra fabric arrived to make the covers for both the seat and back cushions.
I didn’t know where to get any of the brown paper bag fabric that was on the original pieces (I also don’t know what it’s actually called),and I didn’t have it in me to separate it from the old pieces in order to reuse it, so all of the new pieces are made completely from fabric.
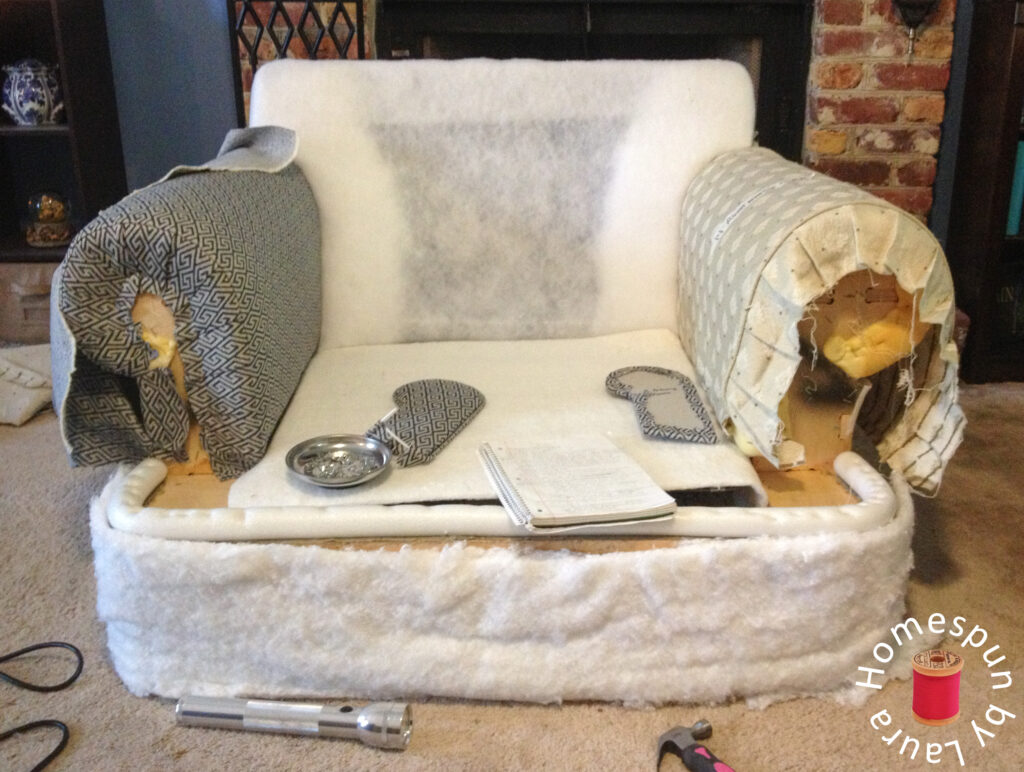
Note the decorative covers for the front of the armrests in the seat have been recovered and have piping on their borders (but the new armrest cover itself doesn’t have any, though it’s hard to tell in the picture above).
You might be wondering how the decorative covers for the front of the armrests are attached since you can’t see the backs of them. It’s not glue. Trim nails with teeny tiny heads can easily be nailed through all the layers, including the fabric, until their heads go through the fabric, securing them to the front of the armrests.
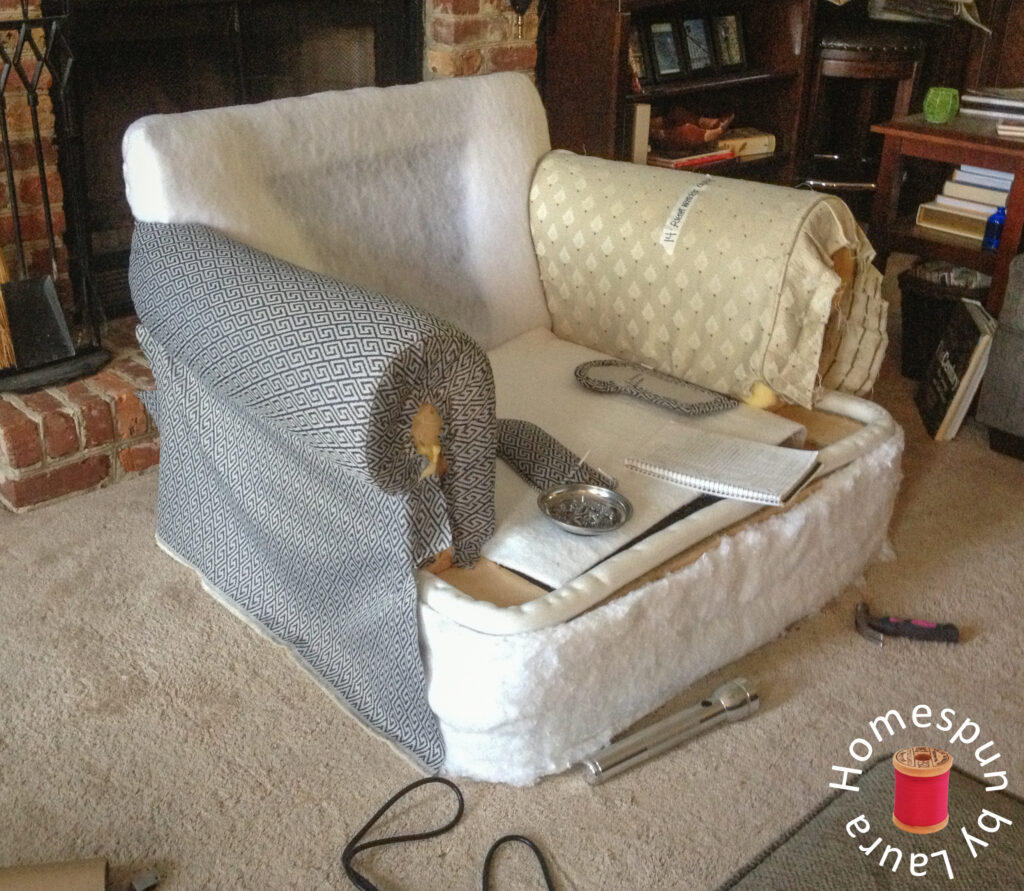
The side was tough to get pulled tight; I had to redo it a couple of times to get it just right. The sides were the hardest part.
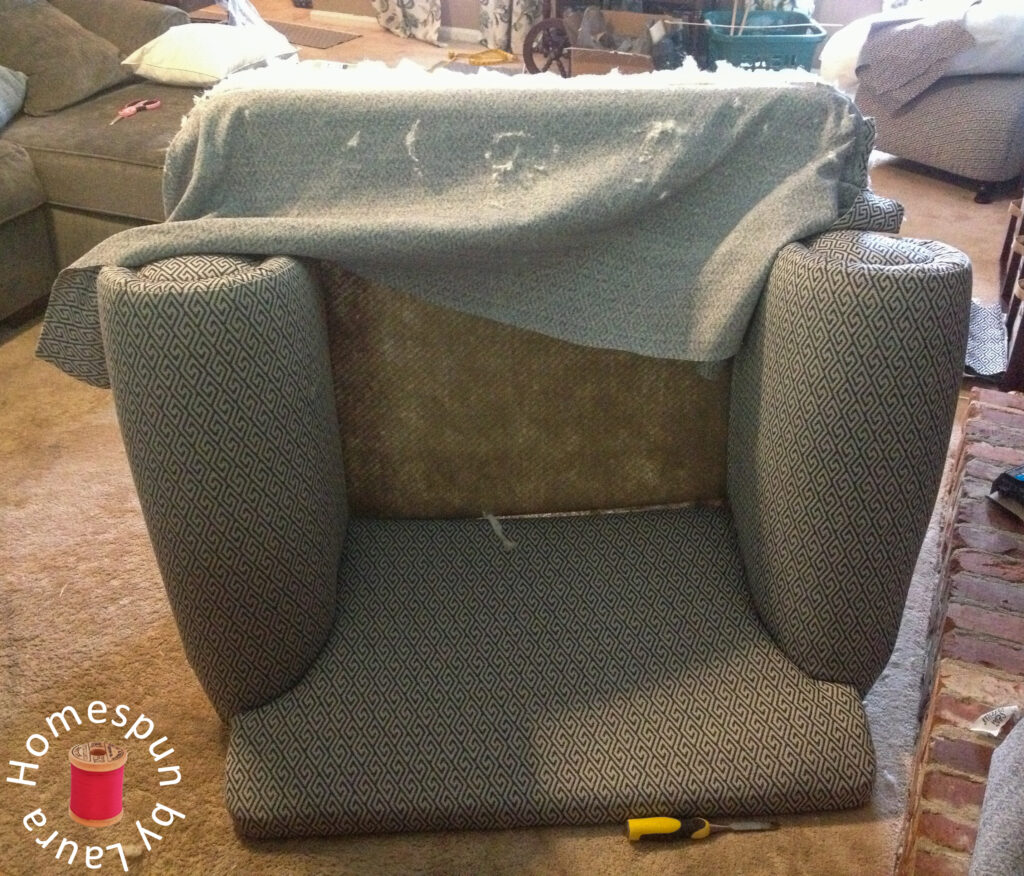
I reused the brown paper bag fabric from the original seat. I wasn’t about to waste my good fabric under the cushion, plus I didn’t think it would be as strong.
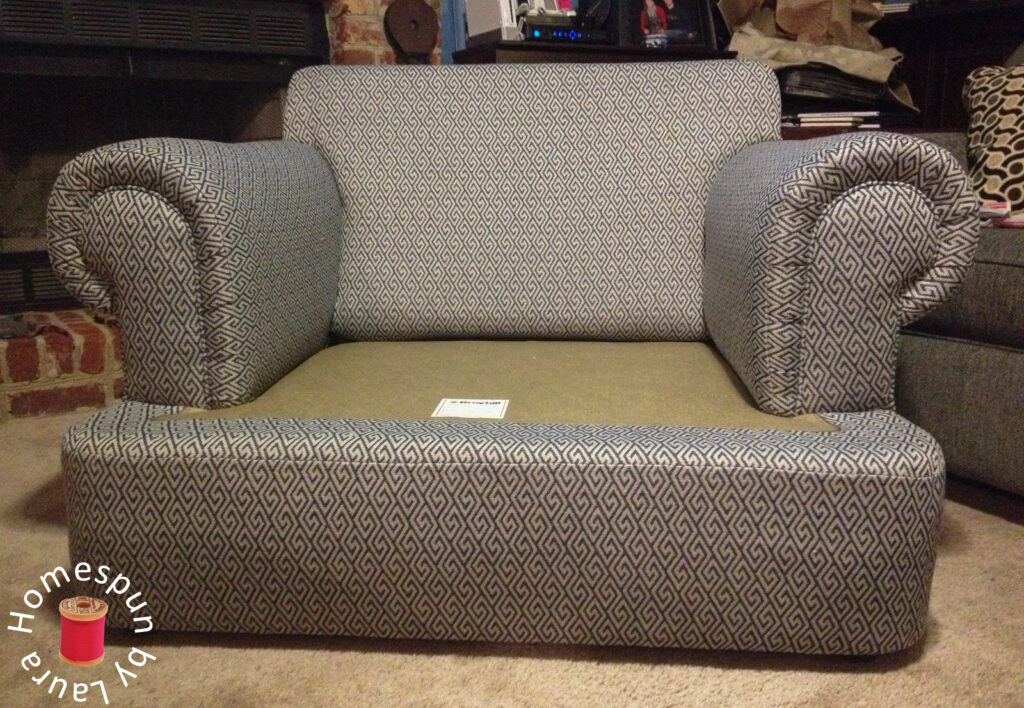
So close!
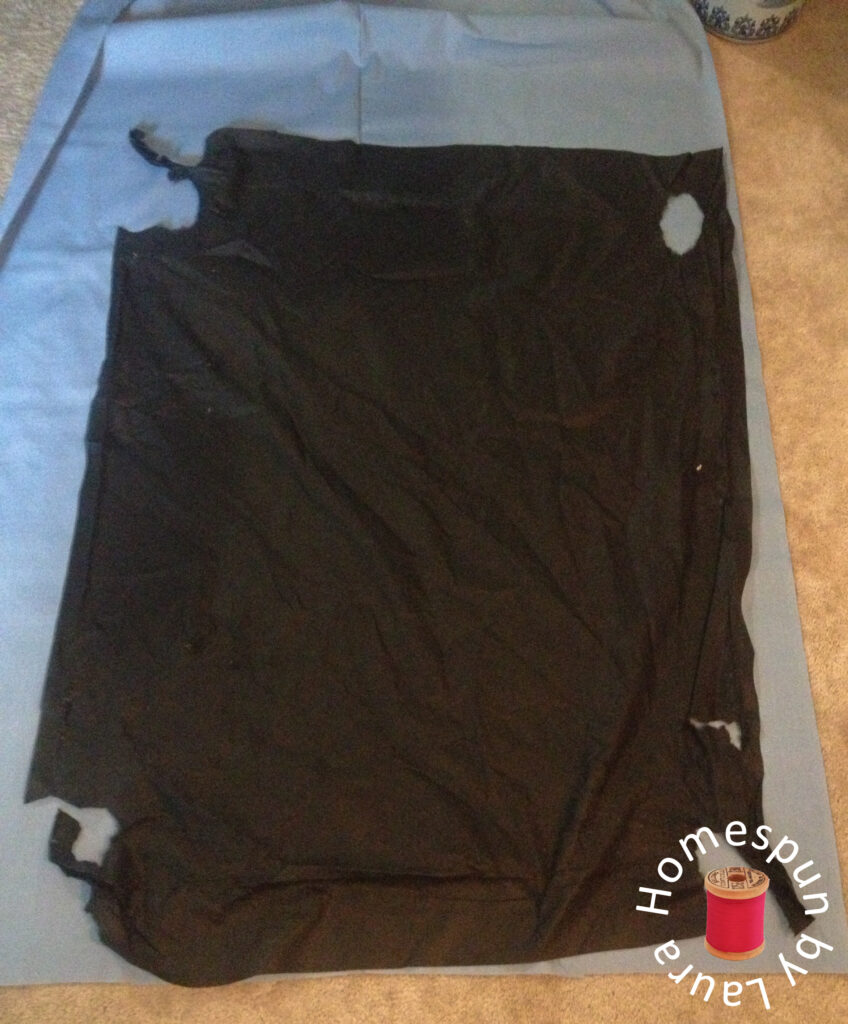
I bought a whole bolt of this cotton fabric a few years ago, but I changed my mind and never finished the project… But it was a perfect (free!) substitute for dust cover fabric.
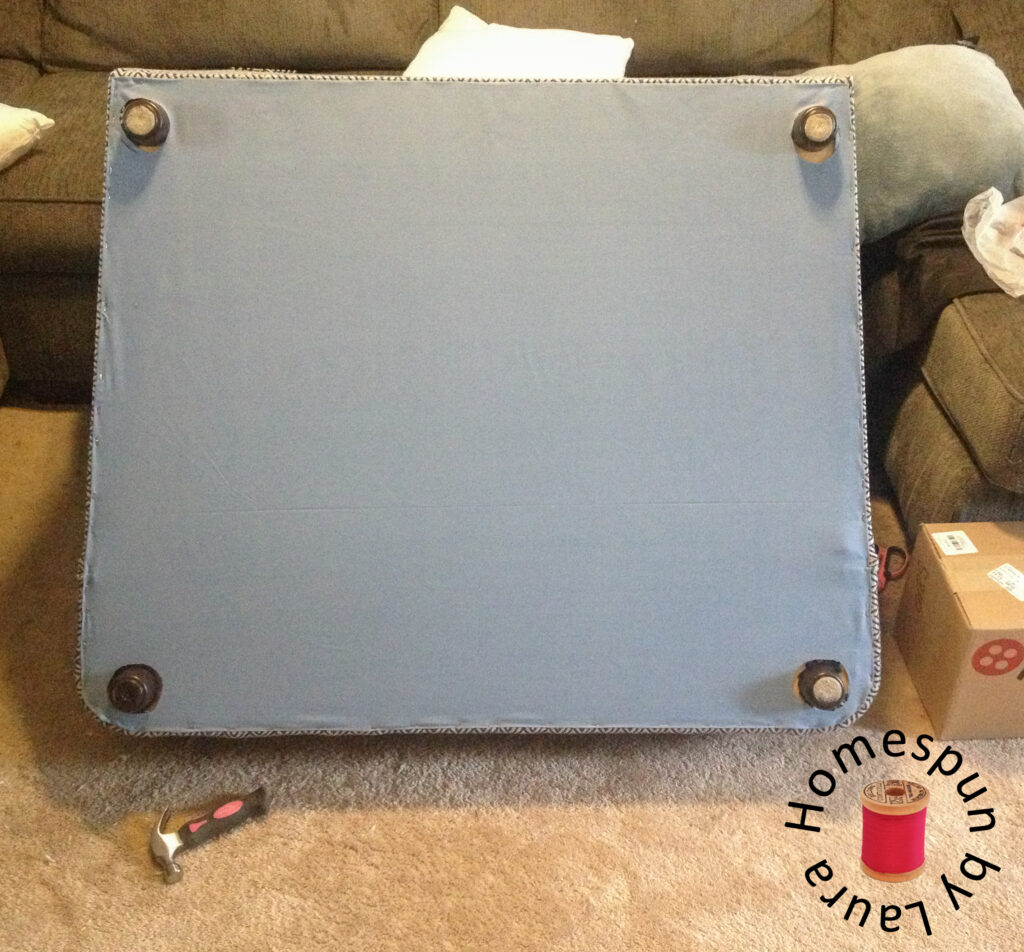
Closed up nice and snug. No dust is getting in here!
How to Upholster a Chair: Sew a New Cushion Cover
Once the additional yardage arrived, I got to work creating the seat and back cushion covers. The back cushion needed some additional fluff added to it as it had gotten quite smooshed due to years of a certain 17-lb little dog and his 11-lb little brother nesting in it.
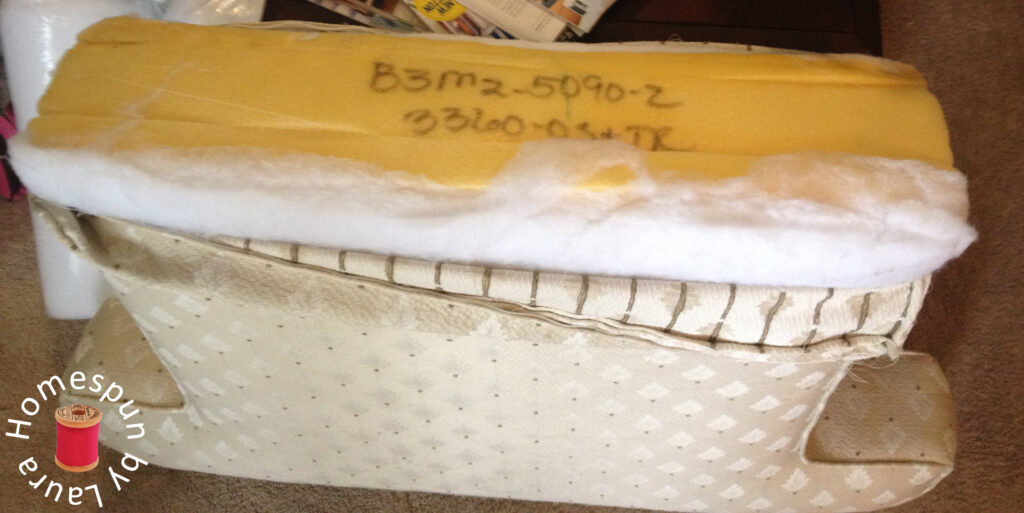
Getting the cover off of the seat cushion was nearly impossible. It was made so snugly that I have no idea how they got the pillow into it in the first place!
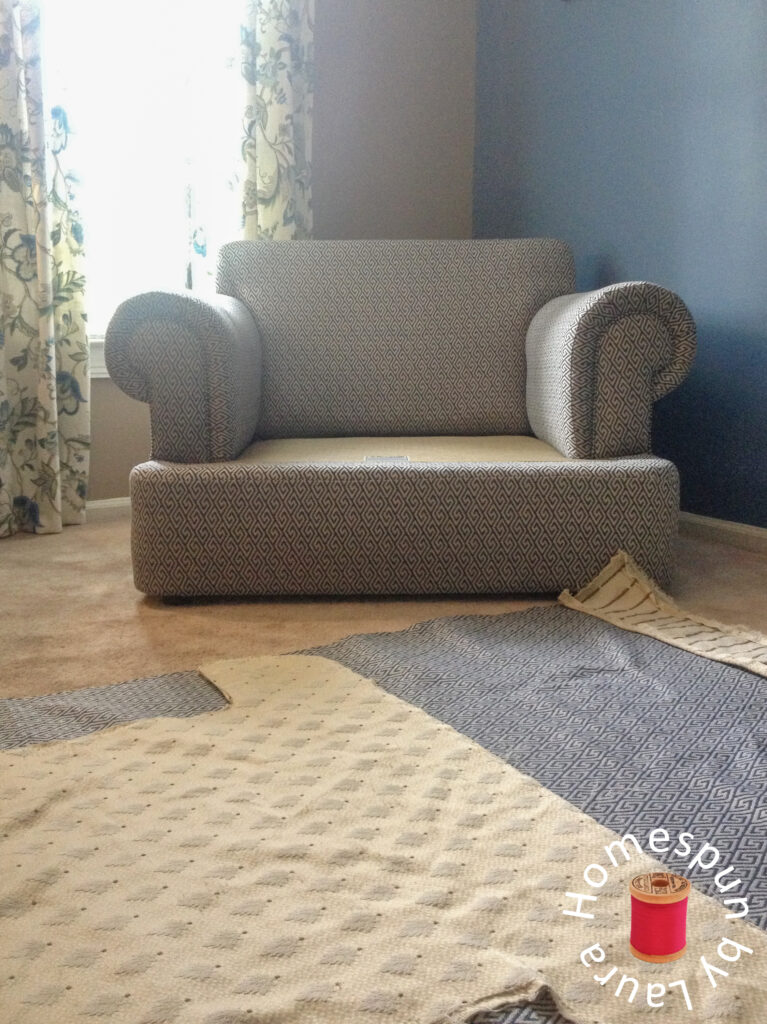
I had ordered JUST enough extra fabric. Half a yard less, and I’d have had to cut some of the fabric with the design facing in the wrong direction. Or I wouldn’t have had enough to make throw pillows for the couch.
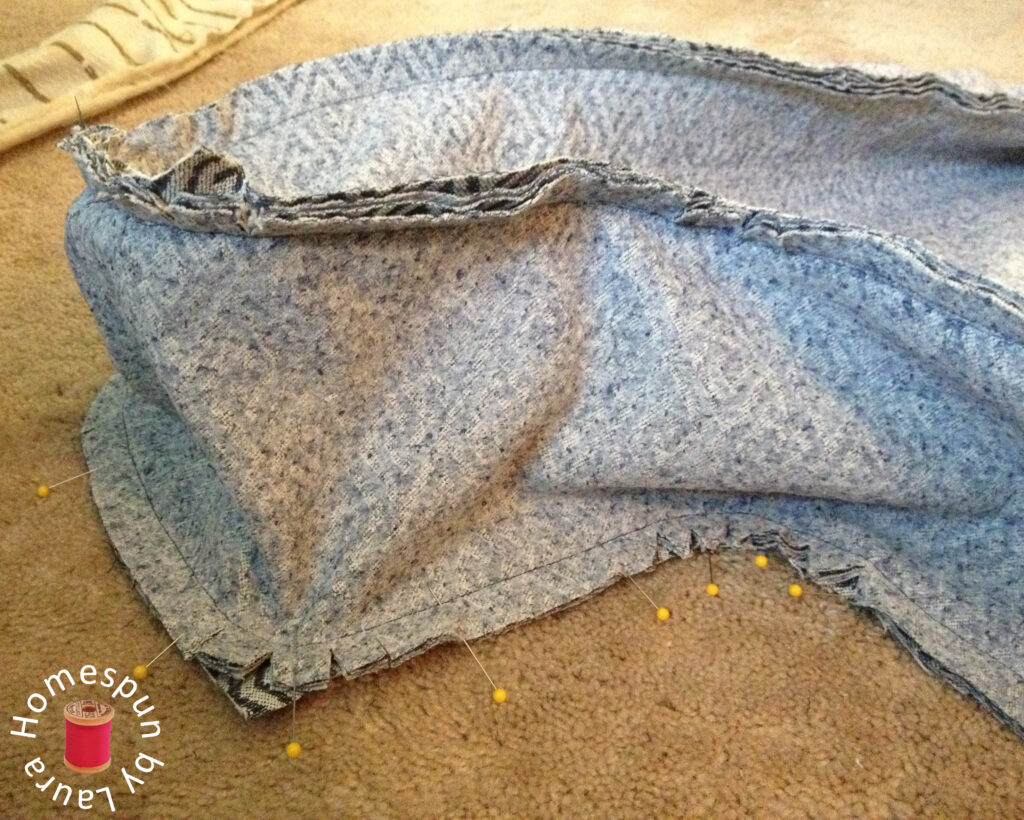
When I made the cushion cover on the green chair in 2012, I thought I was never going to get it right. This time, I had 3 more years of sewing experience under my belt and things went quite smoothly!
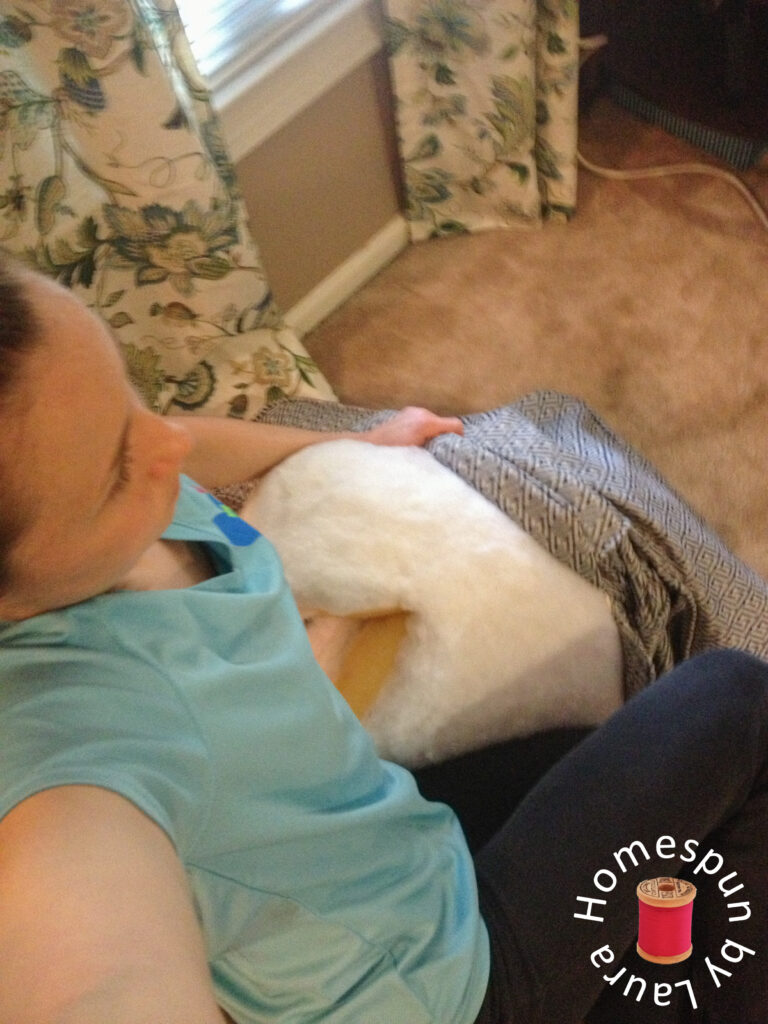
This is possibly the weirdest selfie ever.
I literally had to sit on the seat cushion to keep it
folded in half so it would squeeze into the new cover.
I’m pleased to say that after about a week and a half of work, the chair now looks absolutely amazing. And it’s still really comfortable.

There’s a normal selfie.
How to Upholster a Chair: The Cliffs Notes
- Take DETAILED notes.
- Take photos as you work, but make each one count. Write a description of the photos or the date/time in your notes so you know what each photo is actually showing you when you go back to look at them. For example, what the heck is this photo showing me?
- Label each piece as you take it off. Give it a number based on the order in which it was removed. On a separate page, create a list of all the pieces as you remove them so you have a game plan for reassembly.
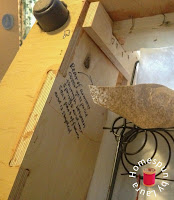
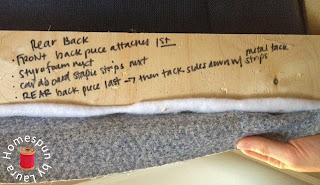
- Write instructions on the frame of the chair, too. Chances are, your notes will only make half sense when you get back around to reading them, so arrows and instructions on the chair itself will be helpful.
- Buy too much fabric. Overestimate and round up, and then add another yard! It’s better to have too much than too little, even if it costs $20 or $30 extra. It’s way easier than tracking down additional fabric, and if you have to buy more fabric, you run the risk of the colors not matching up perfectly depending on the dye lot of the fabric. If you have some left over, you’ll be able to make a coordinating pillow or any one of hundreds of ideas for fabric scraps.
- Have tons of patience. My first chair took me over a month to complete, working nights after work and weekends as I was able. This one took just over a week as my main focus during that time. Without patience, you either won’t finish, or you will learn to be patient along the way. As for me, my stubbornness and inability to accept defeat gets me through 🙂 And the excitement of seeing the finished product, of course. Remember you’re teaching yourself a valuable new skill: it’ll go much quicker the next time!
You’ll find more suggestions on surviving your first upholstery project on my first upholstery post a few years ago.
The last thing I’ll share today is this: I decided to contact a local upholsterer to find out how much it would have cost to have this chair done professionally. The answer? Around $700! SEVEN HUNDRED! PLUS THE COST OF FABRIC!!
I knew it would be expensive, but I was shocked to find out exactly how much. I spent less than half of that on ALL of the materials I used – fabric, piping, mending brackets, staples, nails and tack strips, new legs for the ottoman, even the new tools! As you can imagine, finding that out made my day! The best part of it, though – even better than saving some dough, is knowing that I did this:

And the dogs approve 🙂

Thanks for sticking with me all the way to the end on this one! The den redesign project is starting to wrap up now; only a few tasks remain before the final reveal. My next post will feature our new couch and the coordinating pillows I’ve made for it, and it should be quite the opposite of this one: brief. 🙂
Laura


