
For some time, I’ve been halfheartedly looking for a new piece of furniture to serve as a small ‘media stand’ for the den. I couldn’t find anything I liked in thrift stores, so after a few months, I sort of stopped looking.
Then, one day last month, I was in the last mile of a 14-mile run in an historic neighborhood downtown, when up ahead of me I saw what appeared to be a piece of furniture on the side of the road. As I got closer, I saw that it wasn’t just my glucose-depleted state causing my imagination to run wild or a trick of the light; it was, in fact, an upside-down, three-legged nightstand that had seen better days. It was the perfect size and had the exact design I envisioned for my little media stand – a large opening for the cable box and DVD player and a drawer for small items (matches for the fireplace, extra extension cords, etc.) to be stored.
I wish I had taken a picture of it before I dumped it into the bed of my truck when I drove over to get it after my run. It was a pretty sad sight sitting there in front of a beautifully restored early-1900s house, on trash day (yes, I purposely plan my runs in that neighborhood so they coincide with trash day!). I decided I would figure out something to replace the missing leg with (it was a rear leg so not easily visible), but when I picked it up, I heard a noise inside the drawer. It really was my lucky day – the broken leg was inside the drawer!
I got it home unloaded it in the garage, where it sat for a couple of weeks before I was able to devote a couple of days to transforming it.

My plan was to paint and stain it in the same style as the antique hutch I painted about this time last year, so I had to strip the paint off the top. Since it was my first time using paint stripper, I was a little bit nervous about how it would turn out. I wasn’t sure what type of paint the previous owner had used and how the stripper would react with it, or what sort of surface I would find underneath when (if) the paint came off.
I started out by finding something to prop the lopsided nightstand up on…then dug out the paint stripper I bought about a year ago for another project but wound up not needing.
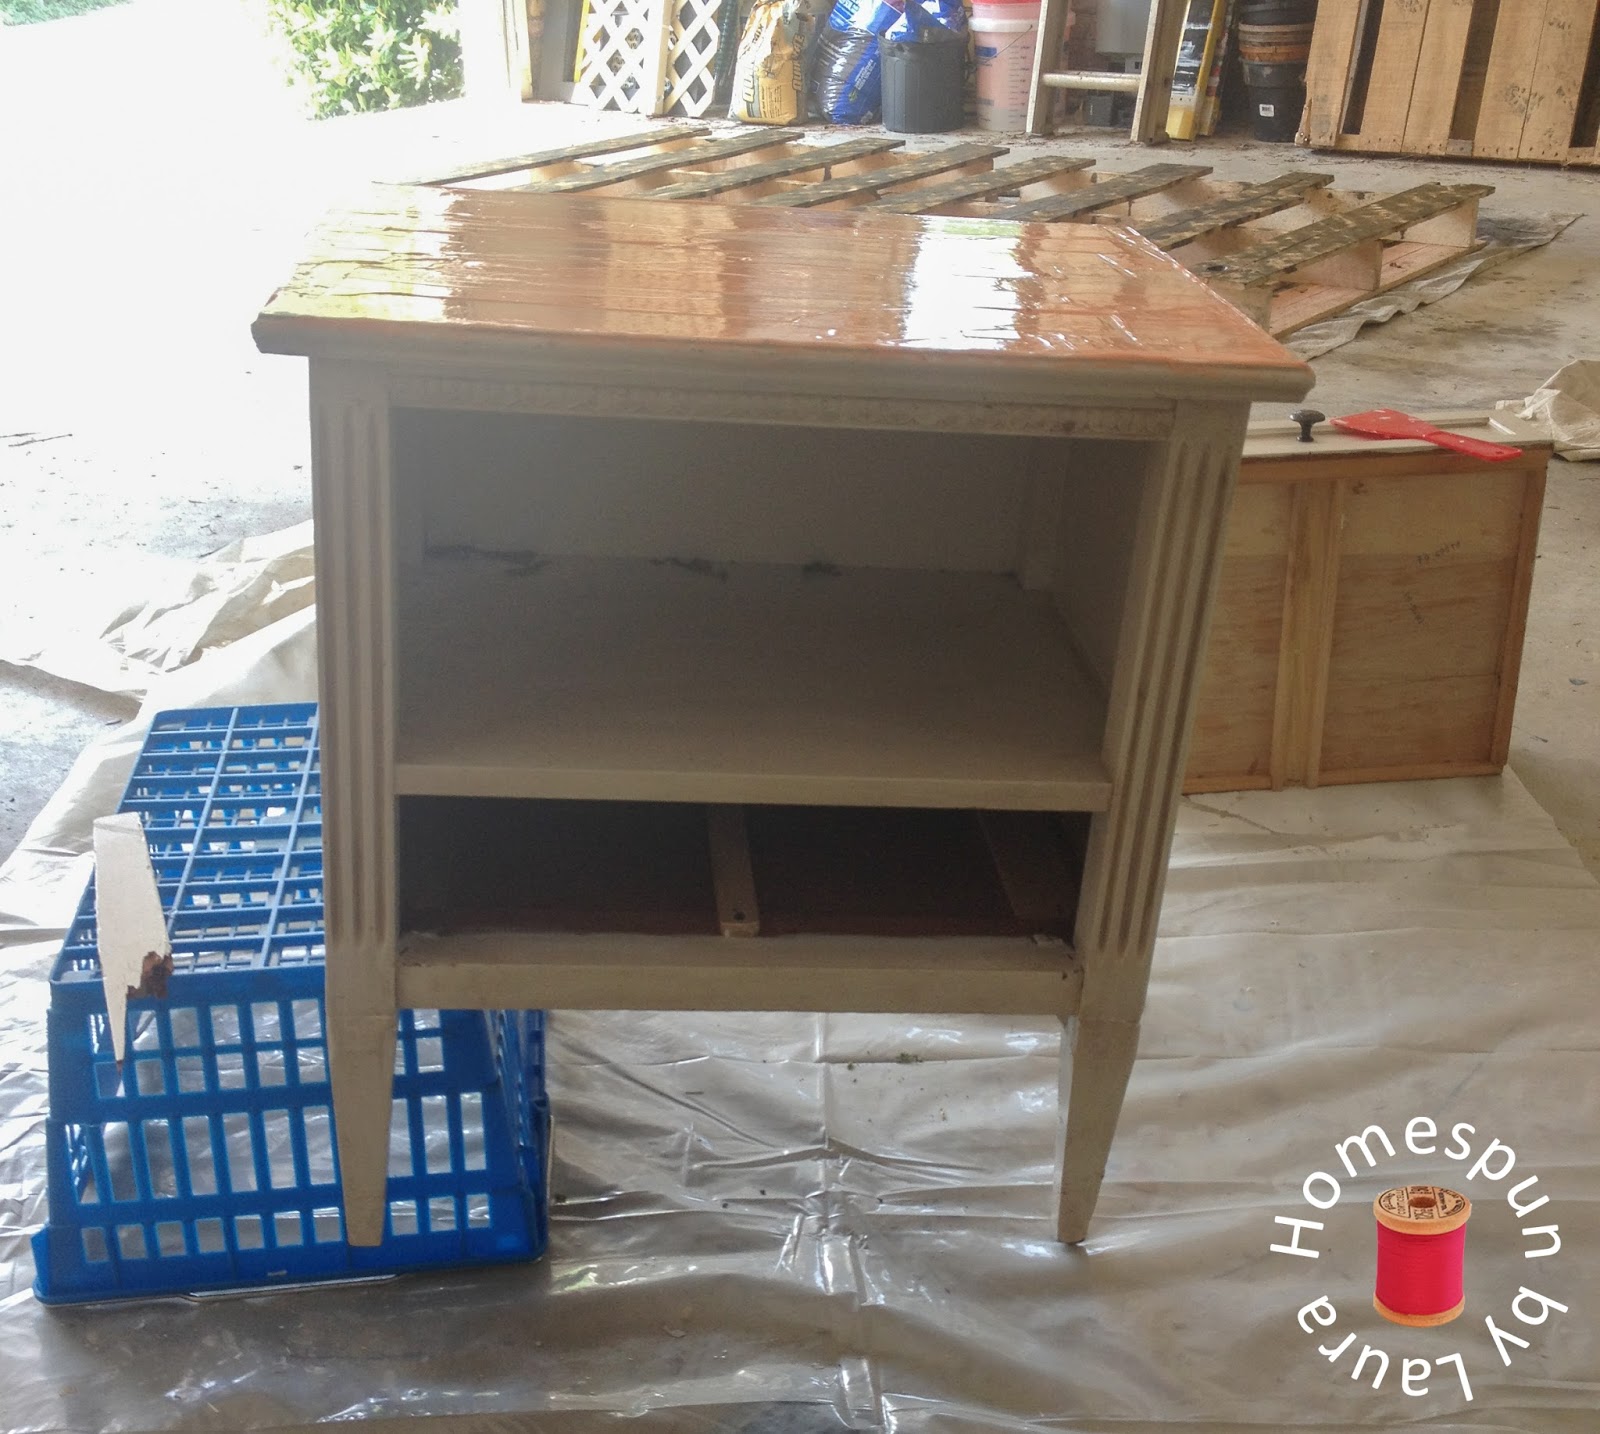
Again, I was in luck. After only a few minutes, I started to see the paint getting wrinkly, and for the most part, it came right off.

There are a few areas that the paint was way down in the grain of the wood and just wouldn’t come off.


After I cleaned up the mess from the paint stripper, I sanded down the whole piece. This was the reason I had waited to mend the leg – while the basket the nightstand was propped up on wasn’t the most stable option, I didn’t want to start by mending the leg, only to put too much force on it while sanding and have it break again.
My last step before mending the broken leg was to use a hole saw to create an opening in the back for cords to run through.


To mend the leg, I…
…Poured a liberal amount of wood glue down into the jagged area where the leg had once attached.

…Placed the leg into the jagged area in as close to what appeared to be the right position as possible, then used a mallet hammer to jam in down in to place the best I could, then used a rag to wipe off the excess glue.
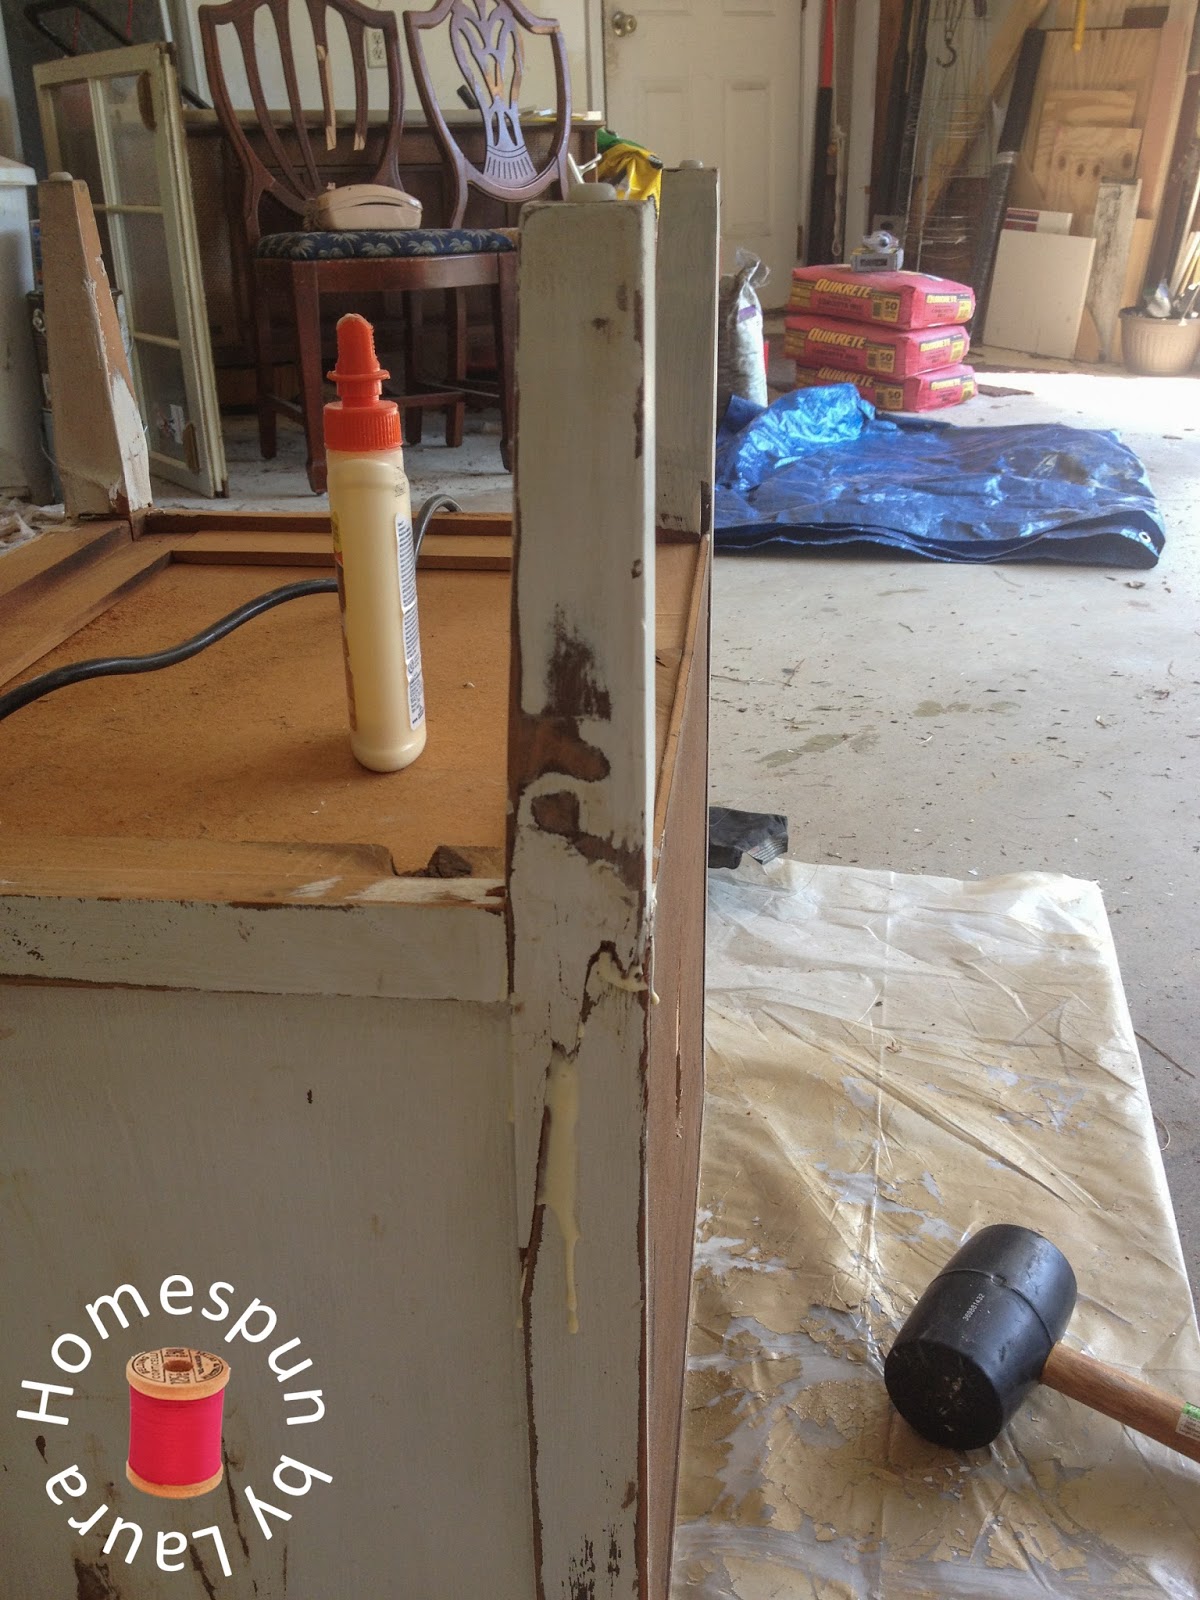
At this point, I used one flat mending plate (on the back of the nightstand) and one L-shaped corner brace (underneath the nightstand) to reinforce the wood glue, then left it for a couple of hours to dry.

After the glue had dried, I went back with several rounds of wood putty to smooth out the exposed rough sections, allowing each layer to dry before sanding it down, and repeating until I was pleased with its smoothness.

Finally, the piece was prepped for paint and stain! I covered the whole thing (with the exception of the top, of course!) with one coat of primer, but some areas (specifically, the wood putty around the mended leg) got two or three coats.

 |
| Good as new!! |
The primer was followed with one coat of paint.

Last, I stained the top surface (I think three coats) until I was satisfied that I’d reached the right color and sufficiently covered the areas where I couldn’t quite remove all the old paint. Once the stain had dried, I gave the top two coats of satin Polycrylic.

 |
| You can still see bits of white paint down in the wood grain |

 |
| The slight discoloration just gives it character… |
Between coats of the Polycrylic, I taped off and painted the inside of the drawer with Montpelier Wedgewood to match the walls in our den.

At this point, the temperature skyrocketed and it was all of a sudden both too hot for me to work somewhat comfortably in the garage, and too hot to paint according to the directions on the can. I moved my setup into the kitchen for final touch-ups and to decide which of the three pretty knobs I’d selected was the right one.

Earlier that morning, I stood in the knobs and hooks aisle at Hobby Lobby for about 10 minutes and narrowed it down to three, but I had to wait and see them on the finished piece of furniture to make the final decision, and I wanted the Mister to weigh in on it, too.
 |
| Decisions, decisions! |
We agreed on the round one with the pretty blue and white design (far right); the pale one (center), which had been my first choice initially, was a bit underwhelming on the final piece, and the scalloped one (far left), with its blue and white design, was a bit too much for the Mister.
When I moved the old shelf out of the way to make room for the new stand, I was shocked by the mess of wires I found behind it. The fact that we’ve had 3 different cable providers in our six years here didn’t help the problem that would have been there anyway – there were several wires and cords that weren’t even attached to anything just sitting there, and we had an extra surge protector that it turned out we didn’t even need.
Moving the furniture around allowed me the opportunity (this word makes it sound like I enjoyed it – I didn’t – but I’m glad it’s done now) to clean the area up – using the bread tab trick, I labeled each cord, and I used twisty ties to wrap them up more neatly. There are still a ton of them and they take up WAY too much space, but it’s certainly better, and we now only have cords that are actually necessary and in use.
 |
| Before – big, cluttered shelf on right side of fireplace/TV |
 |
| Before – particle board shelf on left side of fireplace/TV |
As I’d hoped, it looks much better, than the previous method of stacking everything on top of a shelf. Another bonus was that we were able to move the cheap particle board cube shelf out of the room by replacing it with the shelf that used to hold our media stuff. I’ll use it in another room, but the den looks much better without it.
 |
| So pretty and uncluttered |
 |
| A place for things to hide |
 |
| Sure, there’s still a lot on it, but doesn’t it look nice next to the pretty chair? |
And there you have it! The smaller stand takes up just the right amount of space, holds everything we need it to, and it looks pretty doing it!
Thanks for reading; happy Saturday!
Laura