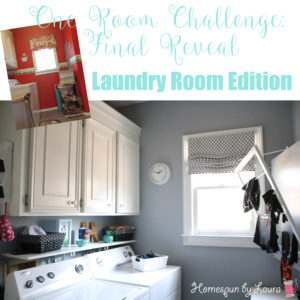
In Week 4 of the one Room Challenge, I struggled to make final decisions on cabinet paint color and accent wall design. Keep reading to see the choices I’ve narrowed it down to.
In the spring One Room Challenge, I’m focusing on our sad, beige laundry room with the goal of transforming it into a fun, colorful space inspired by two famous TV kitchens.
The One Room Challenge is a 6-week long project hosted by Calling it Home during which participants focus on updating one room in their house with the goal of creating a beautiful ‘after’ to enjoy, sharing their progress with the internet along the way.

This means that if I can stay on track, I’ll have a fun, colorful laundry room by mid-May!
If you’re new here – thanks for stopping by! I’m Laura and I’m rolling up my sleeves to make our beige builder-grade laundry room a little more fun and colorful – on a $100 budget. You can read more about the plan for the colorful laundry room here, but if you’re short on time, here’s the basic idea: Add some color and personality, pulling inspiration from Monica’s kitchen in Friends and the tent kitchen on the Great British Bake-Off (see link above for inspiration photos!).
the before
If you’re caught up on Week 1, Week 2, and Week 3, skip on ahead to the Week 4 update below. If you’re new around these parts, here’s a quick recap:
When we moved in, our laundry room was functional but lacked storage or personality.
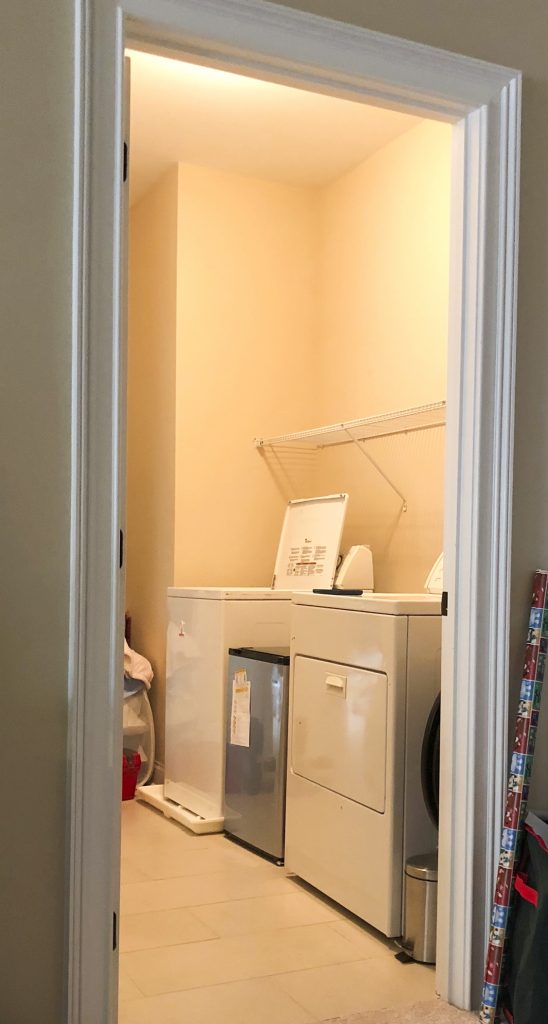
The laundry room…Before!
In December, we made a big change by adding stock cabinets from Lowe’s. This improved our storage situation, but the room was even more beige than it was before. We moved the 8′ wire shelf to the garage, where it stores some Christmas decorations.
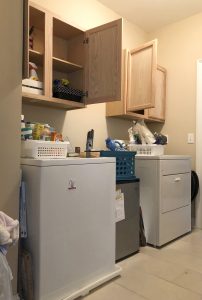
In progress
I decided to participate in the spring One Room Challenge to motivate myself to finish this project within 6 months of starting it. As a stay-at-home, work-part-time-at-home mom to a 7-month old little girl, my time is not my own. Time is always the biggest challenge of the One Room Challenge, but it’s hitting me harder this time around.
the budget
I chose to limit myself to spending $100 or less during the space of the One Room Challenge this spring. So far, I’ve used less than a third of it: a dowel, hardware, and wood for the shelves only set me back $29.67. (I bought the new cabinets with birthday money while they were on sale last year. They cost about $150.) We had all the other supplies and materials used so far on hand already.
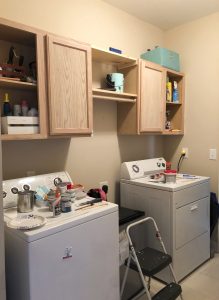
Here’s what the room looked like at the end of Week 3.
Colorful Laundry Room: week 4 update
We were out of town for most of the week, and I had to work the one day we were home. As a result, not much has changed this week.
hang iron/ironing board rack
I’m going to do this today!!
determine cabinet paint color
I already knew I wanted to paint the cabinets something in the blue-green family like the cabinets in my inspiration kitchens, but I hadn’t decided on just one color yet.
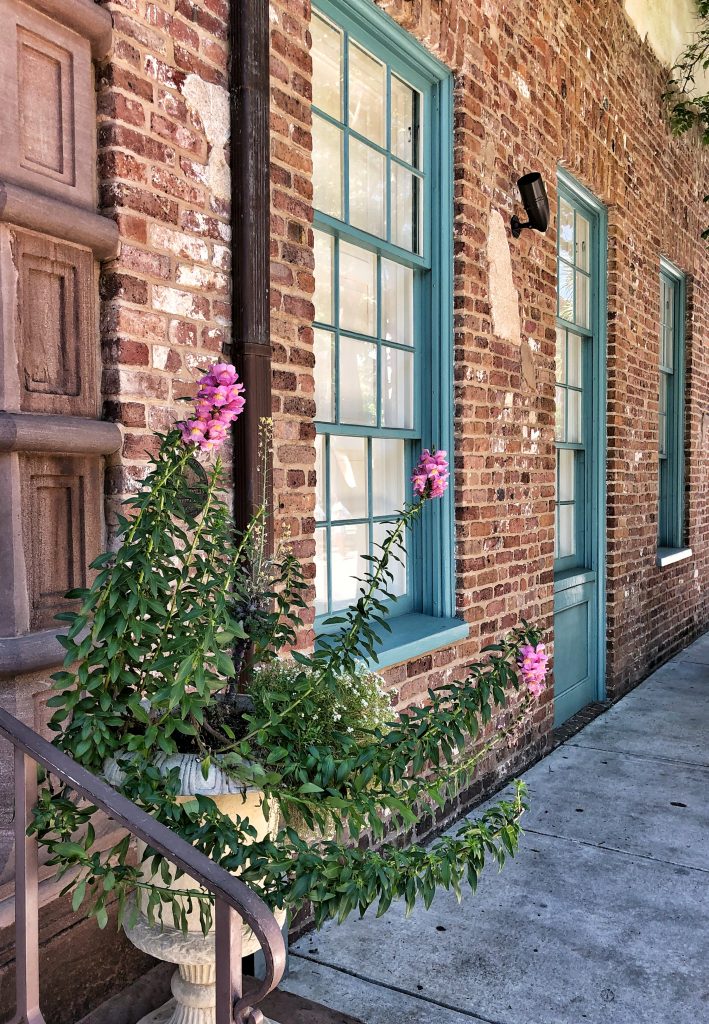
We were in Charleston last week and during our walk along Church Street, the color of the door of the Dock Street Theatre stopped me in my tracks (most of the buildings in Charleston stop you in your tracks, though, don’t they?). It’s the perfect color and would look amazing on cabinets against a brick backsplash…
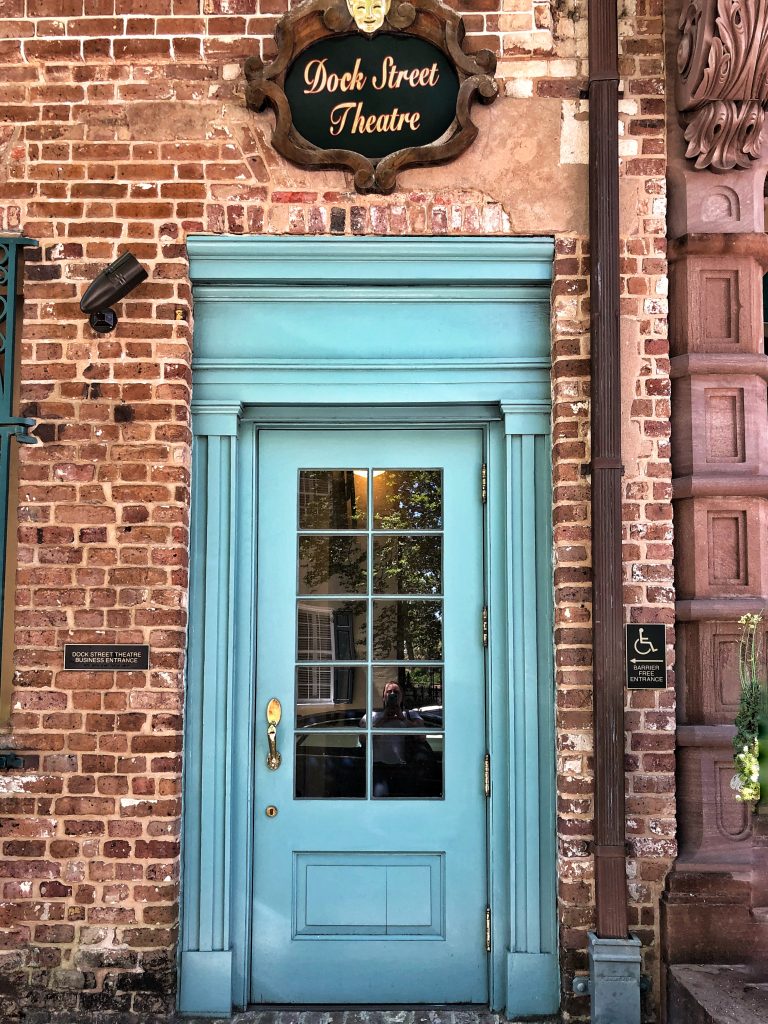
Since I’m mixing my own paint, I’ll get as close to this color as I can. I’ll probably try a few different shades to see what looks best in the space. I’m really excited about creating my own color and hope it’s as fun in reality as it is in my head!
Determine backsplash/accent wall design
I’ve narrowed it down to a few different options. The biggest challenge with the accent wall/backsplash is to ensure that it hides the fact that the cabinets are crooked.
Option 1 – and probably my favorite – is a wide vertical planked wall, as seen in one of my inspiration spaces: The Great British Bake-Off set. This seems relatively easy (with the right tools) and inexpensive, but I think it would accentuate the crookedness of the cabinets, not mask it.
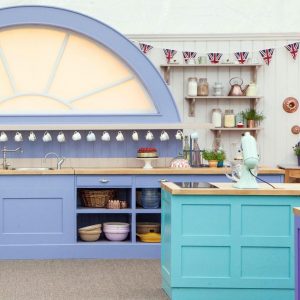
So that’s out.
Option 2 was my original plan, as seen in my other (original) inspiration space: Monica’s kitchen in Friends. I wanted to make a brick backsplash behind the washer and dryer, and I’d still love to do it.

But learning to mix mortar and lay brick isn’t exactly something I have the time or brain power for right now. So I looked into faux brick in two different forms: hardboard with a brick design on it and a brick-look wallpaper.
The little girl was a great sounding board as I considered the brick wall panel.
The hardboard is an option budget and time-wise, but there’s still the chance that the linear brick design would accentuate the crooked cabinets.
The wallpaper from Target looks way too fake for me in person, and I couldn’t pull the trigger on it. It would set me back about $35, which is a third of my budget.
Option 3 is to paint something myself.
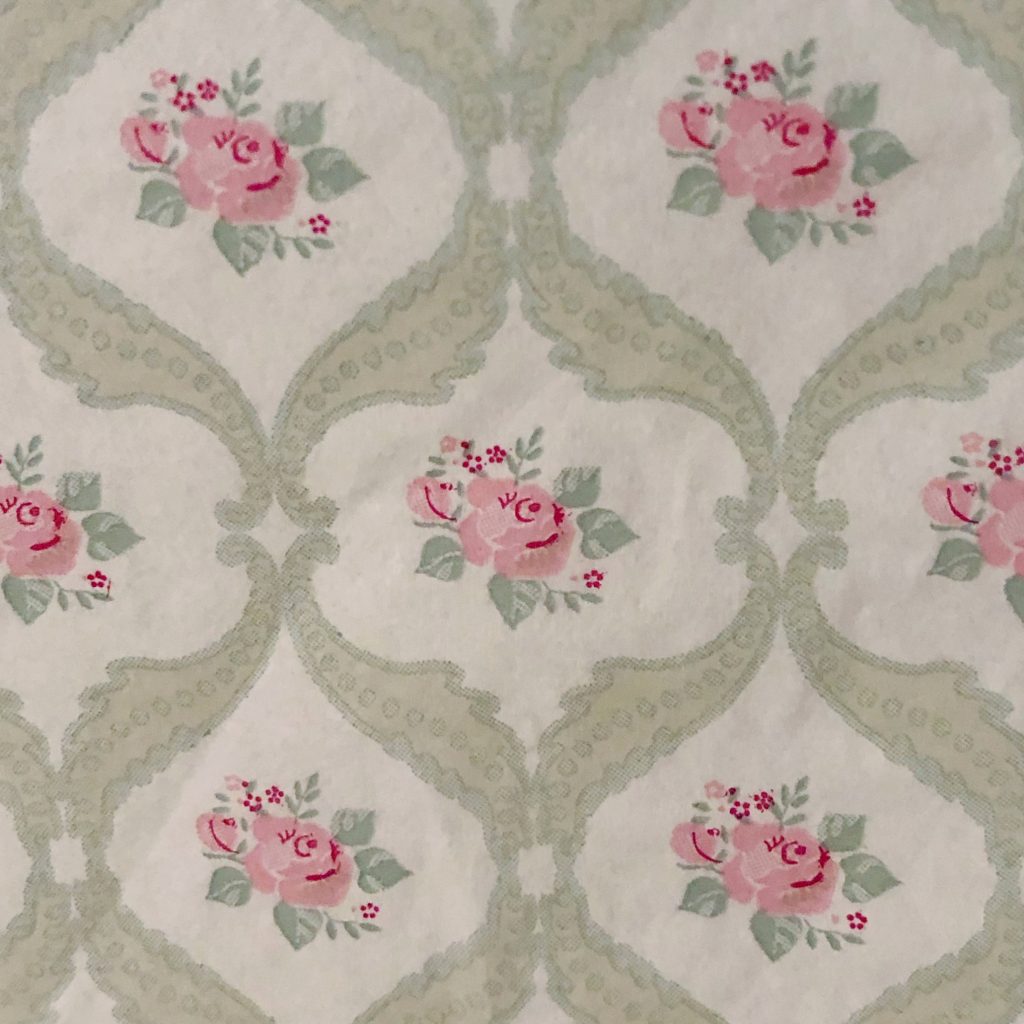
The lemon design on this decorative paper I saw at Joanns is so cute, but since it’s a pretty tiny pattern, it isn’t really an option for this room. I thought about painting it onto the wall, but I do better with less organic designs – basically, I need lines and definition!

I also love these napkins I bought at Ikea early last year, and I’m currently leaning toward painting a design inspired by the pattern.
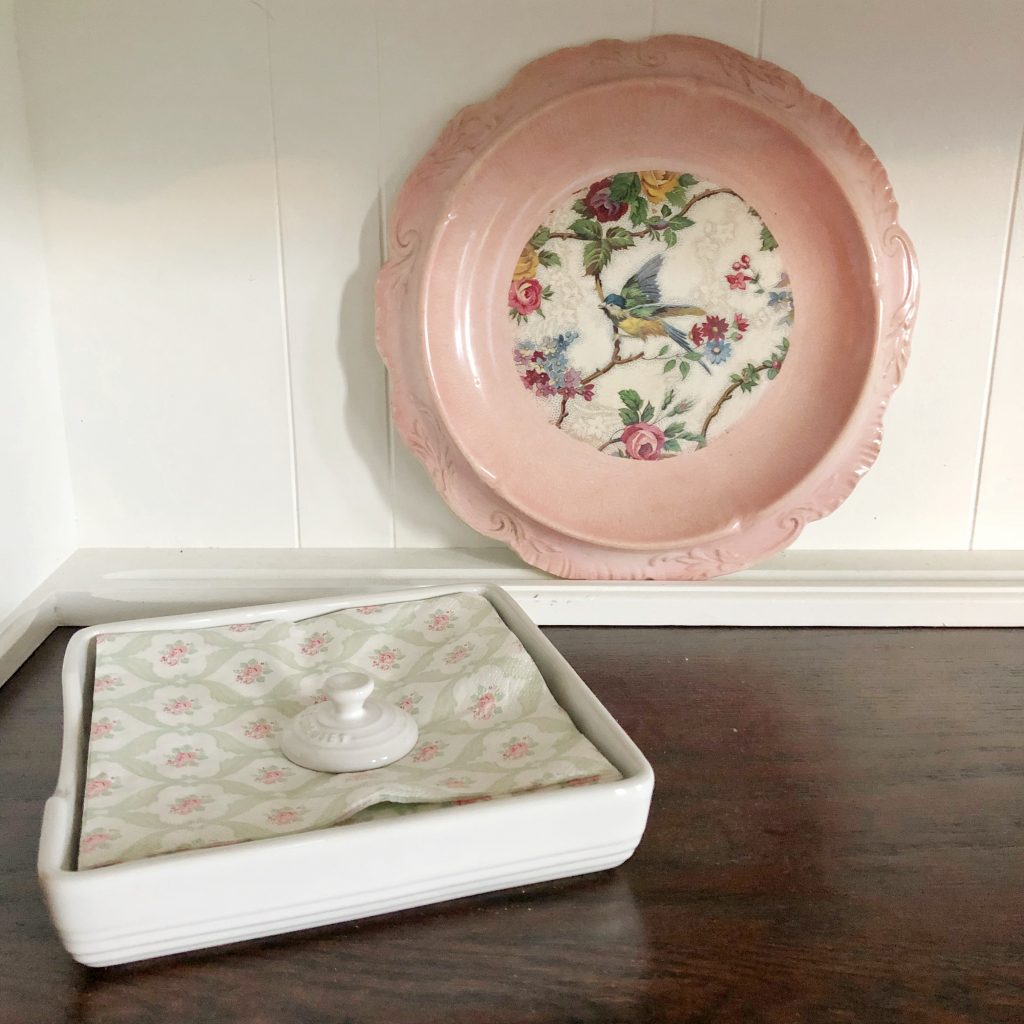
I’ve practiced a little and it seems like a possibility, but it will take some time – which as I’ve gone on and on about – is a rare commodity.
Bonus item: Create Mood Board
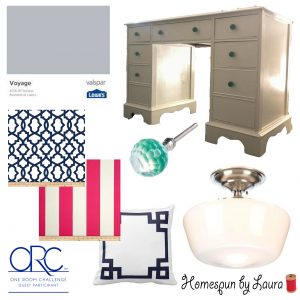
It wasn’t on my to-do list this week, but I spent a few minutes making a little mood board for the project.
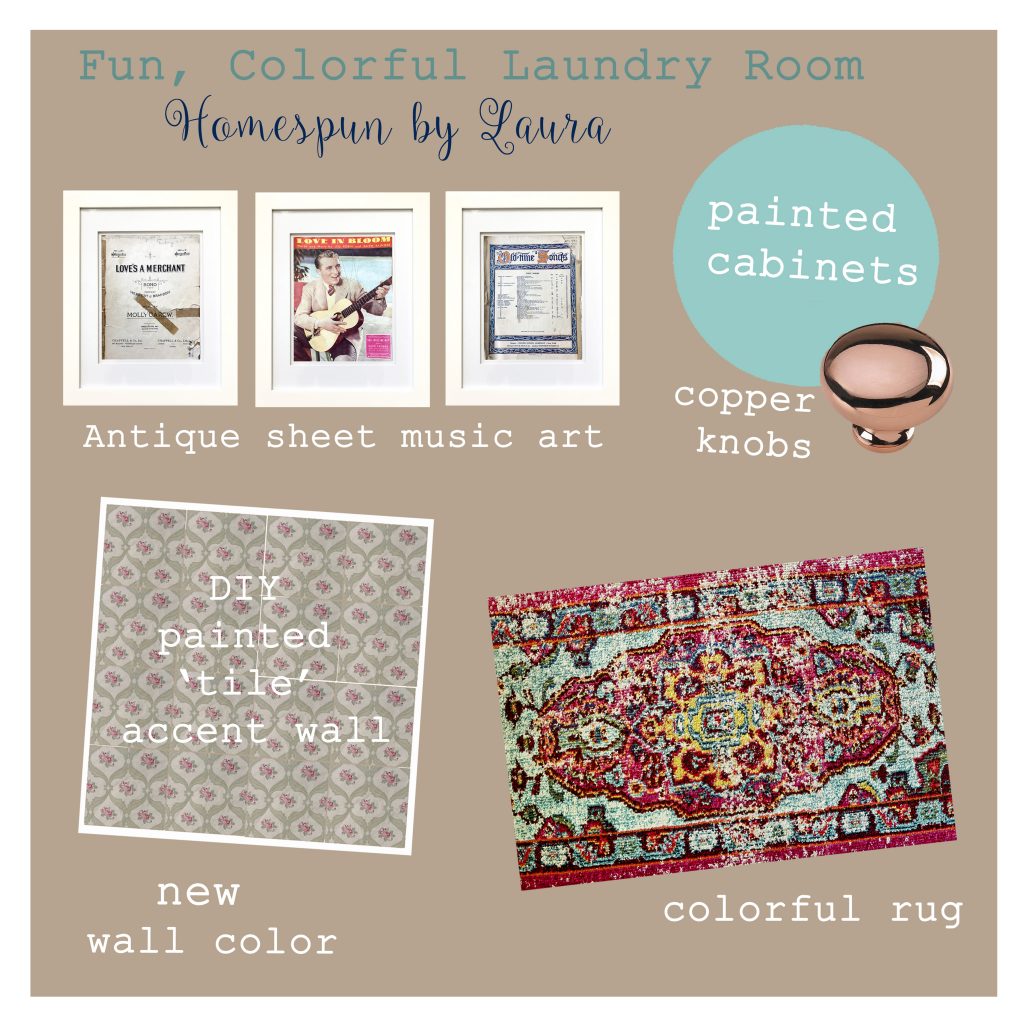
This will hopefully help give me direction in the final two weeks. I’m so excited about using the old sheet music as art. It was my grandmother’s when she was in high school and college in the late thirties/early forties studying music, and it even has her handwritten notes in the margins. I’ve had it in a drawer for several years and now it’s time to display it!
Colorful Laundry Room: week 5 plans
We’re getting down to the wire – just two weeks to go. Here’s what I plan to knock out in Week 5:
Mix custom paint
Now that I’ve determined the shade I want to use, I just need to mix it – or as close to it as I can – with the colors I have.
sand + paint cabinets
Fortunately, there aren’t too many of them to paint. I’ll need to give them a light sanding before I get started. It should be a pretty quick job…
hang ironing board on wall
Just get it done, already!
install shelf across length of wall
The wall is just over 8′ long, so I’ll buy an 8′ unfinished plank this week and hopefully enlist the Mister’s help to get it installed. I’d love to use a set of pretty brackets under the shelf as support but will have to take budget and time into consideration (as in, I won’t be ordering something).
remaining to-do items
Install rod between cabinets for hanging clothes to dryInstall shelves above rod to connect cabinets and display things2a.
Install top shelf!- Paint cabinets
3a.Fill in gaps between wall and cabinets
3b.Caulk around cabinets
3c.Move paint and supplies upstairs
3c. Determine paint color
3d. Paint cabinets - Paint/stain shelves and rod
- Add cabinet knobs – perhaps this is where the copper comes in!
- Add a decorative backsplash of some kind, perhaps a faux white brick wallpaper, which I’ve seen at Target
- Sand down/straighten poorly hung doors so that pretty rug fits under them
- Hang iron/ironing board holder on wall behind door
- Shop the still-boxed collection of frames, photos, and art from our recent move for something to hang on the large bare wall opposite the washer/dryer/cabinets
- Shift washer, dryer, and mini fridge locations to maximize the space
- Construct a shelf across the length of the wall above the washer, dryer, and fridge
If I’m able to accomplish all that and have time left over (doubtful!), my dream list would also include:
- Paint the walls; however, much of our paint collection is unaccounted for after our recent move, and this will depend on locating said paint!
- Construct some sort of counter surface above mini fridge for storing laundry basket/folding clothes
- Build a laundry drying rack similar to the one I made the last time I updated a laundry room for the One Room Challenge that we left behind in our old house.
Come back next Thursday (ish…) to see what happens in Week 5. In the meantime, take a look at the projects everyone else is working on and check my stories on Instagram to see what’s happening!
If you’re also working on the One Room Challenge – keep it up, we’re getting close!
Thanks for stopping by.

Take a look at my previous One Room Challenge projects here:
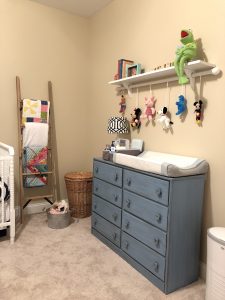
The Vintage Toy Nursery (still in progress…)
The Office / Sewing & Craft Room (the time I started it)
The Office / Sewing & Craft Room (the time I finished it!)

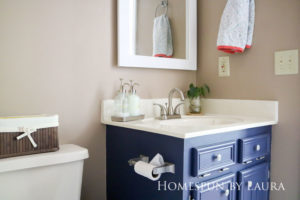
The Laundry Room (old house)