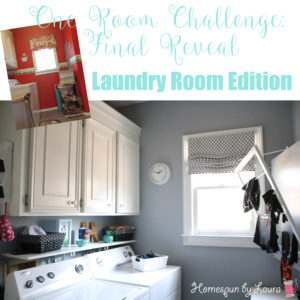
Oh boy, it’s the final week of the One Room Challenge! I checked several boxes off the to-do list in Week 5, but there’s still plenty to do to turn this boring beige space into a fun and colorful laundry room.
A Quick Recap
In the spring One Room Challenge, I’m focusing on our sad, beige laundry room with the goal of transforming it into a fun, colorful space inspired by two famous TV kitchens.
The One Room Challenge is a 6-week long project hosted by Calling it Home during which participants focus on updating one room in their house with the goal of creating a beautiful ‘after’ to enjoy, sharing their progress with the internet along the way.

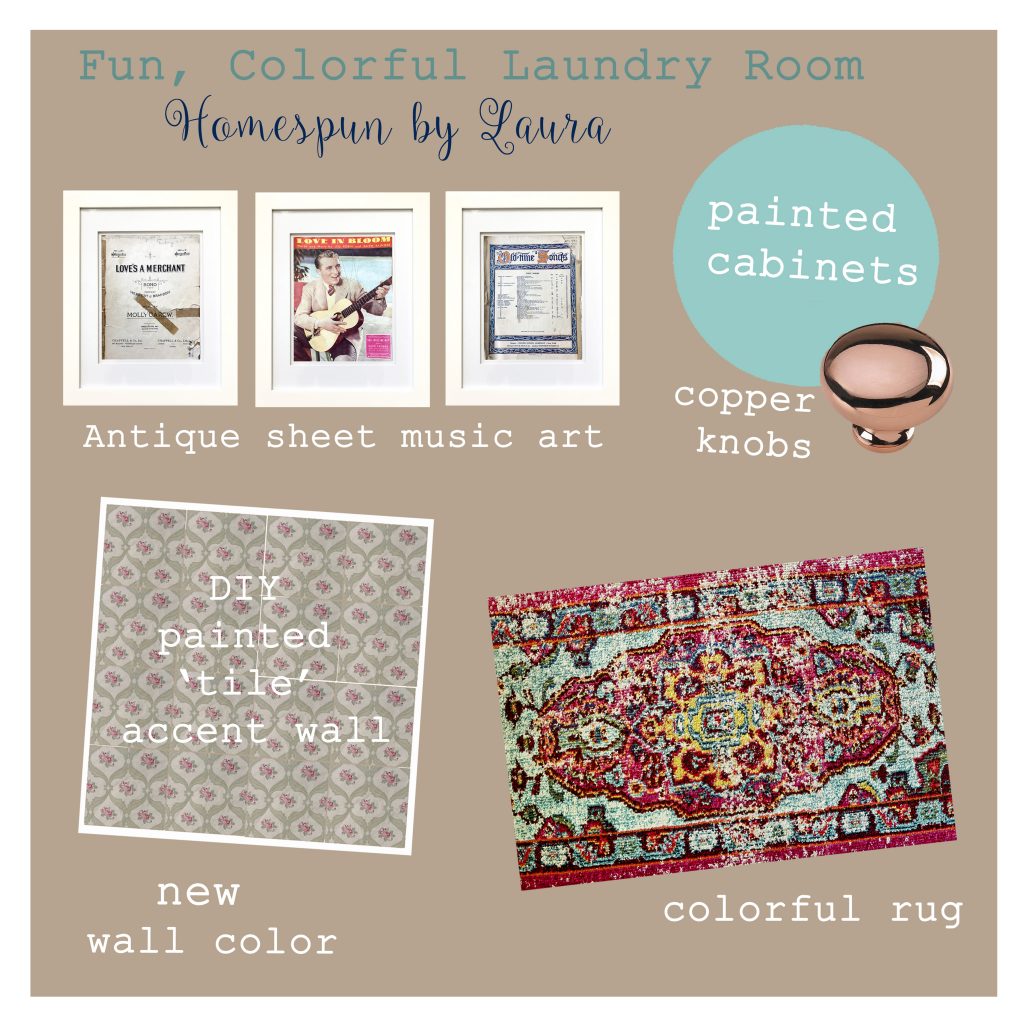
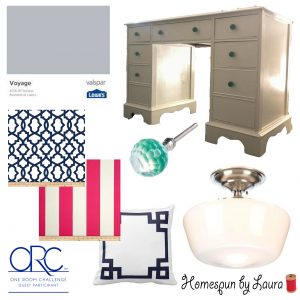
If you’re new here – thanks for stopping by! I’m Laura and I’m rolling up my sleeves to make our beige builder-grade laundry room a little more fun and colorful – on a $100 budget. You can read more about the plan for the colorful laundry room here, but if you’re short on time, here’s the basic idea: Add some color and personality, pulling inspiration from Monica’s kitchen in Friends…

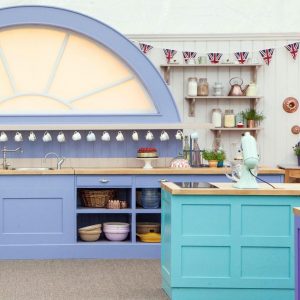
…and the tent kitchen on the Great British Bake-Off.
the before
Here’s a quick recap: When we moved in, our laundry room was functional but lacked storage or personality.
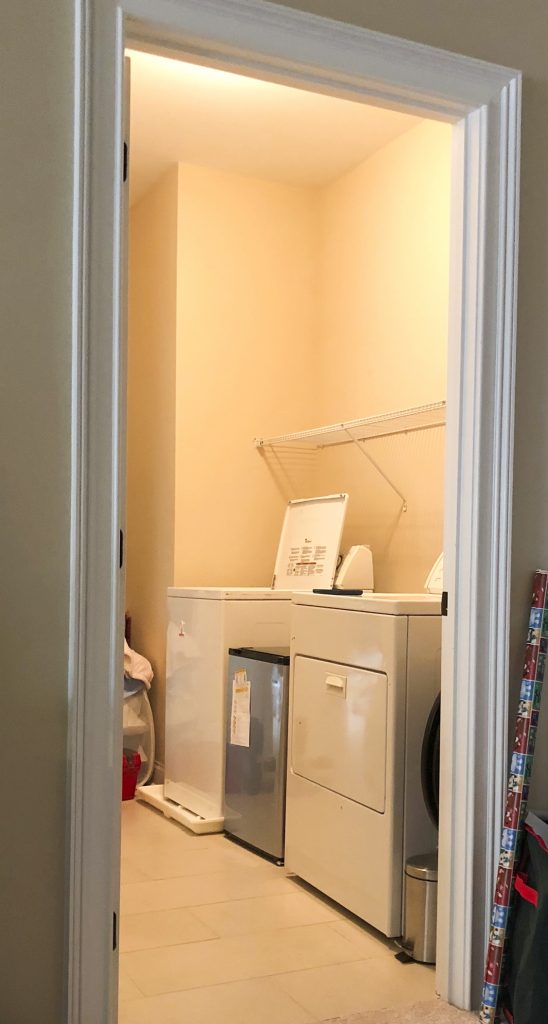
The laundry room…Before!
We added stock cabinets from Lowe’s late last year, then left them in all their unfinished beige glory for three months.
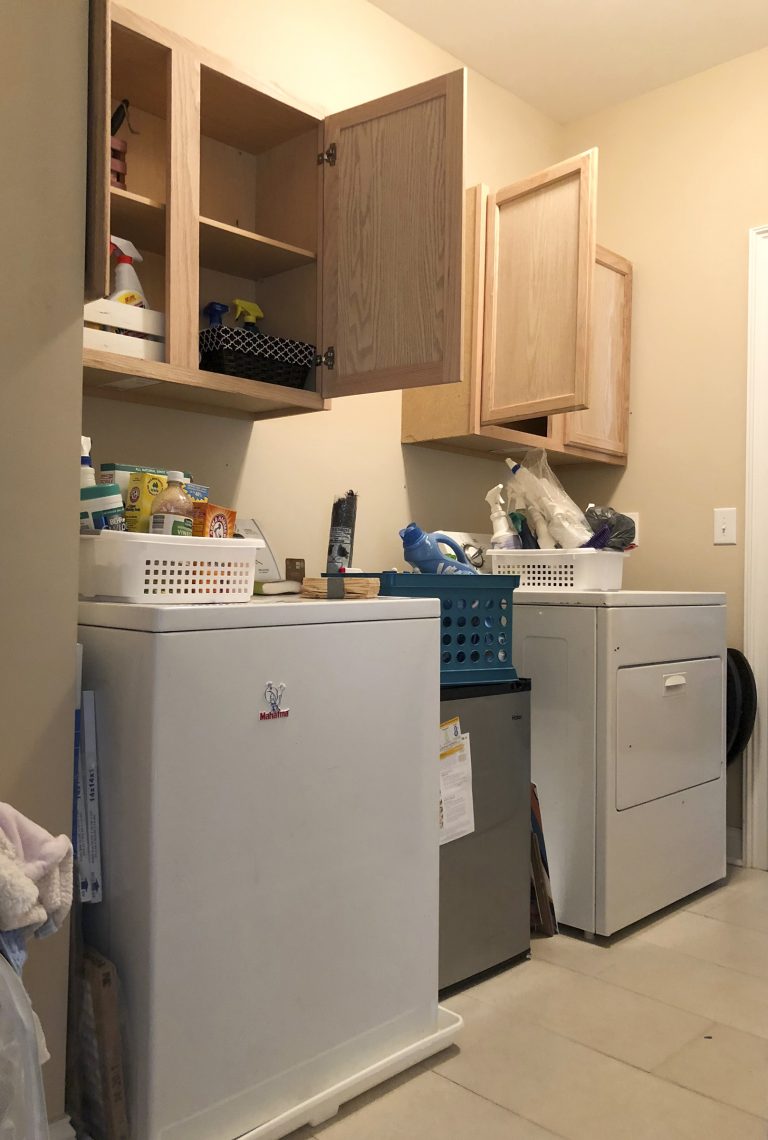
In progress
Here’s what the room looked like at the end of Week 4. It looks suspiciously similar to the photo of what the room looked like at the end of Week 3…(or for that matter, it’s not too terribly different than Week 1!)
Not a lot happened during Week 4
If you want to watch the process unfold, you can catch up on Week 1, Week 2, Week 3, and Week 4 here.
the budget
I chose to limit myself to spending $100 or less during the space of the One Room Challenge this spring. (I bought the new cabinets with birthday money while they were on sale last year. They cost about $150. So the goal is for the total cost of the room to come in under $250.)
Here’s the breakdown so far, including sales tax!
- dowel + hardware: $7.98
- wood for top shelves: $20.13
- furring strip to create shelf braces: $1.55
- wood for 8′ shelf/ledge: $18.01
- paint can for mixing free cabinet paint: $3.40
- decorative brackets: $18.15
Total through Week 5: $69.22
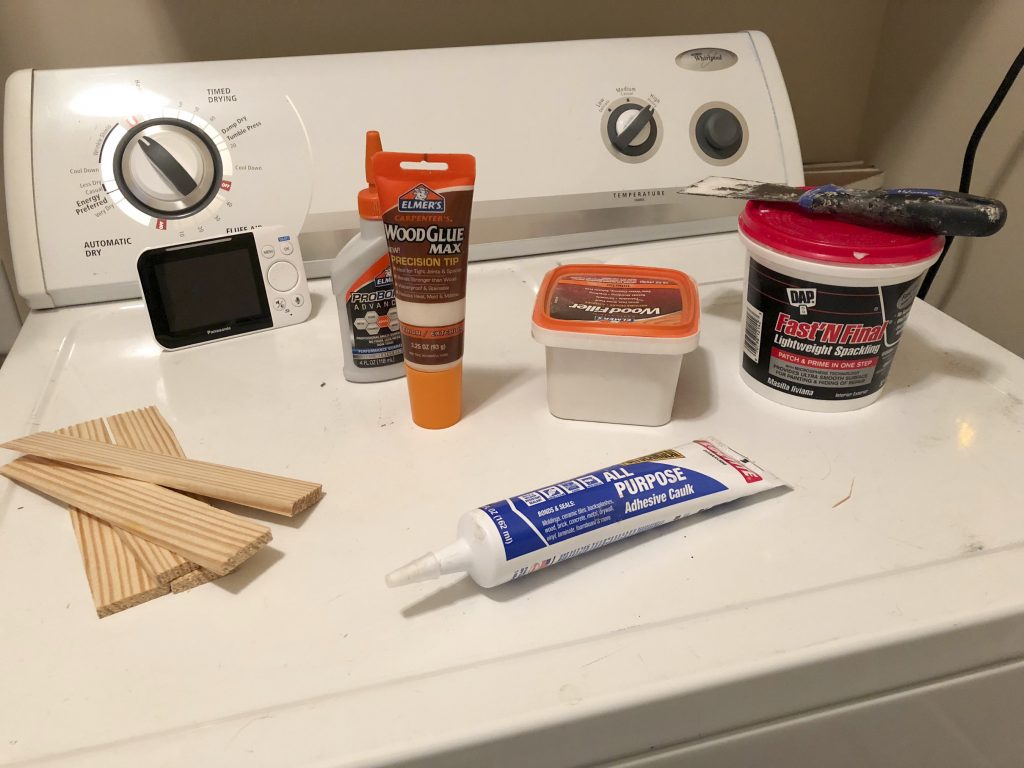
We had all the other tools and materials (wood putty, spackle, putty knife, wood glue, shims, paint, paint brushes, etc.) on hand already.
Colorful Laundry Room: week 5 Update
After a slow Week 4, I feel much better about the progress during Week 5! My goals were to:
hang iron/ironing board rack
“I’m going to do this today!!” I said in Week 3’s post. Did I do it? Nope.
“Just get it done already!” I said in Week 4’s post. Have I done it yet? Nope.
Will I do it before the end of the Challenge? YES.
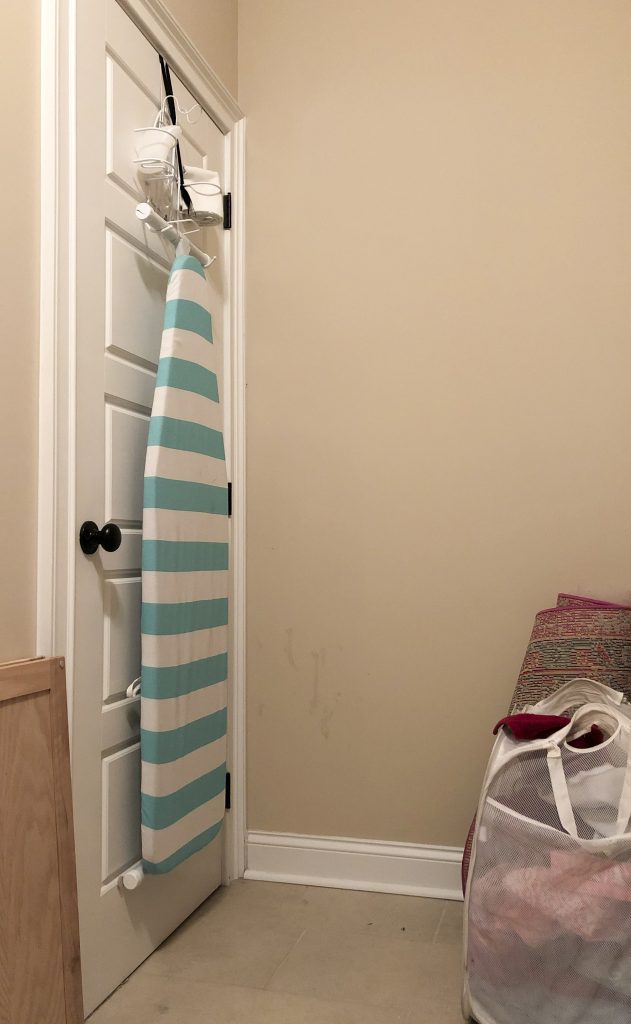
Would it really be a laundry room if there wasn’t a hamper full of dirty towels?
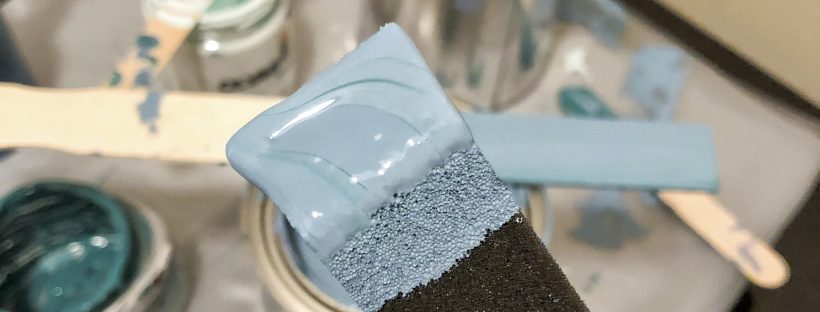
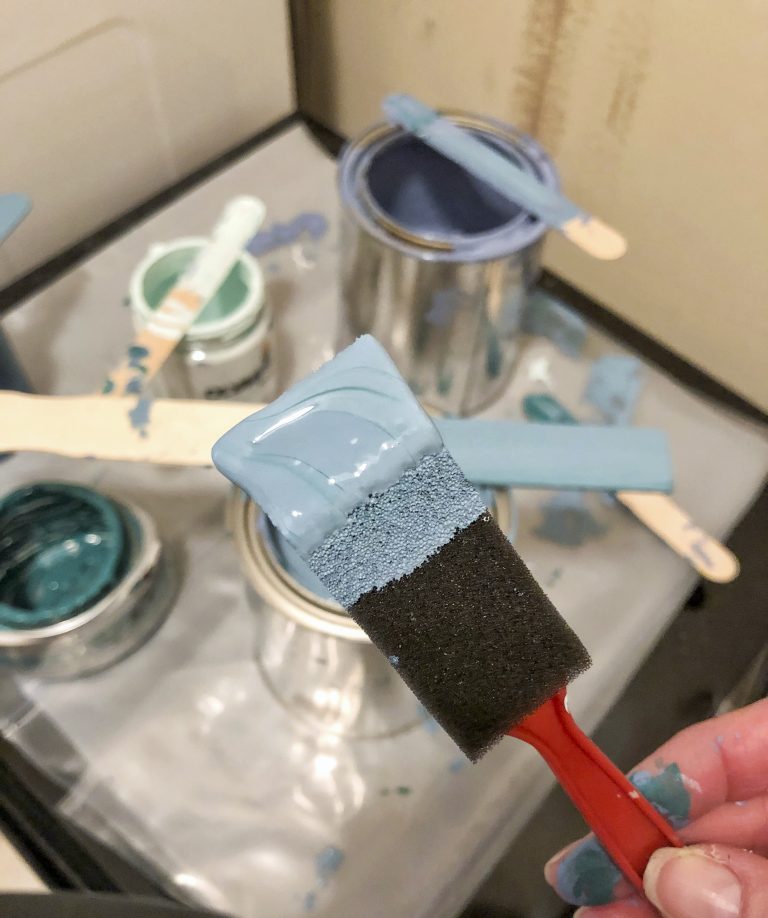
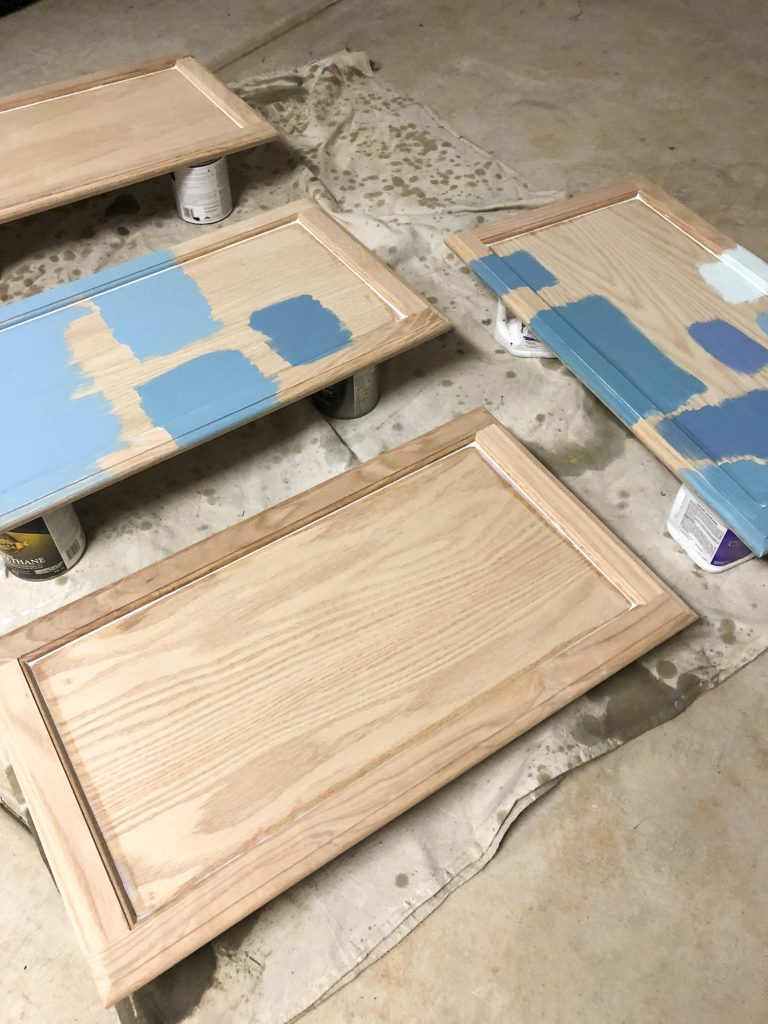
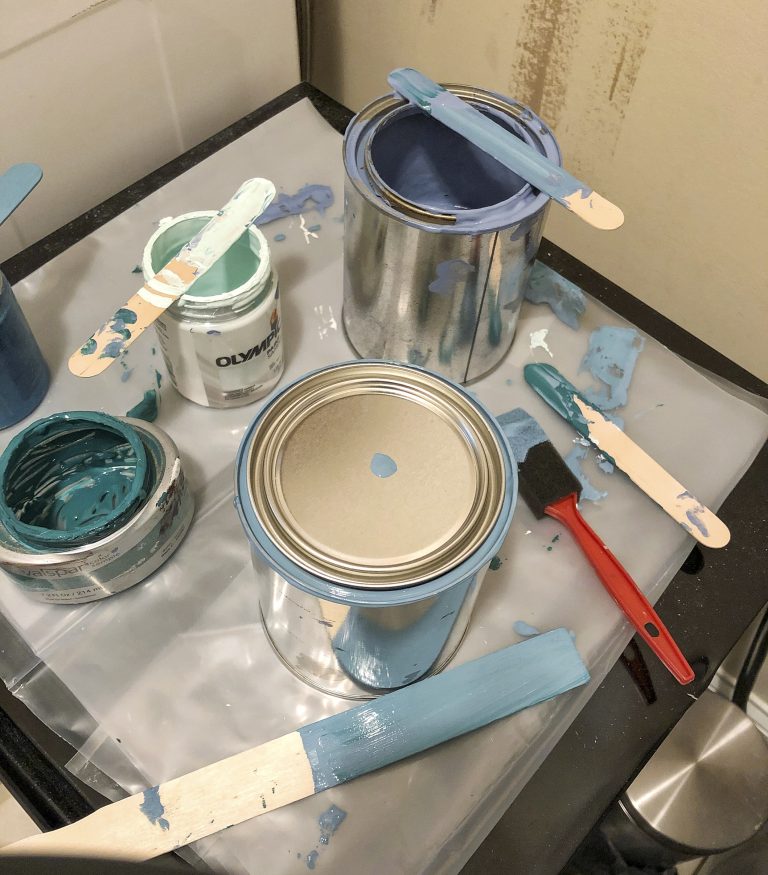
Mix custom paint
This task was so much fun. I just want to mix paint all the time now. And make time-lapse videos of it because they’re kind of fun to watch.
I was going for a color somewhere in the family of this awesome door I saw in Charleston last week.
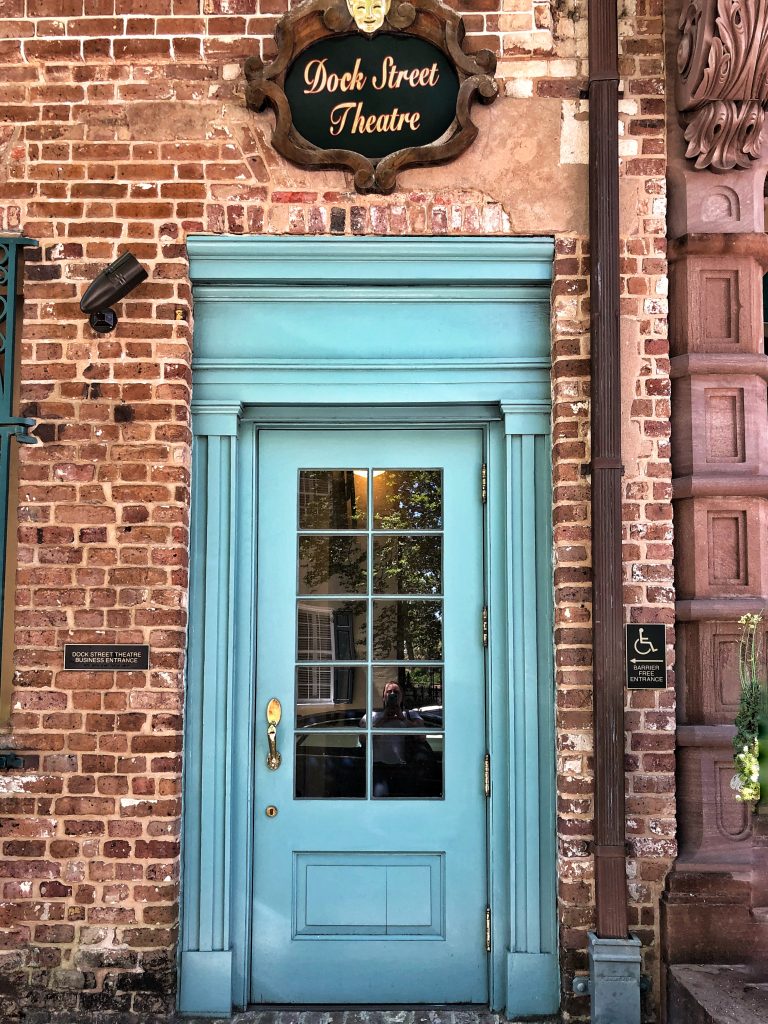
The color I mixed is a little bit darker but equally pretty. It’s similar to Monica’s cabinets in the Friends kitchen (just not so shockingly bright) and some of the workbenches in the Great British Bake-Off tent, which seem to change from season to season.
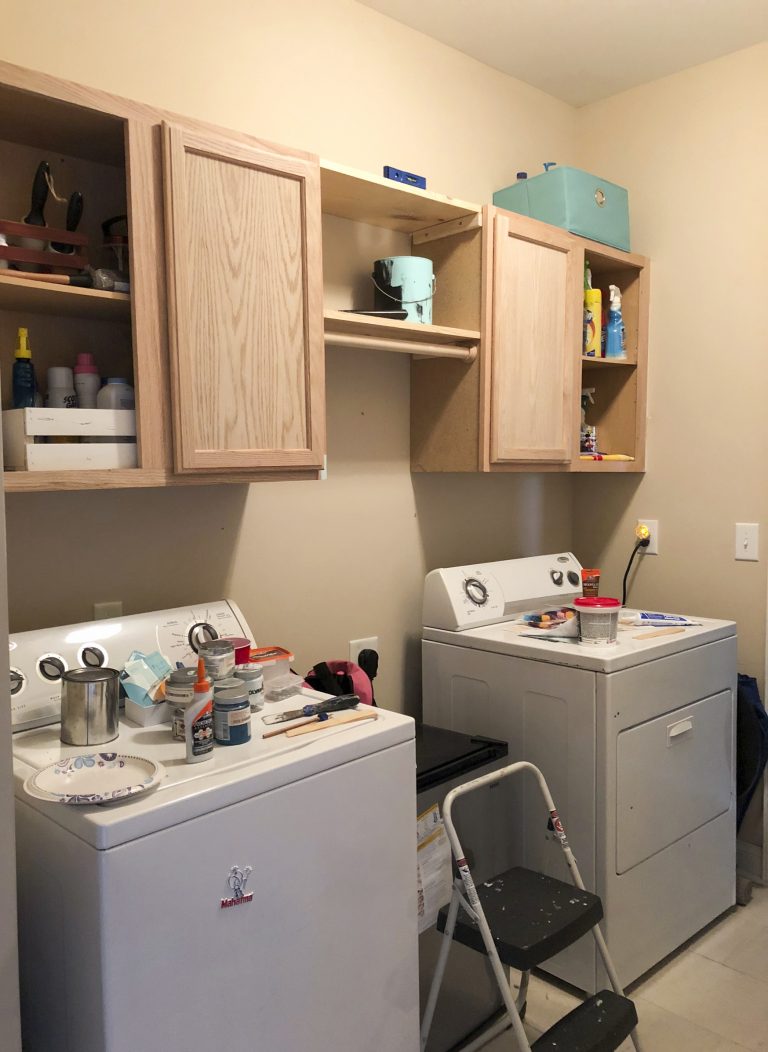
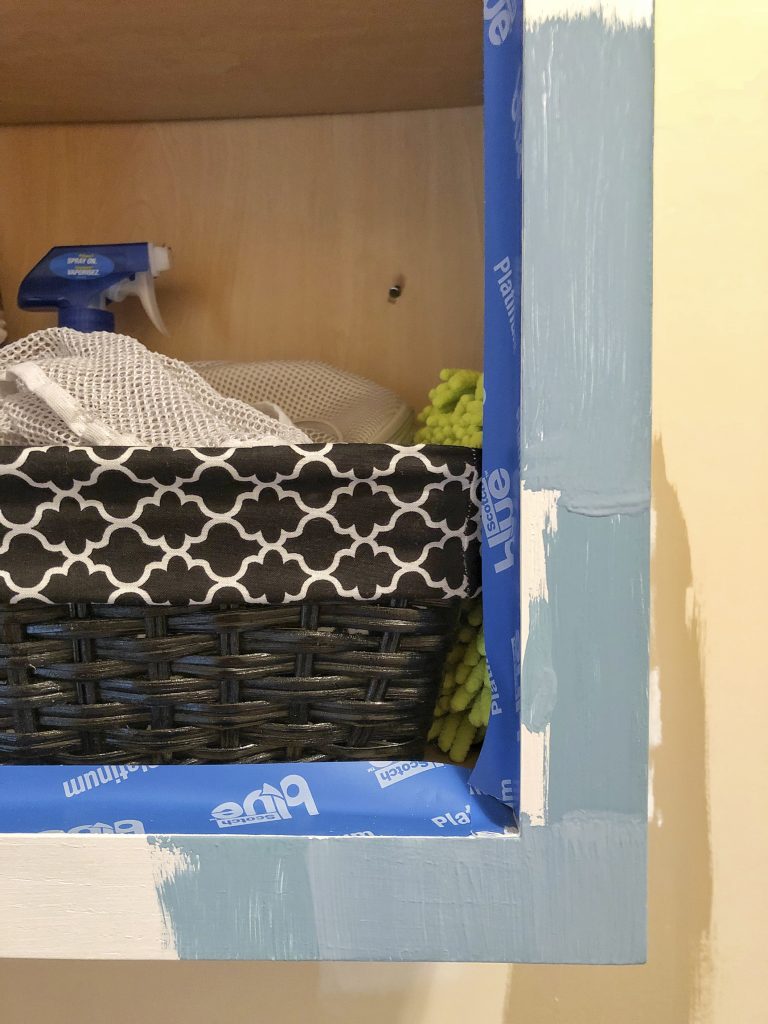
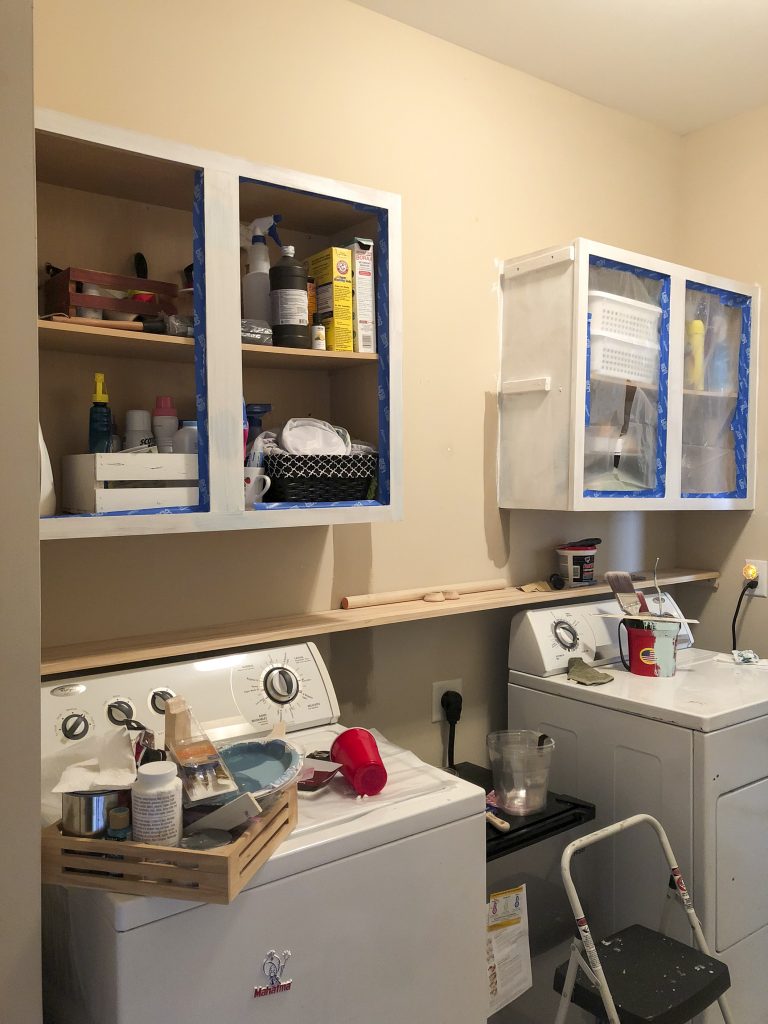
sand + paint cabinets
Cabinets sanded.
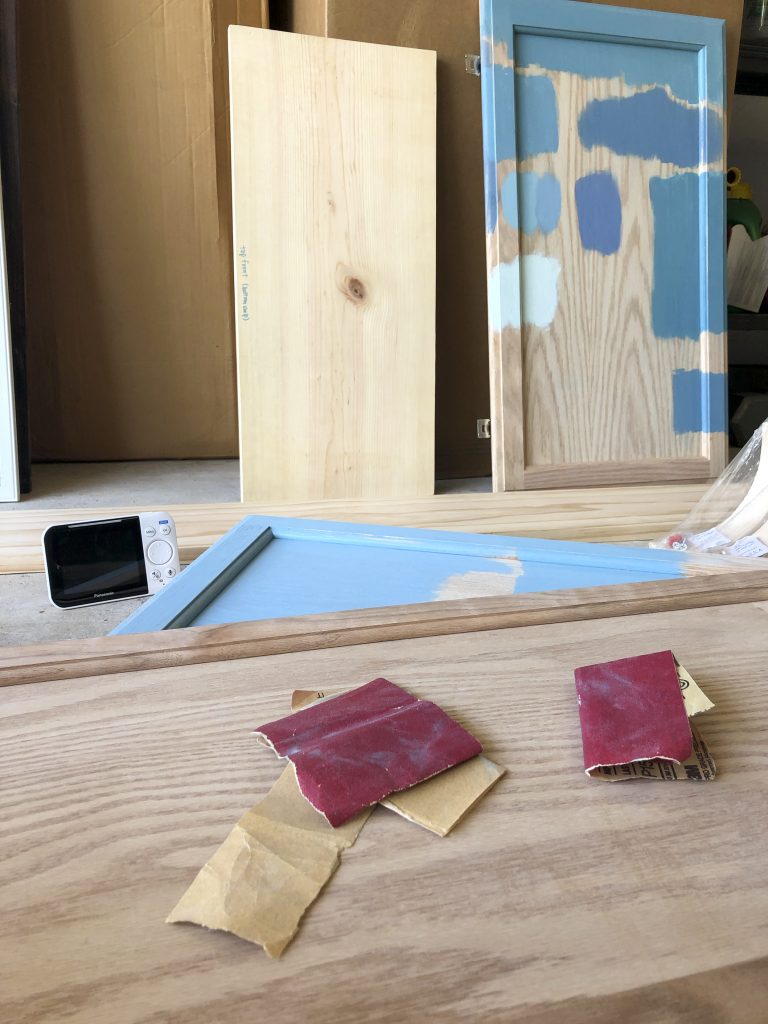
Cabinets caulked.
Watching caulk dry… Just kidding.
Cabinets primed.
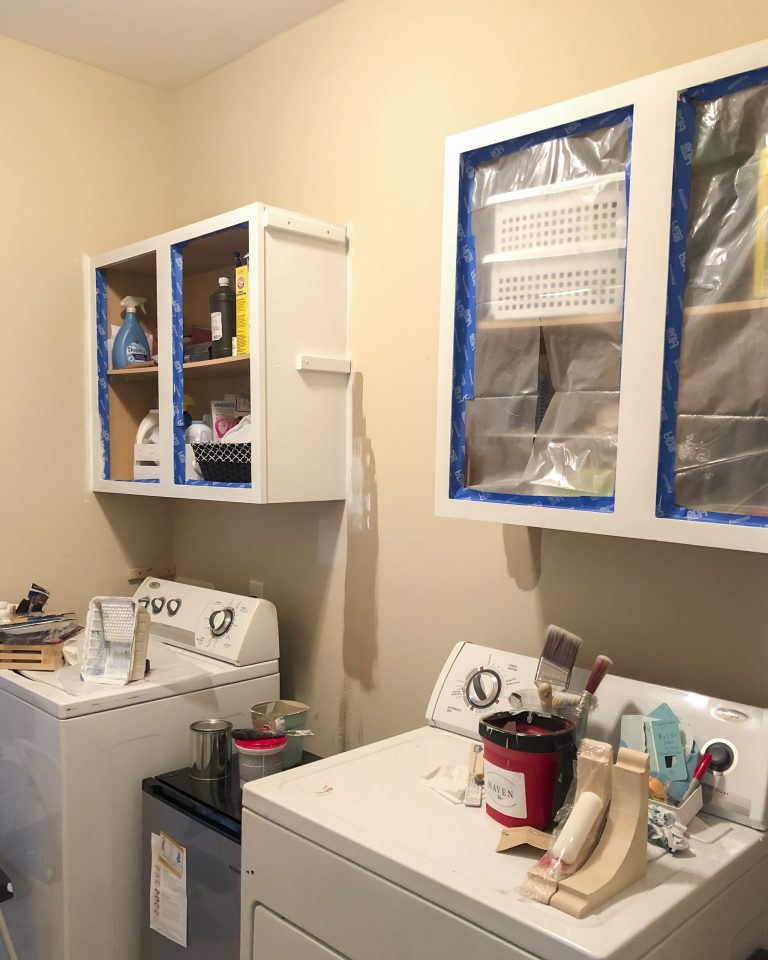
Paint mixed.
Cabinets not painted.
Yet.
install shelf across length of wall
We took a family trip to Lowe’s after church on Sunday to buy some plants and other things for the yard. I also picked up a few remaining supplies for the colorful laundry room project, including the wood for the long shelf.
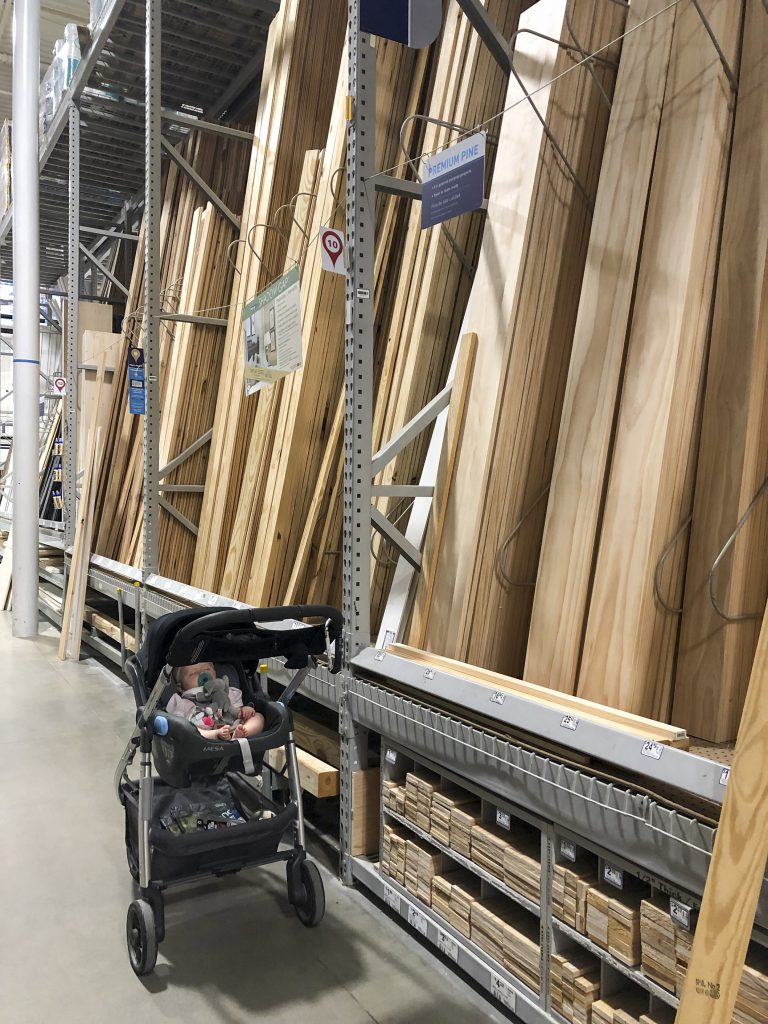
The little girl wasn’t much help. She slept through the plank selection process.
The wall is just over 8′ long, so I bought an 8′ unfinished plank and enlisted the Mister’s help to get it installed but then removed it immediately to prevent it from getting any primer or paint on it.
Backsplash/Accent Wall Update
I decided this week to give myself time to fully consider the blasted backsplash/accent wall instead of rushing into a decision I’m not completely sure about just to complete it by the end of the six weeks. You can read all about a few of the options I considered in last week’s post.
So for now, I’ll paint it the same as the rest of the room and live with it for some time before deciding for sure.
Colorful Laundry Room: week 6 Plans
That leaves quite a list for Week 6, as is my habit.
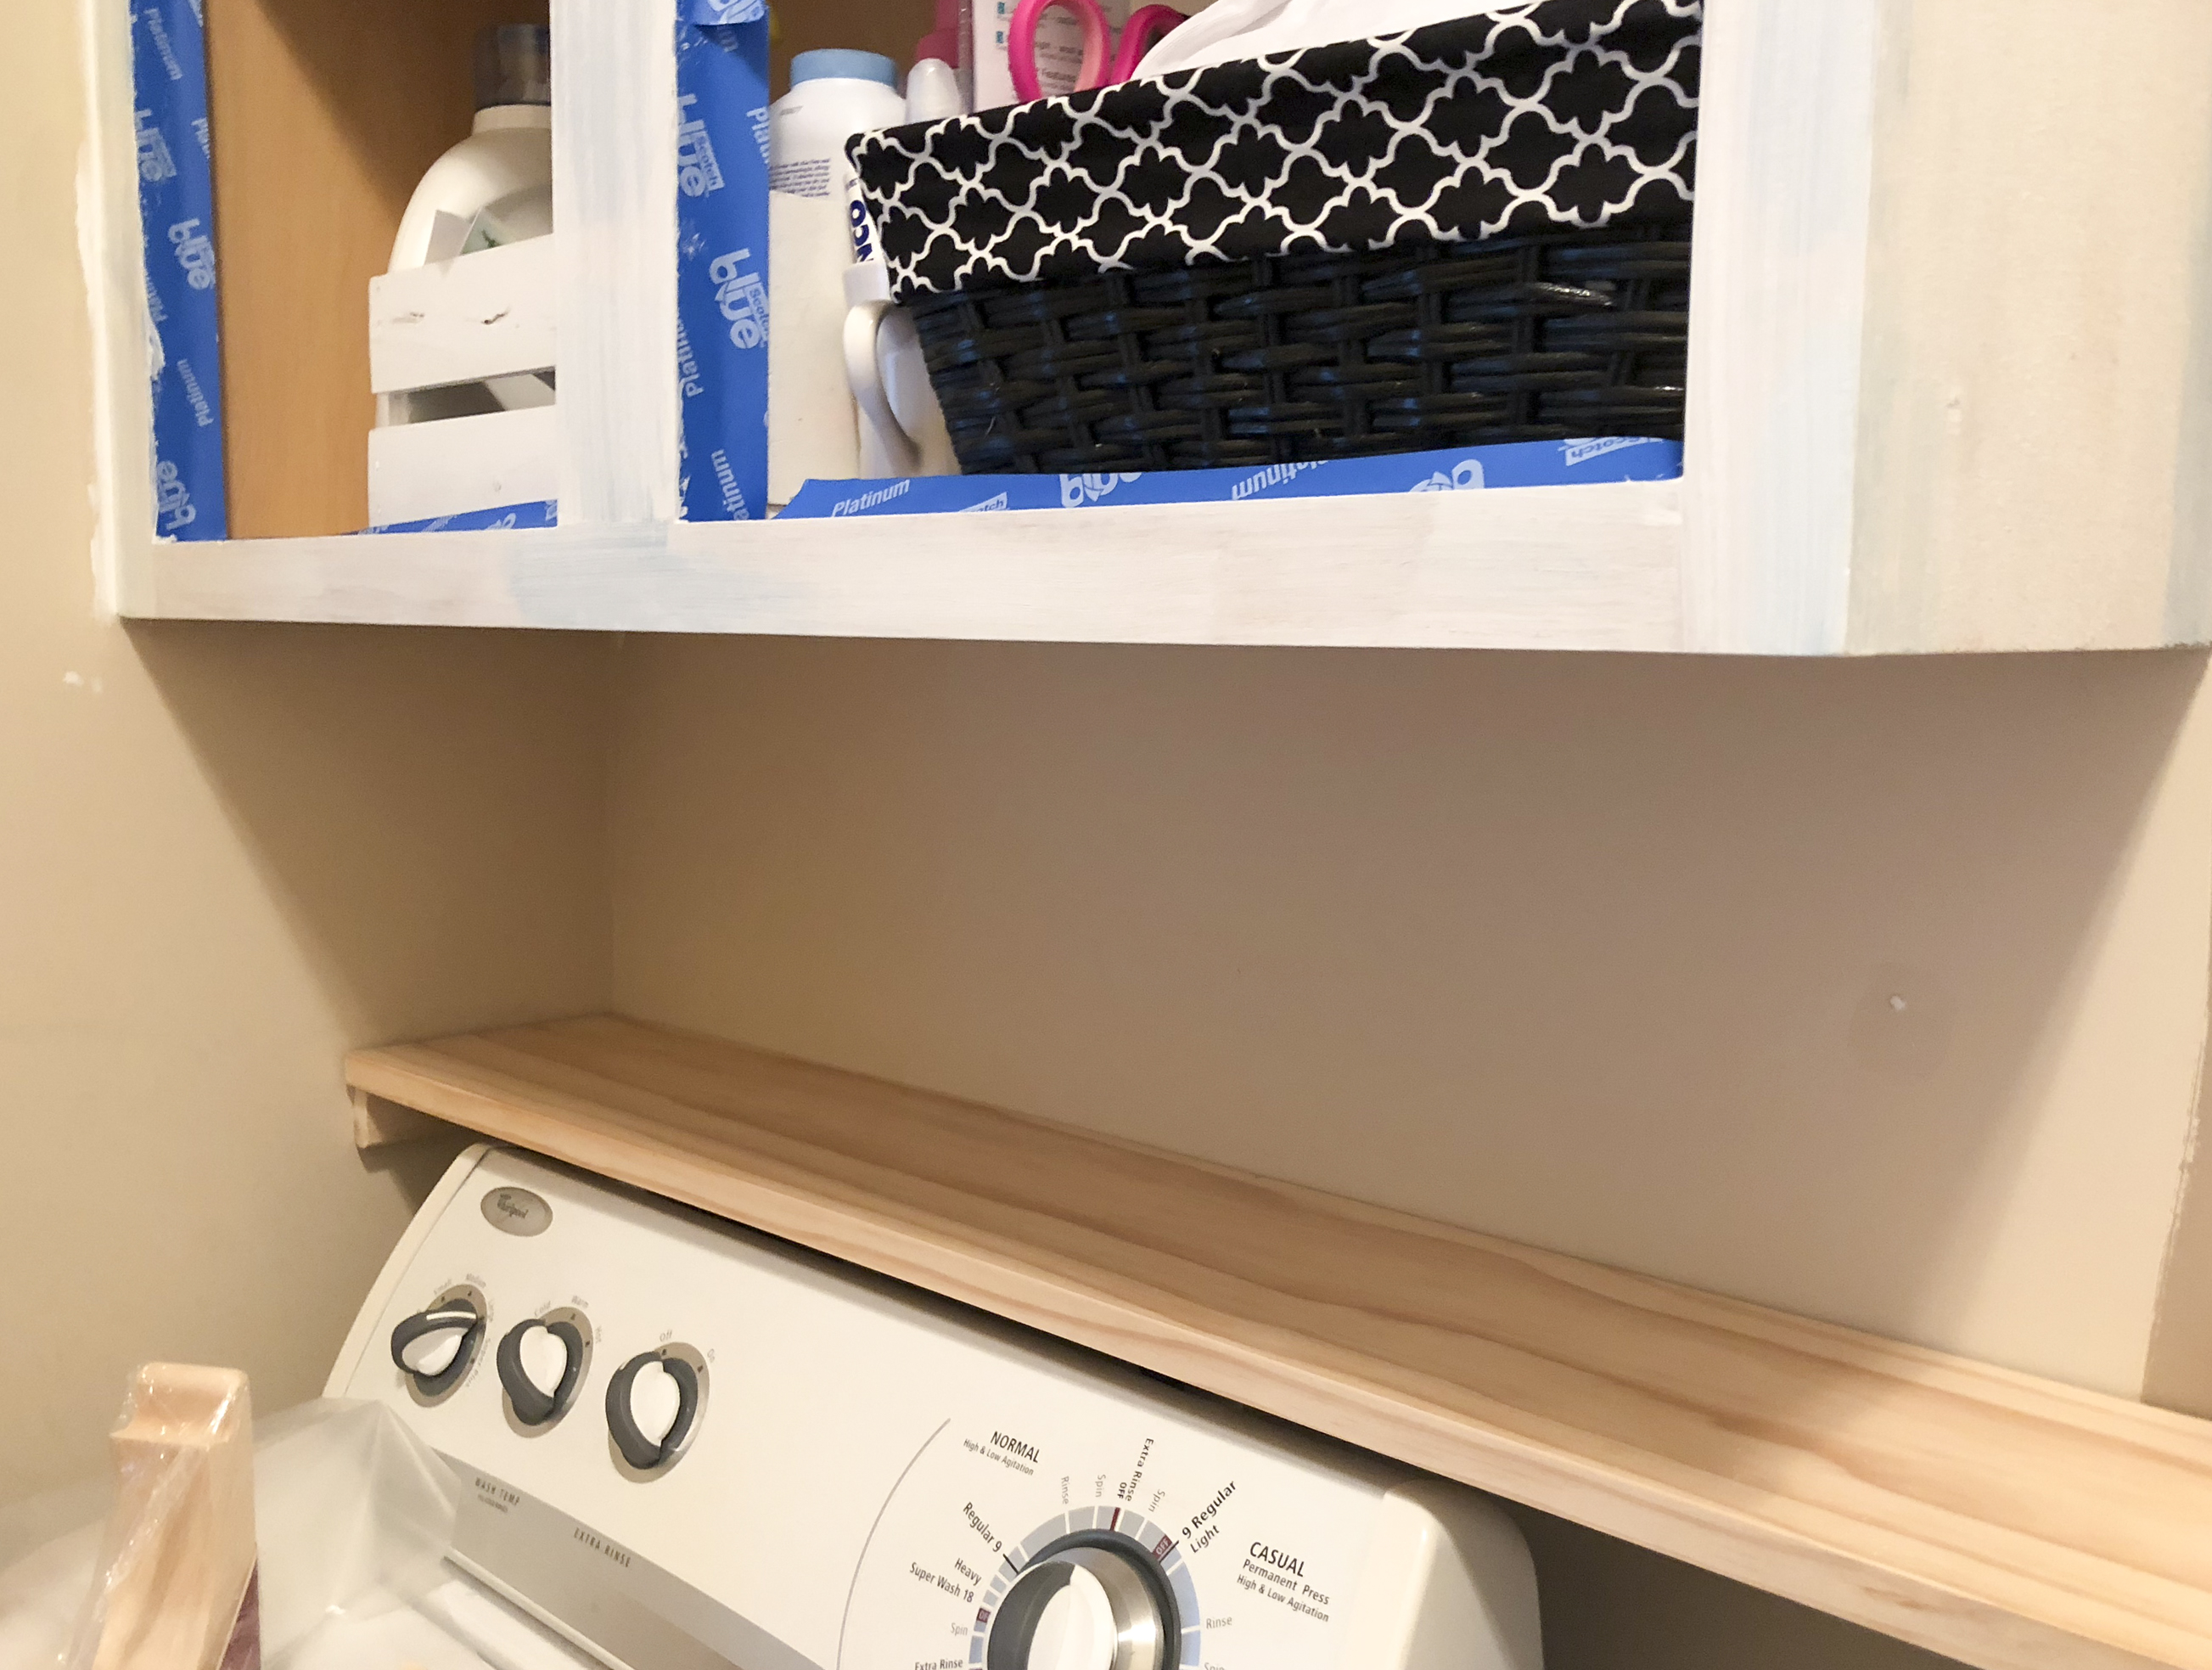
Install shelf
It’s only 7.25″, so it’s really more of a wide ledge. I would have liked to use a wider plank to create it, but it would have stuck out too far over the top of the washer and dryer if it had been any larger. Whether you call it a shelf or a ledge, I will stain it and paint the brackets this week.
This to-do list item might seem confusing since you just saw a photo of it hanging in the room.
But so far, only the support braces on each end are in. I’ll install the more decorative but equally necessary brackets in the center after the washer and dryer are in their final locations and I’ve stained the shelf.
The set of decorative brackets I chose to put under the shelf as support weren’t my first choice, but they were half the price of the ones I looked at originally and will still look good. Truthfully, I never found something I loved that didn’t cost upwards of $20 apiece, so even my first choice wasn’t really my first choice.
You’ll do.
Paint wall
It will probably be a stretch to finish painting and I’m not really looking forward to it, but it will be worth it in the end.
Partially because this room receives no natural light causing the current wall color to look yellow under electric light. Partially because of scuffs and scratches on the wall that were here when we moved in. And finally, partially because some of the work I’ve done so far makes it necessary to paint the walls.
I’m using Faint Maple by Valspar, a color I used in nearly every room of our old house. I loved it there, and I’m hoping I’ll like it here, too.
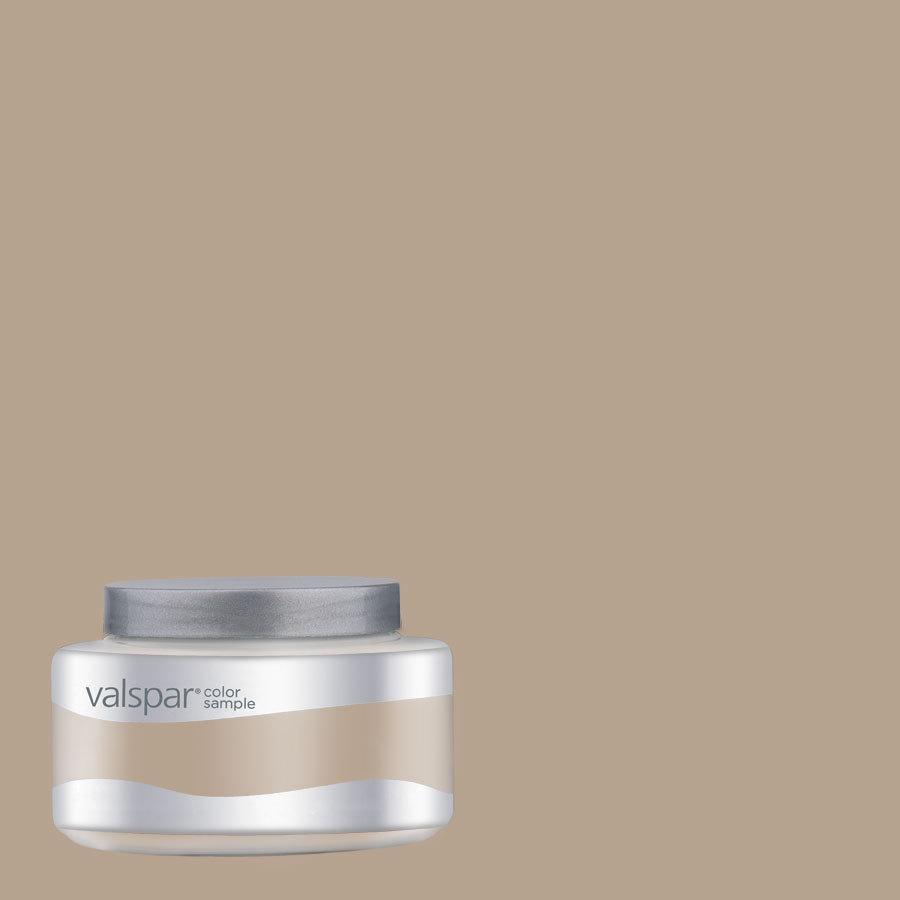
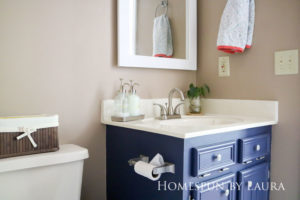
Part of my decision to use it again is that I have two nearly full cans of it in the garage (so it’s free!). It’s a creamy dark bleige that looked great under every lighting situation in our old house, including the $75 Powder Room I transformed during the Fall 2017 One Room Challenge.
And yes, I misspelled the word on purpose. You’ve heard of ‘greige’ and now you’ve heard of ‘bleige’. It’s a beige with more of a blue undertone that looks pretty neutral under both yellow and natural light. You can look it up in the dictionary (totally kidding, but it is a great paint color).
Fix crooked doors
I’m really not excited about the process of fixing these doors because it’s something I’ve never done before and sounds complicated. I don’t know whether just using a shim will be enough to create enough space under them or whether we’ll have to trim/sand them down.
Currently one of them dusts the floor at the corner, building up a nice collection of dust bunnies and dryer lint as it opens and closes. The rug is 0.5″ without a pad under it. The majority of the door must swing over the rug. You do the math!
The door and the rug are currently incompatible, but without the rug the room will be incomplete. So we must fix the doors!
Finishing Touches
I’ll also wrap up some finishing touches like hanging the art I mentioned in last week’s post, selecting and installing knobs on the cabinets, and painting or staining the rod and top shelves. I’ve saved that task for after I paint the cabinets so I can decide whether I think wood stain or more paint will look better.
I’ll also shop our house to find items to display on the shelves and possibly work on a small craft or two I have in mind for the space.
I don’t plan to fill the shelves completely just for the sake of it; I intend for the items I put on them to have a purpose. Most will be practical, but a few will just be pretty.
remaining to-do items
Install rod between cabinets for hanging clothes to dryInstall shelves above rod to connect cabinets and display things2a.
Install top shelf!- Paint cabinets
3a.Fill in gaps between wall and cabinets
3b.Caulk around cabinets
3c.Move paint and supplies upstairs
3c.Determine paint color
3d. Paint cabinets - Paint/stain shelves and rod
- Add cabinet knobs – perhaps this is where the copper comes in!
Add a decorative backsplash of some kind, perhaps a faux white brick wallpaper, which I’ve seen at TargetLIVE WITH IT FOR NOW AND DECIDE LATER!!!!!- Sand down/straighten poorly hung doors so that pretty rug fits under them
- Hang iron/ironing board holder on wall behind door
- Shop the still-boxed collection of frames, photos, and art from our recent move for something to hang on the large bare wall opposite the washer/dryer/cabinets
- Shift washer, dryer, and mini fridge locations to maximize the space
Construct a shelf across the length of the wall above the washer, dryer, and fridge(it’s constructed; now I’ll need to paint it!
If I’m able to accomplish all that and have time left over (doubtful!), my dream list would also include:
- Paint the walls; however, much of our paint collection is unaccounted for after our recent move, and this will depend on locating said paint!
- Construct some sort of counter surface above mini fridge for storing laundry basket/folding clothes
- Build a laundry drying rack similar to the one I made the last time I updated a laundry room for the One Room Challenge that we left behind in our old house.
Come back next Thursday (ish…) to see the finished room!!! In the meantime, take a look at the projects everyone else is working on and check my stories on Instagram to see what’s happening!
For all you other ORC people, the bell has been rung and the final lap has begun (that’s a track reference for all you non-runners out there!). Time to focus on the finish line and give it everything you’ve got.
Thanks for stopping by.

Take a look at my previous One Room Challenge projects here:
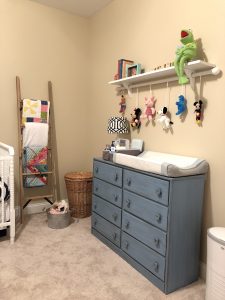
The Vintage Toy Nursery (still in progress…)
The Office / Sewing & Craft Room (the time I started it)
The Office / Sewing & Craft Room (the time I finished it!)

The Laundry Room (old house)